
Home>Create & Decorate>DIY & Crafts>DIY Outdoor Steps: Homemade Wooden Handrails
DIY & Crafts
DIY Outdoor Steps: Homemade Wooden Handrails
Published: April 5, 2024

Senior Editor in Create & Decorate, Kathryn combines traditional craftsmanship with contemporary trends. Her background in textile design and commitment to sustainable crafts inspire both content and community.
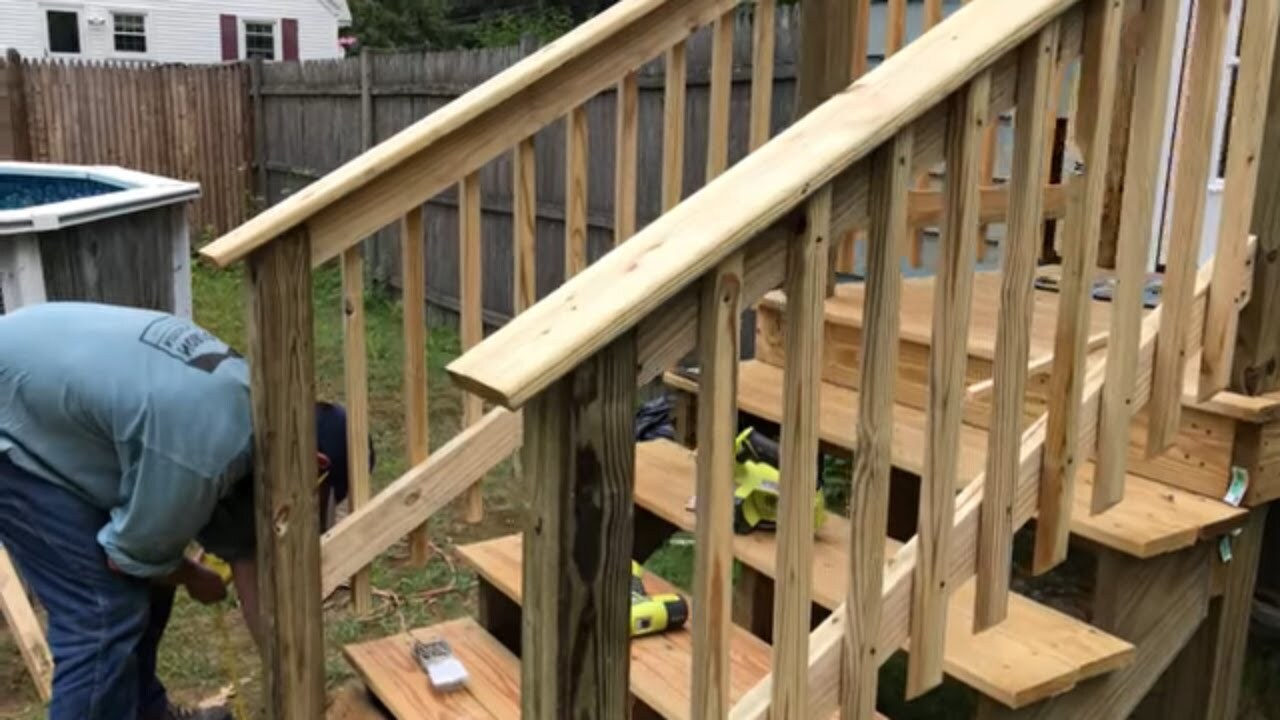
Discover how to create your own DIY outdoor steps with homemade wooden handrails. Get inspired with our DIY & Crafts ideas and step-by-step guides.
(Many of the links in this article redirect to a specific reviewed product. Your purchase of these products through affiliate links helps to generate commission for Twigandthistle.com, at no extra cost. Learn more)
Introduction
Are you looking to add a touch of safety and style to your outdoor steps? Building your own wooden handrails can be a rewarding and cost-effective DIY project. Whether you're a seasoned DIY enthusiast or a beginner looking to take on a new challenge, creating homemade wooden handrails for your outdoor steps can be a fulfilling endeavor. In this guide, we'll walk you through the materials and steps needed to craft and install your very own DIY outdoor handrails. So, roll up your sleeves and get ready to enhance the functionality and aesthetics of your outdoor space with this hands-on project!
Materials Needed
To get started on your DIY outdoor handrails project, you'll need to gather the following materials:
- Pressure-treated wood: This type of wood is ideal for outdoor use as it is resistant to rot and decay, making it perfect for withstanding the elements.
- Wood sealer or stain: Applying a sealer or stain will help protect the wood from moisture, UV rays, and general wear and tear.
- Wood screws: Opt for screws that are designed for outdoor use to ensure they can withstand the elements.
- Wood glue: Using wood glue in addition to screws will provide extra strength and stability to your handrails.
- Sandpaper: You'll need sandpaper to smooth out any rough edges and surfaces on the wood.
- Measuring tape: Accurate measurements are crucial for ensuring your handrails fit your outdoor steps perfectly.
- Paintbrushes or rollers: These will be used to apply the wood sealer or stain to the handrails.
- Safety equipment: Don't forget to prioritize safety by wearing goggles, gloves, and a dust mask when working with wood and power tools.
Gathering these materials before you begin will help streamline the construction process and ensure you have everything you need to bring your DIY outdoor handrails to life.
Tools Required
When taking on the task of crafting homemade wooden handrails for your outdoor steps, having the right tools at your disposal is essential. Here's a list of the tools you'll need to successfully complete this project:
-
Circular saw: This versatile tool will be used to make precise cuts in the pressure-treated wood for your handrails.
-
Drill/driver: A drill/driver will come in handy for creating pilot holes and driving screws into the wood to secure the handrails in place.
-
Level: Ensuring that your handrails are installed perfectly straight and aligned with your outdoor steps is crucial for both safety and aesthetics. A level will help you achieve this precision.
-
Clamps: Clamps will assist in holding the wood pieces together securely while you drill and fasten them, preventing any unnecessary movement during the construction process.
-
Screwdriver: While a drill/driver will handle most of the heavy-duty fastening, a screwdriver will be useful for any manual adjustments and final touches.
-
Sander: Using a sander will allow you to smooth out any rough edges and surfaces on the wood, providing a polished and safe finish for your handrails.
-
Paintbrushes or rollers: These tools will be used to apply the wood sealer or stain to the handrails, protecting them from the outdoor elements.
Having these tools readily available will make the construction and installation of your DIY outdoor handrails a smoother and more efficient process.
Step 1: Measure and Plan
Before diving into the construction of your DIY outdoor handrails, it's crucial to start with accurate measurements and a well-thought-out plan. Here's how to approach this initial step:
-
Assess the Area: Begin by carefully examining the outdoor steps where the handrails will be installed. Take note of any uneven surfaces, angles, or obstacles that may impact the design and installation process.
-
Measurements: Use a measuring tape to determine the length and height of the area where the handrails will be positioned. Ensure that your measurements are precise, as this will directly influence the fit and stability of the handrails.
-
Consider Building Codes: Check local building codes and regulations to ensure compliance with any specific requirements for outdoor handrail construction. This step is essential for safety and legal adherence.
-
Sketch the Design: Create a rough sketch or diagram of your intended handrail design, taking into account the measurements and any unique features of the outdoor steps. This visual representation will serve as a guide during the construction phase.
-
Material Quantity: Based on your measurements and design, calculate the quantity of pressure-treated wood and other materials needed for the project. Having a clear understanding of the required materials will streamline the procurement process.
By meticulously measuring the area, considering building codes, and sketching out the design, you'll lay a solid foundation for the successful construction and installation of your homemade wooden handrails.
Step 2: Cut the Wood
Once you have your measurements and design plan in place, it's time to move on to the cutting phase of your DIY outdoor handrail project. Here's a detailed breakdown of how to approach this crucial step:
-
Prepare the Work Area: Set up a spacious and well-lit work area where you can safely operate your tools and handle the pressure-treated wood. Clear any obstructions and ensure that the area is conducive to making precise cuts.
-
Mark the Wood: Using a pencil or marker, carefully mark the pressure-treated wood according to your measurements and design specifications. Double-check the markings to ensure accuracy before proceeding with the cuts.
-
Utilize the Circular Saw: With the marked wood secured in place, use a circular saw to make the necessary cuts. Take your time and follow the marked lines closely to achieve clean and precise cuts. Remember to prioritize safety by wearing appropriate protective gear and maintaining a steady hand while operating the saw.
-
Cutting Considerations: If your handrail design involves angled cuts or specific shapes, take extra care to execute these cuts accurately. A miter saw or adjustable bevel can be useful for achieving precise angled cuts as per your design requirements.
-
Smooth Edges: After making the cuts, use sandpaper to smooth out any rough edges or surfaces on the wood. This step will not only enhance the visual appeal of the handrails but also ensure that they are safe to touch and handle.
By carefully cutting the pressure-treated wood according to your design plan, you'll be one step closer to bringing your DIY outdoor handrails to fruition. Remember to measure twice and cut once to maintain precision throughout this phase of the project.
Step 3: Sand and Finish
After cutting the pressure-treated wood to the desired lengths and shapes, the next crucial step in crafting your DIY outdoor handrails is to sand and finish the wood to achieve a polished and durable end result. Here's a detailed breakdown of how to approach this essential phase of the project:
-
Smooth Out Imperfections: Begin by using sandpaper to smooth out any rough edges, uneven surfaces, or sharp corners on the cut wood pieces. This step is essential for creating handrails that are safe to touch and visually appealing.
-
Choose the Right Grit: When sanding the wood, start with a coarser grit sandpaper to remove any prominent imperfections or splinters. Gradually transition to finer grit sandpaper to achieve a smooth and refined finish. This multi-step sanding process will result in a professional-looking end product.
-
Round Edges: Pay special attention to rounding off the edges of the handrails to eliminate any sharpness. This not only enhances the safety of the handrails but also adds a more finished and elegant look to the overall design.
-
Remove Dust: After sanding, use a clean cloth or tack cloth to remove any dust or debris from the wood surfaces. This step is crucial for ensuring that the wood is clean and ready for the finishing treatment.
-
Apply Wood Sealer or Stain: Depending on your preference, use a paintbrush or roller to apply a suitable wood sealer or stain to the handrails. The sealer will provide protection against moisture and UV rays, while a stain can enhance the natural beauty of the wood. Ensure that the application is even and thorough for consistent coverage.
-
Follow Manufacturer's Instructions: If using a specific wood sealer or stain product, carefully follow the manufacturer's instructions regarding application, drying times, and any additional coats required. Adhering to these guidelines will ensure that the wood is adequately protected and finished.
By diligently sanding and finishing the pressure-treated wood, you'll not only enhance the aesthetic appeal of your DIY outdoor handrails but also ensure their longevity and resilience in outdoor environments. This step adds the final touch to your handrails, bringing your project one step closer to completion.
Step 4: Install the Handrails
With the handrails crafted and finished, it's time to proceed with the installation phase of your DIY outdoor handrail project. Follow these detailed steps to ensure a secure and professional installation:
-
Positioning and Alignment: Begin by positioning the handrails in their designated locations along the outdoor steps. Use a level to ensure that the handrails are perfectly aligned and positioned at the correct height. This step is crucial for both safety and visual symmetry.
-
Marking for Attachment: Once the handrails are positioned correctly, use a pencil or marker to mark the locations where the handrails will be attached to the outdoor steps. These markings will serve as guides for the installation of screws and attachment points.
-
Pre-Drilling Pilot Holes: Using a drill/driver, carefully pre-drill pilot holes at the marked attachment points. Pre-drilling the holes will prevent the wood from splitting and make it easier to drive the screws into place.
-
Applying Wood Glue: Prior to securing the handrails with screws, apply wood glue to the areas where the handrails will come into contact with the outdoor steps. The wood glue will provide additional strength and stability to the installation.
-
Securing with Screws: With the pilot holes in place and wood glue applied, use wood screws to securely fasten the handrails to the outdoor steps. Ensure that the screws are driven in firmly, providing a strong and stable attachment.
-
Final Adjustments: Once the handrails are attached, make any necessary final adjustments to ensure that they are level, straight, and securely in place. Use a screwdriver or drill/driver to make any minor tweaks or tighten the screws as needed.
-
Finishing Touches: After the handrails are installed, inspect the overall appearance and functionality. Make any final touches such as removing excess glue, cleaning the surfaces, and ensuring that the handrails are smooth and safe to touch.
By following these detailed steps, you'll successfully complete the installation of your homemade wooden handrails, adding both safety and visual appeal to your outdoor space. With the handrails securely in place, take a moment to admire your handiwork and the transformative impact it has on your outdoor steps.
Conclusion
Congratulations on completing the construction and installation of your DIY outdoor wooden handrails! By taking on this project, you've not only added a crucial safety feature to your outdoor steps but also infused your outdoor space with a touch of personalized craftsmanship. The careful measurements, precise cuts, meticulous sanding, and secure installation have all culminated in the creation of functional and visually appealing handrails that enhance both the practicality and aesthetics of your home. As you admire the finished result, take pride in the fact that you've successfully tackled a hands-on DIY project that contributes to the overall charm and safety of your outdoor environment. Whether it's for your own satisfaction or to impress your guests, your homemade wooden handrails stand as a testament to your DIY skills and dedication to improving your living space. Now, it's time to sit back, relax, and enjoy the fruits of your labor, knowing that your outdoor steps are not only safer but also showcase your craftsmanship and attention to detail.