
Home>Create & Decorate>DIY & Crafts>DIY Dance Floor: Create Your Own Stunning Dance Space
DIY & Crafts
DIY Dance Floor: Create Your Own Stunning Dance Space
Published: June 6, 2024

Senior Editor in Create & Decorate, Kathryn combines traditional craftsmanship with contemporary trends. Her background in textile design and commitment to sustainable crafts inspire both content and community.
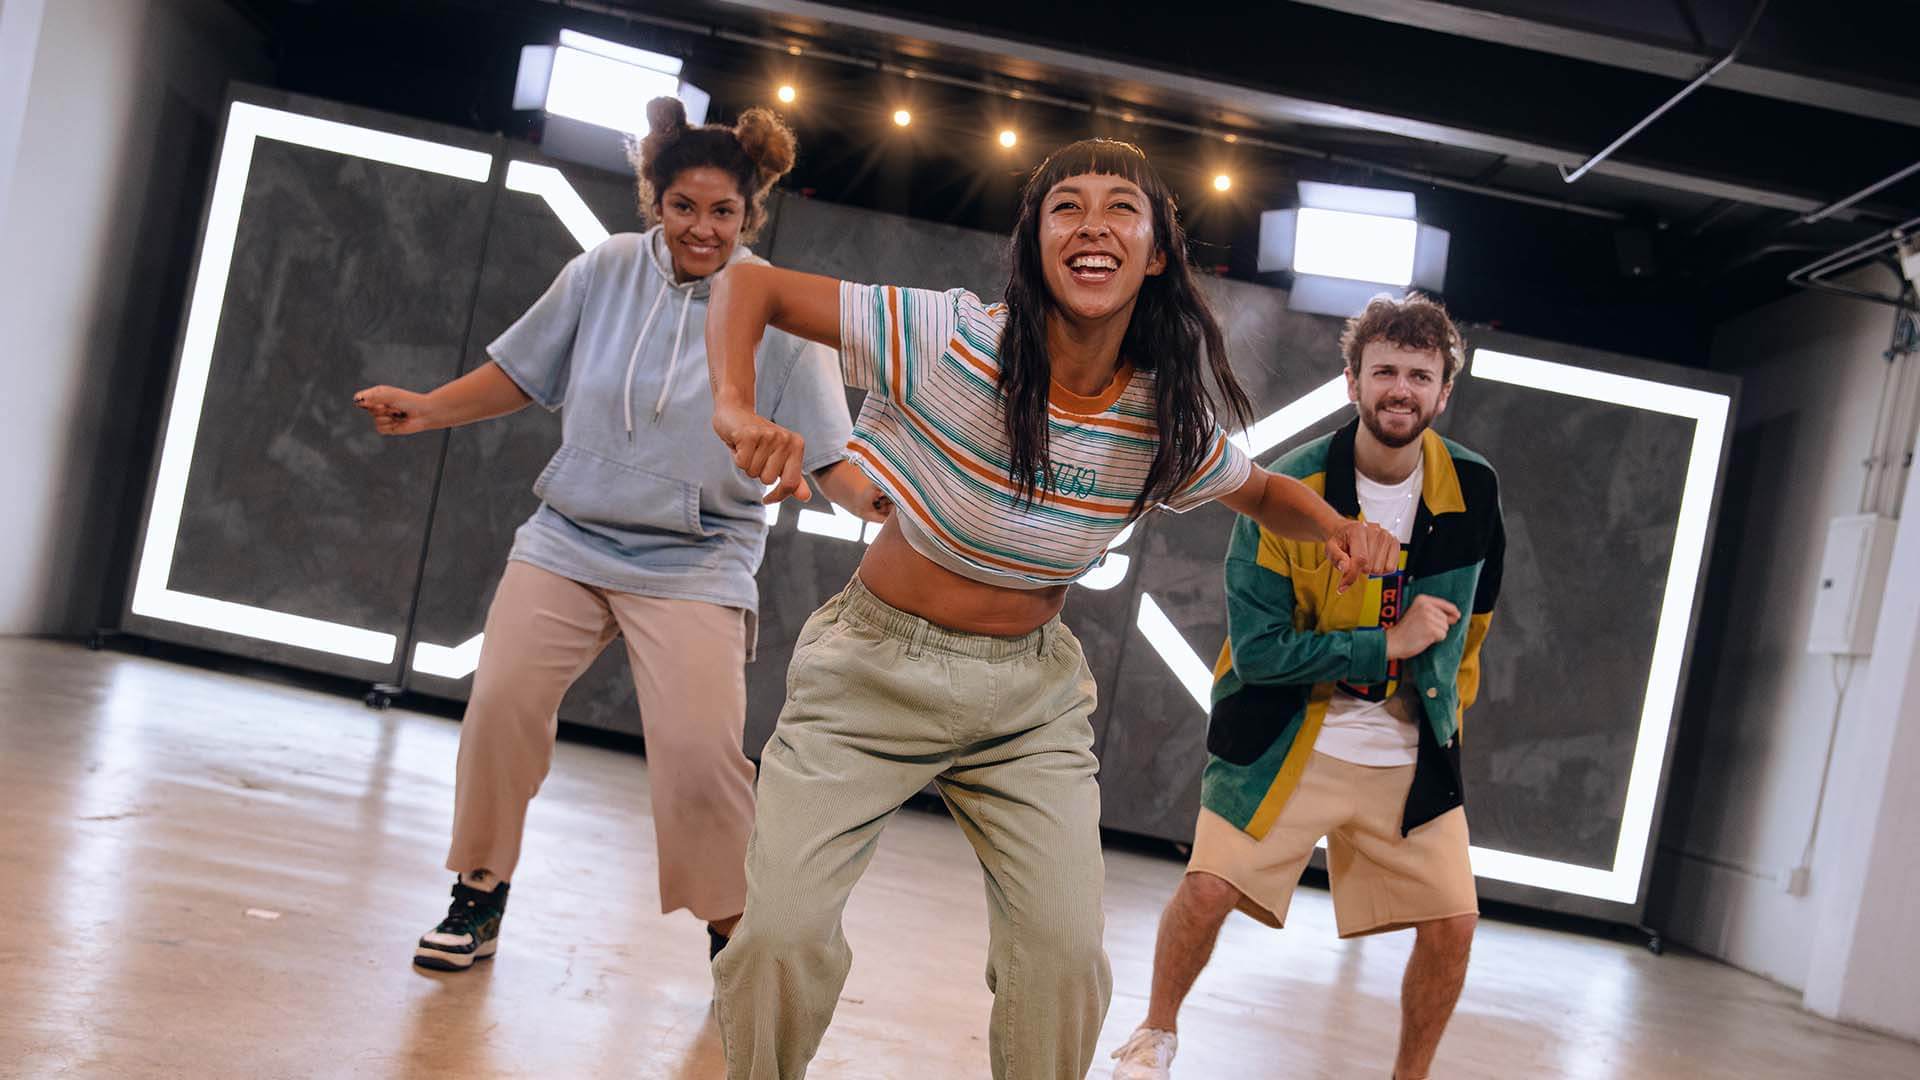
Create your own stunning DIY dance floor with our easy DIY & Crafts guide. Transform any space into a dance haven with these simple steps.
(Many of the links in this article redirect to a specific reviewed product. Your purchase of these products through affiliate links helps to generate commission for Twigandthistle.com, at no extra cost. Learn more)
Introduction
Are you planning a special event and looking to add a touch of elegance and fun to the occasion? Creating your own DIY dance floor can be a fantastic way to set the stage for a memorable celebration. Whether it's for a wedding, a birthday party, or any other festivity, a stunning dance floor can be the centerpiece of the event. In this guide, we'll walk you through the steps to design and build your very own dance floor, ensuring that it's not only beautiful but also sturdy and safe for dancing the night away. Let's get started on this exciting DIY project!
Choosing the Right Materials
When it comes to creating a DIY dance floor, selecting the right materials is crucial for both the aesthetic appeal and the structural integrity of the finished product. Here are some key considerations to keep in mind when choosing the materials for your dance floor:
-
Plywood: Opt for high-quality plywood that is smooth and free from any warping or damage. The thickness of the plywood will depend on the size of the dance floor and the expected weight it will need to support.
-
Hardwood or Laminate Flooring: Consider using hardwood or laminate flooring for the surface of the dance floor. These materials are durable, visually appealing, and provide a smooth surface for dancing.
-
Supporting Materials: You'll need sturdy wooden beams or blocks to create the frame and support the dance floor. Ensure that these materials are strong enough to bear the weight of the plywood and the dancers.
-
Protective Coating: If the dance floor will be used outdoors or in a high-traffic area, consider applying a protective coating to the surface to prevent damage from moisture, dirt, and heavy use.
By carefully selecting the right materials, you can ensure that your DIY dance floor is not only visually stunning but also built to last.
Designing Your Dance Floor
Designing your dance floor is where you can let your creativity shine. Consider the overall theme and style of your event, as well as the space where the dance floor will be located. Here are some key points to consider when designing your DIY dance floor:
-
Size and Shape: Determine the size and shape of the dance floor based on the available space and the number of anticipated dancers. A typical dance floor size for a moderate-sized event is 12×12 feet, but you can adjust the dimensions to suit your specific needs.
-
Decorative Elements: Think about incorporating decorative elements into the design of the dance floor. This could include adding a monogram, a custom stencil, or a pattern that complements the theme of the event. These decorative touches can elevate the visual appeal of the dance floor and make it truly unique.
-
Lighting: Consider the lighting around the dance floor area. Whether it's string lights, LED panels, or spotlights, the right lighting can enhance the ambiance and draw attention to the dance floor as the focal point of the event.
-
Safety Measures: Ensure that the design of the dance floor includes safety measures such as non-slip surfaces and secure edges to prevent tripping hazards. Safety should always be a top priority when designing a dance floor for any event.
By carefully considering these design elements, you can create a dance floor that not only looks stunning but also complements the overall aesthetic of your event.
Building the Frame
Building a sturdy frame is essential for the structural integrity of your DIY dance floor. The frame provides support for the surface materials and ensures that the dance floor can bear the weight of the dancers without flexing or sagging. Here's how to build the frame for your dance floor:
-
Measure and Mark: Begin by measuring and marking the dimensions of the dance floor on the ground where it will be installed. Use chalk or painter's tape to outline the perimeter of the dance floor, ensuring that the corners are square and the sides are straight.
-
Lay the Foundation: Once the perimeter is marked, it's time to lay the foundation for the frame. Use pressure-treated lumber or wooden beams to create a sturdy base for the dance floor. Place the beams along the perimeter, ensuring that they are level and securely anchored to the ground.
-
Add Crossbeams: To provide additional support, add crossbeams within the frame. These crossbeams will help distribute the weight evenly across the entire surface of the dance floor, preventing any areas from feeling unstable or weak.
-
Secure the Frame: Use heavy-duty screws or nails to secure the frame together, ensuring that all joints are tight and secure. It's important to double-check the stability of the frame to prevent any wobbling or shifting once the surface materials are installed.
-
Check for Level: Before proceeding to the next step, use a level to ensure that the frame is completely level and flat. Any unevenness at this stage can result in an uneven dance floor surface, so it's crucial to make any necessary adjustments before moving forward.
By following these steps, you can build a strong and stable frame for your DIY dance floor, setting the stage for the next phase of the construction process.
Installing the Surface
With the frame in place, it's time to install the surface materials for your DIY dance floor. This step will bring your vision to life and create a smooth, durable, and visually appealing area for dancing. Here's how to install the surface of your dance floor:
-
Lay the Plywood: Begin by laying the plywood sheets on top of the frame. Ensure that the plywood is positioned evenly and securely on the frame, with no overhanging edges. Use screws or nails to fasten the plywood to the frame, creating a stable base for the dance floor.
-
Seam Alignment: If you're using multiple plywood sheets to cover the entire dance floor area, pay attention to the alignment of the seams. Stagger the seams to distribute the weight evenly and prevent weak points in the surface. Use a level to ensure that the plywood surface is flat and even.
-
Install the Flooring Material: Once the plywood is in place, it's time to install the hardwood or laminate flooring material. Lay the flooring panels or tiles on top of the plywood, ensuring a snug fit and secure attachment. Follow the manufacturer's guidelines for installation to achieve a professional and polished look.
-
Secure the Surface: Use appropriate fasteners to secure the flooring material to the plywood base. Depending on the type of flooring material you've chosen, this may involve using adhesive, nails, or screws. Ensure that the surface is firmly attached and free from any loose or squeaky areas.
-
Finishing Touches: After the surface materials are installed, take the time to inspect the entire dance floor for any imperfections or rough edges. Sand down any rough spots, fill in gaps, and ensure that the surface is smooth and free from any tripping hazards.
By following these steps, you can install the surface of your DIY dance floor with precision and care, creating a stunning and functional space for dancing and celebration.
Adding Finishing Touches
Once the surface of your DIY dance floor is installed, it's time to add the finishing touches that will elevate the overall look and functionality of the space. These final details will not only enhance the aesthetic appeal of the dance floor but also ensure that it's safe and ready for dancing. Here's how to add the perfect finishing touches to your DIY dance floor:
-
Trim and Edging: Install trim or edging around the perimeter of the dance floor to create a polished and professional appearance. This not only adds a decorative touch but also helps to protect the edges of the surface materials and prevent them from lifting or becoming damaged.
-
Non-Slip Coating: If the dance floor will be used for events where dancing may lead to perspiration or spilled drinks, consider applying a non-slip coating to the surface. This will provide traction and reduce the risk of slips and falls, ensuring a safe dancing experience for everyone.
-
Decorative Accents: Consider adding decorative accents to the dance floor to tie it in with the overall theme of the event. This could include placing a monogram in the center, scattering flower petals, or using custom decals to add a personal touch that enhances the visual appeal of the space.
-
Railing or Barriers: Depending on the location of the dance floor, it may be beneficial to install temporary railing or barriers to define the dancing area and prevent guests from encroaching on the space. This can help maintain a clear and safe area for dancing without disrupting the flow of the event.
-
Lighting Effects: Incorporate lighting effects around the perimeter of the dance floor to create a captivating ambiance. Whether it's LED strip lights, uplighting, or decorative lanterns, the right lighting can transform the dance floor into a focal point that draws guests in and sets the mood for celebration.
By adding these finishing touches to your DIY dance floor, you can ensure that it not only looks stunning but also provides a safe and inviting space for guests to dance and enjoy the festivities.
Conclusion
In conclusion, creating your own DIY dance floor is a rewarding and exciting project that can add a touch of elegance and fun to any special event. By carefully choosing the right materials, designing a visually appealing space, building a sturdy frame, installing the surface with precision, and adding the perfect finishing touches, you can create a stunning dance floor that sets the stage for a memorable celebration. Whether it's a wedding, a birthday party, or any other festivity, your DIY dance floor will not only provide a designated space for dancing but also become a focal point that enhances the overall ambiance of the event. With attention to detail and a creative vision, your DIY dance floor will undoubtedly become a highlight of the occasion, inviting guests to dance the night away in style.