
Home>Home & Furniture>Roof>DIY Starlink Roof Mount Installation Guide
Roof
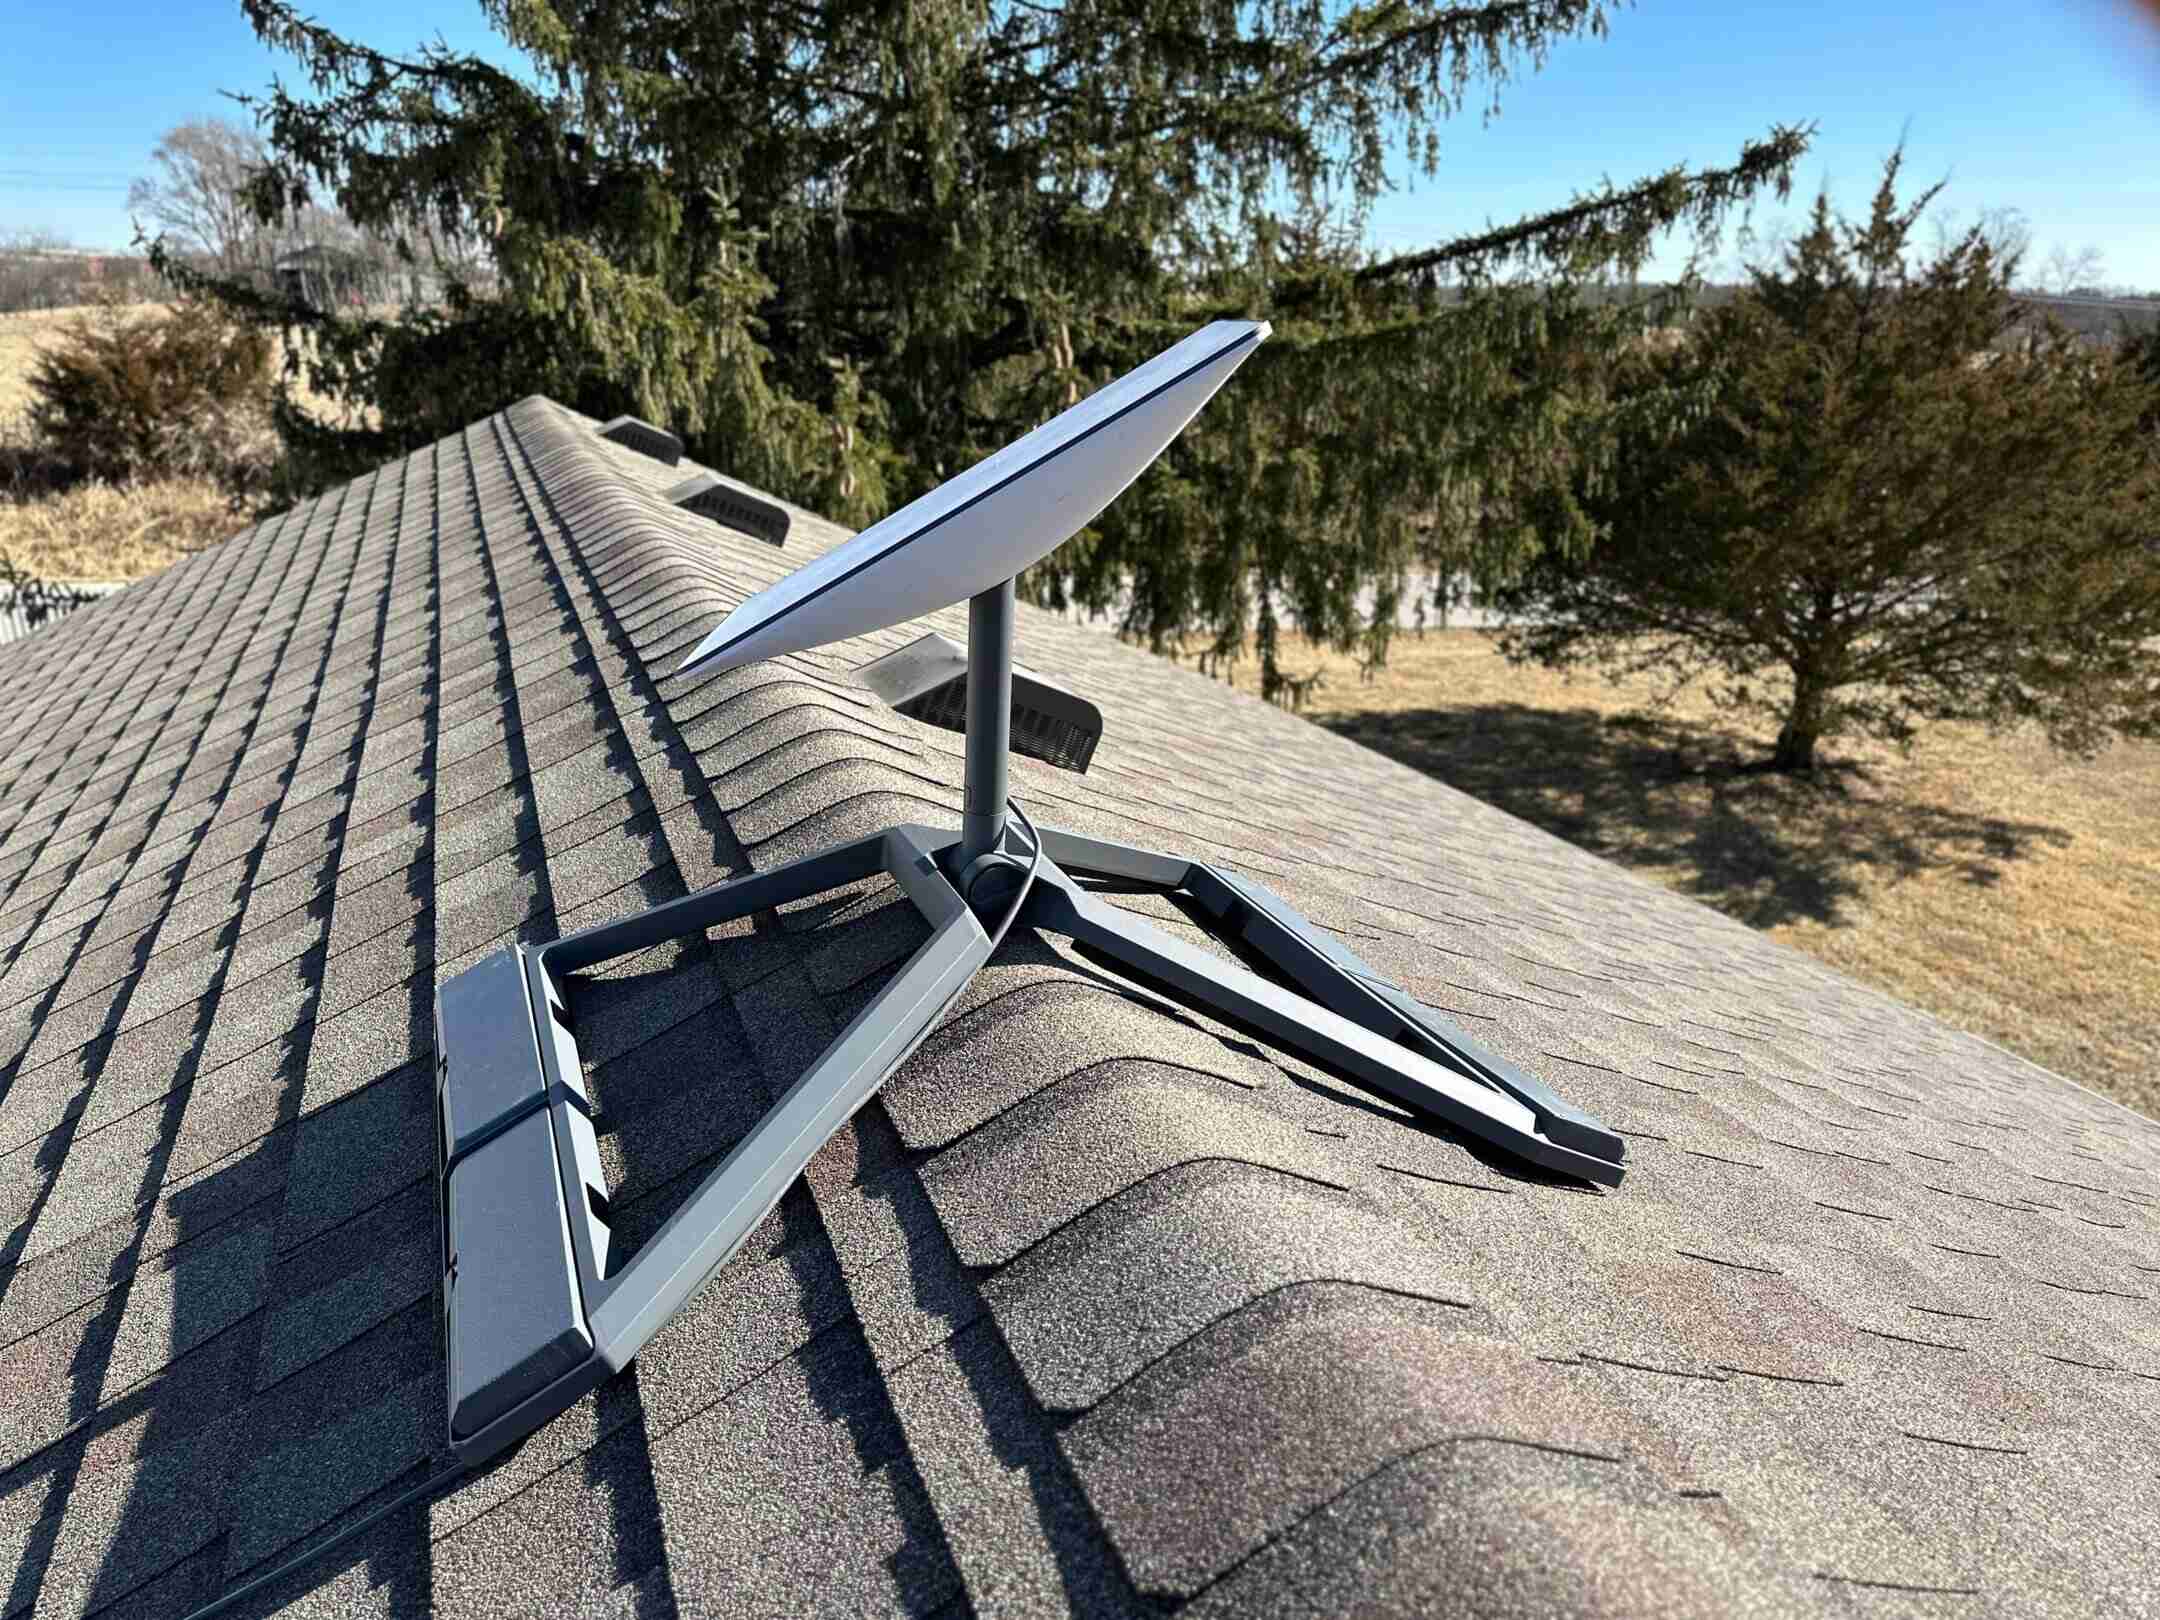
DIY Starlink Roof Mount Installation Guide
Published: August 23, 2024
Learn how to install a Starlink roof mount with our step-by-step DIY guide. Ensure optimal performance and secure installation with expert tips and detailed instructions.
(Many of the links in this article redirect to a specific reviewed product. Your purchase of these products through affiliate links helps to generate commission for Twigandthistle.com, at no extra cost. Learn more)
Looking to install Starlink on your roof but not sure where to start? No worries, this guide will walk you through each step. Setting up Starlink can give you fast and reliable internet, especially in areas with limited options. You don’t need to be a pro to get it done. With some basic tools and a bit of patience, you’ll have your Starlink dish mounted securely in no time. This guide will help you understand the process, tools needed, and some tips to make the job easier. Ready to get started? Let's dive in!
Preparation Steps
Gather Tools and Materials: Collect a ladder, drill, screws, wrench, measuring tape, safety harness, and the Starlink kit.
Check Weather: Ensure clear skies. Avoid working during rain or strong winds.
Inspect Roof: Look for any damage or weak spots. Fix them before starting.
Plan Mount Location: Choose a spot with a clear view of the sky. Avoid trees, buildings, or other obstructions.
Set Up Workspace: Clear the area around the roof. Keep tools within reach but secure to prevent falling.
Safety Gear: Wear a helmet, gloves, and non-slip shoes. Use a safety harness attached to a stable anchor point.
Measure and Mark: Use measuring tape to mark where the mount will go. Double-check measurements to ensure accuracy.
Pre-Drill Holes: Drill pilot holes for screws. This makes it easier to secure the mount and prevents splitting.
Check Signal Strength: Before final installation, temporarily set up the Starlink dish to check signal strength and adjust location if needed.
Secure Mount: Attach the mount to the roof using screws and a wrench. Ensure it’s tight and stable.
Install Dish: Place the Starlink dish on the mount. Follow the kit instructions for proper alignment.
Run Cables: Securely run cables from the dish to the inside of the house. Avoid sharp bends and secure with clips.
Test Connection: Power up the system and test the internet connection. Make any necessary adjustments to the dish alignment.
Clean Up: Remove all tools and materials from the roof. Ensure everything is secure and there are no loose items.
Gather Your Materials and Tools
- Starlink Dish: The satellite dish provided by Starlink for internet connectivity.
- Mounting Bracket: A bracket to secure the dish to the roof.
- Coaxial Cable: Cable to connect the dish to the router inside your home.
- Router: Device to distribute the internet signal within your home.
- Drill: Power tool to create holes for screws.
- Screws: Fasteners to secure the mounting bracket to the roof.
- Screwdriver: Tool to drive screws into place.
- Silicone Sealant: Waterproofing material to seal holes and prevent leaks.
- Tape Measure: Tool to measure distances accurately.
- Level: Tool to ensure the dish is mounted evenly.
- Ladder: Equipment to safely reach the roof.
- Safety Harness: Gear to prevent falls while working on the roof.
- Pencil: For marking drill points on the roof.
- Wrench: Tool to tighten bolts on the mounting bracket.
- Cable Clips: Clips to secure the coaxial cable along the roof and walls.
Each item plays a crucial role in ensuring a secure and effective installation. The dish captures the satellite signal, the mounting bracket holds it in place, and the coaxial cable connects it to the router. Drills and screws secure the bracket, while silicone sealant prevents leaks. A tape measure and level ensure precise placement. Safety gear like ladders and harnesses protect you during installation.
Required Skills and Time
Skill Level: Intermediate
Estimated Time Required: 3-5 hours
- Gather Tools and Materials: 30 minutes
- Prepare the Roof Area: 1 hour
- Install the Mount: 1-2 hours
- Secure the Starlink Dish: 30 minutes
- Run Cables and Test Connection: 1 hour
Detailed Installation Steps
Gather Materials:
- Starlink dish
- Roof mount kit
- Ladder
- Drill
- Screws
- Wrench
- Sealant
Choose Location:
- Find a spot on the roof with a clear view of the sky.
- Avoid obstructions like trees or buildings.
Set Up Ladder:
- Place ladder securely against the house.
- Ensure it’s stable before climbing.
Mark Mounting Spot:
- Use the mount as a template.
- Mark where the screws will go.
Drill Holes:
- Drill holes at the marked spots.
- Make sure holes are deep enough for screws.
Attach Mount:
- Place mount over drilled holes.
- Secure with screws using a wrench.
Seal Around Mount:
- Apply sealant around the base.
- Prevents water from leaking into the roof.
Assemble Dish:
- Follow Starlink instructions.
- Attach dish to the mount.
Connect Cables:
- Run the cable from the dish to the router inside.
- Secure cable to avoid tripping hazards.
Test Connection:
- Power up the Starlink system.
- Check for a strong signal.
Adjust if Needed:
- If signal is weak, adjust the dish slightly.
- Recheck the signal strength.
Secure Loose Ends:
- Ensure all screws and bolts are tight.
- Double-check cable management.
Helpful Tips and Tricks
Plan Your Placement: Choose a spot with a clear view of the sky. Avoid trees, buildings, or other obstructions.
Use a Sturdy Mount: Ensure the mount can handle wind and weather. A tripod mount or J-mount works well.
Check Local Regulations: Some areas have rules about satellite dishes. Make sure you're compliant.
Secure Cables Properly: Use cable clips or zip ties to keep cables neat and prevent damage.
Seal Any Holes: If you drill holes, use silicone caulk to prevent leaks.
Test Before Finalizing: Connect everything and test the signal before securing the mount permanently.
Common Mistakes to Avoid:
- Ignoring Obstructions: Even small trees can block the signal.
- Using Weak Mounts: Cheap mounts may not withstand weather.
- Poor Cable Management: Loose cables can get damaged or cause tripping hazards.
- Skipping Sealant: Unsealed holes can lead to water damage.
Alternative Materials or Methods:
- Non-Penetrating Roof Mounts: Avoid drilling holes by using a mount that sits on the roof with weights.
- Pole Mounts: If roof space is limited, consider a pole mount in the yard.
- Wireless Extenders: If running cables is difficult, use wireless extenders to connect the dish to your home network.
Estimating Your Costs
Starlink Kit: $499
Roof Mount: $50-$100
Coaxial Cable: $20-$30
Cable Clips: $10
Sealant: $5-$10
Drill: $50-$100
Screws and Anchors: $5-$10
Ladder: $100-$150 (if not already owned)
Safety Gear: $20-$30
Total Cost: $759-$939
Budget-Friendly Alternatives:
- Borrow or rent a ladder and drill to save $150-$250.
- Use existing screws and anchors if available.
- Opt for a cheaper roof mount closer to $50.
Adjusted Total Cost: $559-$639
Different Ways to Customize
Alternative materials can make your Starlink roof mount more durable or visually appealing. Instead of using standard metal brackets, consider stainless steel for better rust resistance. Aluminum is another good option due to its lightweight and corrosion-resistant properties. For a more eco-friendly choice, recycled plastic brackets can be used.
Colors can be customized to match your roof or personal preference. Spray paint the brackets and mount in black, white, or even roof-matching colors like gray or brown. Use weather-resistant paint to ensure longevity.
Styles of mounts can vary based on your roof type. For a flat roof, a tripod mount provides stability. For sloped roofs, a J-mount or pole mount might be more suitable. If you want a more streamlined look, consider a flush mount that sits closer to the roof surface.
Adding decorative elements like caps or covers for the brackets can give a cleaner look. These can be made from plastic or metal and painted to match the rest of the installation.
For those concerned about cable management, use cable clips or conduits to keep wires organized and protected from weather elements. Choose clips or conduits that blend with your roof color for a seamless appearance.
Lastly, if you live in an area with high winds or heavy snow, consider adding extra support brackets or guy wires to ensure the mount stays secure.
Eco-Friendly Installation Tips
Eco-friendly materials can make your Starlink roof mount installation more sustainable. Recycled metal brackets or mounts are a great choice. They are strong and reduce waste. Bamboo poles or supports can also be used. Bamboo grows quickly and is very durable.
Use reclaimed wood for any wooden parts. This wood comes from old buildings or furniture, giving it a second life. Natural fiber ropes like hemp or jute can replace synthetic ones. These fibers are biodegradable and strong.
For sealing and weatherproofing, choose eco-friendly sealants. These are made from natural ingredients and have fewer harmful chemicals. Solar-powered tools can help reduce electricity use during installation.
Reusing old screws or bolts from previous projects can save money and reduce waste. If new ones are needed, look for stainless steel or galvanized options. These materials last longer and resist rust.
When packaging, avoid plastic. Use biodegradable packing materials like paper or cornstarch peanuts. This reduces plastic waste and is better for the environment.
Finally, recycle any leftover materials. Metal, wood, and cardboard can all be recycled. This keeps them out of landfills and helps the planet.
Your DIY Project Awaits
Installing a Starlink roof mount isn't rocket science. With the right tools and a bit of patience, you can get it done. Remember to double-check your measurements, ensure the mount is securely fastened, and keep safety in mind. Don't rush the process; take your time to avoid mistakes. Once installed, you'll enjoy a reliable internet connection that can handle your needs. If you run into any issues, don't hesitate to consult the Starlink support or look up additional resources. You've got this! Happy installing!
How do I choose the best spot for my Starlink roof mount?
Pick a spot with a clear view of the sky. Avoid trees, buildings, or anything that might block the signal. Higher spots usually work better.
What tools will I need for the installation?
You'll need a drill, screws, a ladder, a wrench, and the mounting kit that comes with your Starlink. Safety gear like gloves and goggles is also a good idea.
How do I secure the mount to the roof?
Use the screws and brackets provided in the kit. Make sure to drill into the roof's rafters or trusses for a sturdy hold. Seal around the screws to prevent leaks.
Can I install the mount myself, or do I need a professional?
You can definitely do it yourself if you're comfortable with basic tools and heights. If not, hiring a professional might be safer.
How do I connect the Starlink dish to the mount?
Attach the dish to the mount using the provided bolts and nuts. Make sure it's tight and secure. Follow the instructions in the Starlink manual for exact steps.
What should I do if the signal is weak after installation?
Check for obstructions like trees or buildings. You might need to adjust the dish angle or move it to a higher spot. Sometimes, just a small tweak can make a big difference.
How do I maintain the Starlink roof mount?
Regularly check for loose screws or bolts. Clean off any debris or snow that might accumulate on the dish. Make sure nothing new is blocking the signal.