
Home>Home & Furniture>Kitchen>DIY Halloween Kitchen Decor Ideas
Kitchen
DIY Halloween Kitchen Decor Ideas
Published: July 28, 2024
Transform your kitchen into a spooky haven with these DIY Halloween decor ideas. From eerie lighting to creepy centerpieces, get inspired to create a hauntingly festive space!
(Many of the links in this article redirect to a specific reviewed product. Your purchase of these products through affiliate links helps to generate commission for Twigandthistle.com, at no extra cost. Learn more)
Halloween is right around the corner, and transforming your kitchen into a spooky space can be both fun and easy. You don't need to break the bank or spend hours crafting to give your kitchen a festive look. With a few simple DIY projects, you can create a haunted kitchen atmosphere that will impress your family and guests. From eerie lighting to creepy culinary tools, there are countless ways to add a touch of Halloween spirit to your cooking space. Ready to get started? Let’s dive into some creative and affordable ideas for your Halloween kitchen decor.
Getting Ready for Your Halloween Kitchen Decor
Gather Supplies: Collect all materials like pumpkins, paints, glue, scissors, and decorative items. Make sure everything is within reach.
Clear the Workspace: Remove any clutter from the kitchen counters. Lay down newspapers or a drop cloth to protect surfaces from paint or glue spills.
Safety First: Wear gloves when handling sharp tools or hot glue guns. Keep a first aid kit nearby in case of minor accidents.
Plan Your Design: Sketch out your ideas on paper. Decide where each decoration will go. This helps avoid last-minute changes.
Clean the Area: Wipe down surfaces where decorations will be placed. This ensures that adhesives stick properly and decorations look neat.
Test Lights: If using string lights or battery-operated candles, check that they work before incorporating them into your decor.
Ventilation: Ensure the kitchen is well-ventilated, especially if using spray paint or other strong-smelling materials. Open windows or use a fan.
Organize Tools: Keep tools like paintbrushes, knives, and tape in a designated spot. This makes them easy to find when needed.
Set a Time Limit: Allocate a specific amount of time for each task. This helps keep the project on track and prevents it from dragging on.
Involve Family: Get family members to help. Assign simple tasks to kids, like painting small pumpkins or cutting out paper bats.
Supplies and Tools You Will Need
- Black Construction Paper: Used for making bats, spiders, and other spooky cutouts.
- Orange and Black Paint: Essential for painting pumpkins, jars, and other decorations.
- Mason Jars: Great for creating Halloween-themed candle holders or treat jars.
- Hot Glue Gun: Helps attach decorations securely.
- Scissors: Needed for cutting paper, fabric, and other materials.
- String Lights: Adds a spooky glow to your kitchen.
- Fake Spider Webs: Perfect for draping over cabinets and countertops.
- Pumpkins: Can be carved or painted for a classic Halloween look.
- Markers: Useful for drawing faces on pumpkins or other decorations.
- Fabric Scraps: Ideal for making ghosts or other fabric-based decorations.
- Tape: Helps secure lightweight decorations to walls or surfaces.
- Plastic Spiders and Insects: Adds a creepy touch to your decor.
- Candles: Creates an eerie atmosphere when placed inside jars or pumpkins.
- Stencils: Useful for creating consistent shapes and designs.
- Craft Foam: Can be cut into various shapes for added texture and dimension.
- Ribbon: Adds a decorative touch to jars, pumpkins, or other items.
- Glitter: Provides a sparkly, magical effect to your decorations.
- Paintbrushes: Needed for applying paint to various surfaces.
- Glue Stick: Useful for lighter paper crafts.
- Plastic Tablecloth: Protects surfaces while you work on your projects.
Skill Level and Time Commitment
Skill Level: Beginner
Time Required: 2-4 hours
- Pumpkin Centerpiece: 30 minutes
- Spider Web Tablecloth: 45 minutes
- Ghostly Jars: 1 hour
- Bat Garland: 45 minutes
- Witch Hat Napkin Holders: 30 minutes
How to Create Your Halloween Kitchen Decor
Gather Supplies
- Black and orange construction paper
- Scissors
- Glue or tape
- String or yarn
- Small pumpkins
- Fake spider webs
- Halloween-themed stickers
- Mason jars
- Battery-operated tea lights
Create Paper Bats and Pumpkins
- Draw bat and pumpkin shapes on black and orange paper.
- Cut out shapes with scissors.
- Attach a piece of string to each cutout using glue or tape.
- Hang bats and pumpkins around the kitchen.
Decorate Mason Jars
- Place battery-operated tea lights inside mason jars.
- Wrap jars with fake spider webs.
- Add Halloween-themed stickers to the outside of jars.
- Arrange jars on countertops or shelves.
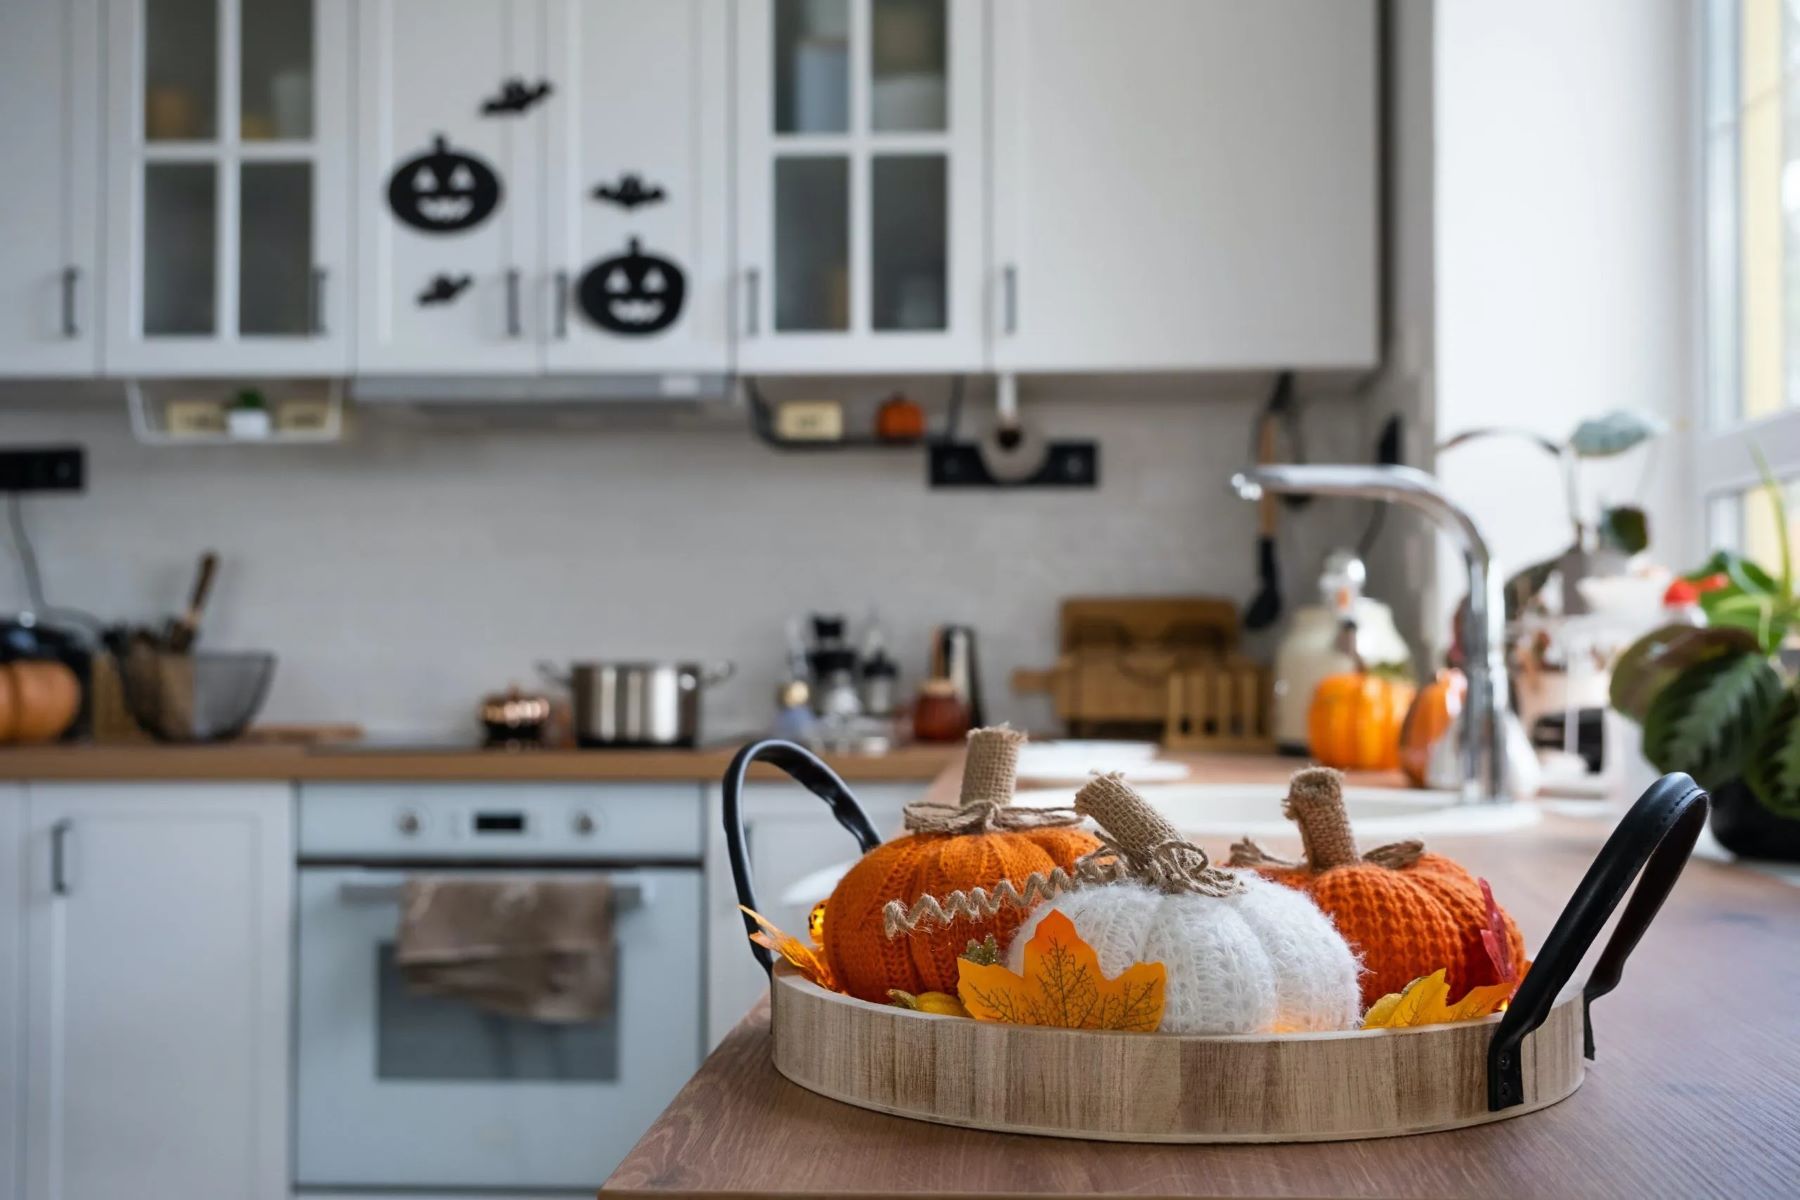
Pumpkin Centerpieces
- Place small pumpkins in a bowl or tray.
- Add fake spider webs around pumpkins.
- Scatter Halloween-themed stickers or small decorations around the pumpkins.
Spooky Garland
- Cut black and orange paper into strips.
- Loop strips into circles and connect them to form a chain.
- Hang garland across windows, cabinets, or doorways.
Spider Web Corners
- Stretch fake spider webs across corners of windows or cabinets.
- Add small plastic spiders to webs for extra effect.
Halloween-Themed Towels
- Replace regular kitchen towels with Halloween-themed ones.
- Hang towels on oven handles or hooks.
Festive Table Setting
- Use black and orange placemats.
- Add Halloween-themed napkins and utensils.
- Place a small pumpkin or spooky decoration at each setting.
Decorate Cabinets
- Stick Halloween-themed stickers on cabinet doors.
- Hang small paper bats or pumpkins from cabinet handles.
Light Up the Kitchen
- Place battery-operated tea lights in various spots.
- Use mason jars or small lanterns to hold lights.
- Ensure lights are spread evenly for a spooky glow.
Helpful Tips and Tricks
Use what you have: Repurpose old jars, bottles, and cans. Paint them black or orange, then add spooky labels for a creepy effect.
Lighting: String lights or LED candles create a spooky atmosphere. Place them inside glass jars or around windows.
Table settings: Use black tablecloths and orange napkins. Add plastic spiders or fake cobwebs for extra spookiness.
Pumpkins: Carve or paint pumpkins. Small ones can be used as centerpieces or placed on shelves.
Wall art: Print out Halloween-themed images. Frame them or tape them directly to the wall.
Common mistakes to avoid: Overcrowding the space with too many decorations can make it look messy. Stick to a theme to keep it cohesive. Avoid using real candles in places where they can easily be knocked over.
Alternatives: Instead of buying new decorations, consider making your own with paper, fabric, or recycled materials. Use natural elements like dried leaves, twigs, and pinecones for a rustic look.
Budgeting for Your DIY Project
Pumpkin Carving Kit: $10-$20. Budget-friendly alternative: Use kitchen knives and spoons.
Fake Spider Webs: $5-$10. Budget-friendly alternative: Use cotton balls stretched out.
Halloween-themed Tablecloth: $10-$15. Budget-friendly alternative: Use an old white sheet and paint spooky designs.
String Lights: $10-$20. Budget-friendly alternative: Use candles or make paper lanterns.
Decorative Pumpkins: $5-$15 each. Budget-friendly alternative: Paint or draw on real pumpkins.
Halloween Stickers: $5-$10. Budget-friendly alternative: Print designs on paper and tape them up.
Black and Orange Balloons: $5-$10. Budget-friendly alternative: Use colored paper to make garlands.
Total Estimated Cost: $50-$100. Budget-friendly total: $20-$40.
Personalizing Your Halloween Kitchen Decor
Alternative materials can add a unique touch. Instead of plastic, use recycled glass jars for spooky candle holders. Swap out paper for fabric when making ghost garlands.
Colors can change the vibe. Use neon green and purple instead of traditional orange and black. For a more elegant look, try black and gold.
Styles can vary too. Go for a vintage Halloween theme with old-fashioned decorations. For a modern twist, use minimalist designs with clean lines and simple shapes.
Lighting can make a big difference. Use LED string lights inside cabinets or around countertops. Try blacklight bulbs for an eerie glow.
Textures can add depth. Use burlap for table runners or placemats. Incorporate velvet for a luxurious feel.
Themes can be fun. Create a witch’s kitchen with potion bottles and cauldrons. Or, go for a haunted house look with cobwebs and skeletons.
Personal touches make it special. Use family photos in spooky frames. Write personalized messages on chalkboard labels for jars and containers.
Functional decor can be practical. Use themed dish towels and oven mitts. Create Halloween-themed utensil holders from painted mason jars.
Repurpose items you already have. Turn an old cutting board into a sign. Use empty wine bottles as candle holders.
Interactive elements can be fun. Set up a DIY candy station with jars and scoops. Create a pumpkin carving station with tools and stencils.
Eco-Friendly Decorating Ideas
Recycled jars make great candle holders. Paint them with spooky designs using non-toxic paint. Use old fabric scraps to create ghost or pumpkin shapes. Cardboard from old boxes can be cut into bat or spider shapes and painted black. Natural elements like dried leaves or twigs can be arranged in a vase for a rustic Halloween touch. Old newspapers can be used to make papier-mâché pumpkins. Reused wine corks can be glued together to form mini pumpkin decorations. Egg cartons can be cut and painted to resemble spooky eyes or bats. Old kitchen utensils like spoons or forks can be bent and painted to create eerie figures. Glass bottles can be painted and used as potion bottles. Reclaimed wood can be cut into signs with Halloween messages.
Time to Get Crafty
You've got all the tools and ideas to transform your kitchen into a Halloween haven. From spooky centerpieces to creepy wall art, these DIY projects will make your space festive without breaking the bank. Remember, the key is to have fun and let your creativity shine. Don't stress about perfection; the charm of DIY lies in its personal touch. So gather your supplies, put on some Halloween tunes, and get crafting. Your kitchen will be the talk of the town, and you'll have a blast making it happen. Happy Halloween decorating!
How can I make spooky kitchen decorations on a budget?
Use recycled materials like old jars, cans, and cardboard. Paint them black or orange, add some googly eyes or fake spider webs, and you've got instant Halloween vibes.
What's an easy way to create a Halloween centerpiece?
Fill a large glass bowl with mini pumpkins, gourds, and fake leaves. Add some battery-operated candles for a spooky glow.
How do I make my kitchen smell like Halloween?
Simmer a pot of water with cinnamon sticks, cloves, and orange peels. Your kitchen will smell like a pumpkin spice wonderland.
Any tips for Halloween-themed kitchen towels?
Buy plain orange or black towels and use fabric paint to add spooky designs like bats, ghosts, or pumpkins. You can also use stencils for more intricate patterns.
How can I make my kitchen windows look spooky?
Cut out silhouettes of bats, witches, or ghosts from black construction paper. Tape them to your windows and backlight them with orange or purple string lights.
What's a quick way to decorate my kitchen table for Halloween?
Use a black tablecloth and scatter plastic spiders and fake cobwebs across it. Add a few mini pumpkins and candles for extra effect.
How can I involve my kids in decorating the kitchen for Halloween?
Have them help with crafts like making paper chains in Halloween colors or decorating pumpkin-shaped cookies. It's fun and keeps them busy!