Home>Create & Decorate>DIY & Crafts>DIY Window Frame: Transform Your Space With This Easy Craft Project
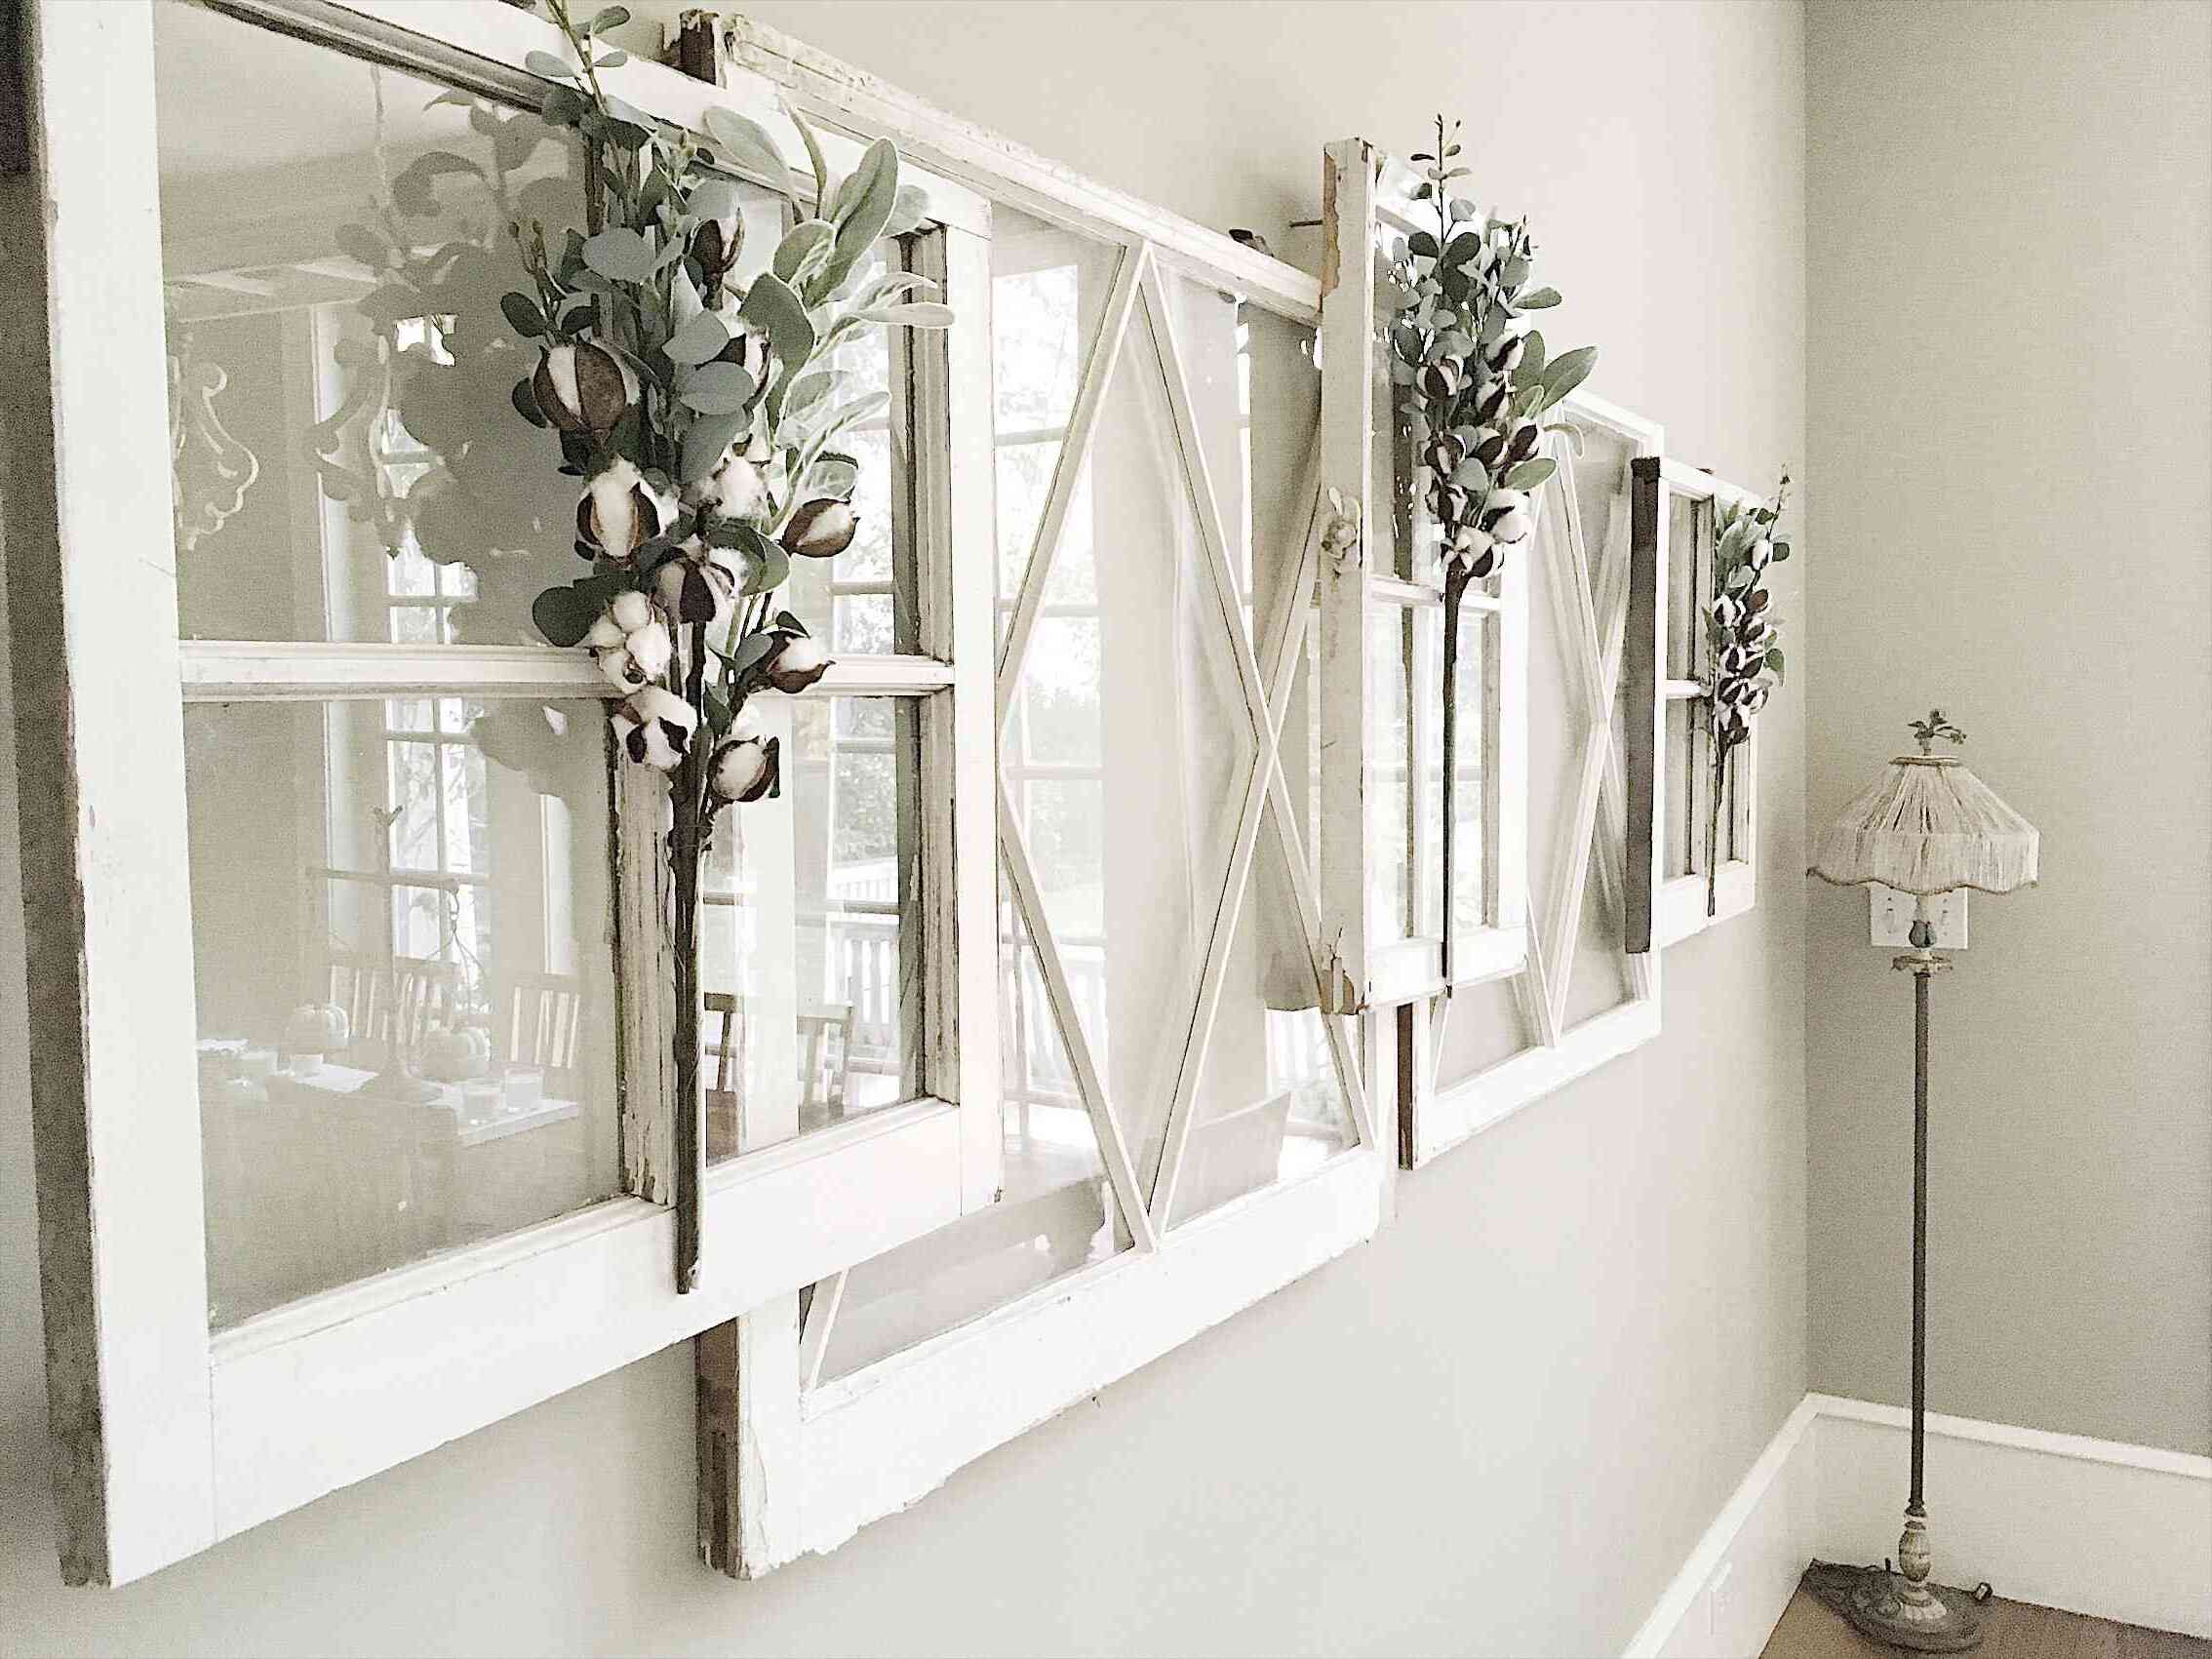

DIY & Crafts
DIY Window Frame: Transform Your Space With This Easy Craft Project
Published: May 24, 2024

Senior Editor in Create & Decorate, Kathryn combines traditional craftsmanship with contemporary trends. Her background in textile design and commitment to sustainable crafts inspire both content and community.
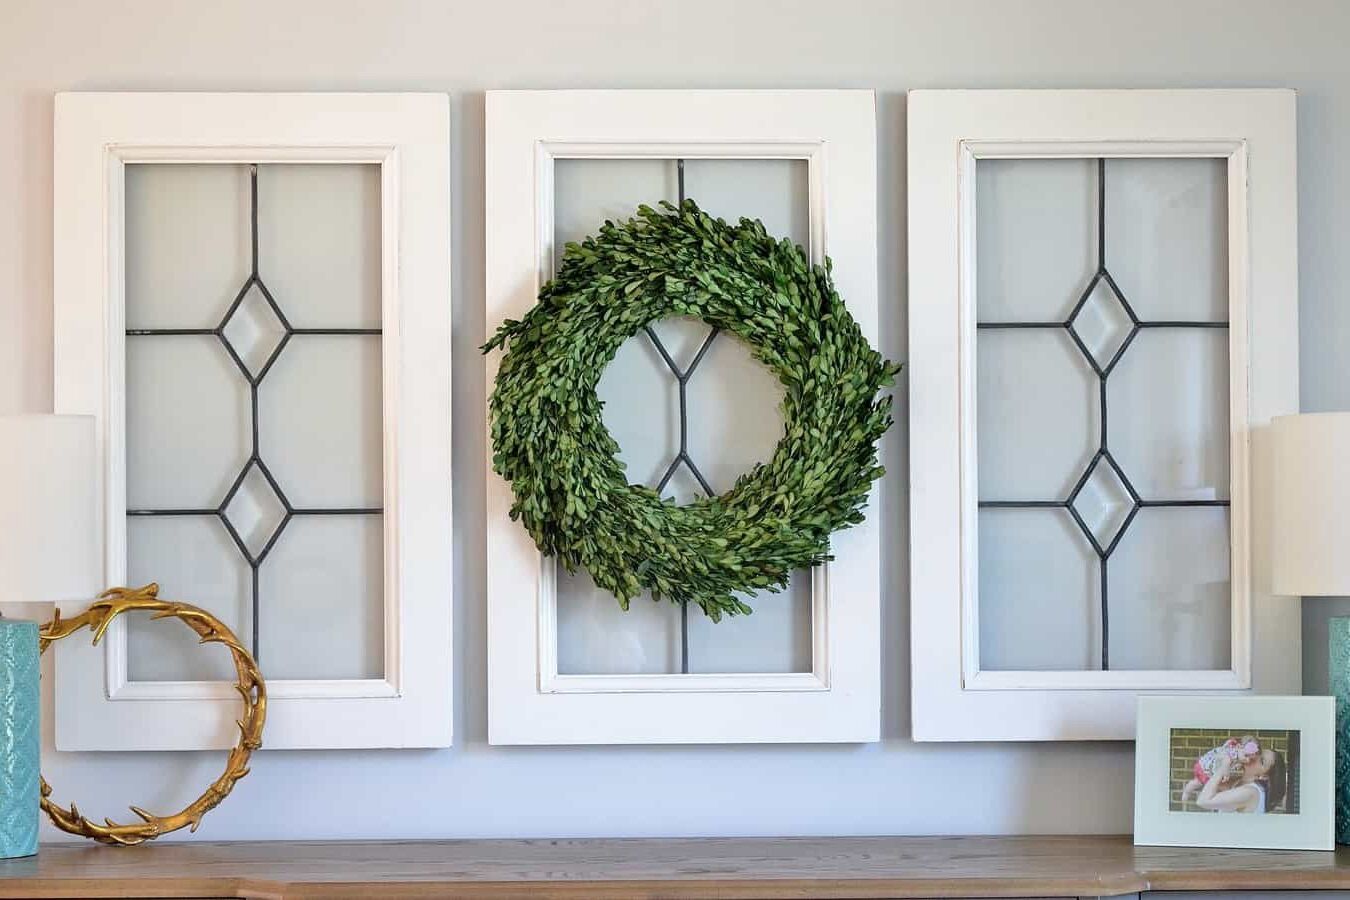
Transform your space with this easy DIY window frame craft project. Get creative with DIY & Crafts to add a personal touch to your home. Discover how to make your own window frame today!
(Many of the links in this article redirect to a specific reviewed product. Your purchase of these products through affiliate links helps to generate commission for Twigandthistle.com, at no extra cost. Learn more)
Introduction
Are you looking to add a touch of charm and character to your living space? Creating your own DIY window frame can be a fantastic way to achieve this. Not only does it allow you to showcase your creativity, but it also provides a unique and personalized touch to your home decor. In this article, we will guide you through the step-by-step process of crafting your very own window frame, allowing you to transform your space with this easy and rewarding craft project. Let's dive in and get started!
Read more: DIY Farmhouse Window Frame Decor Ideas
Materials Needed
To get started on your DIY window frame project, you will need the following materials:
- Wood: Choose a high-quality wood such as pine or cedar for the frame. Ensure that the wood is straight and free from knots to achieve a polished look.
- Measuring Tape and Pencil: These tools will be essential for accurately measuring and marking the wood before cutting.
- Saw: A miter saw or a hand saw will be necessary for cutting the wood to the required dimensions.
- Sandpaper: Opt for medium-grit sandpaper to smooth out any rough edges and create a flawless finish.
- Wood Glue: This will be used to securely join the frame pieces together.
- Clamps: Clamps will help hold the frame pieces in place while the wood glue sets.
- Paint and Primer: Choose a paint color that complements your existing decor and a primer to prepare the wood for painting.
- Paintbrushes: Different sizes of paintbrushes will be needed for applying the primer and paint.
- Glass: Acquire a piece of glass cut to the size of your frame to fit perfectly within the window opening.
- Screwdriver or Drill: This will be necessary for attaching the glass to the frame and for hanging the finished window frame.
Gathering these materials will set you up for a successful and enjoyable DIY window frame project.
Step 1: Measure and Cut the Wood
-
Measure the Window Opening: Begin by measuring the dimensions of the window opening where you intend to place the frame. Use a measuring tape to accurately record the width and height. It's crucial to ensure precise measurements to guarantee a snug fit for your DIY window frame.
-
Mark the Wood: Using a pencil, mark the measurements on the wood according to the dimensions of the window opening. Double-check the markings to avoid any errors before proceeding to the next step.
-
Cut the Wood: With the marked measurements as your guide, carefully cut the wood using a saw. A miter saw is ideal for achieving precise angled cuts, while a hand saw can be used for straight cuts. Take your time to ensure that the cuts are clean and accurate, as this will contribute to the overall professional look of your window frame.
-
Test the Fit: Once all the pieces are cut, test-fit them within the window opening to ensure that they align perfectly and create a seamless frame. Make any necessary adjustments at this stage to guarantee a flawless fit before moving on to the assembly process.
Taking the time to measure and cut the wood accurately is essential for the success of your DIY window frame project. This meticulous approach will result in a frame that not only enhances the aesthetic appeal of your space but also fits perfectly within the designated window area.
Step 2: Assemble the Frame
-
Arrange the Pieces: Lay out the cut wood pieces on a flat surface, ensuring that they are positioned according to their designated locations within the frame. This step will help you visualize how the frame will come together and ensure that each piece fits seamlessly with the next.
-
Apply Wood Glue: Using a high-quality wood glue, apply a thin, even layer to the edges of the wood where the pieces will be joined. The adhesive properties of the wood glue will create a strong and durable bond, ensuring that the frame remains sturdy over time.
-
Secure with Clamps: Once the wood glue is applied, use clamps to hold the pieces together firmly. Position the clamps at strategic points along the frame to exert even pressure, promoting a tight and secure bond between the wood pieces. Allow the wood glue to dry completely as per the manufacturer's instructions.
-
Check for Alignment: While the wood glue is drying, double-check the alignment of the frame pieces to ensure that they are perfectly positioned. Making any necessary adjustments at this stage will contribute to the overall symmetry and professional finish of the window frame.
-
Remove Excess Glue: After the wood glue has dried, carefully remove any excess glue using a damp cloth or a scraper. This step is crucial as it prepares the frame for the sanding and painting process, ensuring a smooth and even surface for the finishing touches.
Assembling the frame requires precision and attention to detail to achieve a seamless and polished result. By following these steps, you will be well on your way to creating a beautifully crafted DIY window frame that adds character and charm to your living space.
Step 3: Sand and Paint
-
Sand the Frame: Begin by using medium-grit sandpaper to smooth out any rough edges and imperfections on the assembled frame. Work methodically, ensuring that all surfaces of the wood are evenly sanded to create a flawless finish. Pay particular attention to the corners and edges, as these areas can often require extra care to achieve a polished look.
-
Apply Primer: Once the frame is sanded, apply a coat of primer to the wood surface. The primer will not only help the paint adhere better but also seal the wood, preventing any tannins or knots from bleeding through the paint. Use a paintbrush to apply the primer evenly, covering the entire surface of the frame. Allow the primer to dry completely before proceeding to the next step.
-
Choose Your Paint: Select a high-quality paint in the color of your choice. Consider the existing decor of the room where the window frame will be placed and choose a color that complements the surroundings. Whether you opt for a classic white, a bold pop of color, or a natural wood stain, the paint you choose will significantly impact the overall aesthetic of the frame.
-
Apply the Paint: Using a clean paintbrush, apply the paint to the primed frame in smooth, even strokes. Ensure that the paint coverage is consistent across all surfaces, and pay attention to any drips or excess paint that may accumulate. Depending on the desired finish, you may need to apply multiple coats of paint, allowing each coat to dry thoroughly before applying the next.
-
Add a Distressed Finish (Optional): For a rustic or vintage look, consider distressing the painted frame. After the final coat of paint has dried, lightly sand the edges and corners of the frame to reveal the primer or wood beneath, creating a weathered and aged appearance. This technique can add character and depth to the window frame, giving it a unique and personalized touch.
-
Seal the Paint (Optional): If desired, apply a clear sealant or varnish to the painted frame to protect the finish and enhance its durability. The sealant will also provide added resistance to moisture and wear, ensuring that your DIY window frame remains in pristine condition for years to come.
By meticulously sanding and painting the frame, you will elevate its visual appeal and bring your creative vision to life. The finishing touches of sanding and painting are crucial in achieving a professional and polished look for your DIY window frame.
Read more: How to Build a Cathedral Window Frame
Step 4: Attach the Glass
-
Prepare the Glass: Before attaching the glass to the frame, ensure that it is clean and free from any smudges or debris. Wipe the glass surface with a glass cleaner and a lint-free cloth to achieve a pristine finish. Additionally, check the edges of the glass for any sharp or uneven areas that may need to be addressed before installation.
-
Apply Glazing Compound: To secure the glass within the frame, use a high-quality glazing compound. Begin by applying a thin, even layer of the compound along the inside edges of the frame where the glass will be placed. The glazing compound will act as an adhesive, holding the glass in position while providing a protective seal against moisture and drafts.
-
Position the Glass: Carefully place the prepared glass into the frame, ensuring that it fits snugly within the designated area. Gently press the glass against the glazing compound to create a secure bond. Take your time to position the glass accurately, as it will contribute to the overall professional look and functionality of the window frame.
-
Secure with Glazier's Points: Once the glass is in place, use glazier's points to secure it within the frame. These small metal clips are designed to hold the glass firmly in position, preventing any movement or slippage. Place the glazier's points along the edges of the glass at regular intervals, pressing them into the wood to create a secure hold.
-
Trim Excess Glazing Compound: After the glass is secured, carefully trim any excess glazing compound using a putty knife or a similar tool. This step will ensure a clean and polished appearance, while also removing any potential obstructions that may interfere with the final installation of the window frame.
Attaching the glass is a critical step in completing your DIY window frame, as it not only enhances the functionality of the frame but also adds a professional and polished touch to the overall craftsmanship. By following these steps, you will successfully integrate the glass into the frame, bringing your DIY window frame project one step closer to completion.
Step 5: Hang Your New Window Frame
-
Select the Installation Location: Choose the ideal location for hanging your new window frame. Consider factors such as natural light, visual impact, and the overall aesthetic of the space. Whether it's in the living room, bedroom, or kitchen, the placement of the window frame will contribute to the ambiance of the room.
-
Mark the Mounting Points: Using a pencil, mark the mounting points on the wall where the window frame will be installed. Ensure that the marks are level and evenly spaced to facilitate a balanced and symmetrical placement.
-
Pre-Drill Holes: Depending on the wall material, pre-drill holes at the marked mounting points to accommodate the screws or nails that will secure the window frame. Use a drill bit suitable for the wall surface to create precise and clean holes for the installation.
-
Secure the Frame: With the assistance of a friend or family member, carefully lift the window frame and position it against the wall, aligning it with the pre-drilled holes. Use screws or nails to secure the frame in place, ensuring that it is level and stable.
-
Add Finishing Touches: Once the window frame is securely installed, inspect it for any adjustments that may be needed. Ensure that it is level and straight, making any necessary tweaks to perfect its positioning.
-
Admire Your Handiwork: Stand back and admire your newly installed window frame. Take a moment to appreciate the craftsmanship and creativity that went into creating and hanging the frame. Its presence will undoubtedly enhance the visual appeal of the room and serve as a testament to your DIY skills.
By following these steps, you will successfully hang your new window frame, completing the transformation of your living space with this personalized and charming addition.
Conclusion
Congratulations on completing your DIY window frame project! By following the step-by-step process outlined in this guide, you have not only showcased your creativity but also added a personalized and charming touch to your living space. The meticulous measurements, precise cuts, careful assembly, and thoughtful finishing touches have culminated in a beautifully crafted window frame that enhances the aesthetic appeal of your home. Whether it's a rustic farmhouse style, a sleek modern design, or a whimsical and colorful creation, your DIY window frame reflects your unique vision and craftsmanship. As you admire the transformation it has brought to your space, take pride in the fact that you have successfully completed a rewarding and fulfilling home improvement project. Your DIY window frame stands as a testament to your skills and creativity, adding character and warmth to your home for years to come.

