
Home>Create & Decorate>DIY & Crafts>DIY Table Top: Transform Your Space With This Simple Craft Project
DIY & Crafts
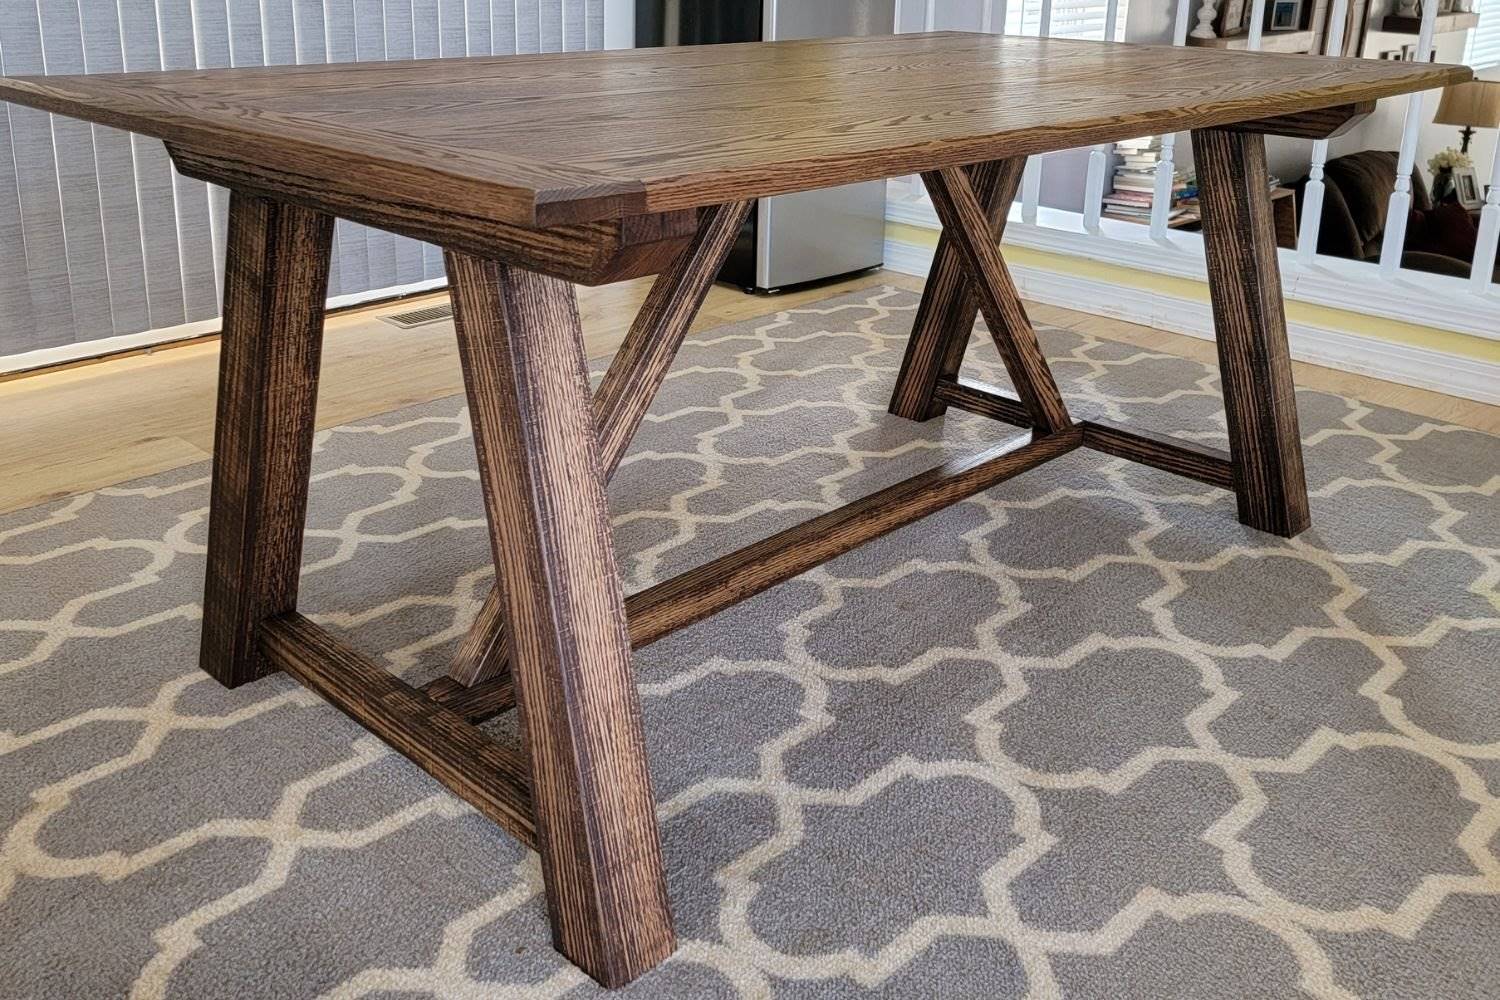
DIY Table Top: Transform Your Space With This Simple Craft Project
Published: May 24, 2024

Content Creator specializing in woodworking and interior transformations. Caegan's guides motivate readers to undertake their own projects, while his custom furniture adds a personal touch.
Transform your space with this simple DIY craft project. Create a stunning table top with our easy-to-follow DIY & Crafts guide.
(Many of the links in this article redirect to a specific reviewed product. Your purchase of these products through affiliate links helps to generate commission for Twigandthistle.com, at no extra cost. Learn more)
Introduction
Are you looking to add a personal touch to your living space? A DIY table top project might just be the perfect way to do it! Creating your own table top allows you to customize the design to match your home decor and express your creativity. Whether you're revamping an old table or building a new one from scratch, this simple craft project can completely transform the look and feel of your space. In this guide, we'll take you through the steps to create a stunning table top that will become the centerpiece of any room. Let's get started!
Materials Needed
To get started on your DIY table top project, you'll need the following materials:
- Wooden Table Top: Choose a wooden board or panel in the size and shape you desire for your table top.
- Sandpaper: Use sandpaper to smooth the surface of the wooden table top and remove any rough edges.
- Paint or Stain: Select paint or wood stain in your preferred color to add a beautiful finish to your table top.
- Paintbrushes or Staining Cloths: You'll need these to apply the paint or stain evenly to the wooden surface.
- Design Elements: This could include stencils, decals, or any other decorative elements you want to incorporate into your table top design.
- Sealant: Choose a sealant to protect the table top from moisture, spills, and general wear and tear.
- Screws and Screwdriver: If you're attaching the table top to a base, you'll need screws and a screwdriver for this step.
- Protective Gear: Don't forget to wear gloves and safety goggles to protect yourself during the crafting process.
Gather these materials before you begin, and you'll be all set to create a stunning DIY table top for your home.
Step 1: Preparing the Table Top
Before diving into the creative part of the project, it's essential to prepare the wooden table top for the transformation. Start by ensuring that the surface of the table top is smooth and free from any imperfections. Use sandpaper to gently sand the entire surface, focusing on any rough spots or uneven areas. This step not only creates a clean canvas for your design but also ensures that the paint or stain adheres evenly to the wood.
Once the surface is smooth, wipe away any dust or debris with a clean cloth. This will help the paint or stain to apply more evenly and prevent any particles from marring the finished look. If there are any existing finishes or coatings on the table top, consider using a wood stripper to remove them completely. This will allow the new finish to bond effectively with the wood, resulting in a more professional and long-lasting outcome.
After the surface is prepped and cleaned, you're ready to move on to the exciting part of choosing and applying the design to your DIY table top.
Step 2: Choosing and Applying the Design
Now comes the fun part – choosing and applying the design to your DIY table top. This is where you can let your creativity shine and personalize the table to fit your style and home decor. Here are some ideas to consider:
-
Stenciling: Use stencils to create intricate patterns or designs on the table top. Whether you prefer geometric shapes, floral motifs, or abstract patterns, stenciling allows for precise and repeatable designs.
-
Decoupage: If you have decorative paper, fabric, or even old maps or book pages, decoupage can be a fantastic way to adorn your table top. Apply a layer of decoupage glue to the surface, arrange your chosen materials, and then seal them with additional layers of the glue.
-
Hand-painted Artwork: Embrace your inner artist and paint a unique design directly onto the table top. Whether it's a landscape, abstract art, or a colorful pattern, hand-painting allows for complete artistic freedom.
-
Vinyl Decals: Vinyl decals come in a wide variety of designs and can be easily applied to the table top. From quotes and phrases to intricate illustrations, vinyl decals offer a quick and effortless way to add personality to your table.
-
Wood Burning: For a rustic and timeless look, consider wood burning a design onto the table top. This technique allows for intricate detailing and can create a beautiful, natural aesthetic.
Once you've chosen your design, carefully apply it to the prepared table top using the appropriate method. Take your time to ensure precision and attention to detail, as this will be the focal point of your DIY table. After the design is applied, allow it to dry completely before moving on to the next step.
Step 3: Sealing the Table Top
After you've applied the design to your DIY table top, it's crucial to seal it with a protective layer to ensure its longevity and durability. The sealant not only safeguards the design from spills and stains but also provides a smooth and easy-to-clean surface for everyday use. Here's how to seal your table top effectively:
-
Choose the Right Sealant: Select a sealant that suits the material and design of your table top. For painted surfaces, a clear polyurethane sealant works well, while for stained wood, a wood varnish or lacquer may be more suitable. Consider the level of sheen you desire, whether it's matte, satin, or glossy, and choose the sealant accordingly.
-
Prepare the Workspace: Find a well-ventilated area to apply the sealant. Lay down a drop cloth or old newspapers to protect the surrounding space from any drips or spills. Ensure that the table top is clean and free from dust before you begin.
-
Apply the Sealant: Using a high-quality paintbrush or a staining cloth, apply a thin and even layer of sealant to the entire surface of the table top. Work in the direction of the wood grain for a smooth finish. Allow the first coat to dry completely according to the manufacturer's instructions.
-
Sand and Repeat: Once the first coat is dry, lightly sand the surface with fine-grit sandpaper to smooth out any imperfections or bubbles. Wipe away the dust with a clean cloth, then apply a second coat of sealant. Depending on the type of sealant, you may need to apply multiple coats for optimal protection and durability.
-
Cure and Protect: After the final coat, allow the sealant to cure for the recommended time before placing any objects on the table top. This curing period ensures that the sealant hardens and provides a robust protective layer. Once cured, your DIY table top is ready to be showcased in your home.
By sealing your table top, you not only preserve the beauty of the design but also create a functional and long-lasting piece of furniture that will enhance your living space for years to come.
Step 4: Attaching the Table Top to the Base
Once your DIY table top is fully prepared and sealed, the final step is to attach it to the base. Whether you're revamping an existing table or creating a new one, securing the table top to the base is essential for stability and functionality. Here's how to effectively attach the table top to the base:
-
Select the Right Base: Depending on your project, the base could be an existing table frame, a set of legs, or a custom-built support structure. Ensure that the base is sturdy and complements the style of your table top.
-
Position the Table Top: Carefully place the table top upside down on a soft surface to avoid scratching the finished side. Position the base on top of the table top, ensuring that it is centered and aligned correctly.
-
Attach the Base: Using screws and a screwdriver, secure the base to the table top. Start by attaching the base at the center and then work your way outwards, ensuring that the base is firmly and evenly attached to the table top.
-
Check for Stability: Once the base is attached, carefully flip the table over to its upright position. Test the stability of the table to ensure that the base is securely fastened and that the table top is level.
-
Finishing Touches: If necessary, add any additional support or braces to reinforce the attachment between the table top and the base. This step is especially important for larger or heavier table tops.
By following these steps, you'll effectively attach the table top to the base, creating a functional and visually appealing piece of furniture for your home. Whether it's a dining table, coffee table, or a decorative accent piece, your DIY table top will be ready to take center stage in your living space.
Conclusion
In conclusion, embarking on a DIY table top project is a rewarding and creative endeavor that allows you to infuse your personal style into your living space. By following the steps outlined in this guide, you can transform a simple wooden board into a stunning and functional table top that reflects your unique taste and enhances the ambiance of your home. From preparing the surface and applying the design to sealing the table top and attaching it to the base, each step contributes to the creation of a one-of-a-kind piece of furniture. Whether you're a seasoned crafter or a novice DIY enthusiast, this project offers a fantastic opportunity to unleash your creativity and add a touch of handmade charm to your home decor. So, gather your materials, let your imagination run wild, and get ready to elevate your space with a beautifully crafted DIY table top.