
Home>Home & Furniture>Kitchen>DIY Dollhouse Kitchen Renovation
Kitchen
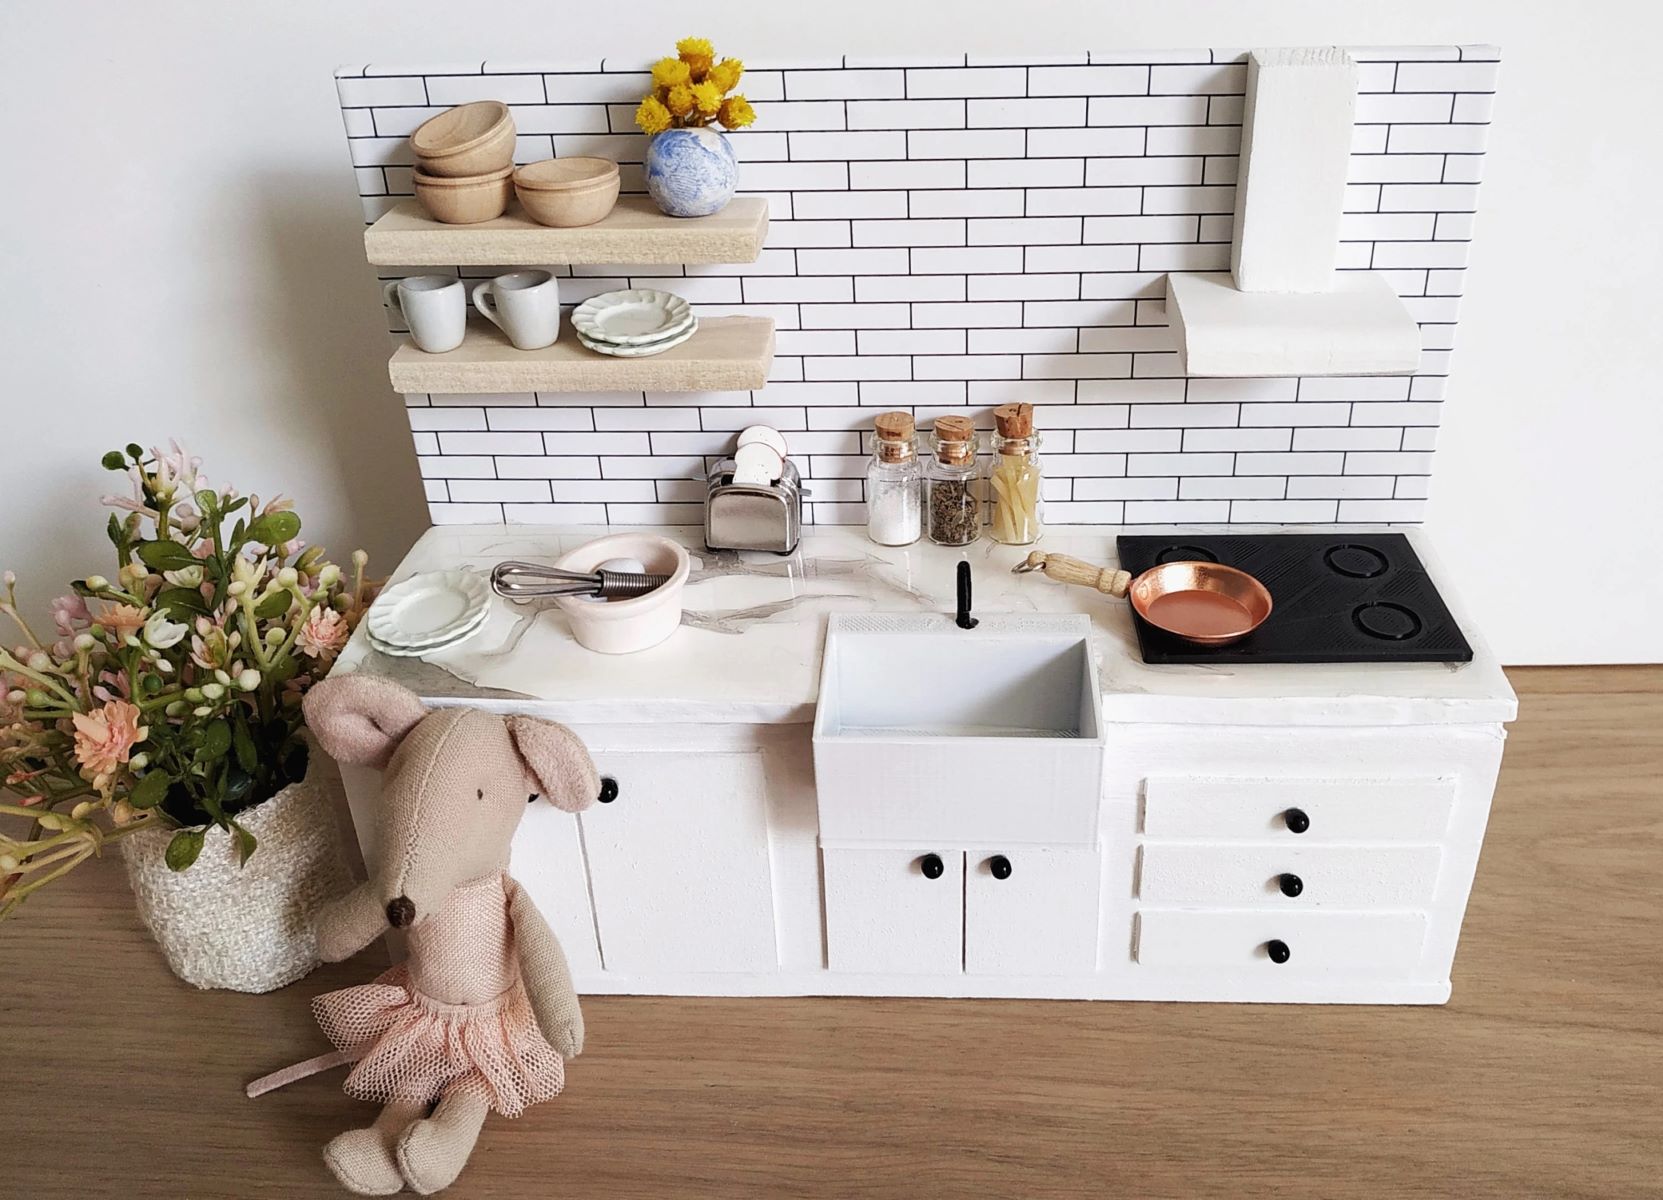
DIY Dollhouse Kitchen Renovation
Published: July 30, 2024
Transform your dollhouse kitchen with our step-by-step DIY renovation guide. Discover tips, materials, and creative ideas to make your mini kitchen shine!
(Many of the links in this article redirect to a specific reviewed product. Your purchase of these products through affiliate links helps to generate commission for Twigandthistle.com, at no extra cost. Learn more)
Renovating a dollhouse kitchen can be a fun and rewarding project. Whether you're sprucing up an old favorite or creating a new miniature masterpiece, there's plenty of room for creativity. You can design tiny cabinets, craft miniature appliances, or even add small tile backsplashes for that perfect touch. With just a few materials and some imagination, you can transform a simple dollhouse kitchen into a charming space. Ready to roll up your sleeves and start this mini renovation? Here's a step-by-step guide to help you create a delightful and functional tiny kitchen.
Getting Ready for Your Project
Gather Materials: Collect all necessary tools and supplies like paint, brushes, glue, mini tiles, and tiny furniture. Make sure everything is within reach.
Safety First: Wear protective gloves and safety goggles. Work in a well-ventilated area to avoid inhaling fumes from paint or glue.
Workspace Setup: Choose a clean, flat surface to work on. Lay down newspaper or a drop cloth to protect your table from spills.
Measure and Plan: Use a ruler to measure the dollhouse kitchen space. Sketch a layout to visualize where each item will go.
Clean the Area: Wipe down the dollhouse kitchen to remove dust and dirt. This ensures paint and glue adhere properly.
Disassemble if Needed: Carefully remove any existing fixtures or furniture. This makes it easier to paint and renovate.
Prime Surfaces: Apply a coat of primer to walls and furniture. This helps the paint stick better and last longer.
Test Colors: Paint a small section to see how the color looks. Adjust if needed before painting the entire area.
Organize Small Parts: Use small containers to keep screws, knobs, and other tiny pieces organized. This prevents losing important parts.
Check Lighting: Ensure you have good lighting to see details clearly. A desk lamp can help illuminate your workspace.
What You Need to Get Started
Materials:
- Wooden Sheets: Used for constructing walls, floors, and cabinets.
- Paint: Adds color to walls, cabinets, and other surfaces.
- Glue: Essential for sticking pieces together.
- Miniature Tiles: For creating a realistic kitchen backsplash or flooring.
- Fabric Scraps: Used for making curtains, tablecloths, or other soft furnishings.
- Miniature Kitchen Accessories: Includes items like tiny pots, pans, and utensils.
- Sandpaper: Smooths out rough edges on wooden pieces.
- Craft Paper: For wallpaper or decorative elements.
- Beads and Buttons: Can be used as knobs or decorative accents.
Tools:
- Scissors: For cutting fabric, paper, and other materials.
- Craft Knife: Precision cutting of wood and other materials.
- Ruler: Ensures accurate measurements.
- Paintbrushes: For applying paint to various surfaces.
- Tweezers: Helpful for placing small items and details.
- Clamps: Hold pieces together while glue dries.
- Pencil: For marking measurements and designs.
- Cutting Mat: Protects surfaces while cutting materials.
- Hot Glue Gun: Provides a strong bond for heavier items.
These materials and tools will help create a detailed, realistic dollhouse kitchen.
How Much Skill and Time You Need
Skill Level: Intermediate
Time Required: 8-12 hours
- Planning and Design: 1-2 hours
- Gathering Materials: 1 hour
- Assembling and Painting Cabinets: 2-3 hours
- Installing Appliances and Fixtures: 2-3 hours
- Final Touches and Decorations: 2-3 hours
Follow These Steps
Gather Materials:
- Small pieces of wood or cardboard
- Paint and brushes
- Glue
- Miniature kitchen accessories (sink, stove, etc.)
- Sandpaper
- Ruler and pencil
Design Layout:
- Sketch the kitchen layout on paper.
- Measure the dollhouse kitchen space.
Cut Pieces:
- Use a ruler and pencil to mark wood or cardboard.
- Cut pieces for cabinets, countertops, and shelves.
Sand Edges:
- Smooth rough edges with sandpaper.
Assemble Cabinets:
- Glue pieces together to form cabinets.
- Let dry completely.
Paint:
- Apply paint to cabinets, countertops, and walls.
- Allow to dry.
Install Cabinets:
- Glue cabinets into place in the dollhouse kitchen.
Add Countertops:
- Attach countertops on top of cabinets with glue.
Install Sink and Stove:
- Place miniature sink and stove in desired locations.
- Secure with glue.
Add Shelves:
- Glue shelves to walls or inside cabinets.
Decorate:
- Add miniature kitchen accessories like pots, pans, and utensils.
Final Touches:
- Check for any loose parts.
- Make sure everything is securely glued.
Helpful Tips and Tricks
Plan your layout before starting. Use graph paper to sketch the kitchen. Measure everything twice to ensure accuracy.
Use foam board for walls and cabinets. It's easy to cut and paint. Hot glue works well for assembling pieces.
Paint small details with acrylic paint. It dries quickly and comes in many colors. Use a fine brush for precision.
Repurpose household items. Bottle caps can become stools. Beads make great knobs.
Lighting adds realism. LED tea lights are safe and easy to install. Battery-operated options avoid wiring hassles.
Avoid using heavy materials. They can make the dollhouse unstable. Stick to lightweight options like balsa wood.
Common mistakes include over-gluing and rushing. Too much glue can warp materials. Take your time for the best results.
Alternatives for flooring include scrapbook paper or fabric. Both are easy to cut and glue.
For countertops, consider contact paper. It mimics real stone or wood and is easy to apply.
If you lack tiny appliances, print images and glue them onto cardboard. Seal with clear tape for durability.
How Much Will It Cost?
Materials:
- Wood (for cabinets, countertops, and flooring): $20
- Paint (small cans for walls, cabinets, and details): $10
- Glue (wood glue and craft glue): $5
- Miniature appliances (stove, fridge, sink): $30
- Decorative items (mini pots, pans, utensils): $10
- Wallpaper (scrapbook paper or fabric): $5
- Lighting (mini LED lights): $10
Tools:
- Craft knife: $5
- Ruler: $2
- Paintbrushes: $3
- Sandpaper: $2
- Scissors: $2
Total Cost: $104
Budget-Friendly Alternatives:
- Use cardboard instead of wood for cabinets and countertops: Save $10
- Make your own miniature appliances using clay or recycled materials: Save $20
- Repurpose old jewelry or small household items for decorative pieces: Save $5
- Use leftover paint from other projects: Save $5
Total Cost with Alternatives: $64
Ways to Customize Your Dollhouse Kitchen
Alternative Materials: Use balsa wood for cabinets instead of plastic. Try fabric for curtains and tablecloths. Replace plastic countertops with cardboard covered in contact paper.
Colors: Paint walls in pastel shades for a vintage look. Use bright colors like red and yellow for a modern vibe. Try neutral tones like beige and gray for a minimalist style.
Styles: Go for a rustic look with wood finishes and checkered patterns. Create a modern kitchen with sleek lines and metallic accents. Opt for a retro style with bold colors and vintage appliances.
Flooring: Use popsicle sticks to create a wooden floor effect. Try scrapbook paper for a tiled look. Use felt for a cozy, carpeted feel.
Backsplash: Use miniature tiles or beads for a textured backsplash. Try printed paper for a quick and easy option. Use foil for a shiny, metallic look.
Furniture: Make a table from bottle caps and cardboard. Use buttons as knobs for cabinets. Create chairs from wire and fabric.
Lighting: Use LED fairy lights for a soft glow. Try miniature lamps made from beads and wire. Use reflective tape to mimic light fixtures.
Accessories: Add miniature pots and pans made from clay. Use tiny jars for spices. Create a mini fridge from a small box and paint.
Eco-Friendly Ideas for Your Renovation
Use recycled cardboard for cabinets and shelves. Old cereal boxes or shipping boxes work great. Paint them with non-toxic, water-based paint to keep it safe for kids.
For countertops, try scrap wood from previous projects. Sand it down and paint or stain it with eco-friendly finishes.
Repurpose fabric scraps for curtains or tablecloths. Old clothes or leftover fabric from other crafts can be cut and sewn to fit.
Use bottle caps for knobs and handles. They can be painted and glued onto cabinets and drawers.
Create miniature tiles from broken pottery or old tiles. Break them into small pieces and glue them onto a cardboard base for a realistic backsplash.
For flooring, use scrapbooking paper or old wallpaper. Cut it to size and glue it down for a stylish look.
Make appliances from recycled plastic containers. Yogurt cups or small boxes can be painted and detailed to look like stoves or refrigerators.
Use natural materials like twigs or small stones for decorative touches. They add a rustic feel and are easy to find outside.
Repurpose old buttons for stove dials or sink faucets. They add a fun, vintage touch to the kitchen.
Finally, use LED tea lights for lighting. They are energy-efficient and safe for kids to handle.
Your Dollhouse Kitchen Awaits
You've got all the tools and tips to transform that dollhouse kitchen into a mini masterpiece. From picking the right materials to adding those tiny details, every step counts. Remember, patience is key. Don't rush the painting or gluing. Let each layer dry properly to avoid any mishaps.
If something doesn't turn out as planned, don't sweat it. Mistakes happen, and they can often lead to unexpected creative solutions. Keep experimenting with different colors, textures, and layouts until you're happy with the result.
In the end, the joy of seeing your hard work come to life is worth every minute spent. So grab your paintbrushes, glue, and miniature accessories, and get started. Your dollhouse kitchen is just a few steps away from becoming the coziest spot in the house.
How do I start renovating my dollhouse kitchen?
Begin by planning your design. Sketch out where you want the cabinets, appliances, and countertops. Measure the space to ensure everything fits.
What materials do I need?
You'll need wood or cardboard for cabinets, paint, glue, miniature hardware, and fabric for curtains or tablecloths. Don’t forget tiny utensils and appliances.
How can I make miniature appliances?
Use clay or plastic to shape stoves, fridges, and sinks. Paint them to look realistic. You can also find ready-made mini appliances online.
What’s the best way to paint tiny furniture?
Use acrylic paint and small brushes. Apply thin layers to avoid clumps. Masking tape helps create clean lines.
How do I make tiny tiles for the backsplash?
Cut foam sheets or cardstock into small squares. Paint them in your desired color and glue them in place. Seal with a clear coat for a shiny finish.
Can I add lighting to my dollhouse kitchen?
Yes! Use LED lights or fairy lights. Hide the wires behind cabinets or walls. Battery-powered options are easier to manage.
How do I make tiny curtains?
Cut fabric to size and hem the edges. Use a toothpick or wire as a curtain rod. Attach with glue or tiny hooks.