
Home>Home & Furniture>Garage & Basement>DIY Unfinished Basement Ideas
Garage & Basement
DIY Unfinished Basement Ideas
Published: August 28, 2024
Discover creative DIY unfinished basement ideas to transform your space. From storage solutions to cozy retreats, get inspired to maximize your basement's potential!
(Many of the links in this article redirect to a specific reviewed product. Your purchase of these products through affiliate links helps to generate commission for Twigandthistle.com, at no extra cost. Learn more)
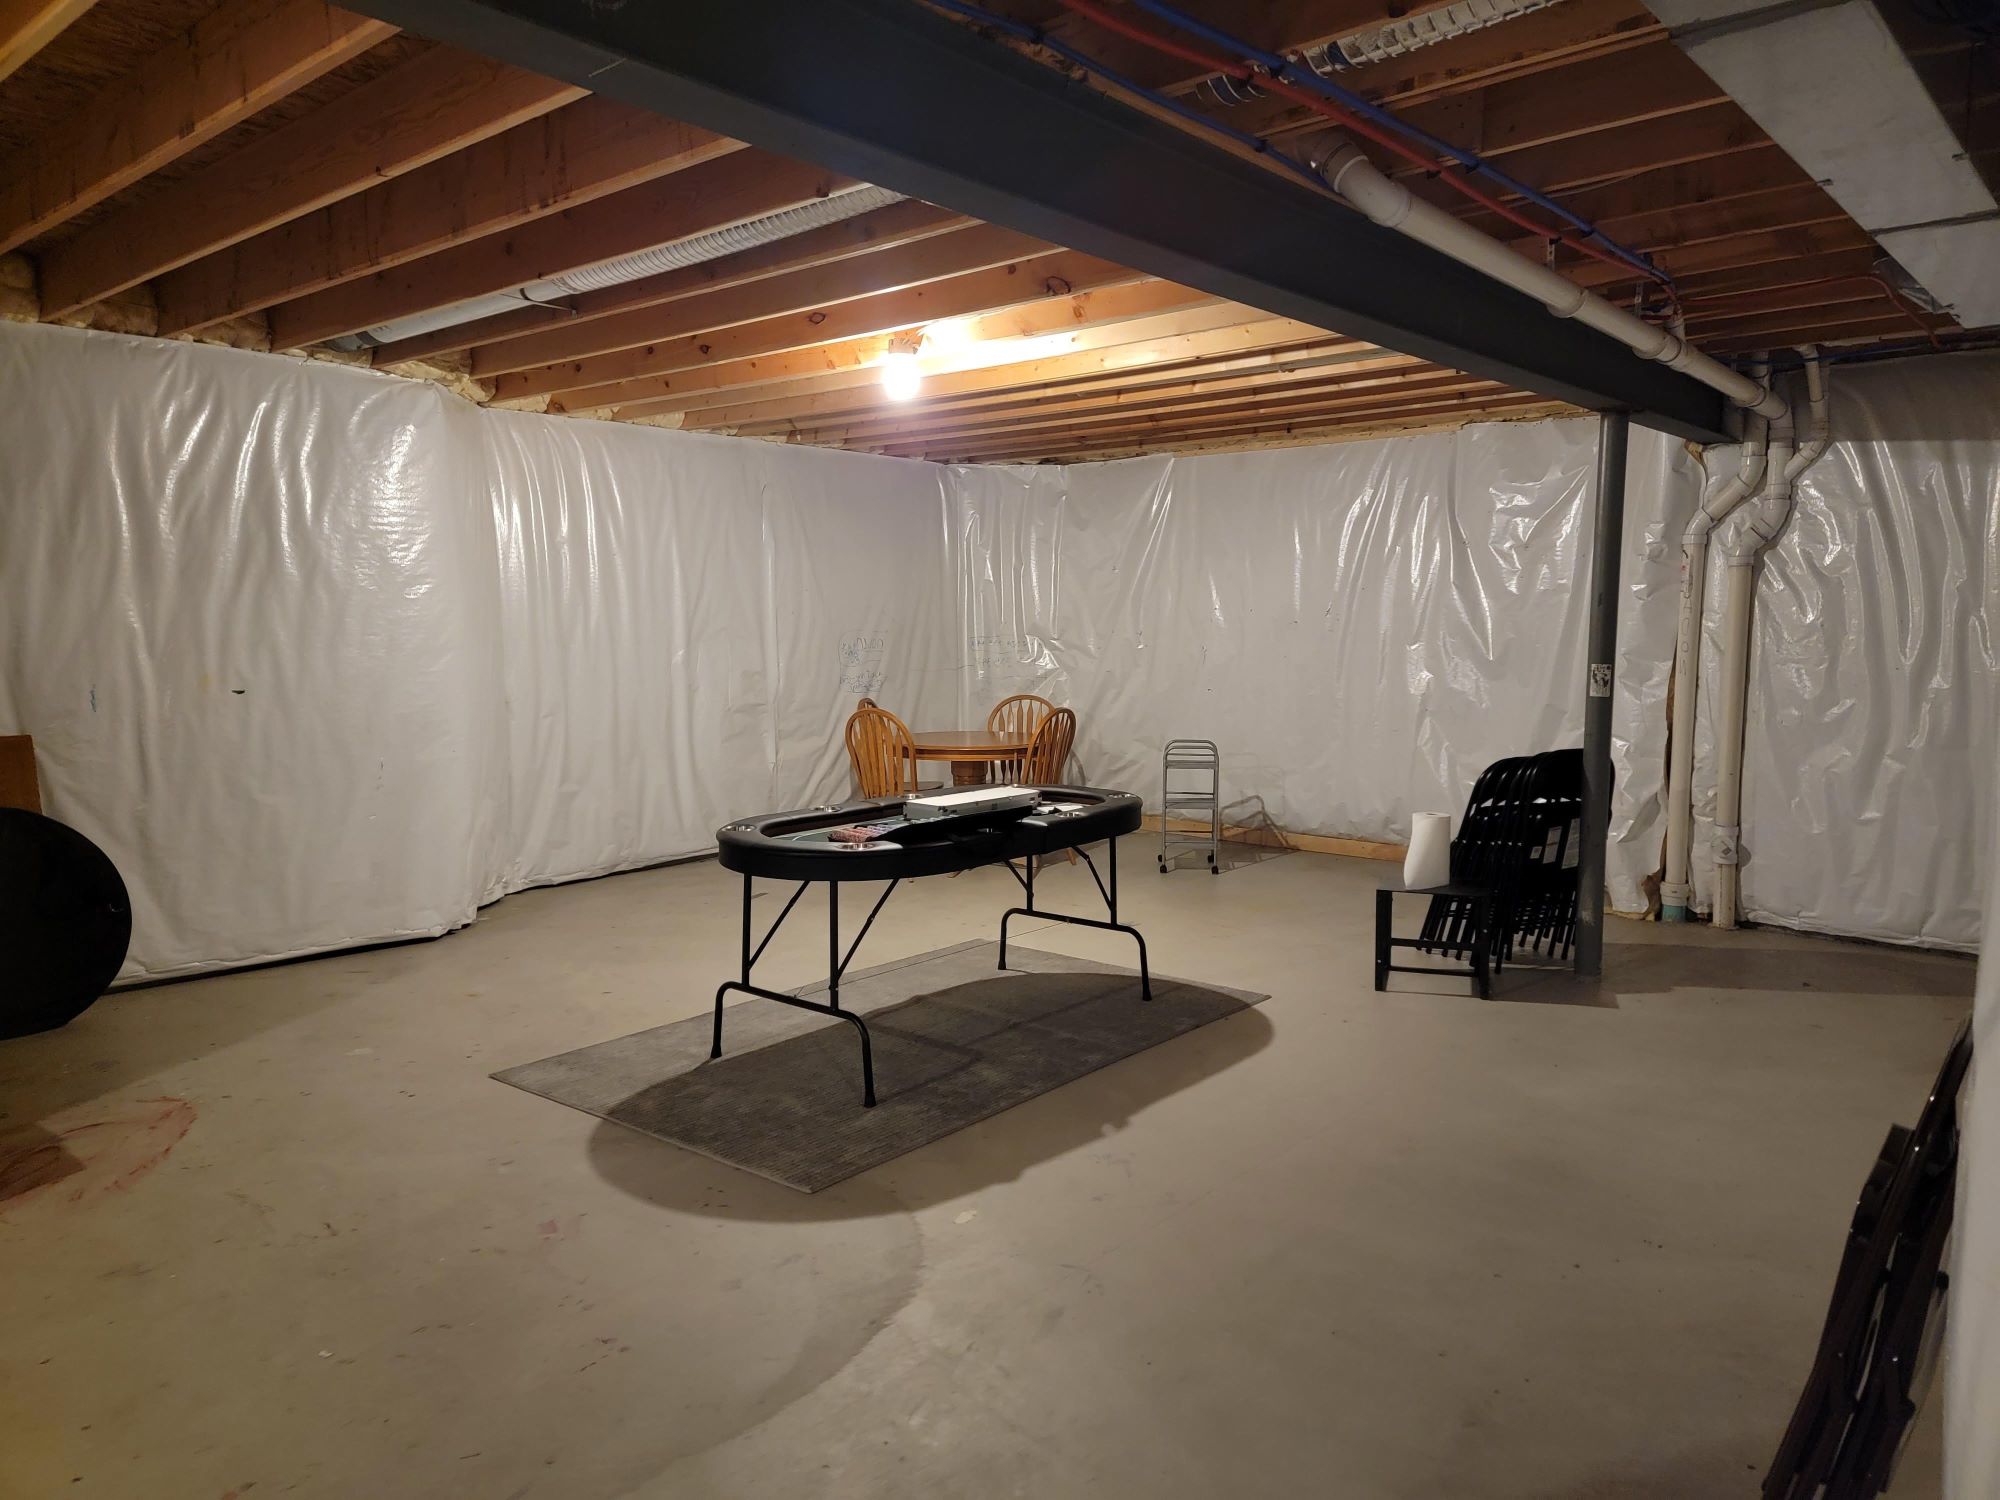
Turning an unfinished basement into a cozy, functional space might seem like a big job, but with a bit of creativity and some elbow grease, it’s totally doable. Whether you dream of a game room, home theater, or just extra storage, this guide will give you plenty of simple, budget-friendly ideas to spark your imagination. Even small changes like new lighting, fresh paint, or clever storage solutions can make a huge difference. Ready to get started? Let’s dive into some fantastic DIY projects that can transform your basement into the perfect spot for family and friends.
Getting Ready for Your Basement Project
Clear the Space: Remove any clutter, old furniture, or stored items. A clean area helps you see what needs fixing.
Inspect for Moisture: Check for leaks or damp spots. Use a dehumidifier if necessary to keep the area dry.
Safety Gear: Wear gloves, goggles, and a dust mask. Basements can have dust, mold, or other hazards.
Check Electrical and Plumbing: Ensure all wiring and pipes are in good condition. Turn off power when working near electrical outlets.
Plan Layout: Sketch a simple floor plan. Decide where walls, furniture, and utilities will go.
Gather Tools and Materials: Have hammers, saws, screwdrivers, and measuring tape ready. Buy materials like drywall, insulation, and flooring.
Ventilation: Make sure the basement has proper airflow. Open windows or use fans to circulate air.
Lighting: Set up temporary lighting if needed. Basements can be dark, making it hard to see what you're doing.
Workspace Setup: Create a designated area for cutting, measuring, and assembling materials. Keep tools organized and within reach.
Permits: Check if local regulations require permits for your project. Better safe than sorry.
Essential Tools and Materials
- Measuring Tape: Essential for measuring dimensions accurately.
- Level: Ensures surfaces are even and straight.
- Stud Finder: Locates wall studs for secure mounting.
- Hammer: Useful for driving nails into wood or other materials.
- Screwdriver Set: Needed for assembling furniture or installing fixtures.
- Power Drill: Speeds up the process of drilling holes and driving screws.
- Saw: Cuts wood, drywall, or other materials to size.
- Utility Knife: Handy for cutting drywall, insulation, or other materials.
- Drywall: Used to create walls and ceilings.
- Drywall Screws: Secure drywall to studs.
- Joint Compound: Fills seams between drywall sheets.
- Drywall Tape: Covers seams between drywall sheets.
- Sandpaper: Smooths surfaces before painting.
- Paint and Brushes: Adds color and protection to walls and ceilings.
- Insulation: Keeps the basement warm and energy-efficient.
- Plastic Sheeting: Acts as a moisture barrier.
- Flooring Materials: Options include carpet, laminate, or vinyl.
- Lighting Fixtures: Brightens the space.
- Electrical Wiring: Powers lights and outlets.
- Plumbing Supplies: Needed if adding a bathroom or sink.
- Ventilation Fans: Improves air circulation and reduces moisture.
- Safety Gear: Includes gloves, goggles, and masks for protection.
These tools and materials will help transform an unfinished basement into a functional and comfortable space.
Required Skills and Time Commitment
Skill Level: Intermediate
Time Required: 2-4 weeks
- Framing Walls: Intermediate skill level. Takes about 2-3 days.
- Installing Insulation: Beginner skill level. Takes around 1-2 days.
- Drywall Installation: Intermediate skill level. Takes about 3-5 days.
- Flooring Installation: Intermediate skill level. Takes around 2-4 days.
- Painting: Beginner skill level. Takes about 2-3 days.
- Electrical Work: Advanced skill level. Takes around 3-4 days.
- Plumbing: Advanced skill level. Takes about 3-5 days.
Detailed Steps to Follow
Clean and Declutter
- Remove all items from the basement.
- Sweep and mop the floor.
- Dispose of or donate unwanted items.
Inspect for Moisture
- Check walls and floors for dampness.
- Use a dehumidifier if needed.
- Seal any cracks with waterproof sealant.
Plan Your Layout
- Decide on the purpose of each area (e.g., storage, living space, gym).
- Sketch a rough layout on paper.
Install Insulation
- Measure and cut insulation to fit between wall studs.
- Secure insulation with a staple gun.
- Cover with a vapor barrier.
Frame the Walls
- Measure and cut 2x4s for wall studs.
- Assemble the frame on the floor.
- Raise the frame and secure it to the ceiling and floor.
Run Electrical Wiring
- Plan the placement of outlets and light switches.
- Run electrical wires through the wall studs.
- Install electrical boxes for outlets and switches.
Install Drywall
- Measure and cut drywall sheets to fit the walls.
- Secure drywall to wall studs with screws.
- Tape and mud the seams.
Paint the Walls
- Apply a primer coat to the drywall.
- Paint with your chosen color.
- Allow to dry completely.
Install Flooring
- Choose a basement-friendly flooring option (e.g., vinyl, laminate).
- Measure and cut flooring to fit the space.
- Install according to the manufacturer's instructions.
Add Lighting
- Install ceiling lights or recessed lighting.
- Connect to the pre-installed electrical wiring.
- Test to ensure proper function.
Furnish and Decorate
- Move furniture into the basement.
- Add rugs, curtains, and other decor items.
- Arrange items according to your layout plan.
Helpful Tips and Tricks
Plan your layout before starting. Measure the space and sketch a rough design. This helps avoid mistakes and ensures everything fits.
Use moisture-resistant materials. Basements can be damp. Opt for moisture-resistant drywall, insulation, and flooring to prevent mold.
Install proper lighting. Basements often lack natural light. Use a mix of overhead lights, floor lamps, and wall sconces to brighten the space.
Seal cracks and gaps. Before finishing walls or floors, seal any cracks to prevent water seepage and pests.
Consider a drop ceiling. It provides easy access to pipes and wiring while giving a polished look.
Use area rugs. They add warmth and comfort without the hassle of installing wall-to-wall carpet.
Paint exposed beams and pipes. Instead of hiding them, paint them a neutral color to blend with the ceiling.
Create storage solutions. Use shelving units, cabinets, or built-in storage to keep the area organized.
Ventilation is key. Ensure proper airflow to avoid musty smells. Install vents or use dehumidifiers.
Common mistakes to avoid:
- Skipping the moisture barrier. Always install one to prevent dampness.
- Ignoring permits. Check local regulations to avoid fines.
- Overlooking insulation. Proper insulation keeps the basement warm and energy-efficient.
Alternatives for materials or methods:
- Instead of drywall, consider wood paneling for a rustic look.
- Use vinyl plank flooring instead of hardwood. It's more moisture-resistant and easier to install.
- For a quick ceiling fix, use fabric drapes to cover exposed beams and pipes.
Budgeting for Your Basement Renovation
Framing Materials: For framing walls, you need 2x4 lumber. A standard 8-foot 2x4 costs around $3.50. For a 500-square-foot basement, expect to spend about $200-$300 on lumber.
Insulation: Insulating walls requires fiberglass insulation. A roll covering 40 square feet costs about $15. For 500 square feet, you'll need around 13 rolls, totaling approximately $195.
Drywall: Drywall sheets cost about $10 each. For a 500-square-foot area, you might need 30 sheets, costing around $300.
Flooring: Vinyl plank flooring is budget-friendly at about $2 per square foot. For 500 square feet, expect to spend around $1,000.
Ceiling: Drop ceiling tiles cost about $2 per square foot. For 500 square feet, the cost will be around $1,000.
Lighting: Recessed lights cost about $20 each. Installing 10 lights will cost around $200.
Paint: A gallon of paint covers about 350 square feet and costs around $30. For two coats on 500 square feet, you'll need 3 gallons, totaling $90.
Electrical: Basic electrical wiring and outlets might cost around $200.
Tools: Essential tools include a saw ($50), drill ($50), tape measure ($10), and level ($15). Total for tools: $125.
Total Cost: Adding everything up, the total cost for materials and tools is roughly $3,310.
Budget-Friendly Alternatives:
- Use second-hand tools from garage sales or online marketplaces.
- Opt for carpet tiles instead of vinyl plank flooring, costing about $1 per square foot, saving $500.
- Consider paintable wallpaper instead of drywall, which can be cheaper and easier to install.
Personalizing Your Basement Space
Flooring: Use vinyl planks for a modern look or carpet tiles for warmth. Epoxy coatings can give a sleek, industrial feel.
Walls: Paint with bright colors to make the space feel larger. Install shiplap for a rustic touch or use peel-and-stick wallpaper for easy customization.
Ceiling: Exposed beams can add character. Drop ceilings hide pipes and wires, while painted ceilings can create a cozy atmosphere.
Lighting: Install recessed lights for a clean look. Pendant lights add style, and string lights create a relaxed vibe.
Storage: Build custom shelves or use freestanding units. Under-stair storage maximizes space.
Furniture: Use modular furniture for flexibility. Bean bags and floor cushions make it kid-friendly.
Decor: Add area rugs for comfort. Hang artwork or family photos to personalize the space. Use plants for a touch of nature.
Entertainment: Create a home theater with a projector and screen. Set up a game area with a pool table or video games.
Workspace: Design a home office with a sturdy desk and ergonomic chair. Add task lighting for better focus.
Fitness: Set up a home gym with rubber mats and essential equipment. Use mirrors to make the space feel larger and brighter.
Eco-Friendly Basement Ideas
Reclaimed wood can be used for flooring or wall paneling. It adds character and reduces waste. Recycled glass tiles make great backsplashes or decorative accents. They come in various colors and patterns. Cork flooring is another eco-friendly option. It’s durable, comfortable, and renewable. Low-VOC paints help improve air quality. They release fewer harmful chemicals. Insulate with recycled denim or cellulose made from recycled paper. Both are effective and sustainable. Salvaged doors or windows can be repurposed for unique room dividers or decorative elements. LED lighting uses less energy and lasts longer than traditional bulbs. Natural fiber rugs like jute or sisal add warmth and are biodegradable. Repurpose old furniture by sanding and repainting. It saves money and keeps items out of landfills. Rainwater barrels can be used to water any plants you might have in the basement.
Bringing It All Together
Transforming your unfinished basement into a functional space doesn't have to be overwhelming. Start by assessing your needs and budget. Whether you want a cozy family room, a home office, or a workshop, there's a DIY solution. Use insulation and drywall to create a comfortable environment. Add lighting to brighten up the space. Don't forget about flooring options like carpet tiles or vinyl planks. Personalize with paint and decor to make it your own. Remember, small touches like shelving and storage can make a big difference. With some planning and effort, your basement can become a valuable part of your home. Happy DIY-ing!
How can I make my unfinished basement more inviting?
Start by adding lighting. Use floor lamps, string lights, or even battery-operated LED lights. Throw down some rugs to warm up the space. Add furniture like bean bags or an old couch. Hang curtains or tapestries to cover bare walls.
What are some budget-friendly flooring options?
Consider painted concrete for a quick fix. Peel-and-stick tiles are easy to install and come in many styles. Area rugs can cover large spaces and add warmth. Foam mats are great for play areas or workout spaces.
How can I control moisture in my unfinished basement?
Use a dehumidifier to keep the air dry. Seal cracks in walls and floors with waterproof sealant. Install a sump pump if flooding is an issue. Insulate pipes to prevent condensation.
What are some easy ways to add storage?
Use shelving units to keep things off the floor. Install pegboards for tools and small items. Use plastic bins with lids to protect items from moisture. Hanging racks can store bikes or other large items.
How can I create separate areas for different activities?
Use room dividers or curtains to section off spaces. Arrange furniture to create distinct zones. Lay down different rugs to define areas. Use bookshelves as makeshift walls.
What are some creative wall treatments?
Paint a mural or use stencils for a fun design. Hang fabric or tapestries for a cozy feel. Use peel-and-stick wallpaper for an easy update. Create a gallery wall with framed photos or art.
How can I make the basement safer?
Install smoke detectors and carbon monoxide detectors. Ensure proper ventilation to avoid mold. Use non-slip rugs and mats. Keep a first aid kit handy.