
Home>Home & Furniture>Garage & Basement>DIY Basement Stair Railing Installation
Garage & Basement
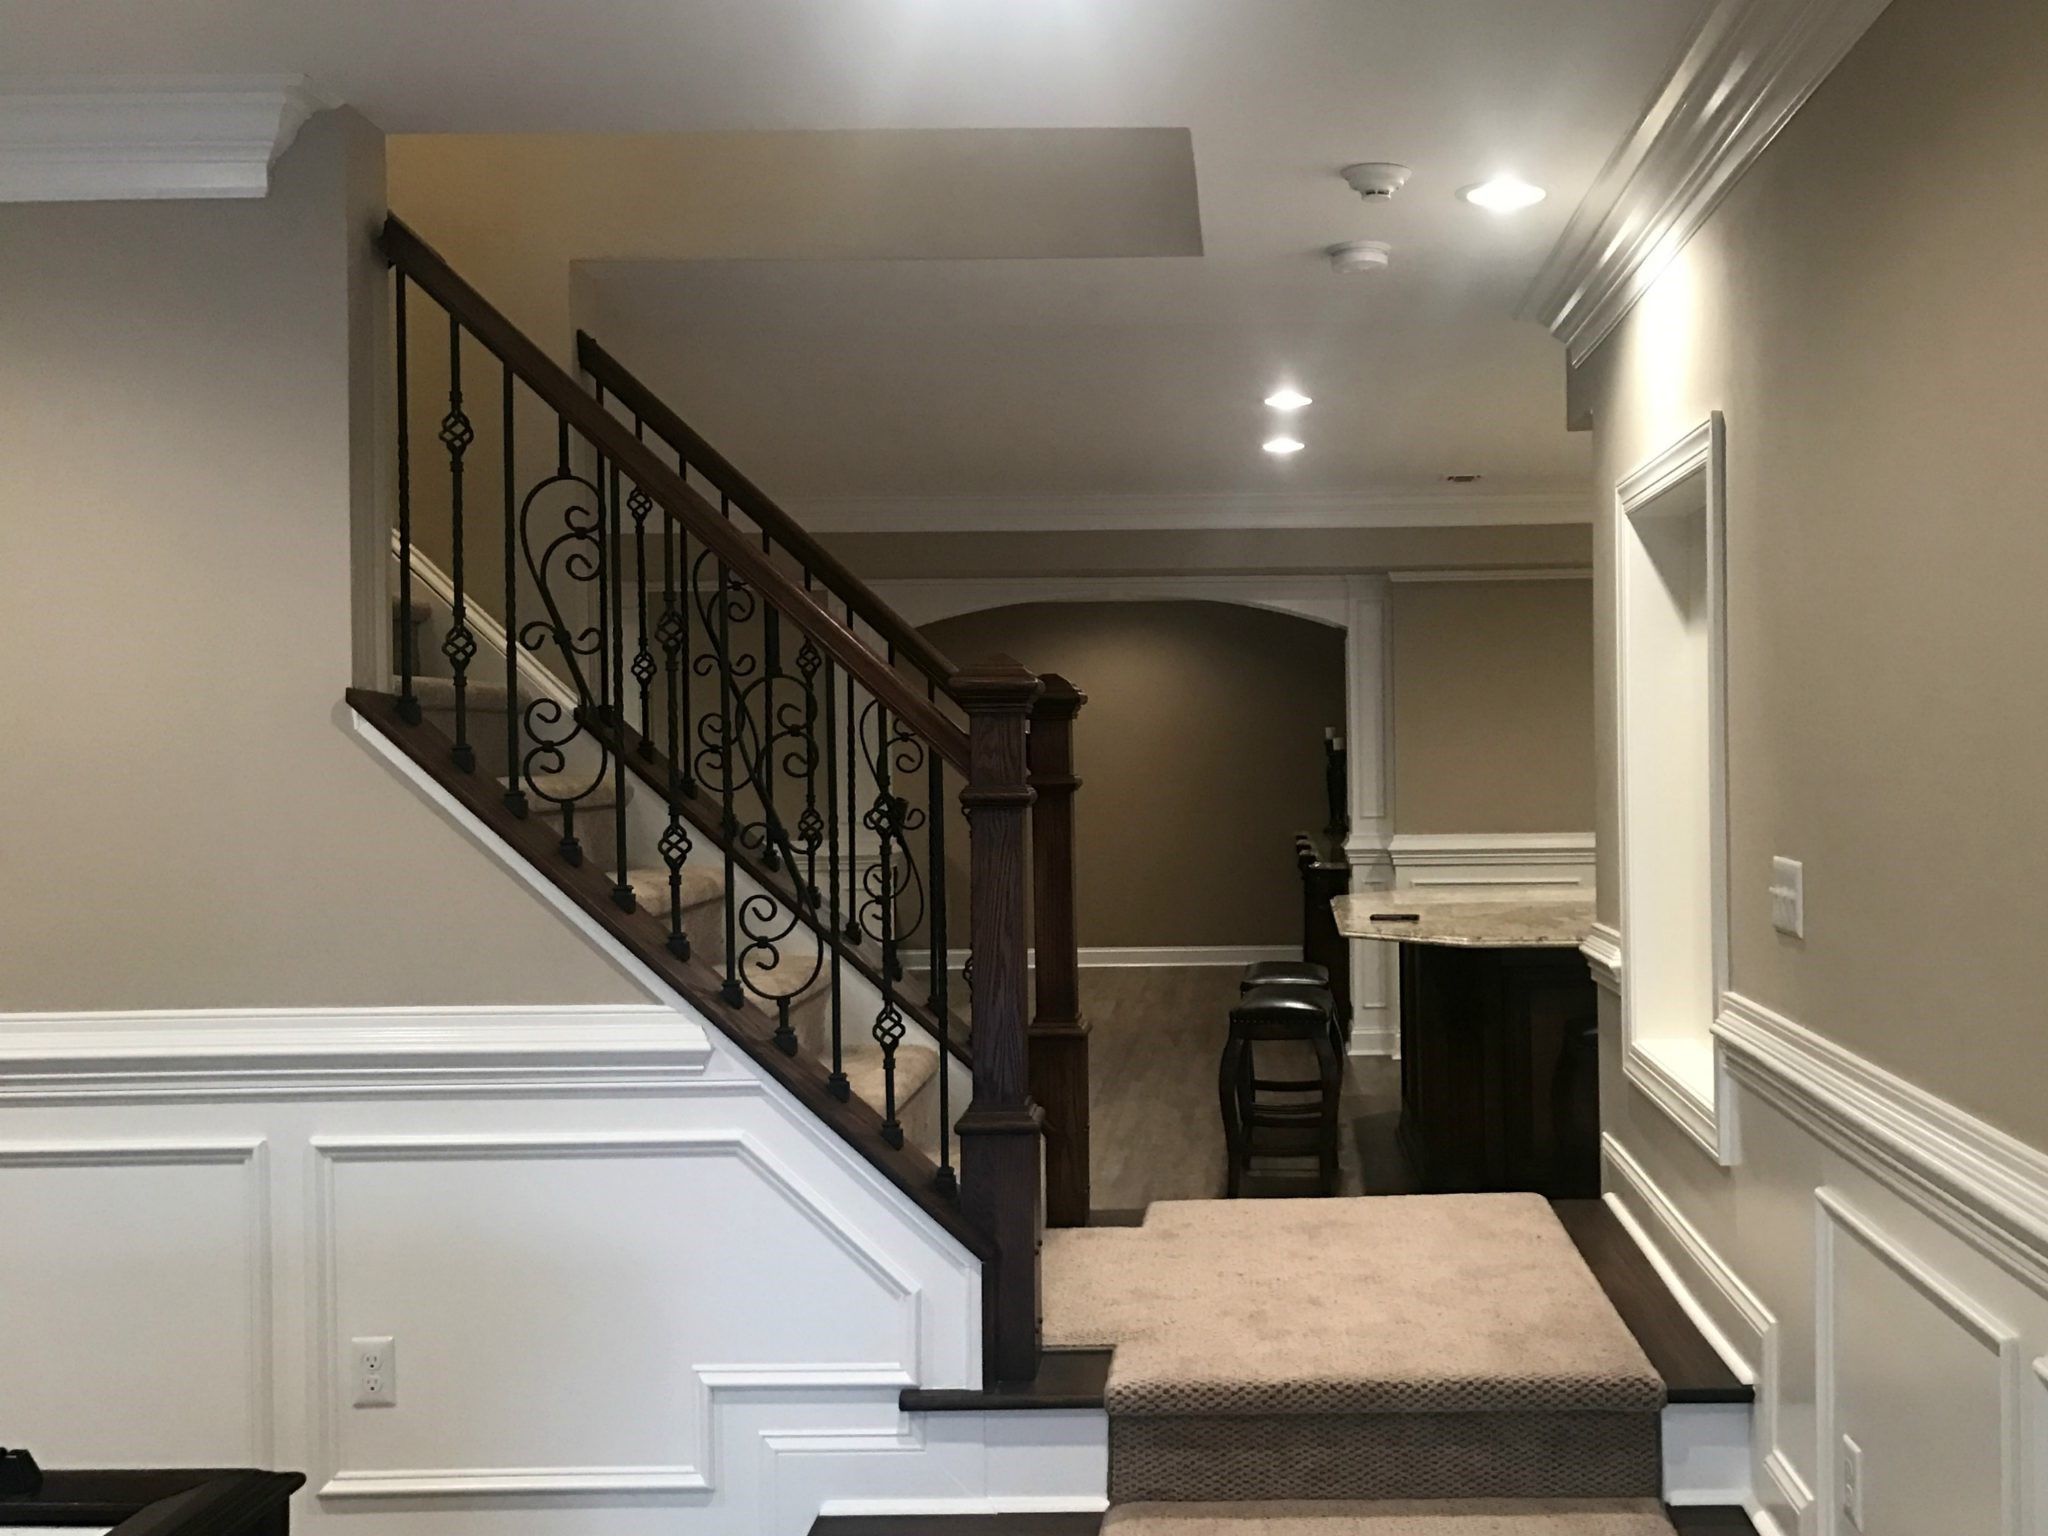
DIY Basement Stair Railing Installation
Published: August 29, 2024
Learn how to install a basement stair railing with our step-by-step DIY guide. Ensure safety and add style to your home with these easy-to-follow instructions.
(Many of the links in this article redirect to a specific reviewed product. Your purchase of these products through affiliate links helps to generate commission for Twigandthistle.com, at no extra cost. Learn more)
Installing a stair railing in your basement can seem challenging, but with the right tools and guidance, you can do it yourself. Whether you're looking to improve safety or add a touch of style, setting up a railing is a practical project. This guide will walk you through the steps needed, from measuring your stairs to securing the final piece. You'll need some basic tools, a bit of patience, and a clear weekend to get started. By the end, you'll have a sturdy, safe railing that you installed yourself, adding value to your home. Ready to begin? Let's get started!
Preparation Steps
Measure the Space: Use a tape measure to get the exact dimensions of your staircase. Write down the height, length, and width.
Gather Materials: Collect all necessary materials like the railing, brackets, screws, anchors, and a level. Make sure everything matches your measurements.
Safety Gear: Wear safety goggles, gloves, and ear protection. Keep a first aid kit nearby.
Clear the Area: Remove any obstacles from the workspace. Ensure the stairs are clean and dry.
Mark the Spots: Use a pencil to mark where the brackets will go. Double-check measurements to ensure accuracy.
Pre-Drill Holes: Use a drill to make pilot holes for the screws. This helps prevent wood from splitting.
Check for Studs: Use a stud finder to locate wall studs. Anchoring into studs provides better support.
Set Up Tools: Arrange tools like a drill, screwdriver, level, and measuring tape within easy reach.
Test Fit: Place the railing temporarily to ensure everything lines up correctly. Adjust as needed.
Ventilation: Ensure good airflow if using adhesives or paints. Open windows or use fans.
Lighting: Make sure the area is well-lit. Use portable lights if necessary.
Emergency Plan: Have a phone nearby in case of emergencies. Know the quickest route to exit the basement.
Gathering Materials and Tools
- Measuring Tape: Used to measure the length of the railing and the distance between posts.
- Level: Ensures the railing is installed straight and even.
- Drill: Needed for making holes in the wall and stairs to attach the railing.
- Screws and Anchors: Secure the railing to the wall and stairs.
- Screwdriver: Tightens screws and anchors.
- Saw: Cuts the railing to the correct length.
- Sandpaper: Smooths any rough edges on the railing.
- Pencil: Marks where to drill holes and cut the railing.
- Safety Goggles: Protects eyes from dust and debris.
- Gloves: Protects hands while working with tools and materials.
- Railing Kit: Includes the railing, brackets, and any additional hardware needed for installation.
- Stud Finder: Locates wall studs to ensure the railing is securely attached.
- Wrench: Tightens bolts and nuts on the railing brackets.
- Carpenter’s Square: Ensures right angles when cutting and installing the railing.
- Masking Tape: Marks cutting lines and protects surfaces from scratches.
Required Skills and Time
Skill Level: Intermediate
Time Required: 4-6 hours
- Measure and Plan: 30 minutes
- Gather Materials: 15 minutes
- Cut and Prepare Wood: 1 hour
- Install Brackets: 1 hour
- Attach Railing: 1 hour
- Finishing Touches: 1-2 hours
Detailed Installation Guide
Measure the Space
- Measure the length of the stairs.
- Determine the height of the railing.
Gather Materials
- Purchase railing, brackets, screws, anchors, and a level.
- Get a drill, screwdriver, measuring tape, pencil, and saw.
Cut the Railing
- Cut the railing to the measured length.
- Sand the edges for a smooth finish.
Mark Bracket Locations
- Use a pencil to mark where brackets will go.
- Ensure they are evenly spaced.
Drill Pilot Holes
- Drill small holes where the brackets will be attached.
- Use a level to ensure straight alignment.
Attach Brackets
- Screw brackets into the wall using anchors if needed.
- Double-check alignment with a level.
Install the Railing
- Place the railing onto the brackets.
- Secure it with screws.
Check Stability
- Ensure the railing is firmly attached.
- Test by applying pressure.
Finish Up
- Clean up any debris.
- Touch up with paint if necessary.
Helpful Tips and Tricks
Measure twice, cut once. Accurate measurements ensure a snug fit and reduce waste. Use a level to keep everything straight. A crooked railing looks bad and can be unsafe.
Pre-drill holes before screwing in the brackets. This prevents wood from splitting and makes installation easier. Use a stud finder to locate wall studs for secure bracket attachment. Drywall alone won't hold the weight.
Sand the railing before installation. Smooth surfaces prevent splinters and make painting or staining easier. Paint or stain the railing before attaching it. This avoids messes on walls and floors.
Common mistakes to avoid include not checking local building codes. These codes ensure safety and compliance. Skipping the level can result in uneven railings. Using the wrong screws can lead to weak attachments. Always use screws designed for wood or metal, depending on your railing material.
Alternatives for materials include using metal railings instead of wood. Metal can be more durable and require less maintenance. Cable railings offer a modern look and are easier to clean. Glass panels can replace traditional spindles for a sleek, open feel.
Budgeting for Your Project
Materials:
- Wooden Handrail: $50-$100
- Balusters: $2-$5 each (estimate 10-15 balusters, $20-$75)
- Newel Posts: $30-$70 each (usually 2, $60-$140)
- Mounting Brackets: $10-$20
- Screws and Anchors: $10-$15
- Wood Stain or Paint: $15-$30
- Sandpaper: $5-$10
Tools:
- Drill: $40-$100 (if not already owned)
- Saw: $30-$100 (if not already owned)
- Measuring Tape: $5-$15
- Level: $10-$20
- Screwdriver Set: $10-$20
- Paintbrushes: $5-$10
Total Cost: $270-$655
Budget-Friendly Alternatives:
- Reuse Existing Handrail: Save $50-$100
- PVC or Metal Balusters: $1-$3 each (save $10-$30)
- DIY Newel Posts: Use scrap wood (save $30-$70)
- Borrow Tools: Save $100-$200 by borrowing from friends or neighbors
Creative Customization Ideas
Materials: Instead of traditional wood, consider using metal or glass for a modern look. PVC is another option for a budget-friendly, durable choice.
Colors: Paint the railing in bold colors like red or blue for a pop of color. For a more classic look, use neutral tones like white, black, or gray. Staining wood can also bring out its natural beauty.
Styles: Opt for a minimalist design with clean lines and simple shapes. For a rustic feel, use reclaimed wood or wrought iron. Cable railings offer a sleek, contemporary style.
Finishes: Choose a matte finish for a modern touch or a glossy finish for a polished look. Brushed metal can add an industrial vibe.
Decorative Elements: Add decorative brackets or ornate balusters for a unique touch. LED strip lights under the railing can provide both safety and ambiance.
Handrail Shapes: Experiment with different handrail shapes like round, square, or rectangular profiles. Ergonomic designs can also make the railing more comfortable to use.
Safety Features: Incorporate non-slip grips or textured finishes to enhance safety. Child-proof gates can be added for homes with young children.
Integration: Blend the railing with the existing decor by using matching materials or complementary colors. Built-in storage or shelving can also be integrated into the railing design.
Eco-Friendly Installation Tips
Reclaimed wood makes a great choice for stair railings. It adds character and reduces waste. Look for old barn wood or salvaged lumber from construction sites.
Bamboo is another eco-friendly option. It grows quickly and is very strong. Bamboo railings can give a modern look to your basement stairs.
Recycled metal can be used for railing brackets or balusters. Check scrap yards or metal recycling centers for materials. This reduces the need for new metal production.
Low-VOC paints and finishes are better for the environment and your health. They release fewer harmful chemicals into the air. Use these to seal and protect your railing.
Natural oils like linseed or tung oil can also be used to finish wood railings. These oils are biodegradable and non-toxic.
Reuse existing materials whenever possible. If your old railing is still sturdy, consider refinishing it instead of replacing it. This saves resources and money.
Eco-friendly adhesives are available for securing parts of your railing. Look for water-based or plant-based options.
Solar-powered tools can help reduce your carbon footprint. Use these for cutting, sanding, and drilling.
Local sourcing of materials reduces transportation emissions. Buy wood, metal, or other supplies from nearby suppliers.
Proper insulation around your basement stairs can help save energy. This keeps your home warmer in winter and cooler in summer, reducing the need for heating and cooling.
Your Basement's New Look
You've done it! Installing your own basement stair railing wasn't just a money-saver, it also gave you a chance to flex those DIY muscles. From measuring and cutting to drilling and securing, each step brought you closer to a safer, more stylish basement. Sure, there were moments of doubt, maybe even a few missteps, but look at what you've accomplished. Your hard work has paid off, and now you have a sturdy, attractive railing to show for it. Plus, you've gained some valuable skills along the way. Next time you tackle a home project, you'll have even more confidence. So, take a moment to admire your handiwork, then start dreaming up your next DIY adventure. Your basement's new look is just the beginning.
How do I measure for a new basement stair railing?
Measure the length of the stairs from the top step to the bottom step. Then, measure the height from the bottom step to the top of the stairs. Don’t forget to measure the width of the stairs too.
What tools will I need for installing a stair railing?
You’ll need a drill, screws, a level, a tape measure, a saw, and safety goggles. A stud finder can also be handy.
Can I install a stair railing by myself?
Yes, you can! Just make sure to follow the instructions carefully and take your time. Having a helper can make the job easier, especially when holding the railing in place.
How high should the stair railing be?
The railing should be between 34 to 38 inches above the stair treads. This height is comfortable for most people and meets building codes.
What materials are best for a basement stair railing?
Wood and metal are popular choices. Wood gives a classic look, while metal can be more modern and durable. Choose what fits your style and budget.
How do I ensure the railing is secure?
Make sure to anchor the railing into studs or use wall anchors if attaching to drywall. Double-check that all screws are tight and the railing doesn’t wobble.
Do I need a permit to install a stair railing?
It depends on your local building codes. Some areas require a permit for any structural changes, while others do not. Check with your local authorities to be sure.