
Home>Home & Furniture>Doors & Windows>How to Make DIY Car Window Screens
Doors & Windows
How to Make DIY Car Window Screens
Published: August 10, 2024
Learn how to make DIY car window screens with our step-by-step guide. Keep bugs out and enjoy fresh air on your road trips. Easy, affordable, and effective solutions!
(Many of the links in this article redirect to a specific reviewed product. Your purchase of these products through affiliate links helps to generate commission for Twigandthistle.com, at no extra cost. Learn more)
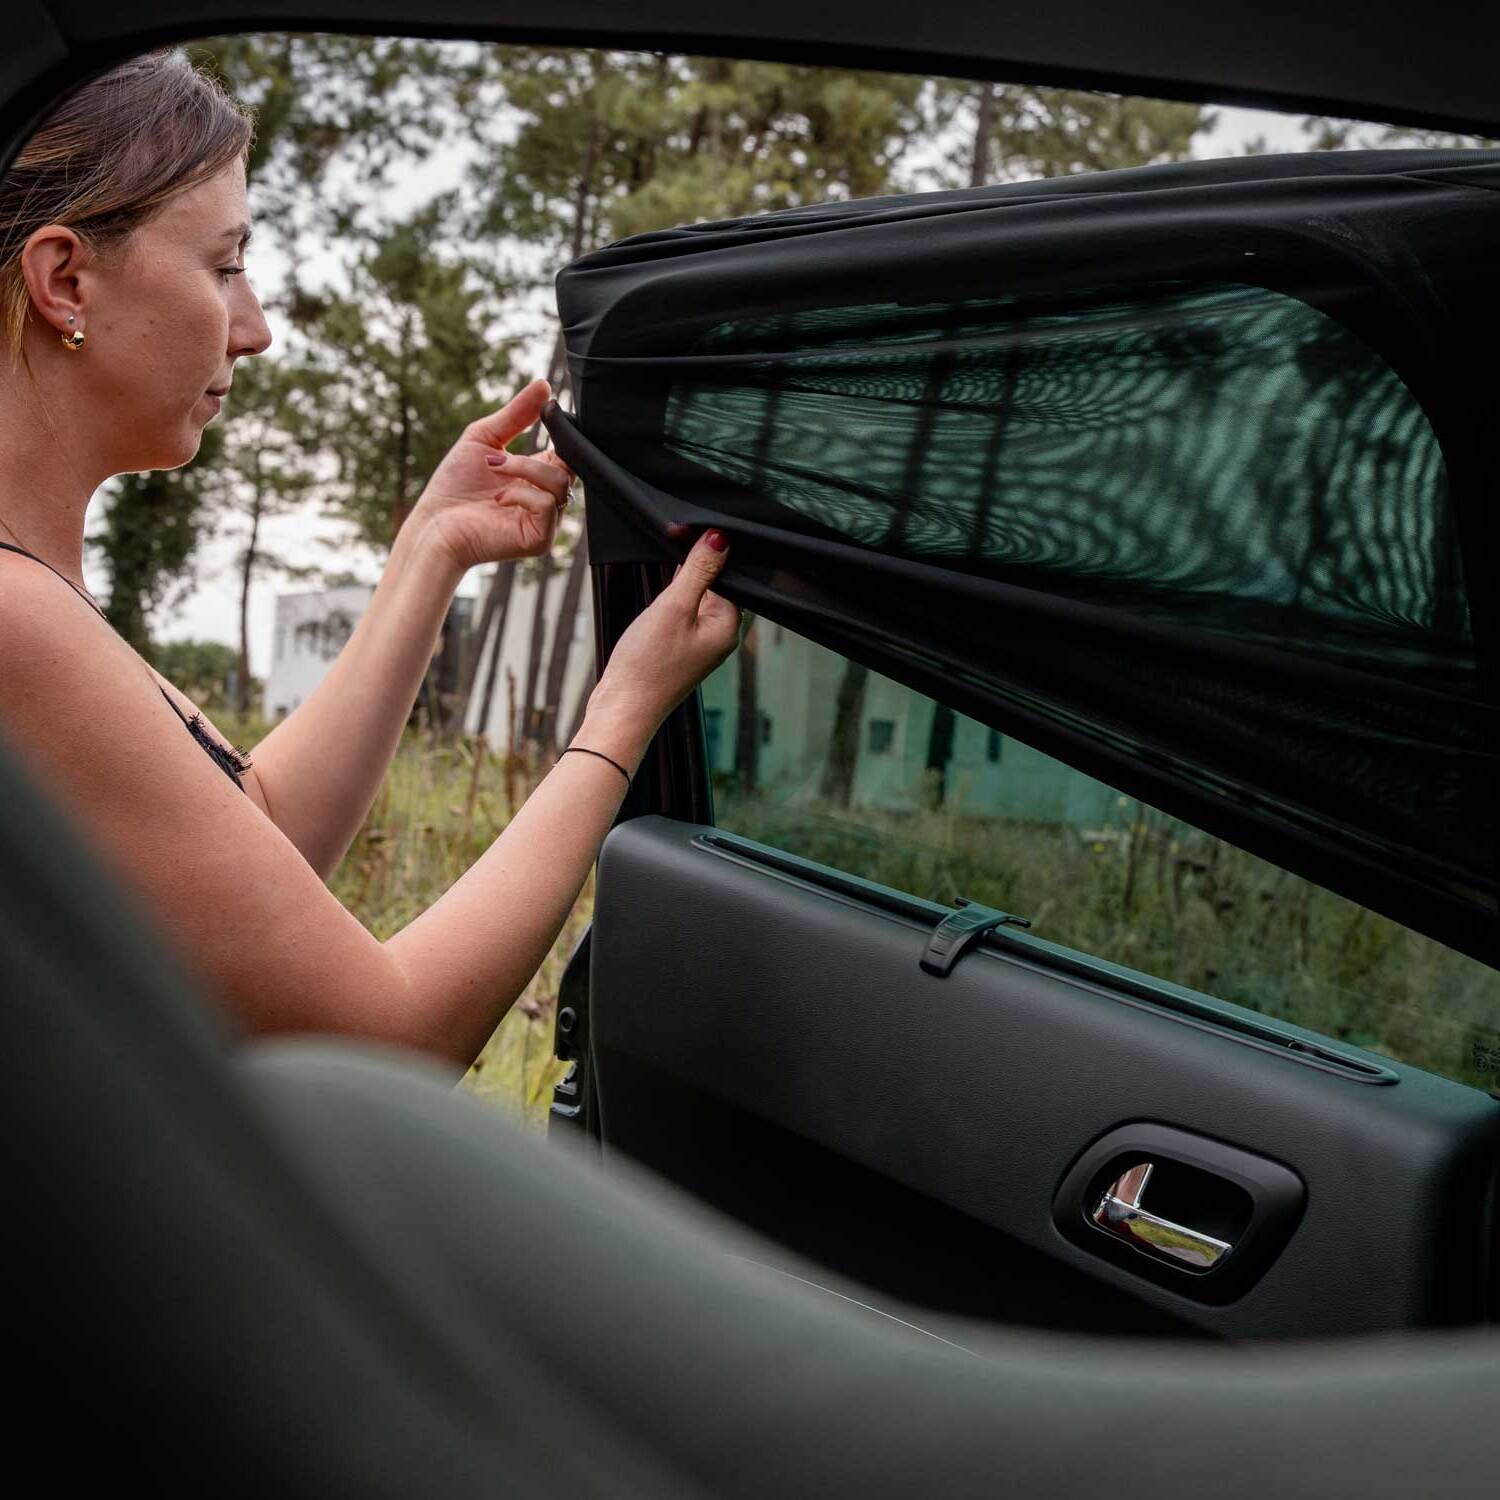
Ever wanted to make your own car window screens? It's easier than you think! Whether you're planning a road trip or just want some fresh air without bugs, DIY car window screens can be a game-changer. You'll save money, and customize them to fit perfectly. This project is great for beginners, and you probably already have most of the materials at home. Stick around to learn the steps, and soon, you’ll have cool, bug-free rides. Ready to get started? Let's dive into this simple yet effective project together.
Getting Ready for Your Project
Gather Materials: Get mesh fabric, magnetic strips, scissors, measuring tape, and adhesive.
Measure Windows: Use the measuring tape to find the dimensions of your car windows. Write these down.
Cut Mesh Fabric: Cut the mesh fabric to fit the window measurements. Add an extra inch on each side for adjustments.
Attach Magnetic Strips: Cut magnetic strips to match the edges of the mesh fabric. Attach them using adhesive.
Test Fit: Place the mesh fabric with magnetic strips on the car window to ensure it fits snugly. Adjust if needed.
Secure Edges: Use additional adhesive or clips to secure any loose edges.
Safety Tips:
- Wear Gloves: Protect your hands while cutting mesh fabric and magnetic strips.
- Work in a Ventilated Area: Use adhesive in a well-ventilated space to avoid inhaling fumes.
- Keep Tools Organized: Avoid accidents by keeping scissors and other tools in a safe place.
Workspace Setup:
- Clean Surface: Ensure your workspace is clean and flat.
- Good Lighting: Work in a well-lit area to see clearly.
- Trash Bin: Keep a trash bin nearby for scraps and waste.
What You Need: Materials and Tools
Window Screen Mesh: This material keeps bugs out while allowing air to flow. Choose a mesh size that suits your needs.
Magnetic Tape: Used to attach the screen to the car window frame. It provides a secure yet removable hold.
Scissors: Essential for cutting the mesh and magnetic tape to the right size.
Measuring Tape: Helps measure the car window dimensions accurately to ensure a perfect fit.
Marker: Useful for marking measurements on the mesh before cutting.
Adhesive Velcro Strips: An alternative to magnetic tape, these strips can also secure the screen to the window frame.
Utility Knife: Handy for trimming any excess mesh or tape for a clean finish.
Ruler: Ensures straight cuts and precise measurements.
Clamps: Hold the mesh in place while attaching the magnetic tape or Velcro strips.
Cleaning Cloth: Wipe down the window frame before attaching the screen to ensure a good bond.
Skill Level and Time Commitment
Skill Level: Intermediate
Time Required: 2-3 hours
- Measure Windows: 15 minutes
- Cut Materials: 30 minutes
- Assemble Frames: 45 minutes
- Attach Screen: 30 minutes
- Install Screens: 15 minutes
Tools Needed:
- Measuring tape
- Scissors
- Utility knife
- Screwdriver
- Staple gun
Materials Needed:
- Screen mesh
- Frame kit
- Screws
- Adhesive strips
Follow These Steps
Gather Materials:
- Window screen mesh
- Magnetic tape or magnets
- Scissors
- Measuring tape
- Marker
- Adhesive Velcro strips (optional)
Measure Windows:
- Use the measuring tape to find the dimensions of the car windows.
- Write down the measurements.
Cut Screen Mesh:
- Lay out the window screen mesh on a flat surface.
- Use the marker to outline the window measurements on the mesh.
- Cut the mesh along the marked lines.
Attach Magnets:
- Place magnetic tape or individual magnets around the edges of the mesh.
- Ensure magnets are evenly spaced for a secure fit.
- If using magnetic tape, cut it into small pieces and stick them to the mesh edges.
Test Fit:
- Place the mesh screen against the car window.
- Adjust the position to ensure it fits snugly and covers the entire window.
Secure Screen:
- If the magnets hold well, the screen is ready to use.
- For extra security, attach adhesive Velcro strips to the car window frame and the mesh edges.
Trim Excess Mesh:
- If there is any excess mesh, trim it off with scissors.
- Make sure the edges are neat and clean.
Repeat for Other Windows:
- Follow the same steps for any additional windows you want to cover.
Store Screens:
- When not in use, store the screens flat or rolled up to prevent damage.
Helpful Tips and Tricks
Measure your windows accurately before starting. Use a flexible measuring tape to get precise dimensions.
Choose the right mesh material. Fiberglass mesh is durable and easy to work with, while aluminum mesh is stronger but harder to cut.
Cut the mesh slightly larger than your window measurements. This ensures a snug fit and allows for adjustments.
Use strong magnets or Velcro strips to attach the screens. Magnets are easy to remove, while Velcro provides a more secure hold.
Reinforce the edges with duct tape or fabric tape to prevent fraying and add durability.
Test the fit before finalizing. Make sure the screen fits well and doesn't interfere with window operation.
Common mistakes to avoid:
- Skipping measurements: Always measure twice to avoid errors.
- Using weak adhesives: Weak adhesives won't hold the screen securely.
- Ignoring edge reinforcement: Unreinforced edges can fray and reduce screen life.
Alternatives for materials or methods:
- Magnetic strips instead of individual magnets for a cleaner look.
- Plastic mesh for a lightweight option, though less durable.
- Snap-on frames for a more professional finish, though more complex to make.
Estimating the Cost
Materials:
- Fiberglass screen mesh: $10-$15 for a roll
- Magnetic tape: $10 for a roll
- Velcro strips: $5-$10 for a pack
- Weatherstripping: $5 for a roll
- Duct tape: $3-$5 for a roll
Tools:
- Scissors: $5-$10
- Measuring tape: $5-$10
- Utility knife: $5-$10
Total Cost: $48-$75
Budget-Friendly Alternatives:
- Use old window screens if available for free.
- Substitute magnetic tape with strong adhesive Velcro to save $5.
- Replace weatherstripping with foam tape for $3.
Revised Total Cost: $40-$65
Different Ways to Customize
Materials: Instead of standard mesh, try using solar screen fabric for better sun protection. Pet-resistant mesh can be used if you have pets that might scratch the screens. For a more eco-friendly option, consider recycled plastic mesh.
Colors: Choose black mesh for a sleek look or gray mesh for a more subtle appearance. Colored mesh like blue or green can add a fun touch to your car. Reflective mesh can help reduce heat inside the car.
Styles: Opt for magnetic strips instead of Velcro for easier attachment and removal. Use elastic bands around the edges to fit different window sizes snugly. Custom shapes like rounded corners can give a more polished look.
Frames: Use PVC piping for a sturdy frame or flexible wire for a more adaptable shape. Wooden dowels can add a rustic touch. Foam tubing can provide a softer edge, making it safer for kids and pets.
Additional Features: Add zippers for easy access to open and close windows without removing the screen. Sew in pockets to hold small items like sunglasses or maps. Attach reflective tape for better visibility at night.
Eco-Friendly Suggestions
Eco-friendly materials can make your DIY car window screens both functional and sustainable. Start by reusing old window screens or mesh fabric from other projects. If you don't have any, look for recycled mesh at a local hardware store.
For the frame, consider using bamboo or reclaimed wood instead of plastic. Bamboo grows quickly and is a renewable resource, while reclaimed wood gives new life to old materials.
To secure the mesh to the frame, use natural fiber twine or recycled zip ties. These options reduce plastic waste and are often biodegradable.
When attaching the screen to your car window, reusable suction cups can be a great choice. They can be found at many stores and can be used repeatedly, reducing waste.
Finally, if you need to sew any parts, use organic cotton thread. It’s biodegradable and has a lower environmental impact compared to synthetic threads.
By choosing these eco-friendly materials, you can create a sustainable and effective car window screen.
Your DIY Adventure Awaits
Making DIY car window screens is a fun, practical project. With just a few materials and some patience, you can create custom screens that fit your car perfectly. These screens will keep bugs out, let fresh air in, and provide some privacy. Plus, you’ll save money compared to buying pre-made ones. Remember to measure your windows carefully, choose the right mesh, and secure everything properly. If you run into any issues, don’t hesitate to tweak your design. The beauty of DIY is that you can always adjust things to suit your needs. So, gather your supplies, roll up your sleeves, and get started. You’ll be proud of what you’ve made and enjoy the benefits every time you hit the road. Happy crafting!
How do I measure my car windows for screens?
Use a tape measure to get the width and height of the window. Measure from the inside edges of the window frame for accuracy.
What materials will I need?
You’ll need mesh fabric, magnets or Velcro, scissors, and a sewing kit or fabric glue.
Can I use any type of mesh fabric?
It's best to use fiberglass or polyester mesh. These materials are durable and easy to clean.
How do I attach the screens to my car windows?
Attach the screens using magnets or Velcro strips. Magnets are quicker, but Velcro provides a more secure fit.
Will the screens affect my car's window operation?
If installed correctly, the screens shouldn't interfere with rolling the windows up or down. Just make sure they’re secure but not too tight.
How do I clean the screens?
Remove the screens and wash them with mild soap and water. Let them air dry before reattaching.
Can I make screens for any type of car?
Yes, you can customize the screens to fit any car window by adjusting the measurements and materials.