
Home>Home & Furniture>Doors & Windows>How to Build a DIY Concession Window
Doors & Windows
How to Build a DIY Concession Window
Published: August 11, 2024
Learn how to build a DIY concession window with our step-by-step guide. Perfect for food trucks, kiosks, and home projects. Enhance your space with a functional, stylish window.
(Many of the links in this article redirect to a specific reviewed product. Your purchase of these products through affiliate links helps to generate commission for Twigandthistle.com, at no extra cost. Learn more)
Thinking about setting up your own concession window? It's a fantastic way to serve snacks, drinks, or even meals from home. Building one might seem complicated, but with some basic tools and materials, you can create a sturdy and functional window. By following a few straightforward steps, you'll have your concession window up and running in no time. Whether you want to start a small business or simply add a cool feature to your home, this project is both rewarding and practical. Ready to get into it? Let’s get started on creating that perfect concession window.
Preparation Steps
Measure the Opening: Use a tape measure to get the exact dimensions of the window space. Write these down to avoid mistakes.
Gather Materials: Collect plywood, hinges, screws, a latch, paint, and a window handle. Make sure everything is within reach.
Safety Gear: Wear safety goggles, gloves, and a dust mask. This protects your eyes, hands, and lungs from debris.
Clear the Workspace: Remove any clutter from the area. Ensure you have enough room to move around freely.
Check Tools: Ensure your saw, drill, screwdriver, and measuring tape are in good working condition. Charge any battery-operated tools.
Mark the Cut Lines: Use a pencil and straight edge to mark where you will cut the plywood. Double-check measurements before cutting.
Secure the Plywood: Clamp the plywood to a stable surface to prevent it from moving while you cut.
Cut the Plywood: Follow the marked lines carefully. Use a saw to cut the plywood to the correct size.
Sand the Edges: Smooth out any rough edges with sandpaper to prevent splinters.
Prime and Paint: Apply a coat of primer to the plywood. Once dry, paint it in your desired color.
Install Hinges: Attach hinges to the top edge of the plywood. Make sure they are evenly spaced.
Attach the Latch and Handle: Secure the latch on the inside and the handle on the outside. Ensure they are firmly attached.
Test the Window: Open and close the window several times to make sure it operates smoothly. Adjust if necessary.
Gather Your Materials and Tools
Materials:
- Plywood Sheets: Used for the main structure of the window.
- 2x4 Lumber: Provides support and framing.
- Hinges: Allows the window to open and close.
- Latch: Keeps the window securely closed.
- Weatherstripping: Seals gaps to prevent drafts.
- Paint or Stain: Protects the wood and adds a finished look.
- Screws and Nails: Holds everything together.
- Plexiglass or Glass Pane: Creates the actual window.
Tools:
- Measuring Tape: Ensures accurate measurements.
- Circular Saw: Cuts the plywood and lumber.
- Drill: Makes holes for screws and hinges.
- Screwdriver: Tightens screws.
- Hammer: Drives nails into place.
- Level: Ensures everything is straight.
- Paintbrush or Roller: Applies paint or stain.
- Safety Gear: Protects eyes and hands during construction.
Required Skills and Time Commitment
Skill Level: Intermediate
Time Required: 2-3 days
- Gather Materials: 1-2 hours
- Measure and Cut Wood: 3-4 hours
- Assemble Frame: 2-3 hours
- Install Hinges and Latch: 1-2 hours
- Paint or Stain: 4-6 hours (including drying time)
- Install Window: 2-3 hours
Detailed Step-by-Step Guide
Gather Materials:
- Plywood sheets
- Hinges
- Screws
- Window latch
- Paint or stain
- Measuring tape
- Saw
- Drill
- Sandpaper
Measure and Cut:
- Measure the desired size for the window opening.
- Cut the plywood to fit the opening. You will need two pieces: one for the window and one for the frame.
Build the Frame:
- Cut four pieces of plywood to create the frame.
- Attach the pieces together using screws to form a rectangular frame.
Attach Hinges:
- Secure hinges to the top edge of the window piece.
- Attach the other side of the hinges to the top of the frame. This allows the window to open upwards.
Install the Latch:
- Attach a window latch to the bottom of the window piece.
- Secure the latch to the frame to keep the window closed when not in use.
Sand and Paint:
- Sand all edges and surfaces to smooth out any rough spots.
- Paint or stain the window and frame to protect the wood and match your desired look.
Install the Window:
- Place the frame into the opening of your concession stand.
- Secure the frame with screws to ensure it is stable.
Test the Window:
- Open and close the window to ensure it operates smoothly.
- Make any necessary adjustments to the hinges or latch.
Final Touches:
- Add any additional features like handles or decorative trim.
- Clean up the area and enjoy your new concession window!
Helpful Tips and Tricks
Measure twice, cut once. Accurate measurements prevent costly mistakes. Use a level to ensure everything is straight.
Pre-drill holes before screwing to avoid splitting the wood. This makes assembly smoother.
Use weather-resistant materials like treated lumber or marine plywood. These last longer and withstand outdoor conditions better.
Install a sturdy latch for security. A good latch keeps the window secure when not in use.
Seal all edges with caulk or weather stripping. This keeps out moisture and pests.
Paint or stain the wood to protect it from the elements. Choose outdoor paint or stain for durability.
Common mistakes to avoid:
Skipping the primer before painting. Primer helps paint adhere better and last longer.
Using indoor materials that can't handle weather. Always choose materials meant for outdoor use.
Not checking for level frequently. An uneven window can cause issues with opening and closing.
Alternatives for materials or methods:
Instead of glass, consider using plexiglass. It's shatter-resistant and safer for outdoor use.
For hinges, try using piano hinges. They provide more support and distribute weight evenly.
Instead of screws, use bolts for added strength, especially in high-stress areas.
Estimating the Cost
Plywood: $50-$100 per sheet, depending on thickness and quality. You might need 2-3 sheets.
2x4 Lumber: $3-$5 per piece. Estimate needing around 10-15 pieces.
Hinges: $10-$20 for a set of heavy-duty hinges.
Window Latch: $5-$15 for a secure latch.
Weatherstripping: $10-$20 for a roll to seal the edges.
Paint or Stain: $20-$40 for a gallon, depending on the brand.
Screws and Nails: $10-$20 for a box of each.
Caulk: $5-$10 for a tube to seal gaps.
Tools: If you don’t already own them, a circular saw ($50-$100), drill ($40-$80), measuring tape ($5-$10), level ($10-$20), and paintbrushes ($5-$15) will be necessary.
Total Cost: Roughly $250-$500, depending on the quality of materials and tools.
Budget-Friendly Alternatives:
- Use reclaimed wood or pallets instead of new plywood and lumber.
- Borrow tools from friends or rent them from a local hardware store.
- Look for discounted paint or stain at clearance sales.
- Check online marketplaces for second-hand materials and tools.
Different Variations and Customizations
Materials: Instead of using wood for the frame, try aluminum or PVC for a more modern look. For the window itself, consider plexiglass instead of traditional glass for added durability.
Colors: Paint the frame in bright colors like red, blue, or yellow to make it stand out. For a more rustic feel, use stains in shades like walnut or mahogany.
Styles: Add shutters on either side of the window for a classic touch. Install a roll-up or folding window instead of a standard sliding one for a unique twist.
Countertops: Use granite or quartz for a high-end finish. For a budget-friendly option, try laminate or butcher block.
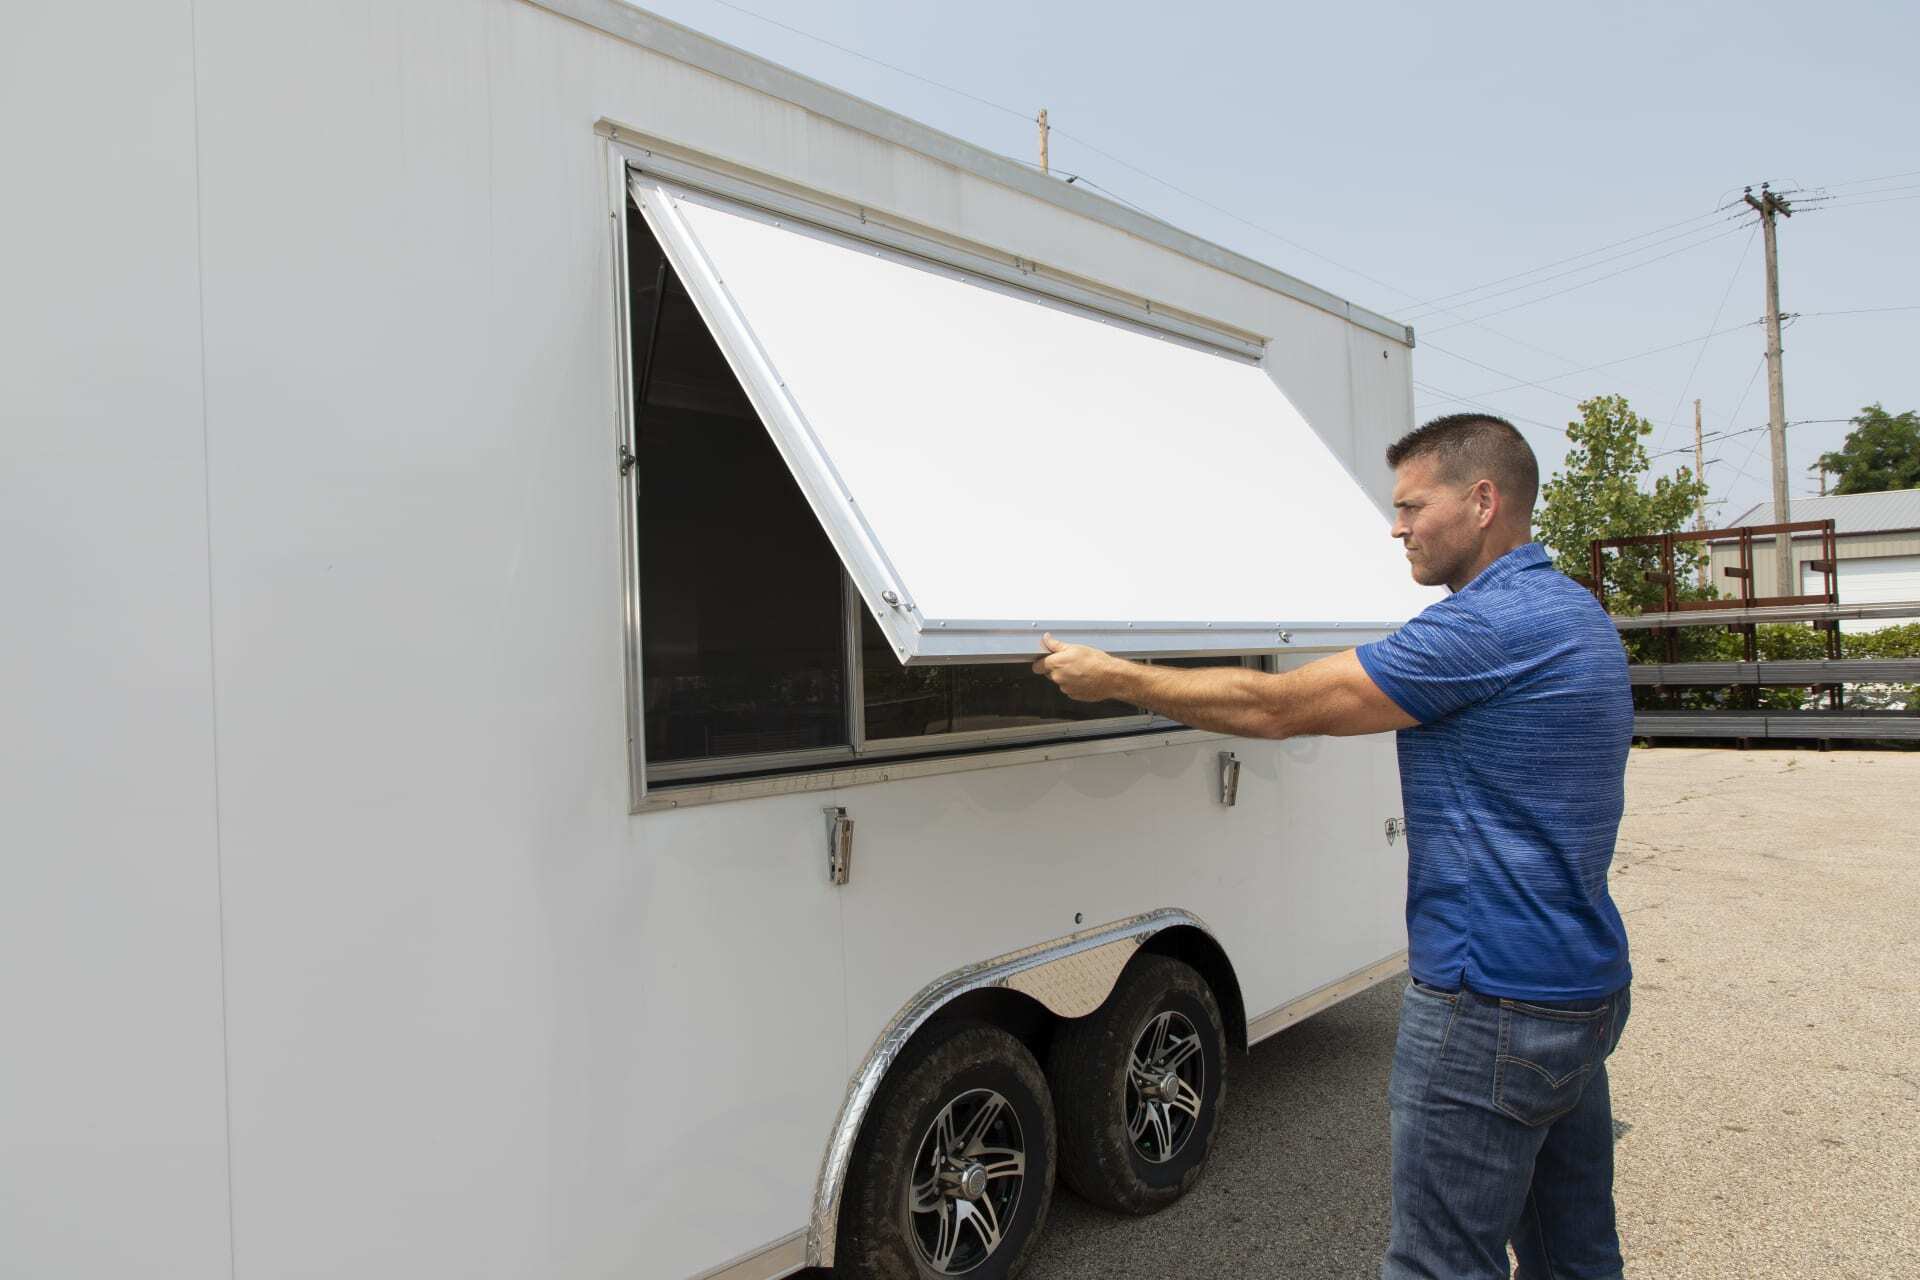
Awning: Install a retractable awning above the window to provide shade and protection from the elements. Choose striped or patterned fabric for added flair.
Signage: Add a chalkboard or whiteboard above the window for daily specials. Consider neon signs for a retro vibe.
Lighting: Install string lights or LED strips around the window for evening use. Use solar-powered lights for an eco-friendly option.
Shelving: Add shelves below the window for extra storage or display space. Use floating shelves for a sleek look or brackets for a more industrial style.
Decor: Hang planters with flowers or herbs around the window. Add decorative trim or molding to the frame for added detail.
Eco-Friendly Tips
Reclaimed Wood: Use old pallets or barn wood for the frame. Sand and treat it to ensure durability.
Recycled Glass: Find old windows or glass doors at salvage yards. Clean and cut them to fit your design.
Eco-Friendly Paint: Choose low-VOC or zero-VOC paint to reduce harmful emissions.
Insulation: Use recycled denim or wool insulation to keep the area energy-efficient.
Hardware: Look for second-hand hinges, handles, and locks at thrift stores or online marketplaces.
Sealants: Opt for natural sealants like beeswax or linseed oil to protect the wood.
Solar Lighting: Install solar-powered lights around the window for an eco-friendly lighting solution.
Rainwater Collection: Set up a rainwater collection system to clean the concession area or water nearby plants.
Energy-Efficient Glass: Use double-pane or low-E glass to improve insulation and reduce energy costs.
Recycled Metal: Use scrap metal for any brackets or supports needed. Clean and treat it to prevent rust.
Your DIY Concession Window Awaits
Building a DIY concession window isn't just about saving money; it's about creating something unique. You've learned how to measure, cut, and assemble materials, turning a simple idea into a functional piece. Remember to double-check all measurements and secure everything tightly. Safety first, always. With patience and a bit of elbow grease, your project will stand the test of time.
Now, you're ready to serve up snacks or drinks with pride. Whether for a food truck, a backyard bar, or a community event, this window will be a hit. Enjoy the satisfaction of knowing you built it yourself. Keep experimenting, learning, and creating. Who knows? This might just be the start of many more DIY adventures. Happy building!
What materials do I need to build a DIY concession window?
You'll need plywood, 2x4 lumber, hinges, screws, a latch, weatherstripping, and paint. Also, grab a saw, drill, and measuring tape.
How do I measure the opening for the window?
Measure the width and height of the space where the window will go. Add an extra 1/4 inch to each side for clearance.
What's the best way to cut the plywood?
Use a circular saw for straight cuts. Always measure twice, cut once. Wear safety goggles and gloves.
How do I attach the hinges?
Place the hinges on the top edge of the window. Mark the spots, then drill pilot holes. Screw the hinges into place.
How do I weatherproof the window?
Apply weatherstripping around the edges of the window frame. This keeps out rain and wind.
Can I paint the window?
Absolutely! Use outdoor paint for durability. Sand the wood first, then apply a primer before painting.
How do I secure the window when it's closed?
Install a latch or lock on the inside. This keeps the window secure when not in use.