
Home>Home & Furniture>Doors & Windows>How to Build a DIY Camper Door
Doors & Windows
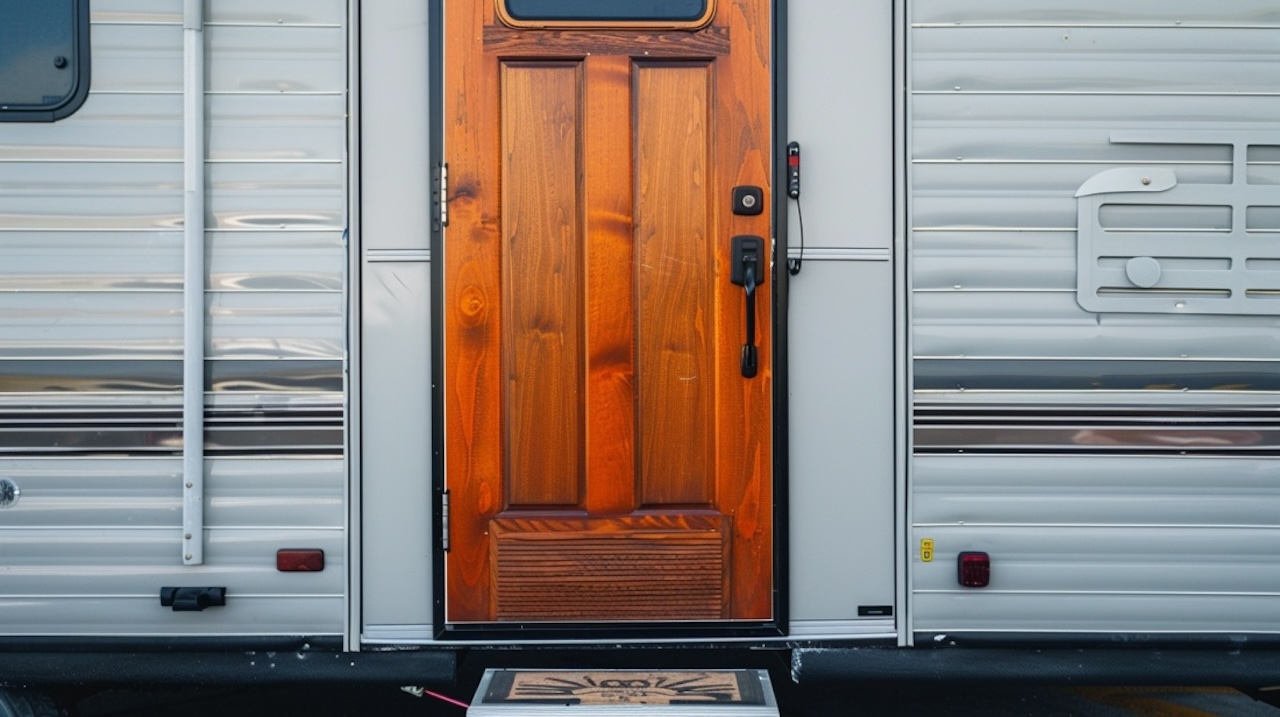
How to Build a DIY Camper Door
Published: September 7, 2024
Learn how to build a DIY camper door with our step-by-step guide. Enhance your camper's functionality and aesthetics with these easy-to-follow instructions and tips.
(Many of the links in this article redirect to a specific reviewed product. Your purchase of these products through affiliate links helps to generate commission for Twigandthistle.com, at no extra cost. Learn more)
Building a camper door yourself is a rewarding project for any DIY enthusiast. Whether upgrading an old camper or starting from scratch, crafting your own door can save money and provide a custom fit. This project requires some basic tools, materials, and a bit of patience. You'll need to measure accurately, cut materials, and assemble everything with care. By following some simple steps, you can create a sturdy and functional door for your camper. Ready to roll up your sleeves and get started? Let's dive into the world of DIY camper door construction!
Getting Ready for Your Camper Door Project
Measure the Opening: Use a tape measure to get the exact dimensions of the door frame. Write down the height and width.
Gather Materials: Collect plywood, hinges, screws, a door handle, weather stripping, and insulation. Make sure everything is ready before starting.
Safety Gear: Wear safety goggles, gloves, and a dust mask. Protect your eyes, hands, and lungs from debris and dust.
Workspace Setup: Clear a large, flat area to work. Ensure good lighting and ventilation. Keep tools within reach.
Cut the Plywood: Use a saw to cut the plywood to the measured dimensions. Sand the edges to smooth them out.
Install Insulation: Attach insulation to the inside of the plywood. This helps keep the camper warm or cool.
Attach Hinges: Screw hinges onto one side of the plywood. Make sure they are evenly spaced and aligned.
Add Weather Stripping: Apply weather stripping around the edges of the door. This prevents drafts and keeps the interior comfortable.
Install the Handle: Attach the door handle to the plywood. Ensure it is secure and easy to grip.
Test Fit: Place the door in the frame to check the fit. Make any necessary adjustments to ensure it opens and closes smoothly.
Materials and Tools Needed
- Plywood: Strong and durable, plywood forms the main structure of the door.
- 2x4 Lumber: Used for framing the door, providing stability and support.
- Insulation Foam: Keeps the camper warm in winter and cool in summer.
- Weatherstripping: Seals gaps around the door to prevent drafts and moisture.
- Hinges: Allows the door to swing open and closed smoothly.
- Door Handle and Lock: Ensures security and easy access.
- Screws and Nails: Fasten the materials together securely.
- Wood Glue: Adds extra strength to joints and connections.
- Sandpaper: Smooths rough edges and surfaces.
- Paint or Stain: Protects the wood and adds a finished look.
- Measuring Tape: Ensures accurate measurements for cutting and fitting.
- Circular Saw: Cuts plywood and lumber to the required sizes.
- Drill: Makes holes for screws and hinges.
- Screwdriver: Tightens screws and assembles parts.
- Clamps: Holds pieces together while glue dries.
- Level: Ensures the door is straight and even.
- Safety Gear: Includes gloves, goggles, and a dust mask for protection.
Each item plays a crucial role in constructing a sturdy, functional camper door.
Skill Level and Time Required
Skill Level: Intermediate
Time Required: 6-8 hours
- Gather Materials: 1 hour
- Measure and Cut Wood: 2 hours
- Assemble Frame: 1 hour
- Install Hinges and Lock: 1 hour
- Attach Door to Camper: 1 hour
- Finishing Touches: 1-2 hours
Step-by-Step Instructions
Measure the Door Frame
- Use a tape measure to get the height and width of the door frame.
- Write down these measurements.
Cut the Plywood
- Use a saw to cut the plywood to match the door frame measurements.
- Sand the edges to make them smooth.
Attach the Frame
- Cut 2x2 lumber to fit around the edges of the plywood.
- Use wood glue and screws to attach the lumber to the plywood, forming a frame.
Install the Insulation
- Cut foam board insulation to fit inside the frame.
- Glue the insulation to the plywood.
Add the Outer Layer
- Cut another piece of plywood to match the first one.
- Attach this plywood to the frame using wood glue and screws.
Install the Hinges
- Mark where the hinges will go on the door and the camper.
- Screw the hinges into place on the door first, then attach to the camper.
Attach the Handle and Lock
- Mark where the handle and lock will go.
- Drill holes for the handle and lock.
- Screw the handle and lock into place.
Seal the Edges
- Apply weather stripping around the edges of the door.
- Ensure there are no gaps for air or water to get through.
Paint or Stain the Door
- Choose a paint or stain that matches your camper.
- Apply at least two coats for durability.
Test the Door
- Open and close the door several times.
- Make sure it swings smoothly and locks securely.
Tips and Tricks
Measure Twice, Cut Once: Always double-check your measurements before cutting any material. This prevents mistakes and wasted materials.
Use Lightweight Materials: Opt for plywood or aluminum to keep the door light yet sturdy. Heavy doors can strain hinges and make opening/closing difficult.
Weatherproofing: Apply weatherstripping around the edges to keep out rain and wind. Use a waterproof sealant on all seams.
Insulation: Add foam board or reflective insulation inside the door to help maintain temperature inside the camper.
Reinforce Hinges: Use heavy-duty hinges and ensure they are securely fastened. Reinforce the area around the hinges with extra wood or metal plates.
Latch and Lock: Install a secure latch and lock to keep the door closed while traveling and to provide security when parked.
Smooth Edges: Sand all edges and corners to prevent splinters and injuries.
Test Fit: Before final installation, test the door to ensure it fits properly in the frame. Make adjustments as needed.
Paint or Stain: Finish the door with outdoor paint or stain to protect it from the elements.
Common mistakes to avoid include using materials that are too heavy, not sealing the door properly, and neglecting to reinforce the hinges.
For alternatives, consider using fiberglass instead of wood for a more durable and lightweight option. Instead of traditional hinges, piano hinges can provide more even support along the entire length of the door.
Cost Estimation
Plywood: $40-$60 for a 4x8 sheet
Insulation: $20-$30 for foam board
Weatherstripping: $10-$15
Hinges: $10-$20 for a pair
Door latch/lock: $15-$25
Screws and nails: $5-$10
Paint or sealant: $10-$20
Handle: $5-$10
Total Estimated Cost: $115-$190
Budget-Friendly Alternatives:
- Use reclaimed wood instead of new plywood: Free or very cheap
- Repurpose old hinges and locks from other projects: Free
- Skip paint and use a clear sealant: $5-$10
Variations and Customizations
Materials: Instead of using plywood, consider aluminum for a lightweight, durable option. Fiberglass can also be used for a sleek, modern look. For insulation, try foam board or spray foam instead of traditional fiberglass insulation.
Colors: Paint the door in bright colors like red, blue, or yellow to make your camper stand out. For a more natural look, use wood stains to highlight the grain of the wood. Chalkboard paint can turn the inside of the door into a message board.
Styles: Add a window for natural light and ventilation. Use frosted glass for privacy or stained glass for a decorative touch. Install a screen door to keep bugs out while allowing fresh air in.
Hardware: Choose rustic handles and hinges for a vintage look or sleek, modern hardware for a contemporary feel. Magnetic locks can provide a secure yet easy-to-use option.
Decorations: Attach hooks or pockets on the inside for extra storage. Add a mirror to make the space feel larger. Use decals or stickers to personalize the door with your favorite designs or quotes.
Weatherproofing: Use weatherstripping around the edges to keep out drafts and moisture. Apply a waterproof sealant to protect the door from the elements. Consider adding a rain guard above the door to prevent water from dripping down.
Sustainability Tips
Reclaimed Wood: Use old pallets or barn wood. Sand them down for a smooth finish.
Recycled Metal: Old metal sheets can be cut and shaped for door panels. They add a rustic look.
Natural Insulation: Use sheep wool or recycled denim for insulation. Both are eco-friendly and effective.
Non-Toxic Paint: Choose paints with low or zero VOCs. These are better for your health and the environment.
Reused Hardware: Salvage hinges, handles, and locks from old doors or furniture. Clean them up and they’ll work like new.
Solar-Powered Lights: Install small solar lights on the door. They charge during the day and light up at night.
Bamboo Panels: Bamboo is a fast-growing, renewable resource. Use it for door panels or accents.
Eco-Friendly Adhesives: Opt for water-based or plant-based glues. They have fewer harmful chemicals.
Recycled Glass: Use old windows or glass pieces for any door windows. It adds character and reduces waste.
Upcycled Fabric: Use old curtains or fabric scraps for any door curtains or coverings. It’s a great way to recycle textiles.
Your Camper Door Awaits
Building a DIY camper door isn't just about saving money; it's about creating something unique. You've learned how to measure, cut, and assemble materials. By now, you should feel confident tackling this project. Remember, the key is patience and precision. Double-check measurements, ensure your hinges are sturdy, and don't skimp on weatherproofing.
Once installed, that door will be a testament to your hard work. It’ll not only keep you safe but also add a personal touch to your camper. So, gather your tools, roll up your sleeves, and get started. Your adventure on wheels is just a step away. Happy building!
How do I measure for a new camper door?
Measure the height and width of the existing door frame. Make sure to measure from the inside edges of the frame for accuracy. Double-check your measurements to avoid mistakes.
What materials will I need?
You’ll need plywood, hinges, a door handle, weatherstripping, screws, and paint or sealant. A saw, drill, and screwdriver will also come in handy.
How do I cut the plywood to the right size?
Mark your measurements on the plywood using a pencil and straightedge. Use a saw to cut along the lines. Sand the edges to make them smooth.
How do I attach the hinges?
Position the hinges on the door and mark where the screws will go. Drill pilot holes for the screws, then attach the hinges to the door. Finally, attach the other side of the hinges to the door frame.
How do I install the door handle?
Mark where you want the handle to go. Drill holes for the handle’s screws, then attach the handle to the door. Make sure it’s secure and easy to use.
How do I weatherproof the door?
Apply weatherstripping around the edges of the door to keep out drafts and moisture. You can also use sealant or paint to protect the wood from the elements.
Can I paint or decorate my new door?
Absolutely! Use outdoor paint or stain to give your door a finished look. You can also add decals or stickers for a personal touch.