
Home>Home & Furniture>Doors & Windows>How to Build a Cathedral Window Frame
Doors & Windows
How to Build a Cathedral Window Frame
Published: August 11, 2024
Learn how to build a stunning cathedral window frame with our step-by-step guide. Perfect for DIY enthusiasts, this project combines beauty and craftsmanship.
(Many of the links in this article redirect to a specific reviewed product. Your purchase of these products through affiliate links helps to generate commission for Twigandthistle.com, at no extra cost. Learn more)
Creating a cathedral window frame can transform any space with its timeless beauty. This project, though seemingly complex, becomes manageable with the right tools and steps. You'll need patience, precision, and a clear plan. Whether you're an experienced DIY enthusiast or trying something new, building a cathedral window frame offers a rewarding challenge. Imagine the sunlight streaming through, casting beautiful patterns in your home. Before diving into the construction, gather necessary materials and familiarize yourself with safety measures. By following detailed instructions, you can craft a stunning frame that becomes a focal point in your living space.
Getting Ready for Your Project
Gather Materials: Collect wood, nails, screws, glass panes, putty, and paint. Ensure you have all necessary tools like a saw, hammer, drill, and measuring tape.
Measure and Cut Wood: Measure the dimensions of your window frame. Cut the wood pieces to size, making sure they fit together snugly.
Set Up Workspace: Choose a well-ventilated area with plenty of light. Lay down a tarp or old sheet to catch sawdust and debris.
Safety Gear: Wear safety goggles, gloves, and a dust mask. Keep a first aid kit nearby in case of minor injuries.
Check for Power Tools: Ensure all power tools are in good working condition. Charge batteries or plug them in before starting.
Mark and Drill Holes: Mark where you will drill holes for screws. Pre-drill these holes to prevent the wood from splitting.
Assemble Frame: Use screws and nails to assemble the frame. Make sure it is square by measuring diagonally from corner to corner.
Install Glass Panes: Carefully place the glass panes into the frame. Secure them with putty or glazing points.
Paint or Stain: Apply paint or stain to the frame. Let it dry completely before handling.
Final Inspection: Check the frame for stability. Make sure all parts are securely fastened and the glass is firmly in place.
Gathering Materials and Tools
- Measuring Tape: Essential for accurate measurements of the window frame dimensions.
- Pencil: Used to mark measurements on wood or other materials.
- Circular Saw: Cuts wood to the required lengths and angles.
- Miter Saw: Helps make precise angled cuts for the frame.
- Drill: Needed for creating holes and driving screws.
- Screws: Fasten the frame pieces together securely.
- Wood Glue: Provides additional bonding strength between wood pieces.
- Clamps: Hold pieces together while the glue dries.
- Sandpaper: Smooths out rough edges and surfaces.
- Wood Filler: Fills gaps or holes in the wood.
- Paint or Stain: Adds color and protection to the wood.
- Paintbrushes: Apply paint or stain evenly.
- Level: Ensures the frame is straight and even.
- Safety Goggles: Protects eyes from dust and debris.
- Work Gloves: Protects hands while handling tools and materials.
- Ladder: Needed if the window frame is high up.
- Square: Ensures right angles for the frame corners.
- Chisel: Helps with fine adjustments and detailing.
- Hammer: Drives nails and helps with assembly.
- Nails: Additional fastening option for the frame.
Required Skills and Time Commitment
Skill Level: Advanced
Time Required: 10-12 hours
- Measure and Cut Wood: 2 hours
- Assemble Frame: 3 hours
- Install Glass Panels: 3 hours
- Finish and Paint: 2-4 hours
Detailed Building Instructions
Gather Materials:
- Wood planks (2x4 or 2x6)
- Measuring tape
- Saw
- Hammer and nails or screws and drill
- Wood glue
- Sandpaper
- Paint or stain (optional)
Measure and Cut Wood:
- Measure the desired height and width of the window frame.
- Cut four pieces of wood for the sides, top, and bottom.
Create the Arch:
- Mark the center of the top piece.
- Use a string and pencil to draw an arch from the center to the edges.
- Cut along the arch line with a jigsaw.
Assemble the Frame:
- Lay out the pieces on a flat surface.
- Apply wood glue to the joints.
- Attach the sides to the top and bottom using nails or screws.
Sand the Frame:
- Smooth all edges and surfaces with sandpaper.
- Ensure there are no rough spots.
Finish the Frame:
- Apply paint or stain if desired.
- Let it dry completely.
Install the Frame:
- Position the frame in the desired location.
- Secure it to the wall or window opening with screws.
Final Touches:
- Check for stability.
- Make any necessary adjustments.
Helpful Tips and Tricks
Measure twice, cut once. Double-check all measurements before cutting any wood. This ensures accuracy and reduces waste.
Use a miter saw for precise angles. Cathedral windows often have intricate angles, and a miter saw helps achieve clean cuts.
Dry fit pieces before gluing or nailing. Assemble the frame without adhesives to ensure everything fits perfectly.
Sand edges for a smooth finish. Sanding helps the pieces fit together better and gives a professional look.
Use wood glue along with nails or screws. Glue adds extra strength to the joints.
Clamp pieces while the glue dries. Clamps hold everything in place and ensure a tight bond.
Stain or paint before final assembly. It's easier to reach all surfaces and avoid drips or missed spots.
Seal the wood to protect against moisture. A good sealant extends the life of the frame.
Common mistakes to avoid:
Skipping the dry fit. Assembling without a test fit can lead to misaligned pieces.
Incorrect angles. Not using a miter saw or measuring angles wrong can ruin the frame.
Rushing the glue. Not allowing glue to dry fully weakens the joints.
Ignoring wood grain. Cutting against the grain can cause splintering.
Over-sanding. Removing too much material can affect the fit.
Alternatives for materials or methods:
Use plywood instead of solid wood. Plywood is often cheaper and more stable.
Pocket hole joinery instead of traditional joints. Pocket holes are easier for beginners and still strong.
Pre-finished wood to skip staining or painting. Pre-finished wood saves time and effort.
Wood filler for gaps. If pieces don't fit perfectly, wood filler can hide small gaps.
Electric sander instead of hand sanding. An electric sander speeds up the process and ensures even sanding.
Estimating the Cost
Materials:
- Wood (for frame): $50-$100
- Glass panes: $100-$200
- Wood stain or paint: $20-$30
- Caulk: $5-$10
- Nails or screws: $5-$10
- Sandpaper: $5-$10
Tools:
- Saw: $30-$100
- Hammer or screwdriver: $10-$20
- Measuring tape: $5-$10
- Paintbrushes: $5-$10
- Caulking gun: $5-$15
Total Cost: $240-$515
Budget-friendly alternatives:
- Reclaimed wood: $0-$50
- Second-hand glass panes: $50-$100
- Basic hand tools: Borrow from friends or family
Total Cost with Alternatives: $120-$315
Personalizing Your Window Frame
Materials: Instead of traditional wood, try reclaimed wood for a rustic look. Metal frames give an industrial vibe. PVC or composite materials work well for a modern touch.
Colors: Paint the frame white for a classic feel. Use bold colors like navy blue or forest green for a statement piece. Stain the wood to highlight its natural grain.
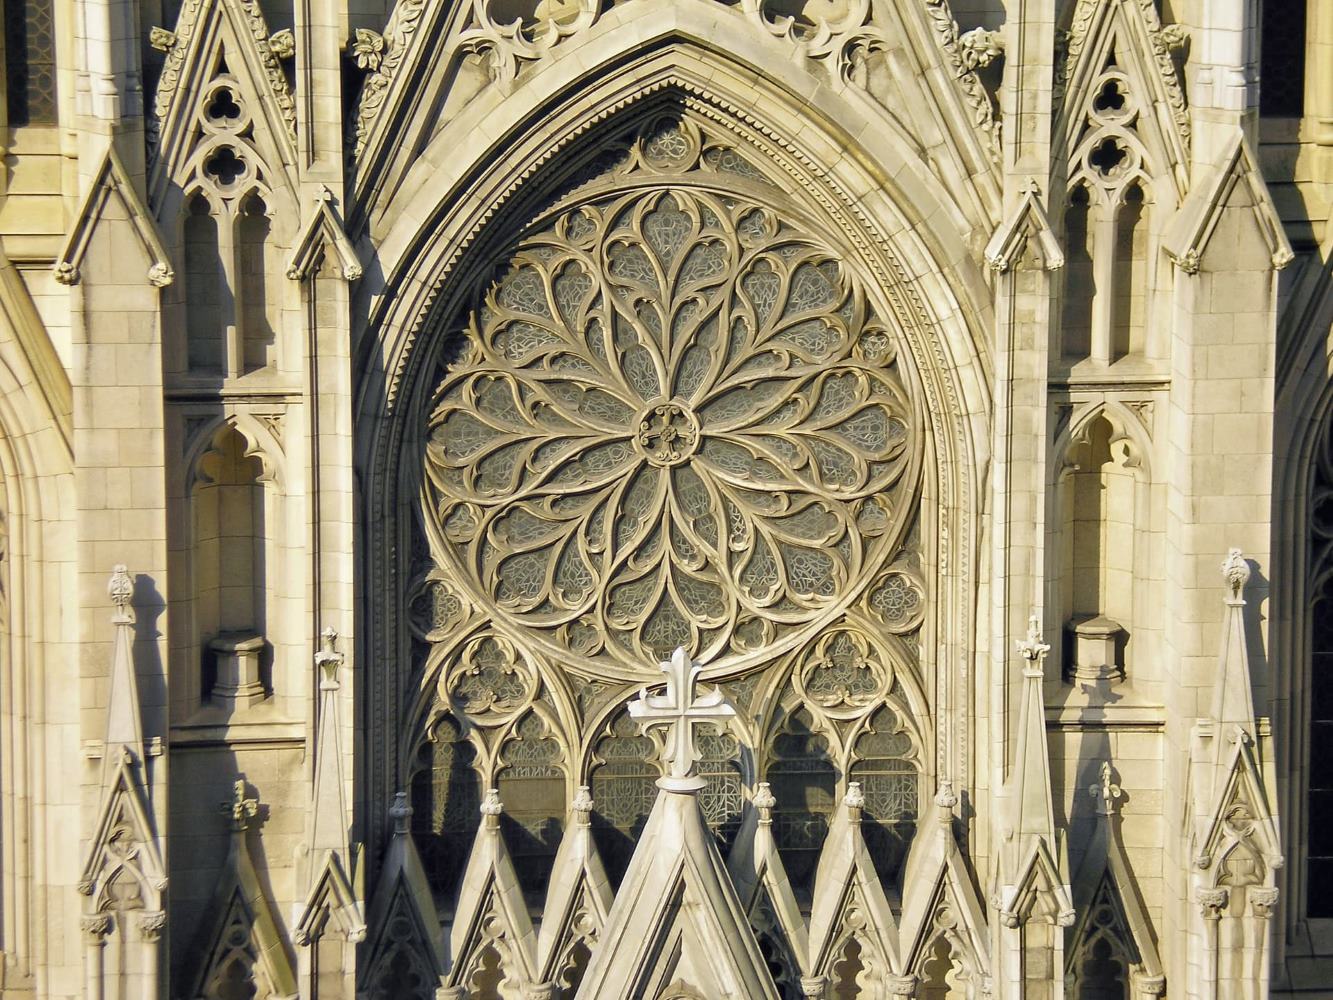
Styles: For a Gothic look, add pointed arches and intricate carvings. A modern style can feature clean lines and minimalistic design. Farmhouse style might include distressed wood and simpler shapes.
Glass: Use stained glass for a colorful, artistic effect. Frosted glass offers privacy while still letting light through. Clear glass keeps the focus on the frame itself.
Size: Create a large frame to act as a focal point in a room. Smaller frames can be used as decorative accents.
Additional Features: Incorporate LED lighting behind the frame for a backlit effect. Add shelves or hooks to make the frame functional as well as decorative.
Eco-Friendly Building Tips
Reclaimed Wood: Use old barn wood or salvaged timber. It adds character and reduces waste.
Bamboo: A fast-growing, renewable resource. Strong and eco-friendly.
Recycled Glass: For the window panes, consider using glass from old windows or bottles.
Low-VOC Paints: Choose paints with low volatile organic compounds. They’re better for indoor air quality.
Natural Insulation: Use sheep wool or recycled denim for insulation around the frame.
Solar-Powered Tools: If possible, use tools powered by solar energy to reduce your carbon footprint.
Local Materials: Source materials from local suppliers to cut down on transportation emissions.
Natural Finishes: Use beeswax or linseed oil instead of chemical-based finishes.
Energy-Efficient Glass: Double or triple-glazed glass improves insulation, reducing energy costs.
Upcycled Hardware: Use hinges, handles, and other hardware from old furniture or buildings.
Your Masterpiece Awaits
You've got all the tools and know-how to build a stunning cathedral window frame. From selecting the right materials to mastering the techniques, you're ready to bring your vision to life. Remember, patience and precision are key. Don't rush through the steps; take your time to ensure each piece fits perfectly. If you hit a snag, don't get discouraged. Every mistake is a chance to learn and improve your skills. Once your frame is complete, step back and admire your handiwork. You've not only created a beautiful piece but also honed your DIY abilities. Now, go ahead and showcase your masterpiece. Whether it’s for your home or a gift, your cathedral window frame will surely impress. Happy building!
What materials do I need to build a cathedral window frame?
You'll need wood (like pine or oak), measuring tape, saw, hammer, nails, wood glue, sandpaper, and paint or stain.
How do I measure for the window frame?
Measure the height and width of the window opening. Add an extra half-inch to each side for the frame to fit snugly.
What's the best type of wood to use?
Pine is affordable and easy to work with, but oak is sturdier and looks more elegant. Choose based on your budget and style.
How do I cut the wood pieces?
Use a saw to cut the wood to the measured lengths. Make sure to cut at 45-degree angles for the corners to fit together neatly.
How do I assemble the frame?
Apply wood glue to the edges, then nail the pieces together at the corners. Use a hammer to secure the nails firmly.
Should I sand the frame before painting?
Yes, sand the frame to smooth out any rough edges. This helps the paint or stain adhere better and gives a polished finish.
Can I add decorative elements to the frame?
Absolutely! You can add molding, carvings, or even stencils to give your frame a unique look. Just make sure everything is securely attached.