
Home>Home & Furniture>Doors & Windows>DIY Ice Melt Spray for Cars
Doors & Windows
DIY Ice Melt Spray for Cars
Published: August 14, 2024
Learn how to create an effective DIY ice melt spray for your car. Keep your windshield and windows clear this winter with our easy, step-by-step guide.
(Many of the links in this article redirect to a specific reviewed product. Your purchase of these products through affiliate links helps to generate commission for Twigandthistle.com, at no extra cost. Learn more)
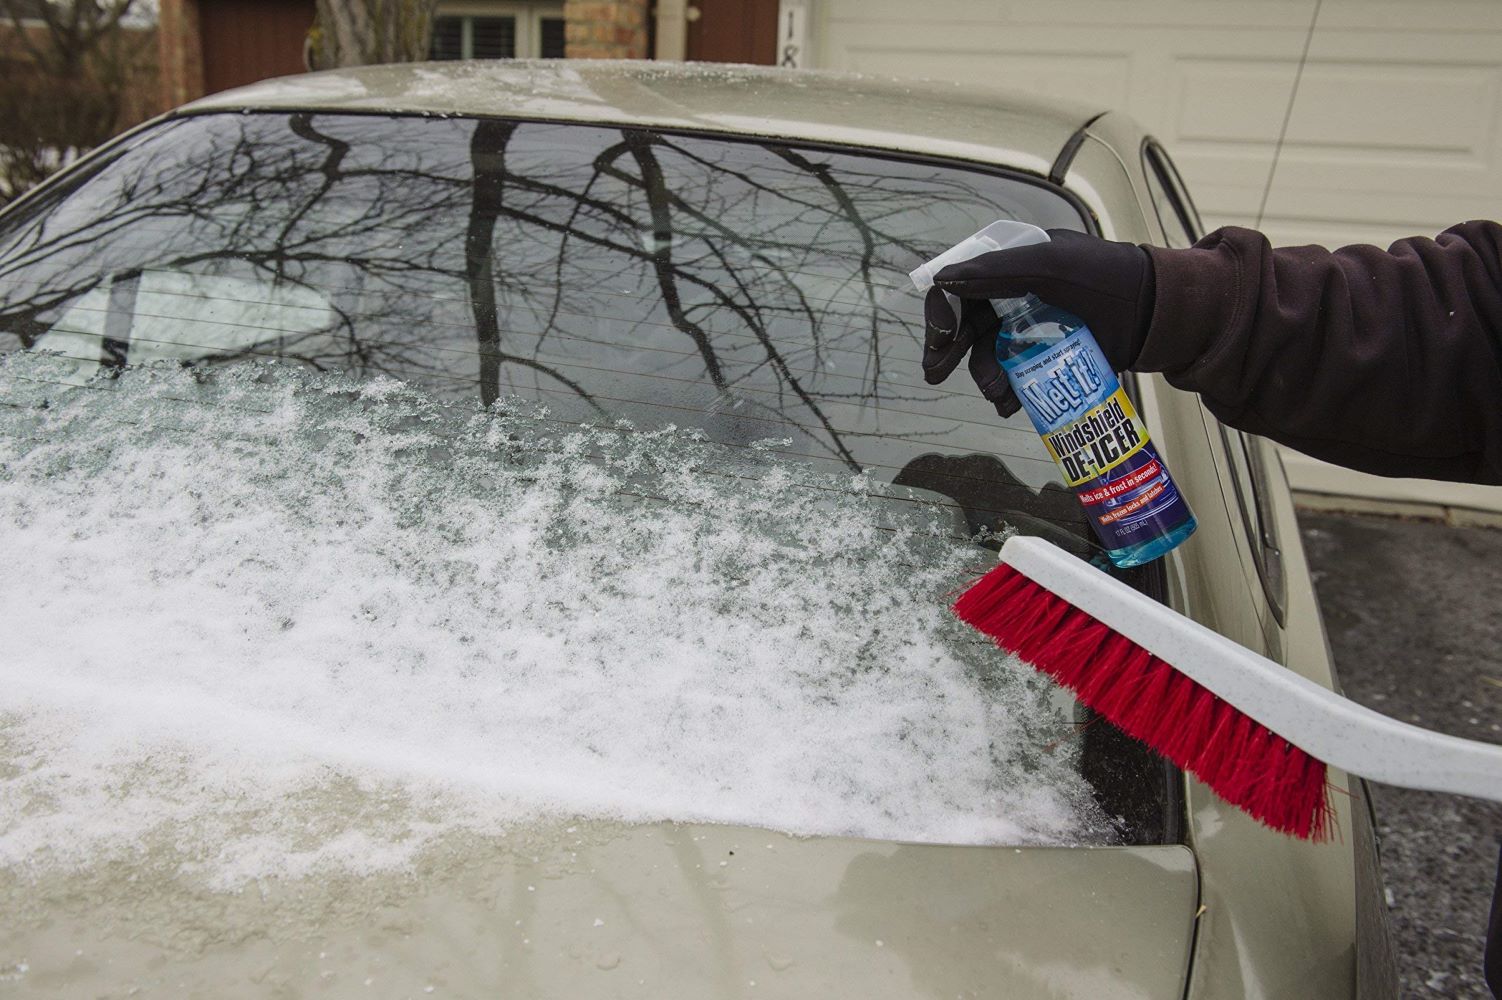
Winter can be tough on cars, especially when ice and frost cover windshields, windows, and locks. Store-bought products can be pricey, and scraping ice off by hand is time-consuming and frustrating. Making your own ice melt spray at home can save time and money. With just a few simple ingredients, you can easily prepare a solution to keep your car free from ice and frost. This guide will teach you how to mix and use a DIY ice melt spray, ensuring you’re ready to tackle icy mornings without hassle. Get ready to beat the winter blues with this easy solution.
Getting Ready for Your DIY Project
Gather Materials: Collect a spray bottle, rubbing alcohol, water, and dish soap. These are the main ingredients for the ice melt spray.
Choose a Workspace: Find a well-ventilated area, like a garage or outdoor space, to mix the solution. This ensures you avoid inhaling fumes.
Wear Safety Gear: Put on gloves and safety goggles. Rubbing alcohol can irritate skin and eyes.
Clean the Spray Bottle: Ensure the spray bottle is clean and free of any previous substances. This prevents unwanted chemical reactions.
Measure Ingredients: Measure 2/3 cup of rubbing alcohol, 1/3 cup of water, and a few drops of dish soap. Accurate measurements ensure the solution works effectively.
Mix Ingredients: Pour the rubbing alcohol, water, and dish soap into the spray bottle. Shake well to mix thoroughly.
Label the Bottle: Clearly label the spray bottle with the contents. This avoids confusion and ensures safe use.
Test the Spray: Spray a small amount on a hidden area of your car to ensure it doesn’t damage the paint. This step is crucial for protecting your vehicle’s finish.
Gathering Essential Supplies
Materials Needed:
- Rubbing Alcohol: Helps melt ice quickly due to its low freezing point.
- Water: Dilutes the rubbing alcohol to make the solution safe for car surfaces.
- Dish Soap: Breaks down ice and adds a bit of cleaning power.
- Spray Bottle: Used to apply the solution evenly on the car.
Tools Needed:
- Measuring Cup: Ensures the right proportions of ingredients.
- Funnel: Helps pour liquids into the spray bottle without spilling.
- Mixing Spoon: Used to stir the solution before pouring it into the spray bottle.
Summary of Materials and Tools:
- Rubbing Alcohol: Melts ice fast.
- Water: Dilutes the alcohol.
- Dish Soap: Adds cleaning power.
- Spray Bottle: Applies the solution.
- Measuring Cup: Measures ingredients.
- Funnel: Prevents spills.
- Mixing Spoon: Stirs the solution.
Required Skills and Time Commitment
Skill Level: Beginner
Time Required: 10-15 minutes
- Gather Materials: 2 minutes
- Mix Ingredients: 5 minutes
- Transfer to Spray Bottle: 3 minutes
- Application: 5 minutes
How to Make Ice Melt Spray
Gather Materials:
- 1 cup water
- 1 cup isopropyl alcohol (rubbing alcohol)
- 1 tablespoon dish soap
- Spray bottle
Mix Ingredients:
- Pour the water into the spray bottle.
- Add the isopropyl alcohol.
- Add the dish soap.
Shake Well:
- Secure the spray bottle cap.
- Shake the bottle to mix the ingredients thoroughly.
Apply to Car:
- Spray the mixture on the icy areas of your car.
- Wait a few minutes for the ice to start melting.
Remove Ice:
- Use an ice scraper or soft cloth to remove the melted ice.
- Repeat if necessary for thicker ice.
Store Properly:
- Keep the spray bottle in a cool, dry place for future use.
Helpful Hints for Best Results
Use rubbing alcohol: Mix two parts rubbing alcohol with one part water. Alcohol lowers the freezing point, helping melt ice quickly.
Add dish soap: A few drops of dish soap in the mixture can help break down ice faster. It also helps the solution spread evenly.
Spray bottle: Use a spray bottle to apply the mixture. This ensures even coverage and easy application.
Warm water: If rubbing alcohol isn't available, warm water can work. Be cautious not to use hot water, as it can crack the windshield.
Vinegar alternative: Vinegar mixed with water in a 3:1 ratio can also melt ice. However, it may leave a slight odor.
Common mistakes to avoid:
- Hot water: Never use hot water. It can cause glass to crack.
- Too much alcohol: Excessive rubbing alcohol can damage car paint.
- Skipping the spray bottle: Pouring the mixture directly can lead to uneven application and wasted solution.
Alternatives:
- Commercial ice melt: If DIY isn't preferred, store-bought ice melt sprays are effective.
- Saltwater: A saltwater solution can work in a pinch, but be cautious as it can corrode metal over time.
Budgeting for Your DIY Ice Melt
Materials:
- Rubbing Alcohol (32 oz): $3
- Water (tap water): Free
- Dish Soap (small bottle): $2
Tools:
- Spray Bottle (16 oz): $2
Total Cost: $7
Budget-Friendly Alternatives:
- Use leftover dish soap from home: Save $2
- Repurpose an old spray bottle: Save $2
New Total Cost: $3
Personalizing Your Ice Melt Spray
Alternative Materials: Instead of using rubbing alcohol, try vodka. It works similarly but might be easier to find in some places. For water, use distilled water to avoid any impurities that could clog the spray bottle.
Colors: Add a few drops of food coloring to the mixture. This helps you see where you've sprayed and adds a fun touch. Choose a color that contrasts with your car's paint for better visibility.
Styles: Use a fancy spray bottle with a comfortable grip and adjustable nozzle. This makes spraying easier and more efficient. You can also label the bottle with a custom sticker to make it look more professional.
Scents: Add a few drops of essential oils like peppermint or lavender. This not only helps melt the ice but also leaves a pleasant scent in the air.
Eco-Friendly Option: Replace the rubbing alcohol with white vinegar. It's less harsh on the environment and still effective at melting ice.
Extra Protection: Mix in a small amount of dish soap. This helps the solution stick to the car's surface longer, providing extended protection against ice buildup.
Storage: Keep the spray in a thermal bottle to prevent it from freezing in extremely cold temperatures. This ensures the spray is always ready to use.
Application Tools: Use a microfiber cloth to spread the solution evenly after spraying. This helps cover more area and ensures better ice melting.
Eco-Friendly Alternatives
Eco-friendly materials for a DIY ice melt spray include white vinegar and water. Mix two parts vinegar with one part water in a spray bottle. This solution helps melt ice without harming the environment.
Another method uses rubbing alcohol and water. Combine two parts rubbing alcohol with one part water. This mixture works well for de-icing and is less harmful than chemical alternatives.
For a more natural option, try beet juice. Mix one part beet juice with two parts water. Beet juice lowers the freezing point of water, helping to melt ice effectively.
Reuse old spray bottles to store your DIY mixtures. This reduces plastic waste and gives new life to items you might otherwise throw away.
Your Car's Winter Lifesaver
Making your own DIY ice melt spray for cars is a game-changer. It’s cheap, easy, and super effective. Just mix rubbing alcohol, water, and a bit of dish soap. Spray it on your windshield, and watch the ice melt away. No more scraping in the freezing cold. Plus, you can store it in a spray bottle, keeping it handy for those frosty mornings.
Remember, this mix is safe for your car's paint and glass. It won't damage anything, unlike some store-bought de-icers. You’re saving money and protecting your vehicle.
So, next time you see ice on your car, grab your homemade spray. You’ll be on the road in no time, without the hassle. Give it a try, and you’ll wonder why you didn’t start sooner. Winter driving just got a whole lot easier.
How do I make a DIY ice melt spray for my car?
Mix two parts rubbing alcohol with one part water in a spray bottle. Add a few drops of dish soap. Shake well before each use.
Is it safe to use on my car's paint?
Yes, the mixture is safe for car paint. Rubbing alcohol evaporates quickly and dish soap is gentle.
How do I use the spray?
Spray the solution on frozen windows and door handles. Wait a few minutes, then use an ice scraper to remove the ice.
Can I store the spray in my car?
It's best to keep the spray indoors. Extreme cold can reduce its effectiveness.
How long does the spray last?
The spray can last for several weeks if stored properly. Shake well before each use to ensure the ingredients are mixed.
Will the spray damage my windshield wipers?
No, the spray won't harm windshield wipers. Just avoid spraying directly on the rubber blades.
Can I use this spray on my car's locks?
Yes, the spray works well on frozen locks. Spray a small amount directly into the lock and wait a few minutes before trying to turn the key.