
Home>Home & Furniture>Doors & Windows>DIY Door Scratch Protector for Pets
Doors & Windows
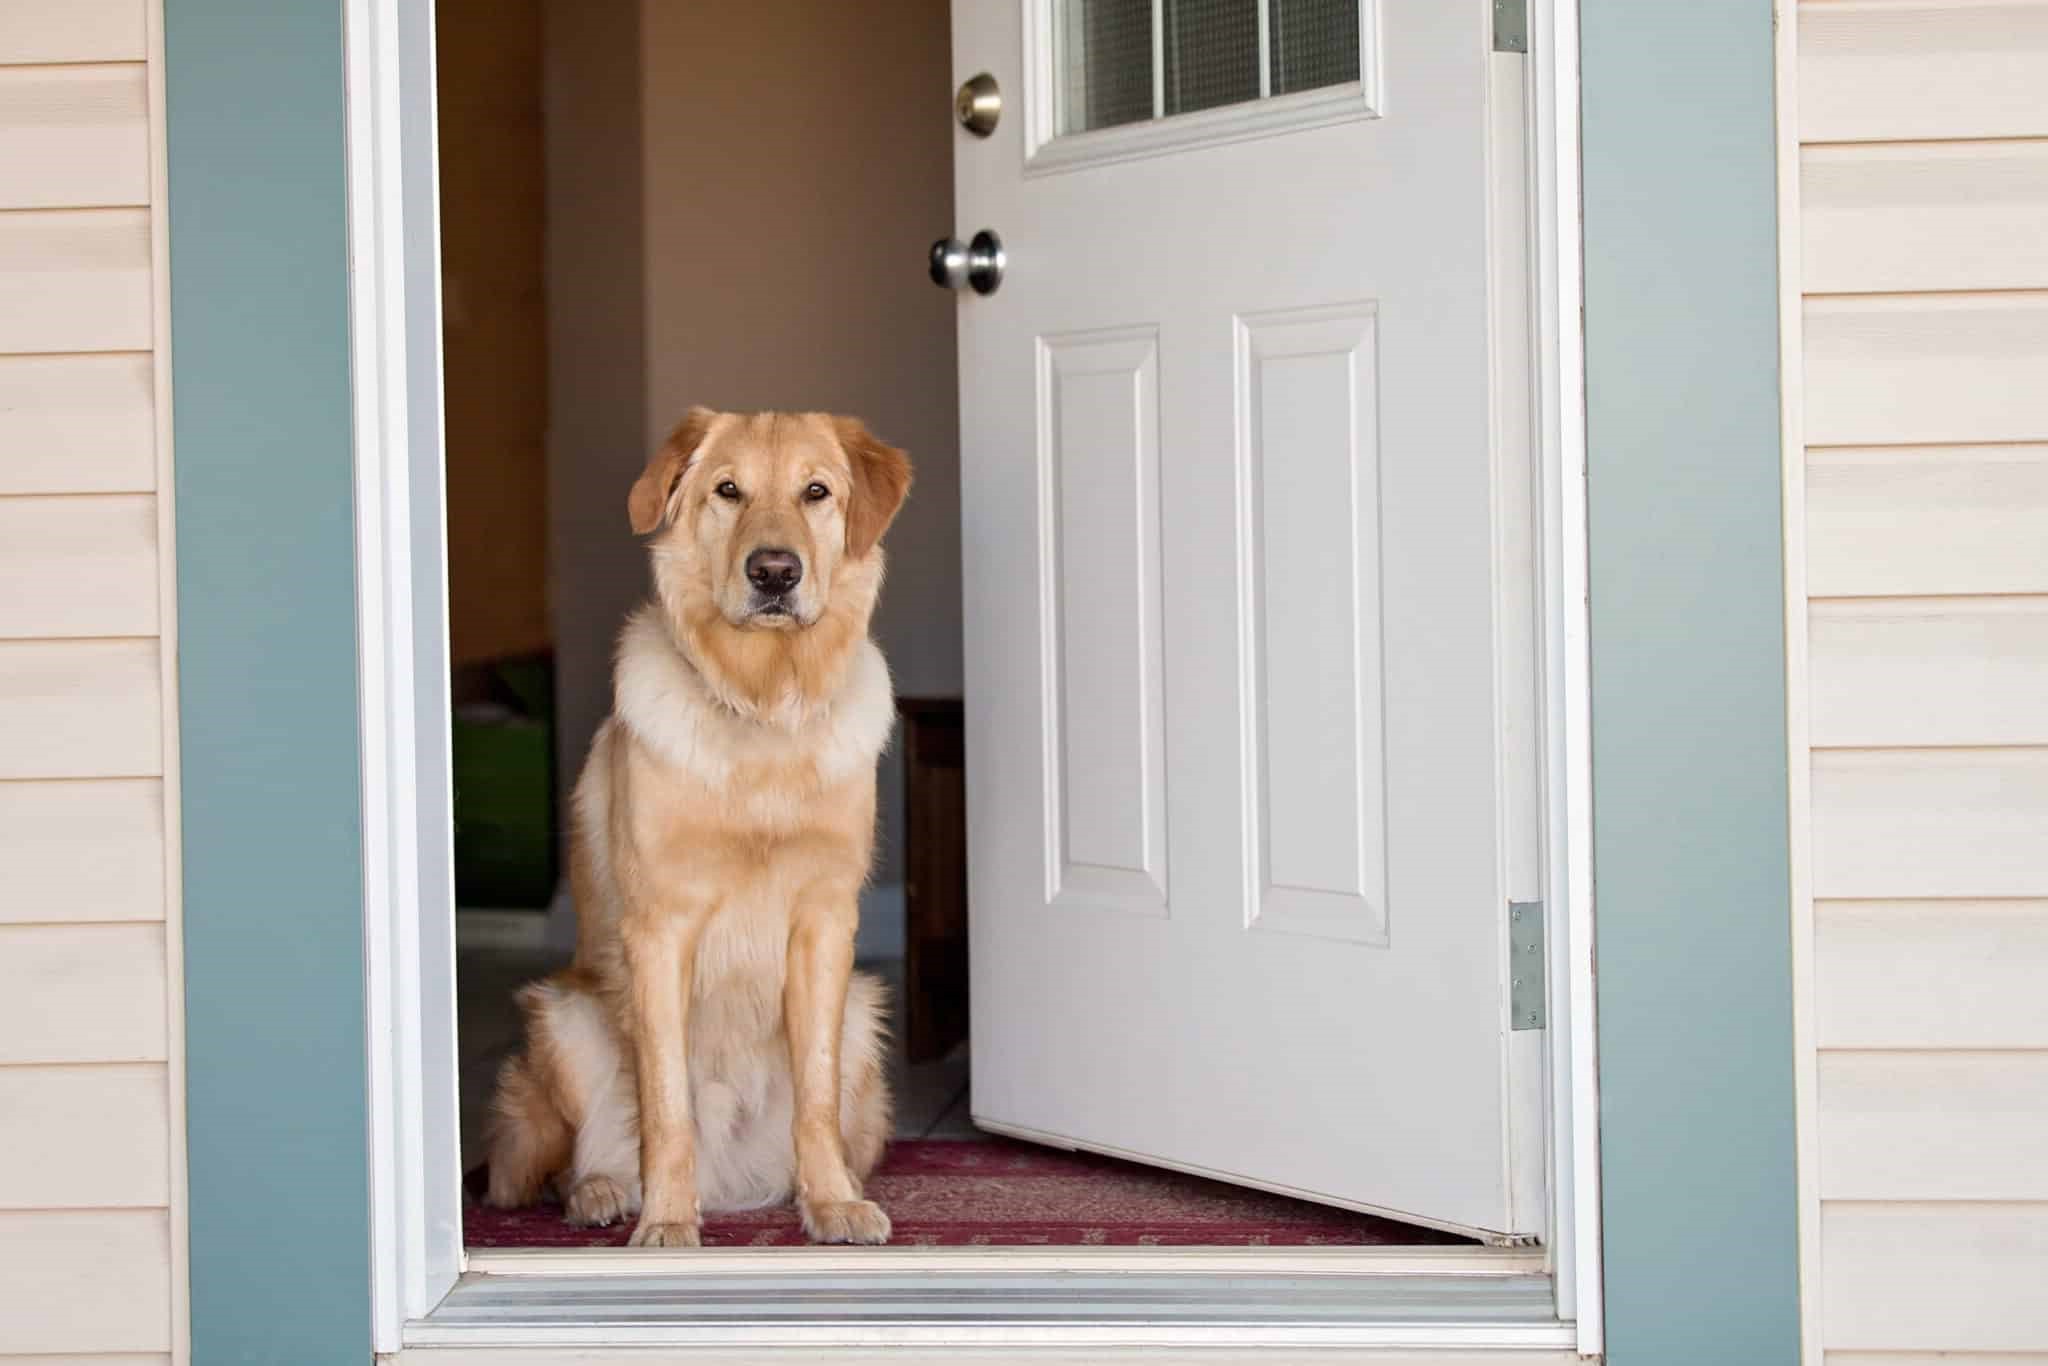
DIY Door Scratch Protector for Pets
Published: September 19, 2024
Learn how to create a DIY door scratch protector for pets with our step-by-step guide. Keep your doors looking new and your furry friends happy and safe!
(Many of the links in this article redirect to a specific reviewed product. Your purchase of these products through affiliate links helps to generate commission for Twigandthistle.com, at no extra cost. Learn more)
Pets can be wonderful companions, but they sometimes scratch doors, causing unwanted damage. Creating a DIY door scratch protector helps keep your doors looking good and reduces repair costs. This project is simple, affordable, and requires only a few basic materials. You can customize it to fit your home's style while ensuring it meets your and your pet's needs. Taking on this DIY task is an easy way to protect your home and make life with pets more enjoyable. Ready to give it a try? Let's get started!
Getting Ready for the Project
Gather Materials: Get a clear plastic sheet, adhesive strips, scissors, measuring tape, and a pencil.
Measure the Door: Use the measuring tape to find the width and height of the area you want to protect.
Cut the Plastic Sheet: Cut the plastic sheet to match the measurements you took. Make sure it covers the area where your pet usually scratches.
Clean the Door Surface: Wipe down the door with a damp cloth to remove dust and dirt. This helps the adhesive strips stick better.
Apply Adhesive Strips: Attach adhesive strips to the edges of the plastic sheet. Make sure they are evenly spaced.
Attach the Protector: Press the plastic sheet onto the door, aligning it with the area you measured. Press firmly to ensure it sticks well.
Check for Secure Fit: Make sure the plastic sheet is securely attached and covers the desired area completely.
Safety Tips:
- Wear Gloves: Protect your hands while cutting the plastic sheet.
- Use a Stable Surface: Cut the plastic on a flat, stable surface to avoid accidents.
- Keep Pets Away: Keep your pets in another room while you work to avoid distractions and accidents.
What You Need to Get Started
Clear Acrylic Sheet: A sturdy, transparent plastic sheet that will protect the door from scratches while still allowing the door's design to show through.
Measuring Tape: Used to measure the dimensions of the door to ensure the acrylic sheet fits perfectly.
Pencil: For marking measurements on the acrylic sheet.
Utility Knife: To cut the acrylic sheet to the desired size. Make sure it’s sharp for clean cuts.
Sandpaper: Smooths the edges of the cut acrylic sheet to prevent any sharp edges that could cause injury.
Double-Sided Tape: Strong adhesive tape to attach the acrylic sheet to the door without causing damage to the door's surface.
Ruler or Straight Edge: Helps in making straight cuts and accurate measurements on the acrylic sheet.
Safety Gloves: Protects hands while cutting and sanding the acrylic sheet.
Cleaning Cloth: Wipes down the door and acrylic sheet to remove dust and ensure a clean surface for the tape to stick.
Drill (Optional): If you prefer a more permanent solution, a drill can be used to screw the acrylic sheet into the door.
How Much Skill and Time You Need
Skill Level: Beginner
Time Required: 1-2 hours
- Materials Needed: Clear plastic sheet, adhesive strips, scissors, measuring tape.
- Steps:
- Measure the door area you want to protect.
- Cut the plastic sheet to fit the measured area.
- Attach adhesive strips to the edges of the plastic sheet.
- Stick the plastic sheet onto the door, ensuring it covers the area your pet scratches.
Important Keywords: Beginner, 1-2 hours, clear plastic sheet, adhesive strips, scissors, measuring tape.
Follow These Steps
Gather Materials:
- Clear acrylic sheet (size of your door)
- Measuring tape
- Pencil
- Utility knife or saw
- Sandpaper
- Double-sided adhesive strips or screws
- Drill (if using screws)
Measure Door:
- Use the measuring tape to find the width and height of the door area you want to protect.
- Mark these measurements on the acrylic sheet with a pencil.
Cut Acrylic Sheet:
- Carefully cut the acrylic sheet to the marked size using a utility knife or saw.
- Smooth the edges with sandpaper to avoid sharp edges.
Prepare Adhesive or Screws:
- If using double-sided adhesive strips, cut them to fit the edges of the acrylic sheet.
- If using screws, mark the spots on the door where you will drill holes.
Attach Protector:
- For adhesive strips: Peel off the backing and press the acrylic sheet firmly onto the door.
- For screws: Drill pilot holes in the marked spots, then screw the acrylic sheet onto the door.
Check Stability:
- Ensure the protector is securely attached and covers the desired area.
- Test by gently pressing to make sure it doesn't move.
Clean Up:
- Wipe down the acrylic sheet to remove any fingerprints or dust.
- Dispose of any leftover materials safely.
Helpful Tips and Tricks
Measure your door before starting. This ensures the protector fits perfectly. Use clear vinyl or plexiglass for a durable, transparent shield. Attach with Velcro strips for easy removal and cleaning.
Common mistakes include not measuring correctly, using weak adhesives, and not smoothing out air bubbles. Avoid using materials that can be easily scratched or chewed.
Alternatives to vinyl or plexiglass include hard plastic sheets or even thick, clear contact paper. For a more decorative option, consider using decorative metal sheets or wood panels.
How Much Will It Cost?
Materials:
- Plexiglass sheet (24"x36"): $20-$30
- Velcro strips (adhesive): $5-$10
- Sandpaper (fine grit): $3-$5
Tools:
- Measuring tape: $5-$10
- Utility knife: $10-$15
- Drill (optional for screws): $30-$50
- Screws (optional): $2-$5
Total Cost: $75-$125
Budget-Friendly Alternatives:
- Acrylic sheet instead of Plexiglass: $15-$20
- Double-sided tape instead of Velcro: $3-$5
- Borrow tools from friends or neighbors to save on costs
Different Ways to Customize
Materials: Instead of using clear plastic sheets, try acrylic panels for a sturdier option. For a softer touch, use vinyl or rubber mats. If you prefer a more natural look, consider bamboo or cork sheets.
Colors: Clear protectors are great for maintaining the door's original look. For a pop of color, use colored vinyl or painted acrylic. Match the protector to your home decor by choosing neutral tones like beige, gray, or white.
Styles: For a modern look, use sleek acrylic with rounded edges. For a rustic feel, opt for wooden panels treated with a pet-safe finish. If you want something playful, choose patterned vinyl with paw prints or bones.
Installation Methods: Use adhesive strips for a no-drill option. For a more permanent solution, use screws or nails. If you want the protector to be removable, consider Velcro strips.
Additional Features: Add a small pet door within the protector for easy access. Incorporate a scratch pad at the bottom to give pets a designated scratching area. Attach a toy holder to keep pets entertained and away from the door.
Eco-Friendly Ideas
Use recycled cardboard or old yoga mats to create a door scratch protector. Cut the material to fit the lower part of the door. Attach it using reusable adhesive strips or Velcro.
For a more durable option, repurpose old carpet pieces. Cut them to size and secure them with double-sided tape or staples.
Consider using bamboo or cork sheets. Both are sustainable and can be easily attached with eco-friendly glue.
If you have old plastic placemats or vinyl flooring scraps, they can also work well. Cut to size and attach with command strips.
For a clear protector, reuse acrylic sheets from old picture frames. Attach with suction cups or removable hooks.
Always look around your home for materials that can be repurposed before buying new ones.
Keep Your Doors Scratch-Free
Protecting your doors from pet scratches doesn't have to be complicated or expensive. With a bit of creativity and some basic materials, you can make a DIY door scratch protector that keeps your home looking great. Whether you use plexiglass, vinyl sheets, or even carpet remnants, the key is to choose a material that suits your style and your pet's behavior. Remember to measure your door accurately, cut the material to fit, and secure it properly. This simple project can save you from costly repairs and keep your doors looking new. Plus, your furry friend will appreciate the effort you put into making their environment more pet-friendly. So grab your tools, gather your materials, and get started on your door-saving mission. Your home will thank you, and so will your pets!
How do I make a door scratch protector for my pet?
Use a clear plastic sheet or plexiglass. Cut it to fit your door. Attach it with adhesive strips or screws. Make sure it's at your pet's height.
What materials do I need?
You'll need a clear plastic sheet or plexiglass, adhesive strips or screws, a measuring tape, and a utility knife or saw.
Can I use any type of plastic?
Clear plastic or plexiglass works best. They're sturdy and won't block light. Avoid thin or flimsy materials.
How do I attach the protector without damaging my door?
Use adhesive strips for a no-damage option. If you don't mind small holes, screws provide a more secure hold.
Will the protector be noticeable?
Clear plastic or plexiglass is almost invisible. It won't change the look of your door much.
How do I clean the protector?
Wipe it down with a damp cloth and mild soap. Avoid abrasive cleaners that could scratch the surface.
Can this work for any door type?
Yes, it works on wood, metal, and even glass doors. Just make sure to measure and cut the protector to fit your specific door.