
Home>Home & Furniture>Doors & Windows>Automatic Chicken Coop Door: DIY Guide
Doors & Windows
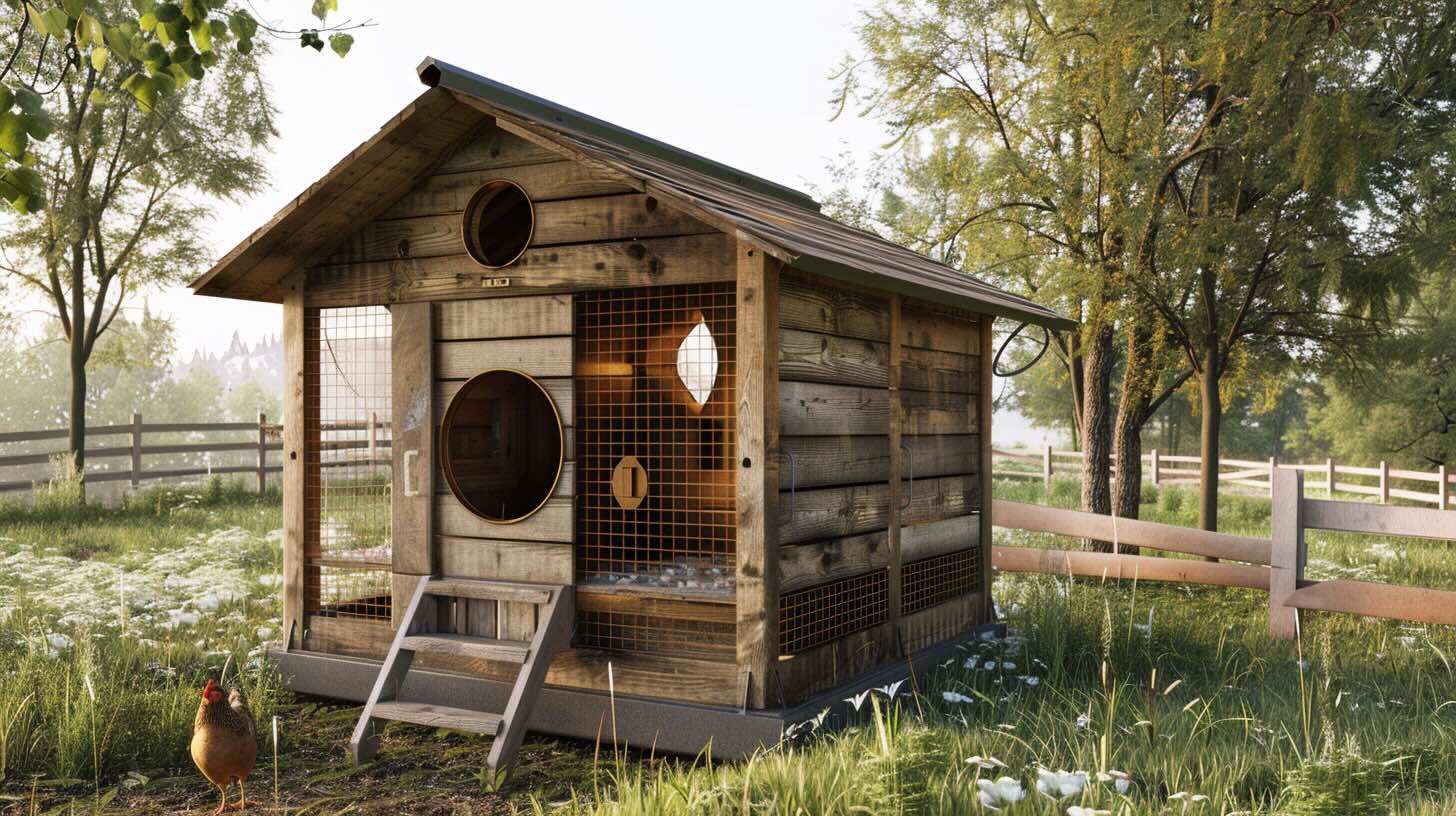
Automatic Chicken Coop Door: DIY Guide
Published: September 6, 2024
Learn how to build an automatic chicken coop door with our step-by-step DIY guide. Ensure your chickens' safety and convenience with this easy-to-follow tutorial.
(Many of the links in this article redirect to a specific reviewed product. Your purchase of these products through affiliate links helps to generate commission for Twigandthistle.com, at no extra cost. Learn more)
Keeping chickens safe from predators and ensuring they follow a consistent schedule can be challenging. An automatic chicken coop door can help solve these problems, offering convenience and peace of mind. Building one yourself might sound tricky, but with some basic tools and a bit of patience, it's entirely doable. This guide will walk you through everything you need to know, from gathering materials to final installation. Not only will this project save you money, but it will also provide a sense of accomplishment and make your daily chores much easier. Ready to get started?
Getting Ready for the Project
Gather Materials: Collect all necessary tools and materials. You’ll need a motor, timer, power source, door, screws, and a drill.
Safety Gear: Wear safety goggles and gloves to protect your eyes and hands.
Workspace Setup: Clear a clean, flat surface to work on. Ensure good lighting and ventilation.
Measure Door Frame: Measure the dimensions of the coop door frame to ensure the new door fits perfectly.
Cut Door: Use a saw to cut the door to the required size. Sand the edges to avoid splinters.
Install Motor: Attach the motor to the top of the door frame. Ensure it’s securely fastened with screws.
Connect Timer: Set up the timer according to the instructions. Connect it to the motor and power source.
Test Mechanism: Before final installation, test the door mechanism to ensure it opens and closes smoothly.
Secure Wiring: Tidy up any loose wires using cable ties. Ensure no wires are exposed to prevent accidents.
Final Installation: Attach the door to the frame. Double-check all connections and screws.
Safety Check: Ensure the door operates safely without any obstructions.
Materials and Tools Checklist
- Wooden Planks: Used for constructing the door frame and any additional support structures.
- Hinges: Allow the door to swing open and closed smoothly.
- Screws and Nails: Essential for securing the wooden planks and hinges together.
- Electric Drill: Makes holes for screws and nails, ensuring a sturdy build.
- Screwdriver: Tightens screws into place.
- Measuring Tape: Ensures accurate measurements for cutting wood and placing components.
- Saw: Cuts wooden planks to the required size.
- Sandpaper: Smooths rough edges on the wood.
- Automatic Door Opener Kit: Includes a motor, timer, and sensors to automate the door.
- Battery or Solar Panel: Powers the automatic door opener.
- Wire Strippers: Prepares wires for electrical connections.
- Electrical Tape: Insulates and secures electrical connections.
- Pencil: Marks measurements and cutting lines on wood.
- Level: Ensures the door and frame are straight and even.
- Safety Goggles: Protects eyes from wood dust and debris while cutting or drilling.
- Gloves: Protects hands during construction and handling of materials.
Required Skills and Time Commitment
Skill Level: Intermediate
Time Required: Approximately 4-6 hours
Key Points:
- Tools Needed: Basic tools like a drill, screwdriver, measuring tape, and a saw.
- Materials: Motor, timer or light sensor, hinges, screws, and wood or metal for the door.
- Steps Involved:
- Measure and cut the door.
- Install the motor and timer.
- Attach hinges and secure the door.
- Test the automatic mechanism.
Important Tips:
- Ensure the door fits snugly to prevent predators.
- Double-check the timer settings for proper operation.
Detailed Instructions
Gather Materials:
- Motor: A small DC motor or linear actuator.
- Timer: Programmable timer or light sensor.
- Power Source: Batteries or solar panel.
- Door: Wooden or metal door.
- Rails: Tracks for the door to slide on.
- Wires: Electrical wires for connections.
- Screws and Tools: Screwdriver, drill, and screws.
Build the Door:
- Cut the door to fit the coop opening.
- Attach rails to the sides of the door frame.
- Ensure the door slides smoothly within the rails.
Install the Motor:
- Mount the motor above the door.
- Connect the motor to the door using a string or rod.
- Test the motor to ensure it can lift and lower the door.
Set Up the Timer:
- Connect the timer to the motor.
- Program the timer to open and close the door at desired times.
- If using a light sensor, connect it to the timer.
Power the System:
- Connect the power source to the timer and motor.
- Ensure all connections are secure and insulated.
Test the System:
- Run a few test cycles to ensure the door opens and closes correctly.
- Adjust the timer settings if needed.
Secure Everything:
- Fasten all components securely to the coop.
- Ensure wires are out of reach of chickens.
Monitor and Adjust:
- Observe the door for a few days.
- Make any necessary adjustments to the timer or motor.
Helpful Tips and Tricks
Measure Twice, Cut Once: Always double-check measurements before cutting any materials. This ensures everything fits perfectly.
Use Weatherproof Materials: Choose weather-resistant wood or metal for the door and frame. This helps the door last longer, especially in harsh weather.
Solar Power: Consider using a solar panel to power the door. This saves on electricity and is eco-friendly.
Backup Battery: Install a backup battery to keep the door working during power outages.
Smooth Operation: Lubricate the hinges and moving parts regularly to ensure the door opens and closes smoothly.
Test the Mechanism: Before installing, test the door mechanism multiple times to ensure it works correctly.
Safety Features: Add a safety sensor to prevent the door from closing on a chicken.
Weatherproofing: Seal any gaps around the door to keep out drafts and moisture.
Remote Control: Use a remote control or smartphone app to operate the door from a distance.
Regular Maintenance: Check the door and mechanism regularly for wear and tear. Replace any worn-out parts promptly.
Common Mistakes to Avoid:
Incorrect Measurements: Not measuring correctly can lead to a door that doesn’t fit.
Ignoring Weatherproofing: Failing to weatherproof can cause the door to warp or rust.
Overcomplicating the Mechanism: A complex mechanism can be harder to maintain. Keep it simple.
Not Testing: Installing without testing can lead to malfunctions.
Alternatives for Materials or Methods:
PVC Instead of Wood: Use PVC for a lightweight, weather-resistant door.
Manual Override: Include a manual override option in case the automatic system fails.
Chain Drive Instead of Belt Drive: A chain drive can be more durable than a belt drive.
Magnetic Locks: Use magnetic locks for a secure, easy-to-install locking mechanism.
Budgeting for Your Project
Materials:
- Wood (for the frame): $20-$30
- Plywood (for the door): $10-$15
- Hinges: $5-$10
- Screws: $5
- Linear Actuator: $30-$50
- Timer or Light Sensor: $10-$20
- Battery or Power Supply: $10-$20
- Wiring: $5-$10
Tools:
- Drill: $30-$50 (if you don't have one)
- Saw: $20-$40 (if you don't have one)
- Screwdriver: $5-$10
- Measuring Tape: $5-$10
Total Estimated Cost:
- With Tools: $150-$270
- Without Tools: $85-$150
Budget-Friendly Alternatives:
- Recycled Wood: Free or low cost
- Manual Timer: $5-$10
- Hand Saw: $10-$15 (instead of electric saw)
- Basic Hinges: $2-$5
Using these alternatives can reduce the total cost to around $60-$100 without tools.
Personalizing Your Chicken Coop Door
Materials: Instead of using wood for the door frame, try PVC or metal for added durability. For the door itself, plexiglass can be a good alternative to wood, allowing you to see inside the coop without opening it.
Colors: Paint the door in bright colors like red or yellow to make it more visible. Use weather-resistant paint to ensure longevity. You can also use stencils to add fun designs or patterns.
Styles: Opt for a sliding door instead of a swinging one. This can save space and reduce the risk of the door getting stuck. Another option is a guillotine-style door that moves up and down, which can be easier to automate.
Automation: Use a solar-powered motor to make the door eco-friendly. You can also integrate a light sensor so the door opens at dawn and closes at dusk automatically. For more control, consider adding a Wi-Fi module to operate the door remotely via a smartphone app.
Safety Features: Add a safety sensor to stop the door from closing if a chicken is in the way. Install a backup battery to ensure the door operates even during power outages.
Weatherproofing: Use rubber seals around the edges of the door to keep out rain and drafts. Apply a waterproof coating to all wooden parts to prevent rot.
Locking Mechanism: Install an automatic lock that engages when the door closes, keeping predators out. A manual override can also be useful for emergencies.
Size Adjustments: Customize the door size to fit the specific breed of chickens you have. Larger breeds may need a bigger door, while smaller breeds can use a more compact one.
Lighting: Attach a small LED light inside the coop that turns on when the door opens, helping chickens find their way in the dark.
Sound Alerts: Add a buzzer or chime that sounds when the door opens or closes, alerting you to its operation.
Eco-Friendly Project Tips
Use reclaimed wood for the door frame. Old pallets or barn wood work well. For the door itself, consider recycled metal or plastic. These materials are durable and often available from scrap yards.
Opt for a solar-powered motor to open and close the door. Solar panels reduce electricity use and are eco-friendly. You can find small solar kits online or at hardware stores.
Use recycled hinges and screws. Check local hardware stores for used or surplus items. This reduces waste and saves money.
For the control mechanism, consider repurposing old electronics. An old car window motor or garage door opener can be adapted for this project. Look for these items at thrift stores or online marketplaces.
Insulate the coop door with recycled insulation materials. Old blankets or foam can help keep the coop warm without buying new materials.
Paint the door with eco-friendly paint. Look for non-toxic, water-based options. These paints are better for the environment and safer for your chickens.
By using these eco-friendly materials and methods, you can build a sustainable automatic chicken coop door.
Your Coop's Ready to Roll
Building an automatic chicken coop door isn't just about convenience; it's about safety and peace of mind. You've learned how to gather materials, follow steps, and troubleshoot common issues. Now, your chickens can enjoy a secure environment, and you can enjoy a bit more free time. Remember, the key is consistency in checking the door's functionality. A little maintenance goes a long way. If you encounter any hiccups, don't sweat it. Tweak and adjust as needed. Your feathered friends will thank you for the extra layer of protection. So, pat yourself on the back. You've taken a big step towards a more efficient and secure coop. Keep up the good work, and happy farming!
What materials do I need for an automatic chicken coop door?
You’ll need wood, hinges, a motor, timer, screws, and wires. A solar panel can be handy if you want it to be eco-friendly.
How does an automatic chicken coop door work?
It uses a motor connected to a timer or light sensor. The timer or sensor triggers the motor to open or close the door at specific times or when it gets dark.
Can I use a solar panel to power the door?
Absolutely! A solar panel can charge a battery that powers the motor. It’s a great way to save on electricity and keep your coop off the grid.
How do I install the motor?
Attach the motor to the door and frame using screws. Connect the motor to the timer or sensor with wires. Make sure everything is secure and aligned.
What if the door gets stuck?
Check for obstructions or debris in the track. Ensure the motor and hinges are properly aligned. Regular maintenance can prevent most issues.
How do I set the timer?
Follow the instructions that come with your timer. Usually, you’ll need to set the open and close times based on when your chickens go in and out.
Is it safe for my chickens?
Yes, if installed correctly. Make sure the door moves smoothly and slowly to avoid harming your chickens. Regular checks can ensure everything is working properly.