
Home>Create & Decorate>DIY & Crafts>How To Build A Homemade Kayak Launch
DIY & Crafts
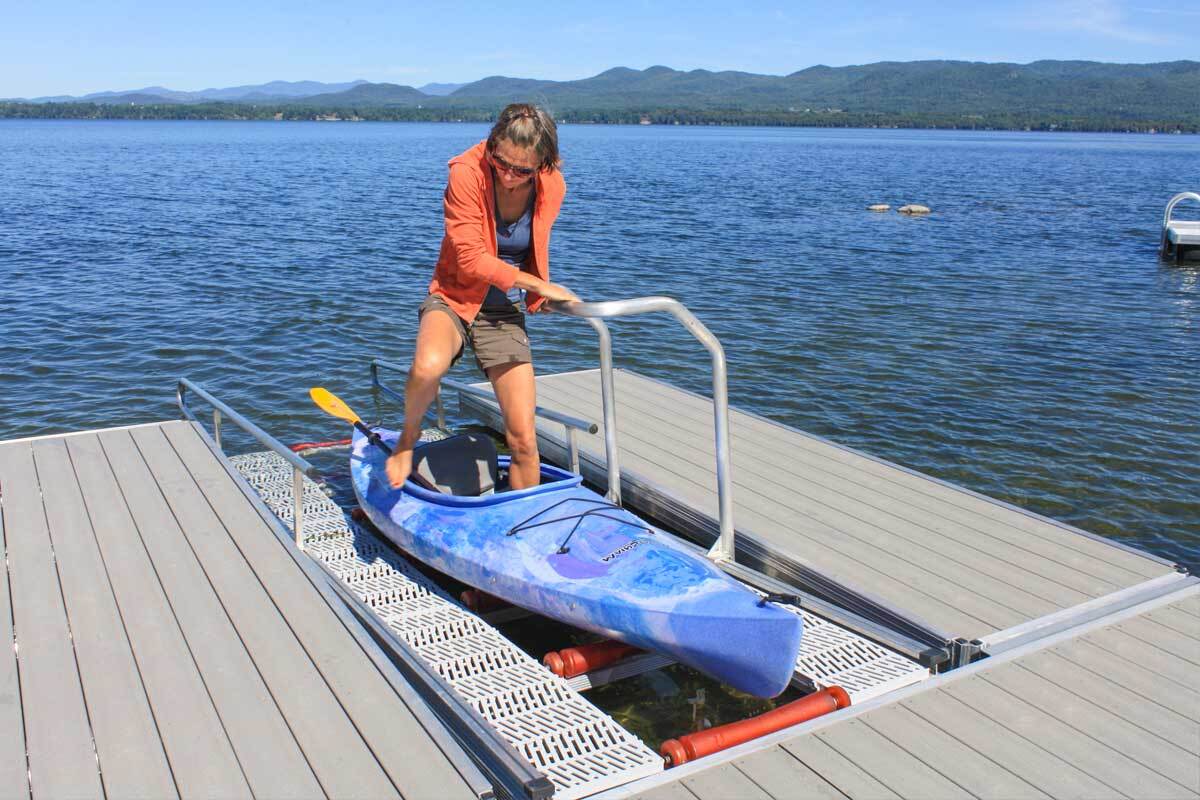
How To Build A Homemade Kayak Launch
Published: May 25, 2024

Senior Editor in Create & Decorate, Kathryn combines traditional craftsmanship with contemporary trends. Her background in textile design and commitment to sustainable crafts inspire both content and community.
Learn how to create your own DIY kayak launch with our step-by-step guide. Perfect for outdoor enthusiasts and crafty individuals. Start your project today!
(Many of the links in this article redirect to a specific reviewed product. Your purchase of these products through affiliate links helps to generate commission for Twigandthistle.com, at no extra cost. Learn more)
Introduction
So, you've got a beautiful kayak and a picturesque waterfront property, but there's just one problem – getting your kayak into the water can be a bit of a hassle. Whether you're dealing with a steep shoreline or slippery rocks, launching your kayak can sometimes feel like a daunting task. But fear not! With a little bit of DIY spirit and some basic carpentry skills, you can build your very own homemade kayak launch. This article will guide you through the process, from gathering the necessary materials to putting the finishing touches on your custom creation. Let's dive in and get started on this exciting project!
Materials Needed
To build your homemade kayak launch, you'll need a few essential materials. Here's a list to get you started:
-
Pressure-Treated Lumber: This will serve as the primary building material for the frame of your kayak launch. Opt for high-quality, durable lumber that can withstand exposure to the elements.
-
Galvanized Screws and Nails: These will be used to secure the various components of the kayak launch together. Make sure to choose screws and nails that are suitable for outdoor use to prevent rusting.
-
Plywood or Decking Boards: You'll need these materials to create the surface of the kayak launch, providing a stable platform for launching and landing your kayak.
-
Metal Brackets and Hardware: These will be essential for reinforcing the structural integrity of the kayak launch, especially at key connection points.
-
Concrete Footings or Pavers: Depending on the shoreline conditions, you may need to use concrete footings or pavers to provide a stable base for the kayak launch.
-
Waterproof Sealant or Paint: Applying a waterproof sealant or paint to the finished kayak launch will help protect it from water damage and prolong its lifespan.
-
Rope or Handles: Adding rope or handles to the kayak launch can make it easier to pull your kayak in and out of the water.
-
Leveling Tools: A level, measuring tape, and other basic carpentry tools will be essential for ensuring that your kayak launch is stable and properly constructed.
By gathering these materials, you'll be well-equipped to embark on the exciting journey of building your very own homemade kayak launch.
Designing the Kayak Launch
Before you start swinging your hammer and driving in nails, it's crucial to have a solid plan for the design of your homemade kayak launch. Consider the layout of your shoreline and the specific needs of your kayak. Here are some key factors to keep in mind as you design your kayak launch:
-
Shoreline Conditions: Take a close look at the shoreline where you plan to install the kayak launch. Consider the slope of the land, the presence of rocks or obstacles, and the water depth at different points along the shoreline. These factors will influence the design and placement of your kayak launch.
-
Kayak Size and Type: The dimensions and design of your kayak launch should be tailored to accommodate the size and type of kayak you own. Whether you have a single or tandem kayak, a sit-in or sit-on-top model, the launch should provide ample space for easy entry and exit.
-
Accessibility: Think about how you will access the kayak launch from the shore. Will you need steps or a ramp to reach the platform? Accessibility is key to ensuring that launching and landing your kayak is a smooth and hassle-free experience.
-
Stability and Durability: Your kayak launch should be stable and durable enough to withstand the weight of the kayak and the force of pushing off from the shore. Consider the use of sturdy materials and reinforcement techniques to enhance the structural integrity of the launch.
-
Aesthetics and Environment: While functionality is paramount, you may also want to consider the visual appeal of your kayak launch. Choosing materials and finishes that complement the natural surroundings can enhance the overall aesthetic of your waterfront property.
By carefully considering these factors, you can create a well-designed kayak launch that meets your specific needs and enhances your overall kayaking experience. Once you have a clear vision of the design, you can move on to the exciting phase of building the frame for your homemade kayak launch.
Building the Frame
Building the frame is a critical step in constructing your homemade kayak launch. The frame provides the structural support and stability necessary for a safe and reliable platform. Here's a detailed guide to help you build the frame for your kayak launch:
-
Measure and Cut the Lumber: Begin by measuring and cutting the pressure-treated lumber to the required dimensions. The dimensions will depend on the design plan you've established, taking into account the size and type of your kayak. Use a saw and measuring tools to ensure accurate cuts.
-
Assemble the Base: Once the lumber is cut to size, assemble the base of the frame on a flat and level surface. Use galvanized screws and nails to securely join the pieces together. Consider using metal brackets at the corners for added reinforcement.
-
Create Support Structures: Depending on the size of your kayak launch, you may need to incorporate additional support structures within the frame. This could involve adding cross beams or diagonal bracing to enhance the overall stability of the platform.
-
Attach the Decking: After the base frame is constructed, it's time to attach the plywood or decking boards to create the surface of the kayak launch. Secure the decking material to the frame using screws, ensuring that it is level and securely fastened.
-
Reinforce Connection Points: Pay close attention to the connection points between the various components of the frame. Adding extra screws and using metal brackets can help reinforce these critical areas, ensuring that the frame is solid and capable of supporting the weight of the kayak and paddler.
-
Check for Level and Stability: Once the frame is fully assembled, use a level to ensure that the platform is even and stable. Make any necessary adjustments to the frame to correct any unevenness or wobbling.
By following these steps, you can build a sturdy and reliable frame for your homemade kayak launch. The frame serves as the foundation for the entire structure, setting the stage for the next phase of attaching the launch to the shore.
Attaching the Launch to the Shore
Attaching the kayak launch to the shore is a crucial step that ensures stability and security during the launching and landing of your kayak. The method of attachment will depend on the specific characteristics of your shoreline and the design of your kayak launch. Here's a detailed guide to help you securely attach the launch to the shore:
-
Assess the Shoreline: Before proceeding with the attachment, carefully assess the shoreline to determine the most suitable method for securing the kayak launch. Take note of the soil composition, water depth, and any potential obstacles that may impact the attachment process.
-
Use Concrete Footings or Pavers: In some cases, it may be necessary to use concrete footings or pavers to create a stable foundation for attaching the kayak launch. This is particularly important if the shoreline consists of loose soil or gravel. Dig holes for the footings, ensuring that they are level and securely positioned.
-
Secure the Launch with Anchors: Depending on the design of your kayak launch, you may need to use anchors to secure it to the shore. This could involve driving metal stakes or rods into the ground and attaching them to the frame of the launch using strong ropes or cables. Ensure that the anchors are firmly embedded in the soil to provide maximum stability.
-
Consider Floating Attachments: If your shoreline features a fluctuating water level or soft, marshy terrain, you may opt for a floating attachment method. This could involve using buoyant materials or pontoons to create a stable floating platform that is tethered to the shore. Floating attachments can adapt to changes in water level and provide a versatile solution for challenging shoreline conditions.
-
Implement Ramp or Steps: To facilitate easy access to the kayak launch from the shore, consider incorporating a ramp or steps into the attachment design. This will allow for seamless entry and exit from the kayak, enhancing the overall user experience.
-
Test for Stability: Once the kayak launch is attached to the shore, thoroughly test its stability by applying pressure and simulating the process of launching and landing a kayak. Check for any signs of movement or instability, and make any necessary adjustments to ensure a secure attachment.
By carefully considering the unique characteristics of your shoreline and implementing the appropriate attachment method, you can effectively secure your homemade kayak launch to the shore, creating a safe and reliable platform for your kayaking adventures.
Adding Finishing Touches
Once the frame of your homemade kayak launch is securely attached to the shore, it's time to add the finishing touches that will enhance both the functionality and aesthetics of the platform. These final details will not only contribute to the overall usability of the kayak launch but also elevate its visual appeal. Here's a comprehensive guide to adding the finishing touches to your homemade kayak launch:
-
Apply Waterproof Sealant or Paint: To protect the wood from water damage and prolong the lifespan of your kayak launch, consider applying a waterproof sealant or paint. Choose a high-quality product that is specifically designed for outdoor use and can withstand exposure to moisture and UV rays. This step will not only enhance the durability of the platform but also allow you to customize its appearance with a splash of color.
-
Install Rope or Handles: Adding rope or handles to the kayak launch can significantly improve the ease of launching and landing your kayak. Securely attach ropes or handles to the platform, providing convenient points for gripping and maneuvering the kayak. This feature is particularly useful for stabilizing the kayak during entry and exit, as well as for pulling the kayak onto the launch from the water.
-
Incorporate Non-Slip Surfacing: To enhance safety and prevent slipping, consider incorporating non-slip surfacing on the platform of the kayak launch. This can be achieved by applying non-slip adhesive strips or coatings to the surface of the decking. Creating a secure foothold will minimize the risk of accidents and ensure a confident launch and landing experience.
-
Add Personalized Touches: Consider adding personalized touches to the kayak launch that reflect your individual style and preferences. Whether it's a decorative emblem, a carved design, or a custom nameplate, infusing the platform with personal flair can make it feel uniquely yours. This is an opportunity to express your creativity and make the kayak launch a distinctive feature of your waterfront property.
-
Incorporate Storage Solutions: If space allows, consider incorporating storage solutions into the design of the kayak launch. This could involve adding compartments, hooks, or racks for storing paddles, life jackets, and other kayaking essentials. Efficient storage options will streamline the process of preparing for your kayaking adventures and keep your gear organized.
-
Illuminate the Launch Area: For evening or early morning kayaking excursions, consider illuminating the launch area with strategically placed solar-powered lights or low-voltage LED fixtures. This not only enhances the safety and visibility of the platform but also creates an inviting ambiance for nighttime paddling activities.
By attending to these finishing touches, you can elevate the functionality, safety, and visual appeal of your homemade kayak launch, creating a well-rounded and personalized platform for your kayaking endeavors. These details will not only enhance the overall user experience but also showcase the craftsmanship and care put into building your custom kayak launch.
Conclusion
In conclusion, building a homemade kayak launch is a rewarding and practical endeavor that can significantly enhance your waterfront experience. By carefully considering the design, gathering the necessary materials, constructing a sturdy frame, securely attaching the launch to the shore, and adding thoughtful finishing touches, you can create a custom platform that meets your specific kayaking needs. Whether you're a seasoned paddler or a novice enthusiast, having a well-crafted kayak launch can streamline the process of getting in and out of the water, while also adding a touch of personalization to your waterfront property. With the right tools, materials, and a dash of DIY spirit, you can embark on this exciting project and enjoy the fruits of your labor as you launch your kayak with ease and confidence.