
Home>Create & Decorate>DIY & Crafts>DIY WiFi Antenna: Boost Your Signal With This Simple Craft
DIY & Crafts
DIY WiFi Antenna: Boost Your Signal With This Simple Craft
Published: June 10, 2024

Content Creator specializing in woodworking and interior transformations. Caegan's guides motivate readers to undertake their own projects, while his custom furniture adds a personal touch.
Boost your WiFi signal with this easy DIY craft project. Learn how to make a powerful WiFi antenna at home with simple materials. Enhance your connection now!
(Many of the links in this article redirect to a specific reviewed product. Your purchase of these products through affiliate links helps to generate commission for Twigandthistle.com, at no extra cost. Learn more)
Introduction
Are you tired of dealing with weak WiFi signals in certain areas of your home? Do you wish there was a simple and affordable way to boost your WiFi signal without having to invest in expensive equipment? Well, you're in luck! In this article, we're going to show you how to create your own DIY WiFi antenna using just a few basic materials. By following these simple steps, you'll be able to significantly improve your WiFi signal strength and coverage, allowing you to enjoy a more reliable and faster internet connection throughout your home. So, roll up your sleeves and get ready to craft your way to better WiFi!
Understanding WiFi Signals
When it comes to understanding WiFi signals, it's essential to grasp the basics of how they work. WiFi signals operate on radio frequencies, typically 2.4 GHz or 5 GHz, and are susceptible to interference from various obstacles such as walls, appliances, and other electronic devices. The strength and reach of a WiFi signal can be affected by these interferences, resulting in dead zones or weak connectivity within your home. By creating a DIY WiFi antenna, you can effectively amplify and direct the WiFi signal to specific areas, mitigating these interferences and enhancing your overall wireless network coverage.
In addition to interference, the layout and construction of your home can also impact WiFi signal strength. Thick walls, metal structures, and long distances from the router can all contribute to weakened signals. Understanding these factors is crucial in determining the placement and direction of your DIY WiFi antenna to maximize its effectiveness. With a clear understanding of how WiFi signals behave and the obstacles they face, you can proceed to craft a solution that addresses these challenges and improves your wireless connectivity.
Materials Needed
To embark on your DIY WiFi antenna project, you'll need a few readily available materials. Here's what you'll require:
-
Aluminum Can: A clean, empty aluminum can, such as a soda or beer can, will serve as the main component of your antenna. Ensure that it's free from any residual liquid and has been thoroughly rinsed.
-
N-Type Female Chassis Mount Connector: This connector will be used to attach the coaxial cable to the aluminum can, allowing it to function as an antenna. It's essential to select a connector that fits securely onto the can and provides a stable connection for the cable.
-
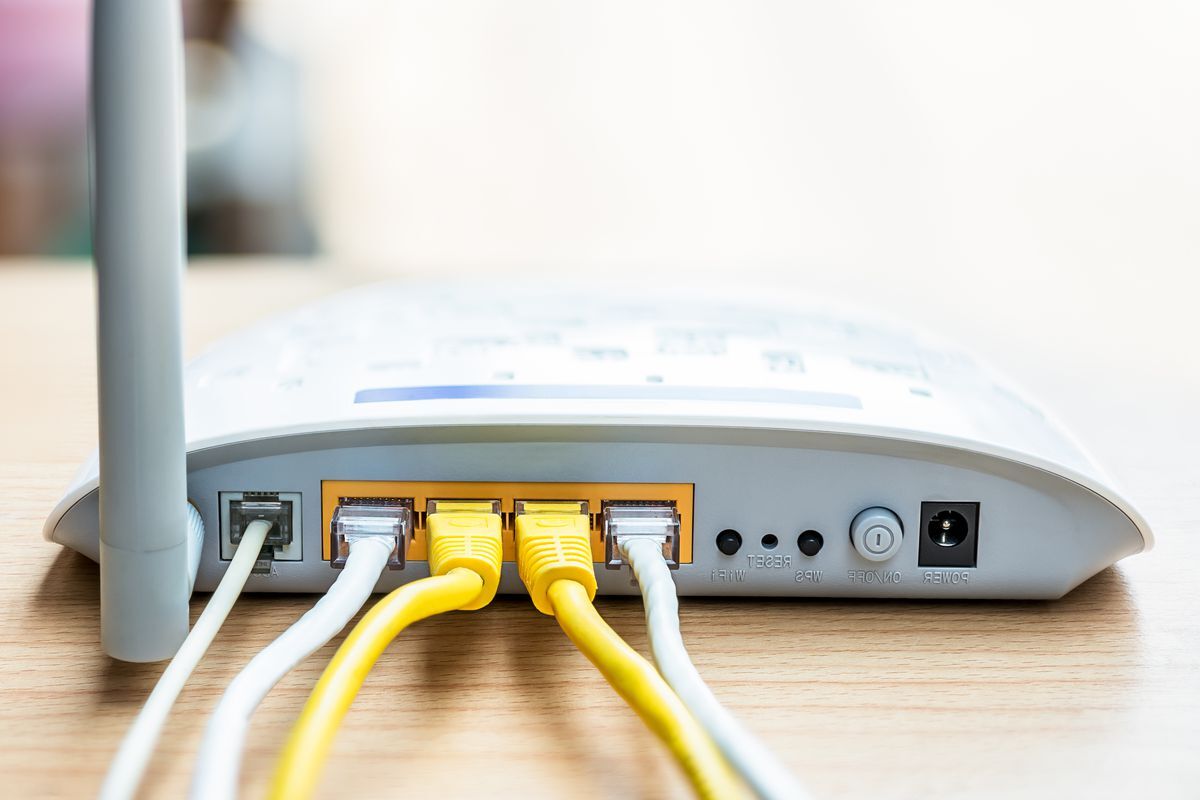
Coaxial Cable: A length of coaxial cable, typically used for TV or internet connections, will be used to connect the N-type connector to your WiFi router. The length of the cable will depend on the distance between your router and the location where you plan to mount the antenna.
-
Tools: You'll need basic tools such as a utility knife or scissors to cut the aluminum can, a drill to create a hole for the connector, and a soldering iron to secure the connection between the can and the N-type connector.
-
Optional: Mounting Hardware: Depending on where you intend to place the antenna, you may require mounting hardware such as zip ties, adhesive mounts, or brackets to secure it in position.
Gather these materials before you begin, and you'll be well-prepared to construct your DIY WiFi antenna.
Step 1: Cutting the Can
The first step in creating your DIY WiFi antenna is to prepare the aluminum can for transformation. Begin by selecting a clean, empty aluminum can, ensuring that it has been thoroughly rinsed and is free from any residual liquid. Once you have the can ready, carefully remove the top and bottom using a utility knife or a pair of sharp scissors. This will result in an open cylinder with smooth, even edges.
Next, you'll need to cut the cylinder lengthwise to create a flat, rectangular sheet of aluminum. Using your cutting tool, make a straight incision from the top to the bottom of the can, taking care to maintain a consistent width for the sheet. Once the incision is complete, carefully flatten the aluminum sheet to remove any creases or irregularities, resulting in a smooth and even surface.
At this stage, you should have a flat piece of aluminum that was once part of the can. This sheet will serve as the main element of your DIY WiFi antenna, ready to be shaped and configured in the subsequent steps. With the can cut and the aluminum sheet prepared, you're now set to move on to the next phase of crafting your WiFi signal-boosting device.
Step 2: Attaching the Connector
With the aluminum sheet prepared, the next crucial step is to attach the N-Type Female Chassis Mount Connector to the DIY WiFi antenna. Begin by selecting a suitable location on the aluminum sheet where the connector will be affixed. This spot should be strategically chosen to optimize the antenna's performance, considering factors such as signal direction and potential obstructions. Once the location is determined, mark the position for the connector.
Using a drill with a bit appropriate for the size of the connector, carefully create a hole at the marked spot on the aluminum sheet. Take care to make the hole precise and clean, ensuring that it accommodates the connector securely. After drilling the hole, insert the threaded portion of the N-Type connector through the opening from the underside of the aluminum sheet, allowing the connector to protrude through the top.
With the connector in place, secure it to the aluminum sheet using the provided locking nut. Tighten the nut to fasten the connector firmly to the sheet, ensuring a stable and reliable connection. Once the connector is securely attached, you can proceed to solder the coaxial cable to the connector, establishing the crucial link between the antenna and your WiFi router.
Carefully strip the insulation from the end of the coaxial cable to expose the inner conductor and the shielding. Connect the inner conductor to the center pin of the N-Type connector, ensuring a solid and secure solder joint. Similarly, attach the shielding of the coaxial cable to the outer portion of the connector, establishing a complete and reliable connection.
After soldering the coaxial cable to the N-Type connector, inspect the joint to ensure that it is well-made and free from any loose connections or exposed wires. A secure and properly soldered connection is essential for the effective transmission of the WiFi signal. Once the connection is verified, you have successfully completed the crucial step of attaching the connector to your DIY WiFi antenna, bringing you one step closer to enhancing your wireless network coverage.
Step 3: Mounting the Antenna
Now that the DIY WiFi antenna is assembled and the connector is securely attached, the next step is to mount the antenna in a strategic location to optimize its performance. The ideal placement of the antenna can significantly impact its ability to amplify and direct the WiFi signal, so careful consideration is essential.
Begin by identifying the areas in your home where the WiFi signal is weakest or where you desire improved coverage. Common locations include areas distant from the router, upper floors, or spaces obstructed by walls and obstacles. Once these areas are identified, assess the surroundings to determine the best position for mounting the antenna.
Depending on the chosen location, you may need to utilize mounting hardware to secure the antenna. Options such as zip ties, adhesive mounts, or brackets can be used to affix the antenna to a wall, ceiling, or other suitable surfaces. Ensure that the mounting method provides a stable and secure attachment, minimizing any potential movement or displacement of the antenna.
When mounting the antenna, consider the orientation and angle that will yield the best results. The direction of the antenna can influence the distribution of the WiFi signal, so positioning it to direct the signal towards the desired areas is crucial. Additionally, take into account any potential obstructions or interference that may affect the signal path, aiming to minimize these factors for optimal performance.
Once the antenna is securely mounted, ensure that the coaxial cable is connected to your WiFi router, establishing the link between the antenna and the network. Verify that the connection is secure and that the cable is routed in a manner that minimizes potential interference or damage.
With the antenna in place and connected, power on your WiFi router and assess the signal strength and coverage in the previously problematic areas. Use a WiFi-enabled device to test the signal quality and connectivity, noting any improvements in speed and reliability. If necessary, make minor adjustments to the antenna's position and orientation to fine-tune its performance.
By effectively mounting the DIY WiFi antenna in strategic locations, you can maximize its impact on your wireless network, extending coverage to areas that previously suffered from weak or unreliable signals. With the antenna in position, you can enjoy enhanced connectivity and improved internet access throughout your home.
Testing and Troubleshooting
Once you have completed the construction and mounting of your DIY WiFi antenna, it's time to put it to the test. Testing the antenna involves assessing its impact on the WiFi signal strength and coverage in the areas where you previously experienced issues. To begin the testing process, power on your WiFi router and ensure that it is functioning correctly. With the router operational, use a WiFi-enabled device such as a smartphone, tablet, or laptop to evaluate the signal quality and connectivity in the targeted areas.
Walk around the areas where the WiFi signal was previously weak or unreliable, taking note of any improvements in signal strength and network performance. Use speed test applications or websites to measure the download and upload speeds, comparing the results to the performance before implementing the DIY WiFi antenna. Additionally, assess the stability of the connection and the absence of signal dropouts or interruptions.
During the testing phase, it's essential to troubleshoot any potential issues that may arise. If you encounter unexpected challenges such as a lack of signal improvement or a decline in network performance, consider the following troubleshooting steps:
-
Repositioning the Antenna: If the initial placement of the antenna does not yield the desired results, consider repositioning it to explore alternative signal paths. Small adjustments in orientation and angle can sometimes make a significant difference in signal strength and coverage.
-
Checking the Connection: Verify that the coaxial cable is securely connected to both the DIY WiFi antenna and the WiFi router. Ensure that the connections are tight and free from any damage that may affect signal transmission.
-
Assessing Interference: Identify and mitigate potential sources of interference that may impact the WiFi signal. Electronic devices, appliances, and other wireless networks can contribute to signal degradation, so minimizing their influence is crucial.
-
Evaluating Signal Obstructions: Assess the presence of physical obstructions such as walls, furniture, or large objects that may impede the WiFi signal. Adjust the antenna's position to minimize the impact of these obstacles on signal propagation.
-
Verifying Router Settings: Check the settings on your WiFi router to ensure that they are optimized for the best possible signal transmission. Adjustments to the router's channel selection, transmission power, and antenna configuration can positively influence signal strength and coverage.
By systematically testing and troubleshooting the performance of your DIY WiFi antenna, you can identify and address any issues that may arise, ensuring that the antenna effectively enhances your wireless network coverage. Through careful evaluation and adjustment, you can optimize the antenna's impact on your WiFi signal, providing improved connectivity and internet access throughout your home.
Conclusion
In conclusion, creating your own DIY WiFi antenna can be a rewarding and effective way to boost your WiFi signal strength and coverage without the need for expensive commercial solutions. By understanding the behavior of WiFi signals and the factors that can impact their performance, you can craft a simple yet powerful antenna using basic materials. Through the process of cutting an aluminum can, attaching a connector, and strategically mounting the antenna, you can significantly improve the reach and reliability of your wireless network.
With the DIY WiFi antenna in place, you can enjoy enhanced connectivity and internet access in areas that previously suffered from weak or unreliable signals. The ability to customize the antenna's placement and orientation allows you to target specific areas of your home, addressing signal dead zones and improving overall network performance. Additionally, the testing and troubleshooting phase enables you to fine-tune the antenna's performance, ensuring optimal signal strength and coverage.
By embarking on this DIY project, you not only improve your WiFi experience but also gain valuable insights into the principles of wireless communication and signal propagation. The satisfaction of crafting a functional and practical solution for enhancing your WiFi signal adds a sense of accomplishment to the process. With your DIY WiFi antenna successfully implemented, you can enjoy a more robust and reliable wireless network, providing seamless connectivity for your various online activities.