
Home>Create & Decorate>DIY & Crafts>DIY Cold Plunge: How To Create Your Own Refreshing Oasis
DIY & Crafts
DIY Cold Plunge: How To Create Your Own Refreshing Oasis
Published: June 12, 2024

Senior Editor in Create & Decorate, Kathryn combines traditional craftsmanship with contemporary trends. Her background in textile design and commitment to sustainable crafts inspire both content and community.
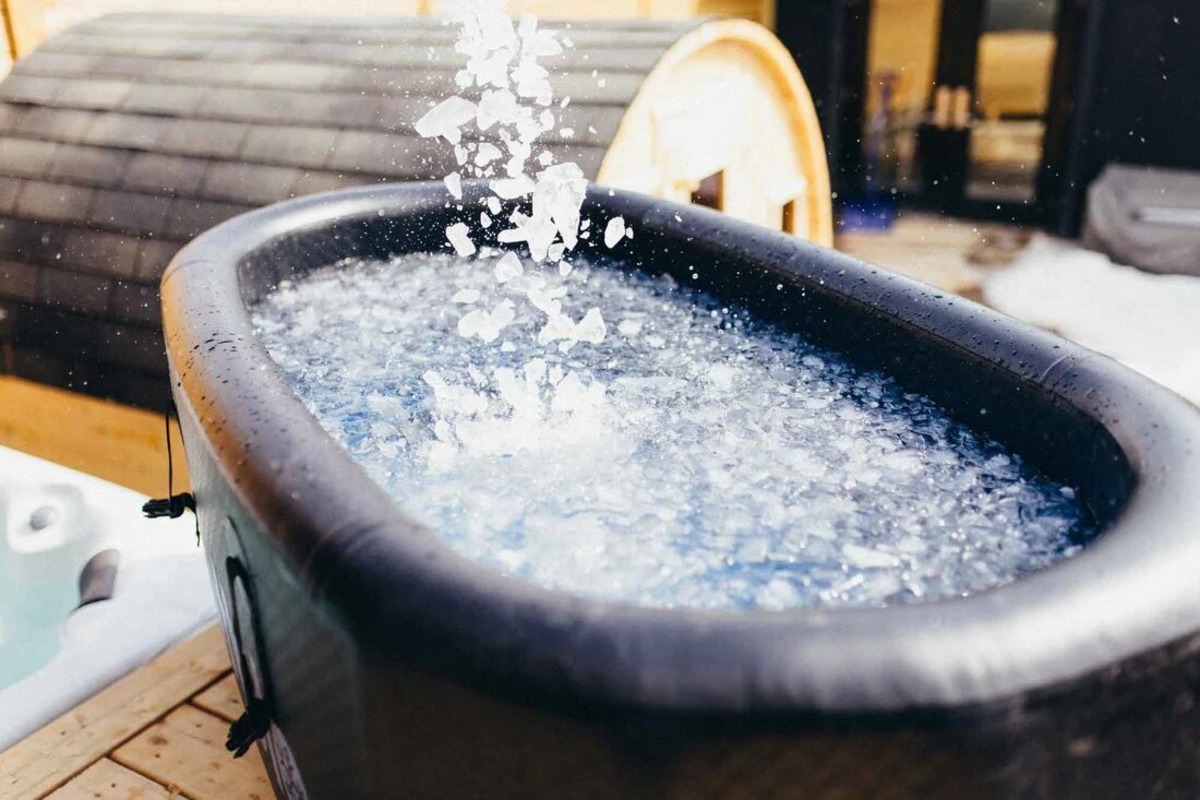
Learn how to build your own DIY cold plunge at home and create a refreshing oasis with our easy step-by-step guide. Dive into the world of DIY & Crafts today!
(Many of the links in this article redirect to a specific reviewed product. Your purchase of these products through affiliate links helps to generate commission for Twigandthistle.com, at no extra cost. Learn more)
Benefits of Cold Plunging
So, why should you consider adding a cold plunge to your home? Well, there are numerous benefits to taking the plunge into cold water. Here are some of the top reasons why cold plunging can be a game-changer for your health and well-being:
-
Improved Circulation: When you immerse yourself in cold water, your blood vessels constrict, which can help to improve circulation. This, in turn, can promote better overall cardiovascular health.
-
Reduced Inflammation: Cold water immersion has been shown to reduce inflammation in the body, which can be beneficial for those dealing with muscle soreness, arthritis, or other inflammatory conditions.
-
Enhanced Muscle Recovery: Athletes and fitness enthusiasts often use cold plunges to help speed up muscle recovery after intense workouts. The cold water can help to reduce muscle soreness and aid in the repair process.
-
Mental Clarity and Alertness: Cold water immersion has been linked to increased mental alertness and improved mood. Many people find that a quick dip in cold water can help them feel more awake and focused.
-
Stress Relief: The shock of cold water can trigger the release of endorphins, which are natural mood-boosting hormones. This can help to reduce stress and promote a sense of well-being.
-
Boosted Immune Function: Some research suggests that regular cold water exposure may help to strengthen the immune system, making you more resilient to common illnesses.
-
Improved Skin and Hair Health: Cold water can help to tighten the pores and cuticles, leading to healthier-looking skin and hair.
With all these benefits, it's no wonder that cold plunging has been gaining popularity as a wellness practice. Whether you're looking to improve your physical health, mental well-being, or both, a DIY cold plunge could be just the thing to add to your home oasis.
Choosing the Right Location for Your DIY Cold Plunge
When it comes to setting up your DIY cold plunge, the location is key. Here are some important factors to consider when choosing the right spot for your refreshing oasis:
-
Space: First and foremost, you'll need to assess the available space in your yard or outdoor area. The ideal location should have enough room to accommodate the cold plunge structure and allow for easy access and maintenance.
-
Privacy: Consider the level of privacy in the chosen location. You'll want to enjoy your cold plunge without feeling exposed to neighbors or passersby. Look for a spot that offers a sense of seclusion, whether it's surrounded by fencing, greenery, or natural barriers.
-
Sunlight: While some sunlight can be pleasant, too much direct exposure can lead to overheating of the water in your cold plunge. Choose a location that offers a balance of sunlight and shade to help maintain the optimal temperature for your refreshing dips.
-
Accessibility: Think about how easily accessible the location is from your home. You'll want to minimize the distance and obstacles between your cold plunge and your living space to make it convenient to use regularly.
-
Aesthetics: The location of your cold plunge should complement the overall aesthetics of your outdoor area. Whether you prefer a natural, rustic setting or a more modern design, integrating the cold plunge into the landscape can enhance the visual appeal of your space.
-
Utility Connections: If you plan to incorporate features such as heating elements, filtration systems, or lighting, consider the proximity to utility connections. Ensuring easy access to power and water sources can simplify the installation and maintenance of these additional components.
By carefully considering these factors, you can select the perfect location for your DIY cold plunge, creating a refreshing oasis that seamlessly integrates into your outdoor environment.
Materials and Tools Needed
Before diving into the construction of your DIY cold plunge, it's essential to gather all the necessary materials and tools. Here's a comprehensive list to ensure you're well-prepared for the project:
Materials:
-
Container: Select a durable and watertight container to serve as the main structure of your cold plunge. Options include stock tanks, large plastic containers, or custom-built wooden enclosures lined with waterproof materials.
-
Insulation: To help maintain the desired water temperature, you'll need insulation materials such as foam board or spray foam to line the interior walls of the container.
-
Waterproofing Sealant: Choose a high-quality waterproof sealant to coat the interior surfaces of the container, ensuring a secure and leak-free enclosure for the cold plunge.
-
Filtration System: If desired, invest in a filtration system to keep the water clean and free of debris. This may include a pump, filter, and appropriate plumbing connections.
-
Heating Element (Optional): For year-round use, consider incorporating a heating element, such as a submersible water heater, to regulate the water temperature during colder months.
-
Steps or Ladder: Depending on the depth of your cold plunge, you'll need a safe and sturdy set of steps or a ladder for easy entry and exit.
-
Decorative Finishes: Enhance the visual appeal of your cold plunge with decorative finishes such as mosaic tiles, natural stone, or waterproof paint for the exterior.
-
Landscaping Materials: If you plan to integrate the cold plunge into a landscaped area, gather landscaping materials such as gravel, pavers, or decking materials for the surrounding space.
Tools:
-
Measuring Tape: Accurate measurements are crucial for ensuring the proper fit and alignment of materials during construction.
-
Circular Saw or Jigsaw: A reliable cutting tool will be necessary for shaping and modifying the container and insulation materials.
-
Drill and Bits: A drill with assorted bits will be used for creating holes for plumbing, securing components, and attaching decorative finishes.
-
Utility Knife: This versatile tool will come in handy for cutting insulation materials and making precise adjustments.
-
Caulking Gun: Use a caulking gun to apply the waterproof sealant evenly and efficiently.
-
Level: To ensure the container and surrounding elements are properly aligned, a level is essential for achieving a balanced and stable installation.
-
Safety Gear: Prioritize safety by wearing protective gear, including gloves, goggles, and appropriate clothing, especially when working with insulation and sealants.
By gathering these materials and tools, you'll be well-equipped to embark on the construction of your DIY cold plunge, setting the stage for a refreshing and rejuvenating addition to your home.
Step-by-Step Guide to Building Your Cold Plunge
Now that you have all the necessary materials and tools at the ready, it's time to roll up your sleeves and dive into the construction of your DIY cold plunge. Follow this step-by-step guide to bring your refreshing oasis to life:
-
Prepare the Container:
- Begin by thoroughly cleaning the interior of the container to remove any debris or residues. Ensure that the surface is smooth and free of any sharp edges that could puncture the waterproof lining.
-
Apply Insulation:
- Cut the insulation materials to fit the interior walls of the container. Use a suitable adhesive to secure the insulation in place, creating a thermal barrier to help maintain the desired water temperature.
-
Waterproof the Interior:
- Apply the waterproof sealant to the insulated surfaces, ensuring complete coverage to prevent any potential leaks. Allow the sealant to dry thoroughly according to the manufacturer's instructions.
-
Install the Filtration System (if applicable):
- Follow the manufacturer's guidelines to install the filtration system, including the pump, filter, and any necessary plumbing connections. Test the system to ensure proper functionality.
-
Incorporate the Heating Element (if desired):
- If you've opted for a heating element, carefully install it according to the manufacturer's instructions. Ensure that all electrical connections are secure and waterproof.
-
Add Steps or Ladder:
- Position and secure the steps or ladder to provide safe and convenient access to the cold plunge. Verify that the entry point is stable and easily accessible.
-
Enhance the Exterior:
- If you wish to add decorative finishes to the exterior of the container, such as mosaic tiles or waterproof paint, now is the time to do so. Let your creativity shine as you personalize the look of your cold plunge.
-
Integrate Landscaping Elements:
- If the cold plunge will be part of a landscaped area, incorporate the surrounding landscaping materials, such as gravel, pavers, or decking, to seamlessly blend the oasis into its environment.
-
Fill with Water:
- Once all the components are in place, fill the cold plunge with water to the desired level. Take this opportunity to test the water quality and temperature, making any necessary adjustments.
-
Final Checks and Adjustments:
- Conduct a thorough inspection of the entire setup, checking for any signs of leaks, ensuring the stability of the entry point, and verifying the functionality of any added features.
With these step-by-step instructions, you can methodically build your DIY cold plunge, creating a refreshing oasis that promises to invigorate your body and soul.
Adding Refreshing Elements to Your Oasis
Now that your DIY cold plunge is taking shape, it's time to elevate the experience by adding refreshing elements that enhance the overall ambiance of your oasis. Consider incorporating the following elements to create a truly rejuvenating environment:
Aromatherapy Infusions
Introduce the power of aromatherapy to your cold plunge oasis by using essential oils known for their invigorating and refreshing properties. Create a calming atmosphere with scents such as eucalyptus, peppermint, or citrus. You can add a few drops of essential oil to the water or use a diffuser near the cold plunge to disperse the refreshing aroma.
Ambient Lighting
Set the mood and create a tranquil atmosphere with carefully placed ambient lighting. Consider installing soft, waterproof LED lights around the perimeter of the cold plunge or incorporating floating LED candles in the water. The gentle glow of the lights can enhance the overall relaxation experience, especially during evening dips.
Relaxing Soundscapes
Incorporate soothing sounds to further enhance the calming ambiance of your oasis. Whether it's the gentle trickle of a nearby fountain, the rustling of wind chimes, or a carefully curated playlist of nature sounds, the addition of relaxing soundscapes can elevate the sensory experience of your cold plunge retreat.
Comfortable Seating or Lounging Area
Create a dedicated space for relaxation and unwinding near your cold plunge. Consider adding comfortable seating, such as weather-resistant lounge chairs or outdoor cushions, where you can relax before or after your refreshing dips. This area can serve as a tranquil retreat for meditation, reading, or simply enjoying the serene surroundings.
Refreshing Beverages and Snacks
Keep refreshments close at hand to complete the oasis experience. Consider setting up a small beverage station with infused water, herbal teas, or refreshing fruit juices. Additionally, having a selection of light, hydrating snacks such as fresh fruits or chilled cucumber slices can add to the overall rejuvenating experience.
Greenery and Natural Elements
Integrate lush greenery and natural elements into the surroundings to create a harmonious connection with nature. Consider adding potted plants, hanging gardens, or a small water feature nearby to enhance the visual appeal and promote a sense of tranquility within the oasis.
By incorporating these refreshing elements into your DIY cold plunge oasis, you can create a space that not only invigorates the body but also rejuvenates the mind and spirit, offering a holistic retreat within the comfort of your own home.
Maintenance and Upkeep of Your DIY Cold Plunge
Maintaining your DIY cold plunge is essential to ensure that it continues to provide a refreshing and rejuvenating experience over time. By incorporating regular upkeep into your routine, you can prolong the longevity of the cold plunge and preserve its optimal functionality. Here's a comprehensive guide to the maintenance tasks and upkeep practices that will help you keep your oasis in top condition.
Regular Cleaning and Water Treatment
Frequent cleaning and water treatment are crucial for maintaining the cleanliness and hygiene of your cold plunge. Establish a routine for removing debris, such as leaves or insects, from the water surface and the surrounding area. Additionally, consider investing in a skimmer or net to facilitate the removal of any floating particles.
To maintain water quality, regularly test the pH and chlorine levels, especially if you've incorporated a filtration system. Adjust the chemical balance as needed to ensure that the water remains clean and safe for use. If you prefer a more natural approach, explore alternative water treatment methods, such as mineral-based purifiers or UV sterilization systems.
Inspection of Structural Integrity
Periodically inspect the structural integrity of the cold plunge to identify any signs of wear, damage, or potential leaks. Check for cracks, loose seals, or areas of deterioration, especially in the waterproofing and insulation. Address any issues promptly to prevent further damage and maintain the watertight integrity of the container.
Seasonal Maintenance
Adjust your maintenance routine to accommodate seasonal changes and fluctuations in weather. During colder months, take measures to protect the cold plunge from freezing temperatures, such as draining the water and insulating exposed components. In warmer seasons, pay attention to the impact of sunlight and temperature on the water quality and consider shading options to prevent overheating.
Equipment and Component Care
If your DIY cold plunge includes additional features such as a filtration system, heating element, or lighting, it's essential to maintain these components as well. Regularly inspect and clean the filtration system, replace filters as recommended by the manufacturer, and ensure that all electrical connections are secure and weatherproof. For heating elements, follow the maintenance guidelines provided to optimize their performance and longevity.
Landscape and Surrounding Area Maintenance
If your cold plunge is integrated into a landscaped area, incorporate maintenance tasks for the surrounding space. This may include trimming vegetation, cleaning pathways, and ensuring that the overall environment remains conducive to relaxation and enjoyment. Pay attention to drainage around the cold plunge to prevent water accumulation and potential damage to the surrounding landscape.
Professional Inspections and Servicing
Consider scheduling periodic professional inspections and servicing to ensure that all components of your DIY cold plunge are in optimal condition. A professional can provide expert guidance on maintenance practices, identify any underlying issues, and perform specialized tasks such as pressure testing or leak detection to maintain the integrity of the cold plunge.
By incorporating these maintenance and upkeep practices into your routine, you can ensure that your DIY cold plunge remains a refreshing oasis that continues to invigorate and rejuvenate for years to come. Regular care and attention will not only preserve the functionality of the cold plunge but also contribute to a consistently enjoyable and revitalizing experience.