
Home>Home & Furniture>Kitchen>How to Build a Round Dining Table DIY
Kitchen
How to Build a Round Dining Table DIY
Published: August 2, 2024
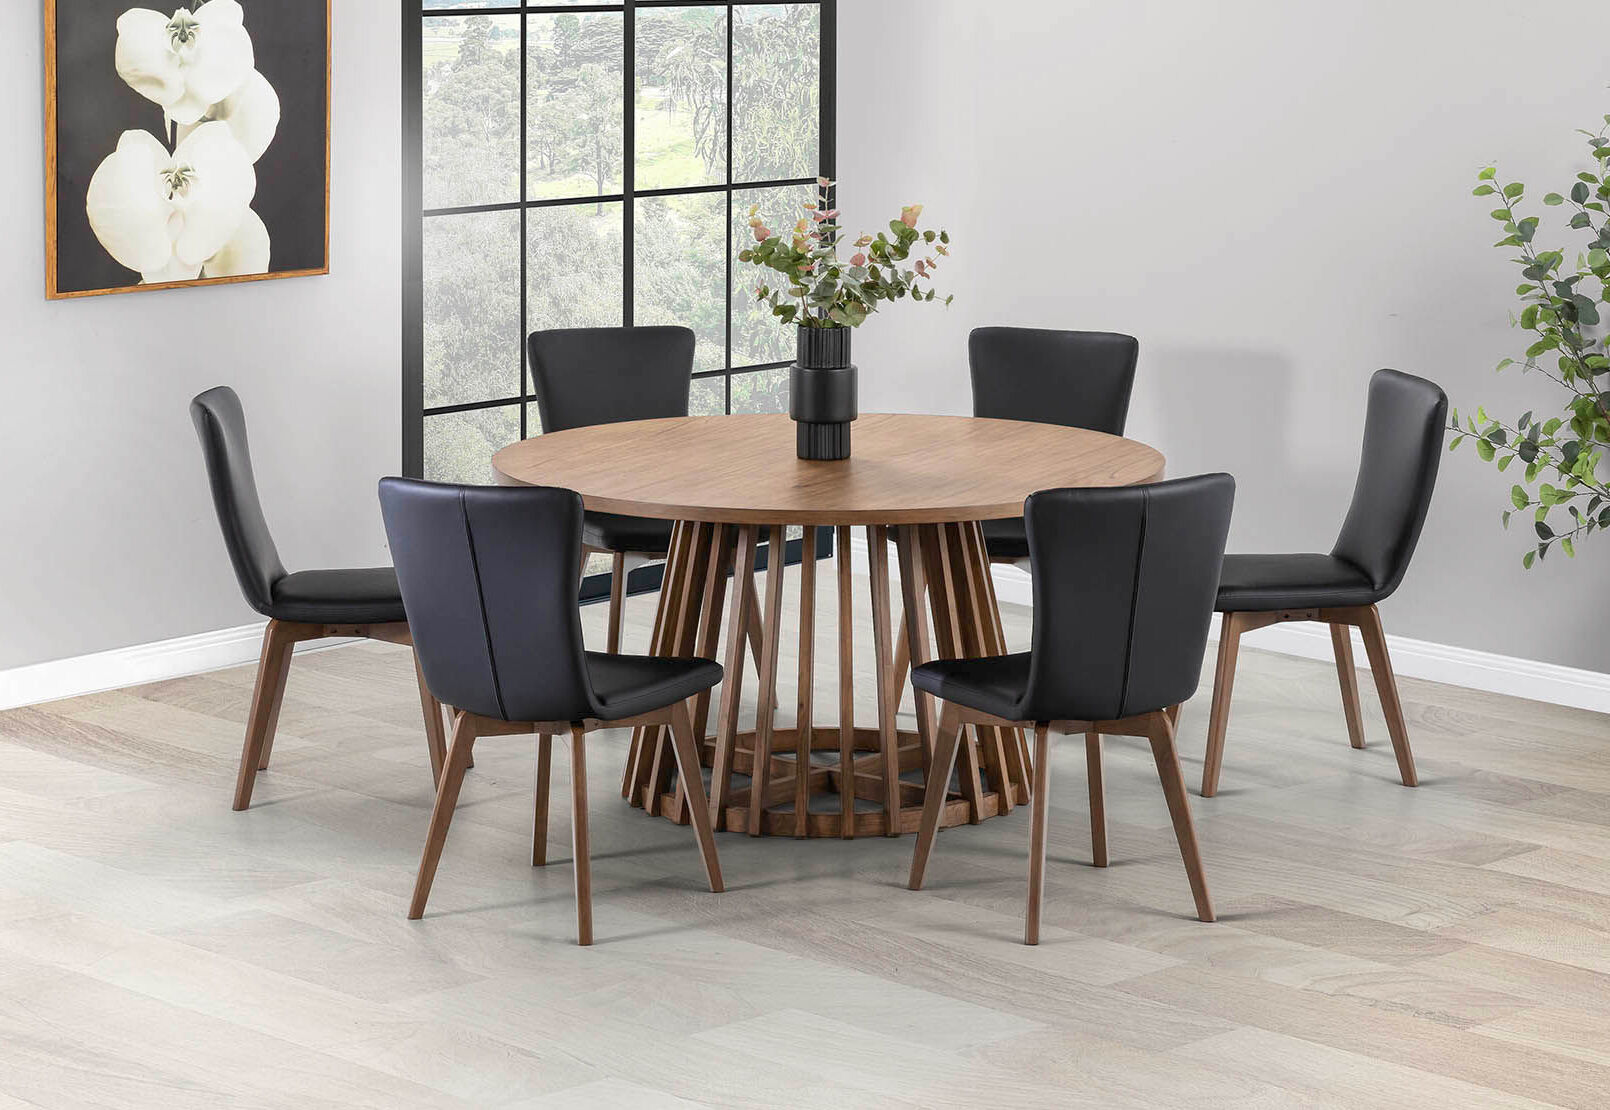
Learn how to build a round dining table DIY style with our step-by-step guide. Perfect for beginners, this project will add a touch of craftsmanship to your dining space.
(Many of the links in this article redirect to a specific reviewed product. Your purchase of these products through affiliate links helps to generate commission for Twigandthistle.com, at no extra cost. Learn more)
Building your round dining table might sound challenging, but with the right steps, even beginners can achieve a great result. Creating a custom piece allows you to choose materials, sizes, and finishes fitting your style and space perfectly. This project not only saves money compared to buying a new table but also provides a sense of accomplishment. Imagine gathering family or friends around a table you built yourself. Whether it’s for daily meals or special occasions, your handmade table will be a centerpiece filled with memories and pride. Let’s dive into this rewarding DIY project.
Getting Ready for the Project
Gather Materials: Collect wood, screws, a saw, sandpaper, wood glue, and a measuring tape. Ensure all materials are in good condition.
Safety Gear: Wear safety goggles, gloves, and a dust mask. Keep a first aid kit nearby.
Workspace Setup: Choose a well-ventilated area with plenty of light. Clear the space of any clutter to avoid tripping hazards.
Measure and Cut: Measure the wood pieces accurately. Use a saw to cut them to the required dimensions. Double-check measurements to avoid mistakes.
Sand the Wood: Smooth the edges and surfaces of the wood pieces using sandpaper. This helps in achieving a polished finish.
Pre-drill Holes: Mark where screws will go and pre-drill holes to prevent the wood from splitting.
Dry Fit: Assemble the pieces without glue or screws to ensure everything fits correctly. Make adjustments if necessary.
Apply Wood Glue: Apply wood glue to the joints for extra strength. Clamp the pieces together and let the glue dry.
Screw the Pieces: Secure the pieces with screws. Make sure they are tight but not over-tightened to avoid damaging the wood.
Final Sanding: Once assembled, sand the entire table to remove any rough spots.
Finish: Apply a wood finish or paint to protect the table and enhance its appearance. Allow it to dry completely before use.
Materials and Tools Checklist
Materials Needed:
- Wood Planks: For the tabletop and legs. Choose hardwood like oak or maple for durability.
- Wood Screws: To secure the pieces together.
- Wood Glue: Adds extra strength to the joints.
- Sandpaper: Smooths out rough edges and surfaces.
- Wood Stain or Paint: For finishing and protecting the wood.
- Varnish: Adds a protective layer to the finished table.
- Table Legs or Pedestal Base: Depending on your design preference.
Tools Needed:
- Circular Saw: Cuts the wood planks to size.
- Jigsaw: Useful for cutting the round shape of the tabletop.
- Drill: For making holes and driving screws.
- Clamps: Holds pieces together while the glue dries.
- Tape Measure: Ensures accurate measurements.
- Pencil: Marks cutting lines and measurements.
- Sanding Block or Electric Sander: Smooths the wood surfaces.
- Paintbrushes or Rags: Applies stain, paint, and varnish.
Wood Planks form the main structure. Wood Screws and Wood Glue secure everything. Sandpaper smooths surfaces. Wood Stain or Paint adds color. Varnish protects the finish. Table Legs or Pedestal Base support the tabletop.
Circular Saw and Jigsaw cut the wood. Drill makes holes and drives screws. Clamps hold pieces together. Tape Measure ensures precision. Pencil marks lines. Sanding Block or Electric Sander smooths surfaces. Paintbrushes or Rags apply finishes.
Required Skills and Time Commitment
Skill Level: Intermediate
Time Required: 2-3 days
- Gather Materials: 1-2 hours
- Cut Wood Pieces: 3-4 hours
- Assemble Tabletop: 4-5 hours
- Attach Legs: 2-3 hours
- Sand and Finish: 6-8 hours
- Drying Time: 24 hours
Detailed Building Instructions
Gather Materials and Tools
- Wood (for tabletop and legs)
- Screws
- Wood glue
- Sandpaper
- Wood stain or paint
- Circular saw
- Drill
- Measuring tape
- Clamps
Cut the Wood
- Measure and mark the wood for the tabletop.
- Use a circular saw to cut a round shape.
- Cut four pieces of wood for the legs.
Sand the Edges
- Sand the edges of the tabletop until smooth.
- Sand the legs to remove any rough spots.
Assemble the Tabletop
- If using multiple pieces of wood, glue them together.
- Clamp the pieces and let them dry.
Attach the Legs
- Mark where the legs will go on the underside of the tabletop.
- Drill pilot holes for screws.
- Attach the legs using screws and wood glue.
Stabilize the Legs
- Add cross supports between the legs for extra stability.
- Measure, cut, and attach these supports with screws.
Finish the Table
- Sand the entire table to ensure smoothness.
- Apply wood stain or paint as desired.
- Let it dry completely.
Final Touches
- Check for any rough spots and sand again if needed.
- Apply a clear coat for protection if using stain.
Helpful Tips for Success
Measure twice, cut once. Accurate measurements prevent wasted materials. Use a template for the round shape. A large piece of cardboard works well. Sand edges smoothly to avoid splinters. Pre-drill holes for screws to prevent wood from splitting. Use wood glue along with screws for a stronger bond. Clamp pieces together while the glue dries to ensure a tight fit.
Common mistakes to avoid: Skipping the sanding step can result in rough edges. Not using a level can make the table wobbly. Over-tightening screws can crack the wood. Ignoring wood grain direction can weaken the structure.
Alternatives: Plywood can be used instead of hardwood for a budget-friendly option. Metal legs can replace wooden ones for a modern look. Stain or paint can be used to finish the table instead of varnish.
Budgeting Your Project
Wood: For a 4-foot diameter table, you'll need about 20 board feet of hardwood like oak or maple. This will cost around $100-$150.
Table Legs: Pre-made legs can be bought for $10-$20 each. For four legs, the total is $40-$80.
Screws and Fasteners: A box of wood screws and some metal brackets will cost about $10.
Wood Glue: A bottle of good wood glue costs around $5.
Sandpaper: A pack with various grits will be about $10.
Stain and Finish: A can of wood stain and a can of polyurethane finish will cost around $20 each, totaling $40.
Tools: If you don't already have them, a circular saw costs about $50-$100, a power drill around $30-$60, and clamps about $20.
Budget-Friendly Alternatives:
- Use pine instead of hardwood, which can reduce wood costs to $50-$75.
- Make your own legs from 2x4s, costing around $10 for all four.
- Borrow or rent tools from a friend or a local tool library.
Total estimated cost: $235-$445. With budget-friendly options, it can be reduced to $150-$250.
Personalizing Your Table
Materials: Instead of using traditional wood, consider reclaimed wood for a rustic look. Metal legs can give an industrial vibe, while glass tops offer a modern touch. For a more eco-friendly option, try bamboo.
Colors: Paint the table in bold colors like navy blue or forest green for a statement piece. Stains can highlight the natural wood grain, with options ranging from light oak to dark walnut. Distressed finishes add a vintage feel.
Styles: For a farmhouse style, use chunky legs and a distressed finish. A minimalist look can be achieved with sleek, straight legs and a simple, clear coat. Add a lazy Susan in the center for a functional twist.
Shapes: While round is classic, consider an oval shape for more seating. A drop-leaf design allows for flexibility in size, perfect for smaller spaces.
Details: Add decorative inlays or carvings for a personalized touch. Metal accents like rivets or corner brackets can enhance an industrial look. Upholstered chairs around the table can add comfort and style.
Finishes: Use a high-gloss finish for a modern, sleek look. A matte finish gives a more understated, contemporary feel. Oil finishes can bring out the natural beauty of the wood while providing protection.
Legs: Try hairpin legs for a mid-century modern style. Turned legs offer a traditional look, while trestle bases provide stability and a classic appearance. Pedestal bases can save space and allow for more legroom.
Tops: Mix materials by combining a wood top with metal legs. A tile inlay can add color and texture. Live-edge tops bring a natural, organic element to the table.
Height: Standard dining tables are around 30 inches high, but consider a counter-height table at 36 inches for a more casual, bar-like setting. Adjustable-height legs can offer versatility for different occasions.
Edges: Rounded edges provide a softer look and are safer for families with children. Beveled edges add a touch of elegance, while straight edges offer a clean, modern appearance.
Eco-Friendly Building Tips
Reclaimed wood is a fantastic choice. It gives character and reduces waste. Look for old barn wood, pallets, or even old furniture. Sand it down to remove splinters and give it a smooth finish.
Bamboo is another eco-friendly option. It grows quickly, making it a renewable resource. Bamboo plywood can be used for the tabletop and legs.
Use non-toxic finishes like water-based stains or natural oils. These are safer for you and the environment. Avoid finishes with high VOCs (volatile organic compounds).
For the table legs, consider using metal pipes. These can often be found at salvage yards. They add an industrial look and are very sturdy.
Recycled glass can be used for a unique tabletop inlay. It adds color and texture while reusing materials that might otherwise end up in a landfill.
When cutting and assembling, use hand tools or electric tools with rechargeable batteries. This reduces energy consumption compared to using power tools plugged into the grid.
Natural adhesives like soy-based glues are a good alternative to traditional wood glues. They are less harmful to the environment and still provide strong bonds.
Lastly, try to source materials locally. This reduces the carbon footprint associated with transporting materials long distances.
Your New Table Awaits
Building a round dining table yourself is a rewarding project. You’ve learned how to select materials, measure accurately, and use tools safely. Sanding and finishing give your table a professional look. Remember, patience is key. Mistakes happen, but they’re part of the learning process. Each step, from cutting the wood to assembling the legs, brings you closer to a unique piece of furniture. Now, you can enjoy meals around a table you built with your own hands. Invite friends over, show off your handiwork, and take pride in your accomplishment. With these skills, who knows what you’ll build next? Keep experimenting, stay curious, and most importantly, have fun. Your journey into DIY furniture has just begun. Happy building!
How much wood do I need for a round dining table?
You'll need about 20-25 board feet of hardwood, depending on the size. Make sure to get a bit extra for mistakes.
What tools are essential for this project?
A circular saw, jigsaw, power drill, sander, clamps, and a tape measure are must-haves. A router can help with smoother edges.
How do I ensure the table is stable?
Use sturdy legs and cross braces. Attach them securely with screws and wood glue. Check for wobbling before finalizing.
What type of wood is best for a dining table?
Hardwoods like oak, maple, or walnut are durable and look great. Pine is cheaper but softer and more prone to dents.
How do I get a perfect round shape?
Use a large compass or a string tied to a pencil. Mark the center, then draw your circle. Cut carefully with a jigsaw.
Should I stain or paint the table?
Staining highlights the wood grain, while paint offers more color options. Both need a protective finish like polyurethane.
How long will this project take?
Expect to spend a weekend on it. Cutting, assembling, sanding, and finishing all take time, so don't rush it.