
Home>Home & Furniture>Kitchen>DIY Dining Bench: Step-by-Step Guide
Kitchen
DIY Dining Bench: Step-by-Step Guide
Published: July 26, 2024
Learn how to build a stylish DIY dining bench with our step-by-step guide. Perfect for beginners, this project will enhance your dining space with a personal touch.
(Many of the links in this article redirect to a specific reviewed product. Your purchase of these products through affiliate links helps to generate commission for Twigandthistle.com, at no extra cost. Learn more)
Thinking about adding some charm to your dining area? Building your own bench can be a fun and rewarding project. With basic tools and materials, you can create a sturdy, stylish piece perfect for family meals or gatherings with friends. Plus, making a bench yourself allows customization to fit your space and style. Whether you're new to woodworking or have some experience, this guide will help you through each step. Ready to roll up your sleeves and get started? Let's dive into the world of DIY dining benches and create something amazing together.
Getting Ready for Your Project
Gather Materials: Collect wood, screws, nails, sandpaper, wood glue, paint or stain, and a saw. Make sure everything is within reach.
Measure and Cut: Measure the space where the bench will go. Cut the wood to the required lengths. Double-check measurements to avoid mistakes.
Safety Gear: Wear safety goggles, gloves, and a dust mask. These protect your eyes, hands, and lungs from sawdust and splinters.
Workspace Setup: Clear a large, flat area. Ensure good lighting. Lay down a tarp or old sheet to catch debris.
Check Tools: Ensure all tools are in working order. Have a drill, hammer, screwdriver, and measuring tape ready.
Pre-drill Holes: Pre-drill holes in the wood to prevent splitting. This makes assembly easier and cleaner.
Sand Wood: Sand all wood pieces to remove rough edges. This helps with a smooth finish later.
Dry Fit: Assemble the pieces without glue or screws first. This ensures everything fits together properly.
Ventilation: Work in a well-ventilated area, especially when using paint or stain. Open windows or use fans to circulate air.
Plan for Breaks: Have water and snacks nearby. Take breaks to avoid fatigue and maintain focus.
Gather Your Materials and Tools
Wood Planks: These form the seat and legs of the bench. Choose sturdy wood like pine or oak.
Wood Screws: Essential for holding the wood pieces together securely.
Wood Glue: Adds extra strength to the joints between wood pieces.
Sandpaper: Smooths out rough edges and surfaces of the wood.
Wood Stain or Paint: Adds color and protects the wood from damage.
Paintbrushes: Used to apply stain or paint evenly.
Measuring Tape: Ensures accurate measurements for cutting wood.
Pencil: Marks measurements on the wood.
Saw: Cuts the wood planks to the required sizes.
Drill: Creates holes for screws and helps drive screws into the wood.
Clamps: Holds wood pieces together while the glue dries.
Safety Goggles: Protects eyes from wood dust and debris.
Dust Mask: Prevents inhalation of wood dust.
Workbench: Provides a stable surface to work on.
Level: Ensures the bench is even and balanced.
Required Skills and Time Commitment
Skill Level: Intermediate
Time Required: Approximately 6-8 hours
- Gather Materials: 1 hour
- Cut Wood: 1-2 hours
- Assemble Frame: 2 hours
- Sand and Finish: 1-2 hours
- Final Touches: 1 hour
Detailed Instructions for Building
Gather Materials and Tools
- Wood planks (for seat and legs)
- Screws
- Wood glue
- Sandpaper
- Paint or stain
- Drill
- Saw
- Measuring tape
- Clamps
Measure and Cut Wood
- Measure the desired length and width of the bench seat.
- Cut the wood planks to size using a saw.
- Cut additional pieces for the legs and supports.
Assemble the Frame
- Attach the legs to the seat using screws and wood glue.
- Use clamps to hold pieces together while the glue dries.
- Add support beams between the legs for extra stability.
Sand the Wood
- Sand all surfaces of the bench to remove rough edges.
- Start with coarse sandpaper, then switch to finer grit for a smooth finish.
Paint or Stain
- Apply paint or stain to the bench.
- Let it dry completely before applying a second coat if needed.
Final Assembly
- Check all screws and joints to ensure they are tight.
- Make any necessary adjustments for stability.
Enjoy Your Bench
- Place your new dining bench in its desired location.
- Test for comfort and stability before regular use.
Helpful Tips and Tricks
Measure twice, cut once. Always double-check your measurements before cutting wood. This saves time and materials.
Use a level. Ensure your bench is even. An uneven bench can wobble and be uncomfortable.
Pre-drill holes. This prevents wood from splitting when you insert screws.
Sand all edges. Smooth edges prevent splinters and give a professional finish.
Choose sturdy wood. Hardwoods like oak or maple are durable. Pine is cheaper but less durable.
Apply wood glue. Use glue along with screws for extra strength.
Seal the wood. Use a sealant or varnish to protect against spills and stains.
Common mistakes to avoid:
Skipping sanding. Rough edges can cause splinters.
Using the wrong screws. Wood screws are different from metal screws. Use the right type.
Not checking for level. A wobbly bench is uncomfortable and unsafe.
Alternatives for materials or methods:
Reclaimed wood. Eco-friendly and adds character.
Pocket hole joinery. Stronger joints without visible screws.
Paint instead of stain. Adds color and protects wood.
Metal legs. Modern look and sturdy support.
Estimating the Cost
Wood: For a standard 6-foot bench, you'll need about 10-12 feet of 2x4 lumber and 6-8 feet of 2x6 lumber. Cost: $30-$50.
Screws: A box of 2.5-inch wood screws. Cost: $5-$10.
Wood Glue: One bottle. Cost: $5-$8.
Sandpaper: Various grits (80, 120, 220). Cost: $5-$10.
Stain or Paint: One quart. Cost: $10-$20.
Polyurethane: One quart for finishing. Cost: $10-$15.
Tools: If you don't already have them, you'll need a saw ($30-$50), drill ($40-$60), sander ($20-$40), and paintbrushes ($5-$10).
Total Cost: $140-$273.
Budget-Friendly Alternatives:
- Use pallet wood or reclaimed wood instead of new lumber. Cost: Free or very cheap.
- Borrow tools from friends or rent them from a local hardware store. Cost: $10-$20.
- Skip the polyurethane and use a cheaper sealant. Cost: $5-$10.
Different Variations and Customizations
Materials: Instead of using traditional wood, try reclaimed wood for a rustic look. Bamboo offers a modern, eco-friendly option. For a sleek, industrial style, consider metal legs with a wooden seat.
Colors: Paint the bench in bold colors like navy blue or forest green for a statement piece. For a more subtle look, use neutral tones such as beige or gray. A two-tone design, with a different color for the legs and seat, adds visual interest.
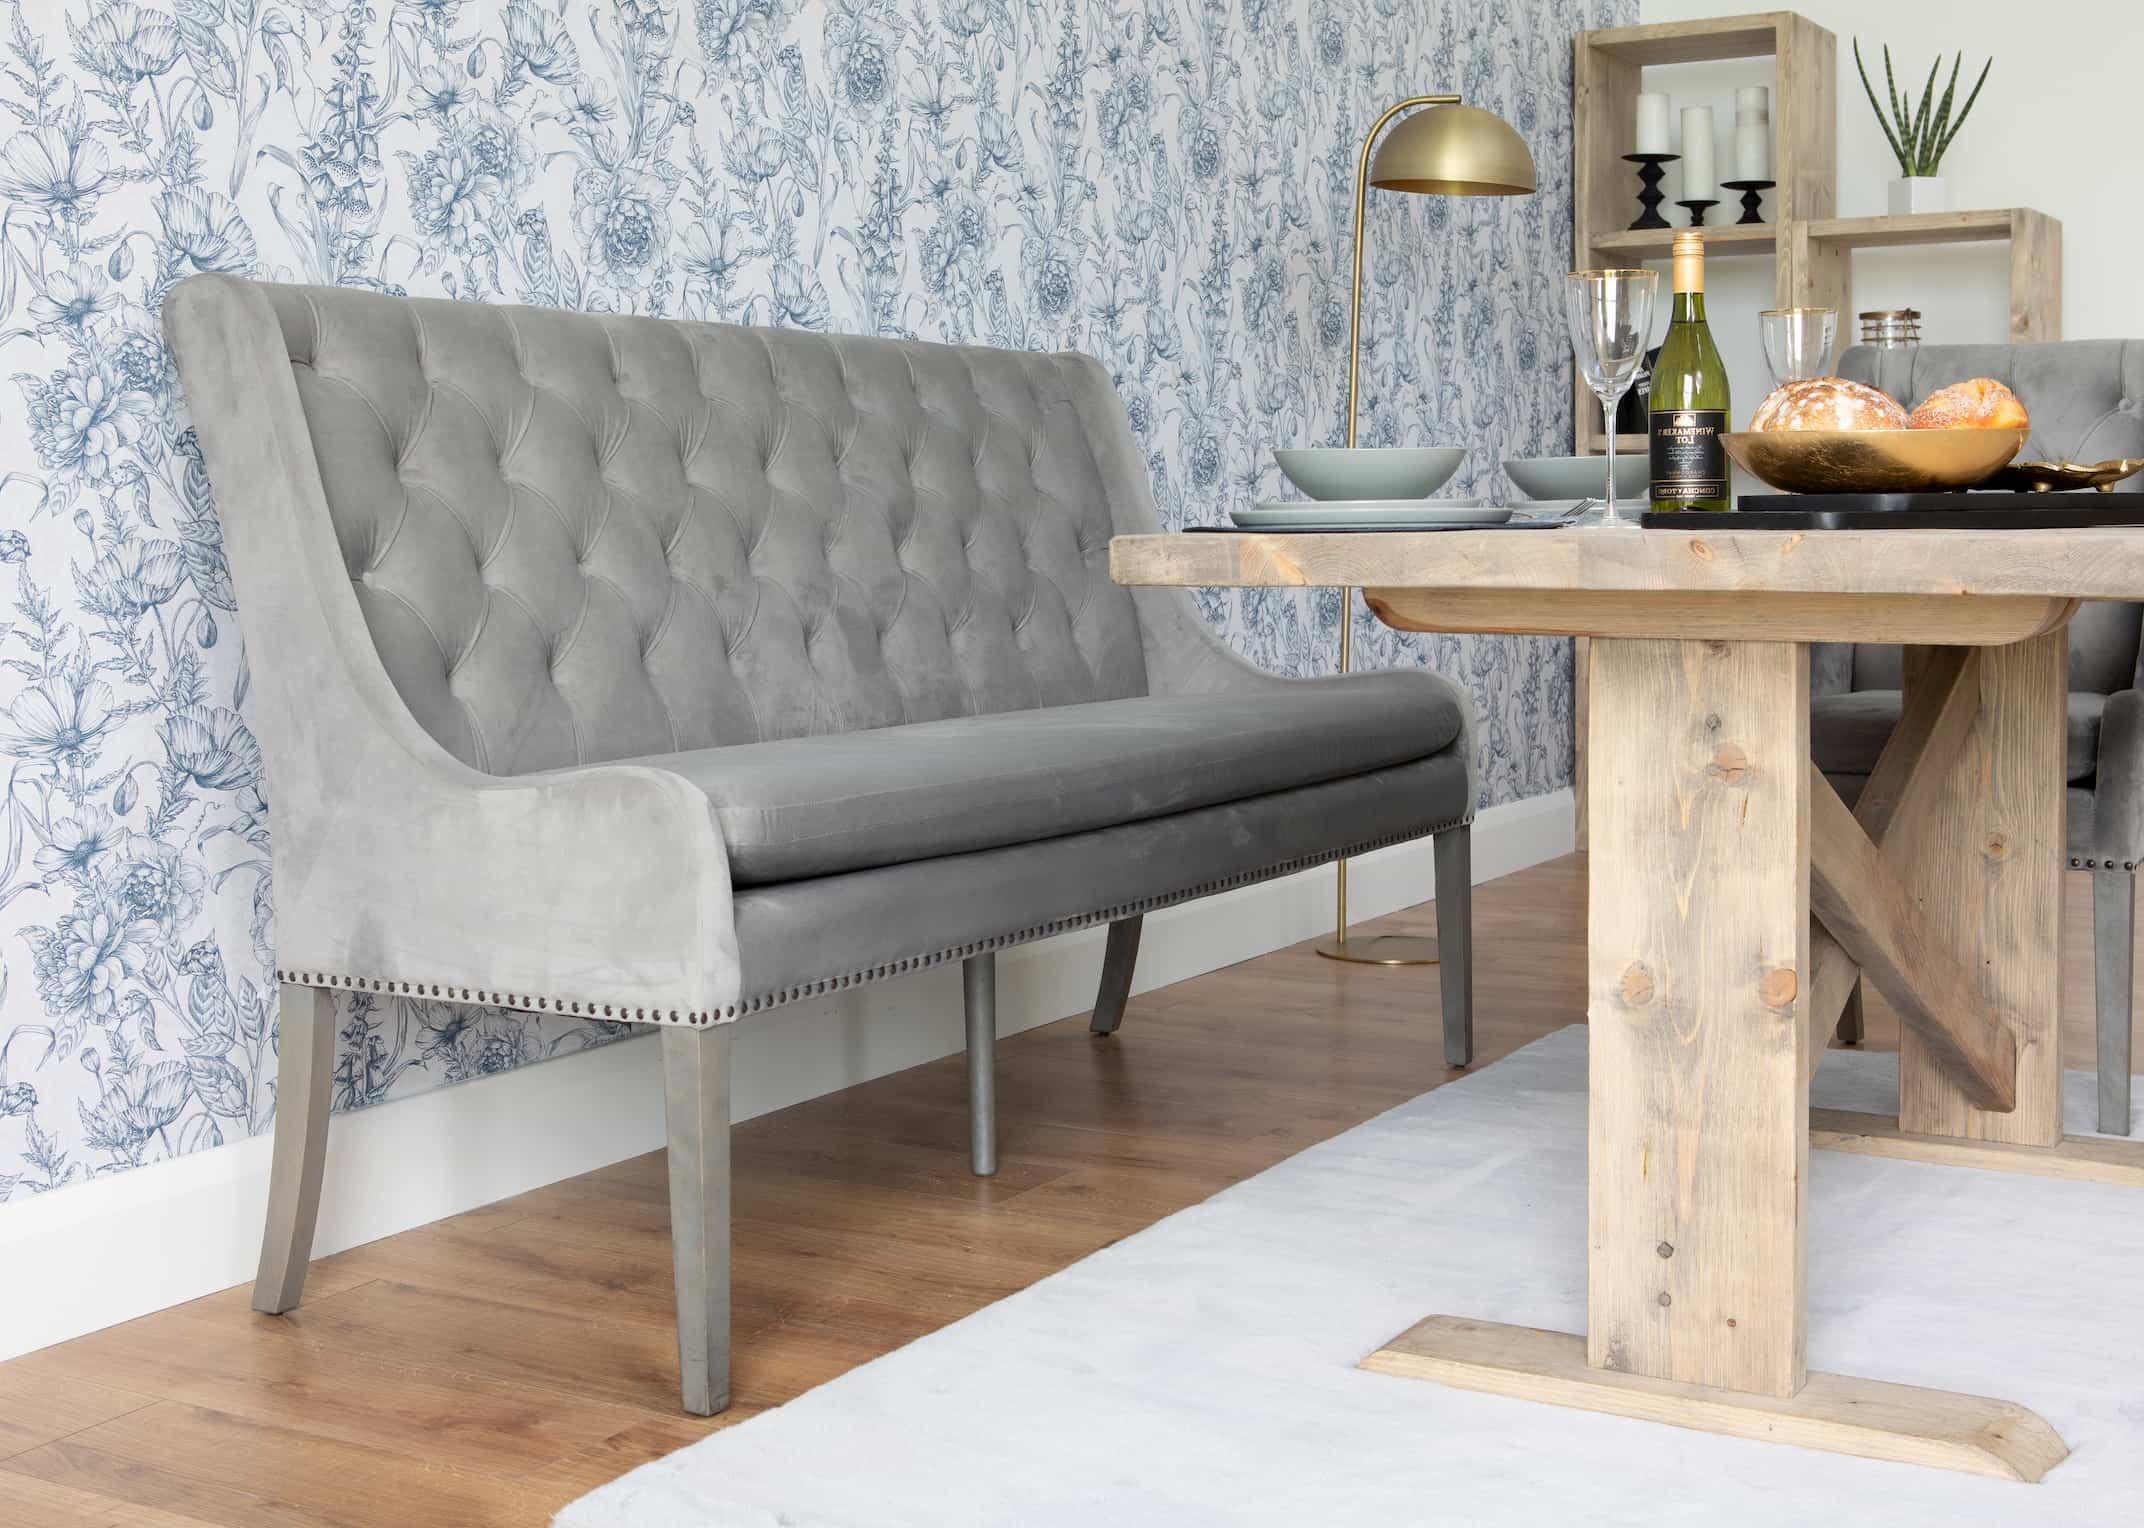
Styles: Add upholstery to the seat for extra comfort and a touch of elegance. Use tufted fabric for a classic look or leather for a modern feel. Incorporate storage by building a bench with a hinged seat that opens to reveal a compartment underneath.
Finishes: Apply a distressed finish for a vintage vibe. Use a high-gloss finish for a contemporary, polished appearance. A matte finish gives a more understated, natural look.
Leg Designs: Swap out standard legs for hairpin legs to achieve a mid-century modern style. Use turned legs for a traditional, ornate look. X-shaped legs provide a farmhouse aesthetic.
Backrests: Add a backrest for additional support and comfort. Use slatted wood for a casual, beachy feel or upholstered panels for a more formal appearance.
Decorative Elements: Incorporate carved details or stenciled patterns on the seat or legs. Attach decorative brackets or trim for added flair. Use contrasting wood inlays to create unique designs.
Height Adjustments: Customize the bench height to fit your dining table perfectly. A taller bench can double as a bar seat, while a shorter bench works well for a cozy breakfast nook.
Armrests: Add armrests for a more chair-like feel. Use simple wooden planks or curved metal for a unique touch.
Eco-Friendly Tips
Materials Needed:
- Reclaimed Wood: Look for old pallets, barn wood, or discarded furniture. Sand them down to remove splinters and old paint.
- Eco-Friendly Paint or Stain: Choose non-toxic, water-based options.
- Recycled Metal Brackets: Find old brackets or metal scraps to use for support.
- Natural Fiber Cushions: Use materials like cotton, wool, or hemp for any cushioning.
Tools Needed:
- Saw: To cut wood to size.
- Sander: Smooth out rough edges.
- Drill: For making holes and attaching screws.
- Screws: Reuse old screws if possible.
Step-by-Step Guide:
- Measure and Cut: Determine the desired length and height of your bench. Cut reclaimed wood to size using a saw.
- Sand the Wood: Use a sander to smooth out any rough edges and surfaces. This will make the bench safer and more comfortable.
- Assemble the Frame: Use recycled metal brackets and screws to attach the legs to the bench seat. Ensure everything is level and sturdy.
- Paint or Stain: Apply eco-friendly paint or stain to the wood. This will protect it and give it a finished look.
- Add Cushions: If desired, add natural fiber cushions for extra comfort. Attach them securely to the bench.
Tips:
- Reuse Materials: Always look for materials you already have before buying new ones.
- Choose Sustainable Options: Opt for eco-friendly products whenever possible.
- Be Creative: Don’t be afraid to mix and match different types of reclaimed wood for a unique look.
Your New Dining Bench Awaits
You've built a sturdy dining bench from scratch. All the measuring, cutting, and sanding paid off. Now, you have a piece of furniture that's both functional and stylish. This project not only saved you money but also gave you a sense of accomplishment. Plus, you now have a unique piece that adds a personal touch to your home. Remember, the skills you've learned can be applied to other DIY projects. Whether it's a new coffee table or a set of shelves, the possibilities are endless. So, grab your tools, get creative, and keep building. Your home will thank you for it.
How much time will it take to build a DIY dining bench?
Building a DIY dining bench usually takes about 4-6 hours, depending on your skill level and tools.
What materials do I need for a DIY dining bench?
You'll need wood planks, screws, wood glue, sandpaper, paint or stain, and a saw.
Do I need any special tools?
Basic tools like a saw, drill, measuring tape, and screwdriver should be enough. A sander can make things smoother.
Can I customize the size of the bench?
Absolutely! You can adjust the length and width to fit your dining table or space.
Is it cheaper to build a bench myself?
Yes, building it yourself can save money compared to buying a pre-made one, plus you get to customize it.
What type of wood is best for a dining bench?
Hardwoods like oak, maple, or walnut are durable and look great. Pine is a cheaper option but might not last as long.
How do I finish the bench?
Sand the wood smooth, then apply paint or stain. Finish with a clear sealant to protect the wood.
Can a beginner handle this project?
Definitely! With some patience and basic tools, even beginners can build a sturdy, stylish dining bench.