
Home>Home & Furniture>Garage & Basement>DIY Garage Loft Ideas: Transform Your Space
Garage & Basement
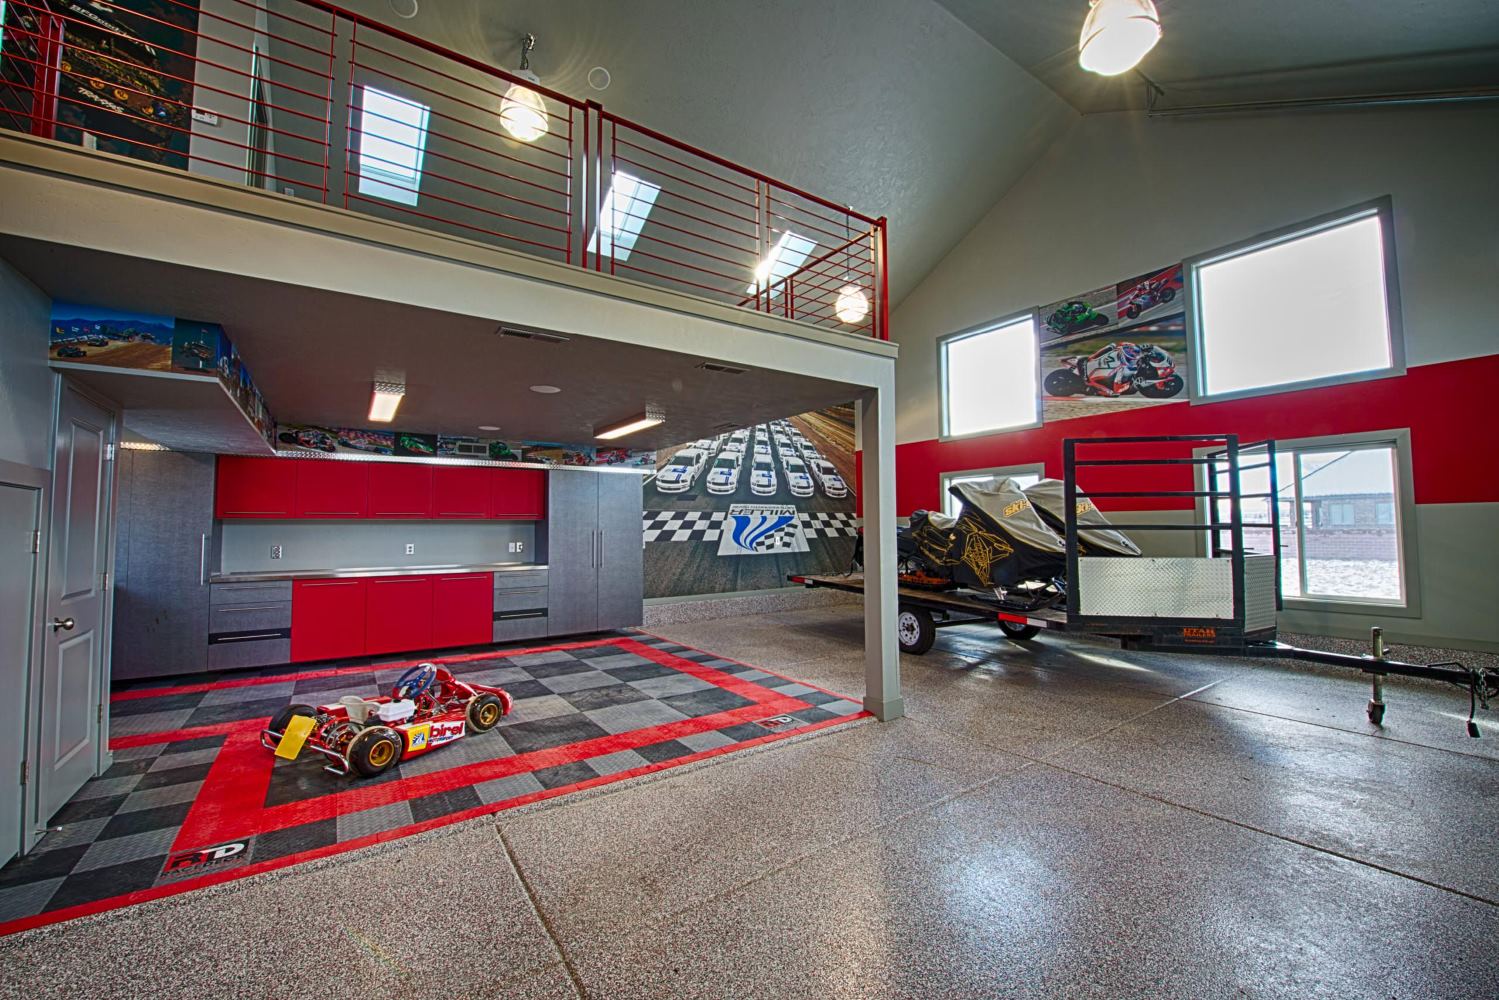
DIY Garage Loft Ideas: Transform Your Space
Published: September 27, 2024
Discover creative DIY garage loft ideas to transform your space into a functional and stylish area. Maximize storage, create a cozy retreat, or design a unique workspace!
(Many of the links in this article redirect to a specific reviewed product. Your purchase of these products through affiliate links helps to generate commission for Twigandthistle.com, at no extra cost. Learn more)
Thinking about making better use of your garage space? Building a loft can provide extra storage or even a cozy nook. Whether you need a spot for tools, winter gear, or just some extra room, a loft could be the perfect solution. This project might seem challenging, but with some planning and effort, it’s totally doable. It’s a great way to maximize space without expanding your home. Plus, you can tailor it to fit your needs. Ready to get started? Let’s dive into some DIY garage loft ideas and tips to transform your space.
Getting Ready for Your Garage Loft Project
Measure the Space: Use a tape measure to get the dimensions of your garage. This helps in planning the loft size.
Check the Ceiling Height: Ensure the ceiling is high enough for a loft. You need at least 10 feet for comfortable headroom.
Clear the Area: Remove any items from the garage. This makes it easier to work and prevents accidents.
Gather Materials: Collect all necessary materials like wood, screws, nails, and brackets. Having everything ready saves time.
Set Up a Workspace: Create a designated area for cutting and assembling materials. Keep tools organized and within reach.
Wear Safety Gear: Always wear safety goggles, gloves, and a dust mask. This protects you from debris and injuries.
Check for Electrical Wires: Before drilling or cutting, ensure there are no electrical wires in the walls or ceiling.
Plan for Lighting: Decide if you need additional lighting for the loft. Install any necessary fixtures before starting construction.
Get Help: Some tasks may require an extra pair of hands. Ask a friend or family member to assist you.
Review Building Codes: Check local building codes to ensure your loft meets safety standards. This prevents future issues.
Essential Materials and Tools
- Plywood Sheets: Used for the loft floor. Choose sturdy, high-quality plywood to ensure safety.
- 2x4 Lumber: Essential for framing the loft. These provide the structure and support.
- Lag Screws: Secure the frame to the garage walls. They offer strong, reliable fastening.
- Joist Hangers: Hold the joists in place. These metal brackets ensure stability.
- Drill: Needed for making holes and driving screws. A cordless drill offers flexibility.
- Circular Saw: Cuts plywood and lumber to size. Ensure you have a sharp blade for clean cuts.
- Measuring Tape: Measures dimensions accurately. Precision is key for a stable loft.
- Level: Ensures everything is even. An uneven loft can be unsafe.
- Safety Gear: Includes gloves, goggles, and ear protection. Always prioritize safety.
- Ladder: Accesses high areas during construction. A sturdy ladder is crucial.
- Pencil: Marks measurements on materials. Simple but essential for accuracy.
- Hammer: Drives nails and helps with framing. A basic tool for any construction project.
- Screws and Nails: Fasten various parts together. Choose the right type for each material.
- Wood Stain or Paint: Finishes the loft for a polished look. Protects the wood from wear and tear.
Skill Level and Time Commitment
Skill Level: Intermediate
Time Required: 2-3 Days
- Planning and Measuring: 2-3 hours
- Gathering Materials: 1-2 hours
- Building the Frame: 6-8 hours
- Installing Flooring: 4-6 hours
- Adding Safety Features (rails, ladders): 3-4 hours
- Finishing Touches (painting, organizing): 2-3 hours
Detailed Steps to Build Your Loft
Plan Your Loft:
- Measure the garage dimensions.
- Decide the loft's purpose (storage, workspace, etc.).
- Sketch a basic design.
Gather Materials:
- Plywood sheets
- 2x4 or 2x6 lumber
- Nails and screws
- Metal brackets
- Ladder or stairs
Prepare the Garage:
- Clear the area where the loft will go.
- Ensure the garage floor is level.
Build the Frame:
- Cut lumber to size for the frame.
- Assemble the frame on the ground using screws and brackets.
- Lift the frame into place and secure it to the garage walls.
Install Support Beams:
- Measure and cut support beams.
- Attach beams to the frame and garage walls for extra stability.
Add Flooring:
- Cut plywood sheets to fit the frame.
- Secure plywood to the frame using nails or screws.
Install Access:
- Attach a ladder or build stairs to reach the loft.
- Ensure the access method is sturdy and safe.
Finish Up:
- Sand any rough edges.
- Paint or stain the loft if desired.
- Organize your items or set up your workspace.
Helpful Tips and Tricks
Measure Twice, Cut Once: Always double-check measurements before cutting materials. This saves time and prevents waste.
Use Quality Materials: Invest in sturdy wood or metal for the loft frame. Cheap materials may not support heavy loads.
Plan for Storage: Design the loft with built-in shelves or cabinets. This maximizes space and keeps things organized.
Consider Lighting: Install bright LED lights under the loft. It makes the garage more functional and safer.
Safety First: Wear safety gear like gloves and goggles. Secure the loft frame properly to avoid accidents.
Common Mistakes to Avoid:
Ignoring Weight Limits: Overloading the loft can cause it to collapse. Check the weight capacity of materials used.
Poor Ventilation: Garages can get stuffy. Ensure proper airflow to avoid mold and mildew.
Skipping Permits: Some areas require permits for loft construction. Check local regulations to avoid fines.
Alternatives for Materials or Methods:
Metal vs. Wood: Metal frames are stronger but more expensive. Wood is cheaper and easier to work with.
Modular Kits: Pre-made loft kits save time and effort. They come with all necessary parts and instructions.
Suspended Lofts: Use heavy-duty brackets to suspend the loft from the ceiling. This frees up floor space.
Budgeting for Your Loft
Lumber: Expect to spend around $200-$400 for quality wood. Plywood for the loft floor might cost $100-$150.
Screws and Nails: Budget about $20-$30 for these.
Brackets and Joist Hangers: These will run you about $50-$75.
Paint or Stain: Plan for $30-$50 if you want to finish the wood.
Tools: If you don't already own them, a circular saw costs about $50-$100, a drill around $40-$60, and a level about $10-$20.
Safety Gear: Budget $20-$30 for gloves, goggles, and a dust mask.
Total Estimated Cost: Roughly $470-$815.
Budget-Friendly Alternatives:
- Use reclaimed wood or pallets to save on lumber costs.
- Borrow tools from friends or rent them from a local hardware store.
- Look for sales or discounts on materials.
Creative Variations and Customizations
Materials: Use reclaimed wood for a rustic look or metal beams for an industrial style. Plywood offers a budget-friendly option, while composite decking provides durability.
Colors: Paint the loft in neutral tones like beige or gray for a modern feel. Bold colors such as navy blue or forest green can add character. Stain wood for a natural finish.
Styles: Create a minimalist loft with clean lines and simple furniture. For a cozy retreat, add plush seating and warm lighting. An urban loft can feature exposed pipes and brick walls.
Flooring: Install carpet tiles for comfort or vinyl planks for easy cleaning. Epoxy flooring offers a sleek, durable surface.
Storage: Add built-in shelves or cabinets to maximize space. Use hanging racks for tools and sports equipment. Under-loft storage can keep items out of sight.
Lighting: Use LED strip lights for energy efficiency. Pendant lights can create a focal point, while track lighting offers flexibility.
Furniture: Opt for modular furniture that can be rearranged. Foldable tables and chairs save space. Custom-built desks can fit specific needs.
Safety: Install railings and non-slip flooring. Ensure adequate ventilation and fire safety measures.
Access: Use a pull-down ladder for convenience or a spiral staircase for a stylish touch. Ramps can provide accessibility.
Decor: Add wall art or mirrors to personalize the space. Use plants for a touch of nature. Rugs can define areas and add warmth.
Eco-Friendly Building Tips
Reclaimed wood can be used for flooring or walls. It adds character and reduces waste. Bamboo is another great option. It grows quickly and is very strong.
Recycled metal can be used for railings or support beams. It’s sturdy and gives an industrial look. Cork flooring is soft, durable, and eco-friendly.
Low-VOC paints are better for the environment and your health. They release fewer harmful chemicals. Solar panels can provide energy for lighting and tools.
Insulation made from recycled materials helps keep the space warm or cool. It’s effective and sustainable. Second-hand furniture can be refurbished for seating or storage.
LED lighting uses less energy and lasts longer. It’s a simple way to be more eco-friendly. Natural fiber rugs like jute or sisal are biodegradable and stylish.
Rainwater harvesting systems can be installed to collect water for cleaning or gardening. It’s a smart way to conserve water. Compostable materials for any gardening projects can enrich the soil without harming the planet.
Making the Most of Your Garage Loft
Transforming your garage loft into a functional space can be a game-changer. Whether you need extra storage, a cozy hangout, or a workshop, a well-planned loft can meet your needs. Start by assessing your space and deciding on the primary use. Then, gather your materials, tools, and a bit of patience. Remember, safety first! Secure your structure and ensure it can handle the weight. Personalize the loft with shelves, lighting, and decor to make it truly yours. Don't be afraid to get creative. A little effort goes a long way in turning a cluttered garage into a useful and inviting area. So, grab your tools, roll up your sleeves, and get to work. Your dream garage loft is just a few steps away!
How can I maximize storage in my garage loft?
Shelving units, pegboards, and overhead racks are great for organizing tools, sports gear, and seasonal items. Use clear bins for easy identification.
What materials should I use for building a garage loft?
Plywood or OSB boards for the flooring, 2x4s or 2x6s for the frame, and metal brackets for extra support. Make sure everything is pressure-treated to resist moisture.
How much weight can a garage loft hold?
It depends on the construction and materials used. Generally, a well-built loft can hold between 250 to 500 pounds. Always check the specifications of your materials.
Do I need a permit to build a garage loft?
Local building codes vary, so check with your municipal office. Some areas require permits for any structural changes, while others don’t.
How do I ensure my garage loft is safe?
Use sturdy materials, follow building codes, and install a railing. Make sure the loft is securely anchored to the walls and ceiling.
Can I use my garage loft as a living space?
It’s possible, but you’ll need to ensure it meets insulation, ventilation, and fire safety standards. Check with local authorities for zoning laws.
What tools will I need to build a garage loft?
Basic tools like a circular saw, drill, measuring tape, level, and wrench. For more complex builds, a nail gun and miter saw can be helpful.