
Home>Home & Furniture>Doors & Windows>How to Build DIY Air Conditioner Side Panels
Doors & Windows
How to Build DIY Air Conditioner Side Panels
Published: August 8, 2024
Learn how to build DIY air conditioner side panels with our step-by-step guide. Enhance efficiency, save money, and improve your home's comfort with this simple project.
(Many of the links in this article redirect to a specific reviewed product. Your purchase of these products through affiliate links helps to generate commission for Twigandthistle.com, at no extra cost. Learn more)
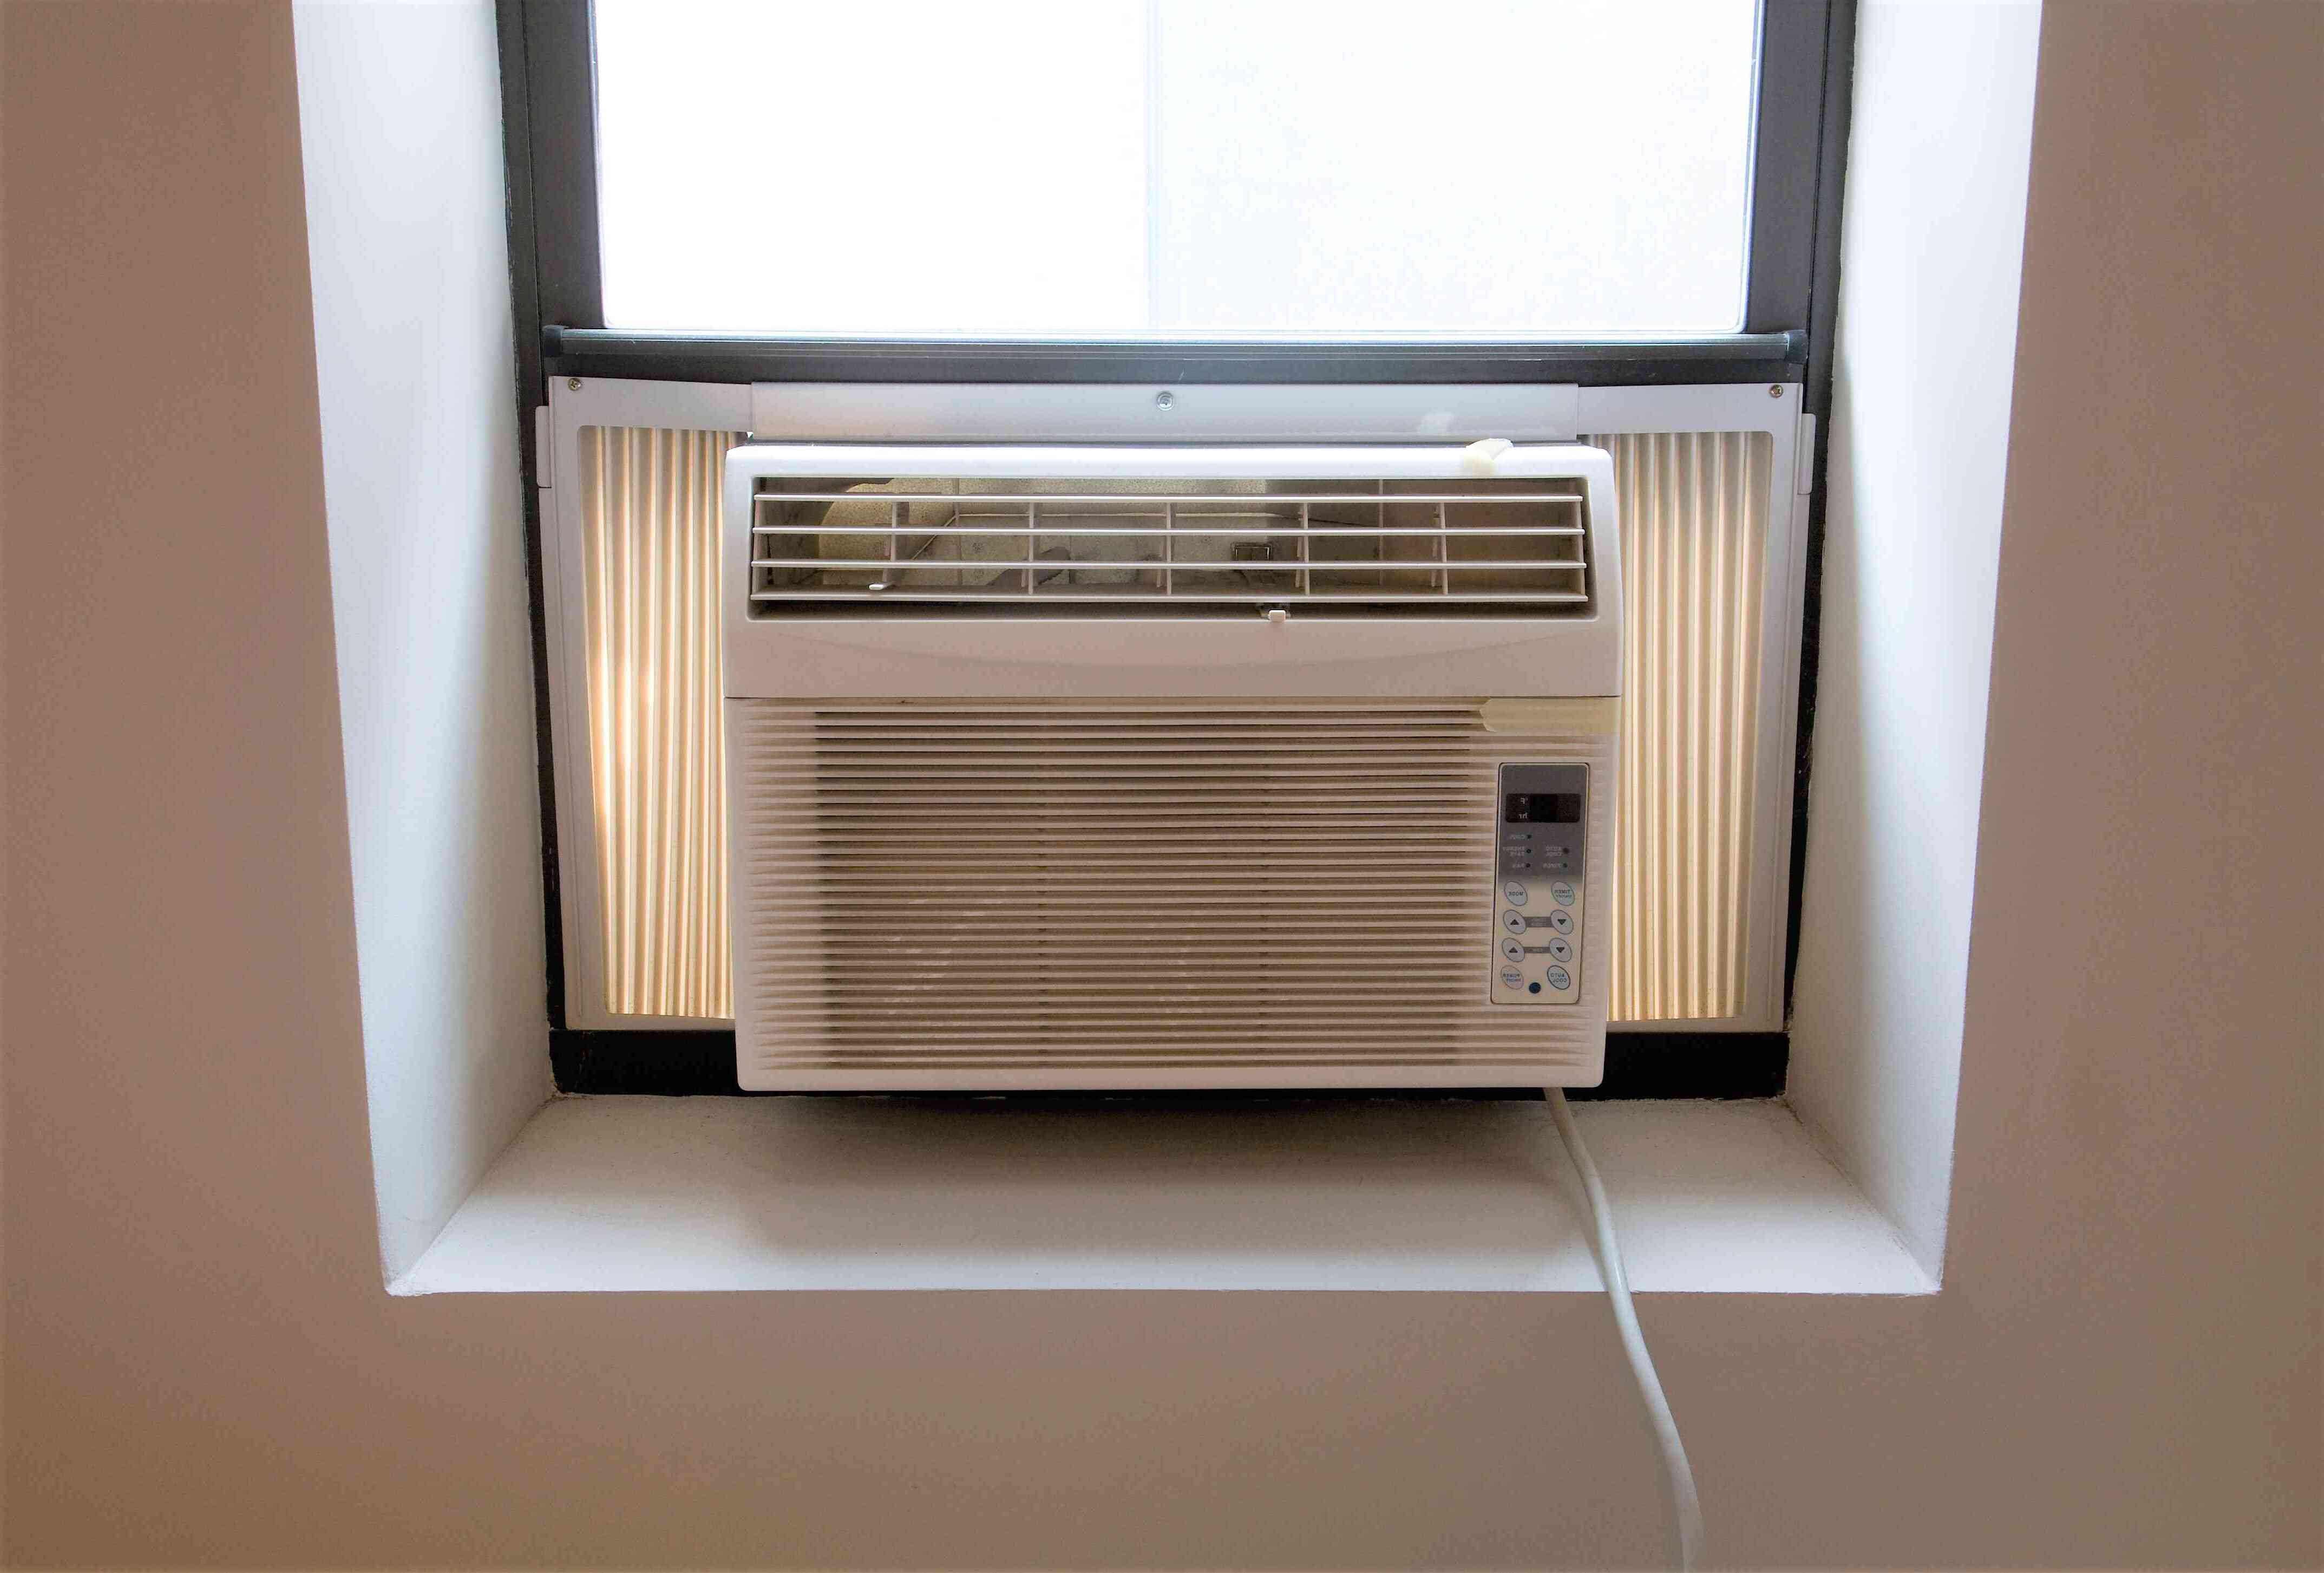
Ever tried installing an air conditioner only to find gaps on the sides? Those gaps can let in hot air, bugs, and dust, making your room less comfortable. Custom side panels can fix this problem. Building your own panels is simple, affordable, and lets you tailor them to your needs. With just a few tools and materials, anyone can create effective air conditioner side panels. Get ready to improve your home's comfort and efficiency with this easy DIY project.
Getting Ready for the Project
Gather Materials: Get plywood, measuring tape, screws, a saw, weather stripping, and paint. Make sure you have all tools ready before starting.
Measure the Window: Measure the height and width of the window opening where the air conditioner will sit. Write down these measurements.
Cut the Plywood: Use the saw to cut the plywood to fit the window measurements. Make sure the cuts are straight and smooth.
Sand the Edges: Sand the edges of the plywood to remove any splinters. This will make the panels safer to handle.
Paint the Panels: Apply a coat of paint to the plywood. This will help protect the wood from moisture and give it a finished look.
Attach Weather Stripping: Stick weather stripping along the edges of the plywood. This will help seal any gaps and keep the cold air inside.
Set Up Workspace: Clear a flat, stable surface to work on. Make sure the area is well-lit and free of clutter.
Wear Safety Gear: Put on safety goggles and gloves to protect your eyes and hands while cutting and sanding the wood.
Check Tools: Ensure all tools are in good working condition. A faulty tool can cause accidents.
Plan Your Steps: Think through each step before you start. This will help you avoid mistakes and work more efficiently.
Materials and Tools Needed
- Plywood: A sturdy wood sheet to create the side panels.
- Measuring Tape: For accurate measurements of the window and air conditioner.
- Pencil: To mark measurements on the plywood.
- Circular Saw: To cut the plywood to the required size.
- Sandpaper: To smooth the edges of the cut plywood.
- Weatherstripping: To seal gaps and prevent air leaks.
- Screws: To secure the panels in place.
- Drill: To make holes for the screws.
- Screwdriver: To drive screws into the plywood.
- Paint or Sealant: To protect the wood from moisture and weather.
- Brush: For applying paint or sealant.
- Safety Goggles: To protect eyes while cutting and drilling.
- Work Gloves: To protect hands during the project.
Skill Level and Time Required
Skill Level: Beginner
Time Required: 1-2 hours
- Measure the window and air conditioner.
- Cut the foam board or plywood to fit.
- Attach the panels to the air conditioner.
- Seal any gaps with weatherstripping or duct tape.
Step-by-Step Instructions
Measure the Window Opening
- Use a tape measure to find the height and width of the window opening where the air conditioner will sit.
Cut the Plywood
- Get a sheet of plywood. Cut it to match the height and width of the window opening minus the size of the air conditioner.
Cut Foam Insulation
- Cut foam insulation to the same size as the plywood. This will help keep the cold air in and the hot air out.
Attach Foam to Plywood
- Use adhesive spray to attach the foam insulation to the plywood. Press firmly to ensure it sticks well.
Cut Out Air Conditioner Space
- Place the air conditioner on the plywood and trace its outline. Cut out this section using a jigsaw.
Fit the Panels
- Slide the air conditioner into the window opening. Fit the plywood panels on each side of the air conditioner.
Seal the Edges
- Use weather stripping or caulk to seal the edges of the plywood panels. This will prevent air leaks.
Secure the Panels
- Use screws or brackets to secure the plywood panels to the window frame. Make sure they are tight and stable.
Test for Leaks
- Turn on the air conditioner and check for any air leaks around the panels. Seal any gaps you find.
Paint or Decorate (Optional)
- Paint or decorate the plywood panels to match your room's decor if desired.
Tips and Tricks
Measure accurately before cutting any materials. Use a tape measure to get the exact dimensions of the space needing coverage.
Use foam board or plywood for the panels. Foam board is lightweight and easy to cut, while plywood is sturdier.
Seal gaps with weatherstripping or caulk to prevent air leaks. This helps maintain the efficiency of your air conditioner.
Paint or cover the panels to match your room decor. This makes them blend in better with your interior.
Secure panels with brackets or Velcro strips. Brackets provide a more permanent solution, while Velcro allows for easy removal.
Common mistakes to avoid:
Incorrect measurements can lead to panels not fitting properly. Always double-check dimensions.
Using flimsy materials can result in panels that don't hold up well. Choose materials that are durable.
Not sealing gaps can reduce the effectiveness of your air conditioner. Ensure all edges are tightly sealed.
Alternatives for materials or methods:
Cardboard can be used as a temporary solution but isn't as durable.
Insulation foam can provide better thermal protection but might be harder to cut and fit.
Magnetic strips can be an alternative to Velcro for easy removal and reattachment.
Cost Estimation
Plywood: A 4x8 sheet costs around $20. You might need half, so budget $10.
Foam Insulation: A 4x8 sheet costs about $15. You’ll use half, so $7.50.
Weather Stripping: A roll costs $5. One roll should be enough.
Screws: A small box costs $3. You’ll use only a few.
Paint: A small can costs $10. Optional but recommended for durability.
Tools: If you don’t have them, a saw costs $20, a drill $30, and a tape measure $5.
Total Cost: Around $70 if you need tools. Without tools, about $35.
Budget-Friendly Alternatives:
- Use cardboard instead of plywood. Free if you have some at home.
- Old blankets or towels can replace foam insulation. Free if you have extras.
- Duct tape instead of weather stripping. Costs $3.
Using these alternatives, the cost drops to around $6.
Variations and Customizations
Materials: Instead of using plywood, try foam board for a lighter option. Acrylic sheets can provide a sleek, modern look. Insulation foam can help with energy efficiency.
Colors: Paint the panels to match your room's color scheme. Use chalkboard paint for a fun, writable surface. Metallic spray paint can give an industrial feel.
Styles: For a rustic look, use reclaimed wood. Stenciling patterns or designs can add a personal touch. Attach fabric over the panels for a softer, more decorative appearance.
Additional Features: Add handles for easy removal. Install magnets to hold the panels in place without screws. Use weather stripping around the edges to improve insulation.
Sustainability Tips
Reclaimed Wood: Use old pallets or scrap wood. Sand them down for a smooth finish. They add a rustic look and reduce waste.
Recycled Plastic: Look for plastic panels made from recycled materials. They are durable and weather-resistant.
Insulation: Use eco-friendly insulation like sheep wool or cotton. These materials are biodegradable and provide good thermal resistance.
Paint: Choose low-VOC (volatile organic compounds) paint. It’s better for indoor air quality and the environment.
Fasteners: Opt for recycled metal screws or nails. They are just as strong and help reduce metal waste.
Sealant: Use eco-friendly caulk made from natural ingredients. It seals gaps effectively without harmful chemicals.
Repurpose Old Items: Old curtains or blankets can be cut and used as insulation layers. This adds an extra barrier against drafts.
Solar-Powered Tools: If possible, use solar-powered tools for cutting and assembling. This reduces electricity consumption.
Natural Ventilation: Design panels with ventilation holes to allow airflow. This can reduce the need for additional cooling.
Local Sourcing: Get materials from local suppliers. This reduces the carbon footprint associated with transportation.
Your DIY Project is Complete
You've done it! Building DIY air conditioner side panels wasn't as tough as it seemed, right? With some basic tools and a bit of elbow grease, you've created something both functional and cost-effective. These panels not only help with energy efficiency but also give your space a cleaner look. Remember, the key to any successful DIY project is planning and patience. Now, sit back and enjoy the cool air without worrying about those pesky gaps. If you ever need to tweak or replace parts, you know exactly how to do it. Keep this newfound knowledge handy for future projects. Who knows what you'll tackle next? Maybe a custom window treatment or a handmade shelf? The possibilities are endless. Happy DIY-ing!
How do I measure for the side panels?
Measure the height and width of the window opening where the air conditioner sits. Then, measure the height and width of the air conditioner itself. Subtract the air conditioner's width from the window's width to get the width of the side panels.
What materials do I need?
You'll need foam board, weatherstripping, duct tape, scissors, and a ruler. You might also want some adhesive to secure the panels.
How thick should the foam board be?
A 1/2-inch thick foam board works well. It's sturdy enough to hold up but still easy to cut and handle.
How do I cut the foam board?
Use a sharp utility knife or scissors. Measure and mark your cuts first, then carefully cut along the lines.
How do I attach the panels to the air conditioner?
Use duct tape or adhesive to secure the foam board to the sides of the air conditioner. Make sure it's snug and covers any gaps.
Can I paint or decorate the panels?
Absolutely! You can use spray paint, stickers, or even fabric to make the panels match your room's decor.
How do I ensure a tight seal?
Apply weatherstripping around the edges of the foam board. This will help block out drafts and keep the cool air inside.