
Home>Home & Furniture>Doors & Windows>How to Build Bay Windows Framing
Doors & Windows
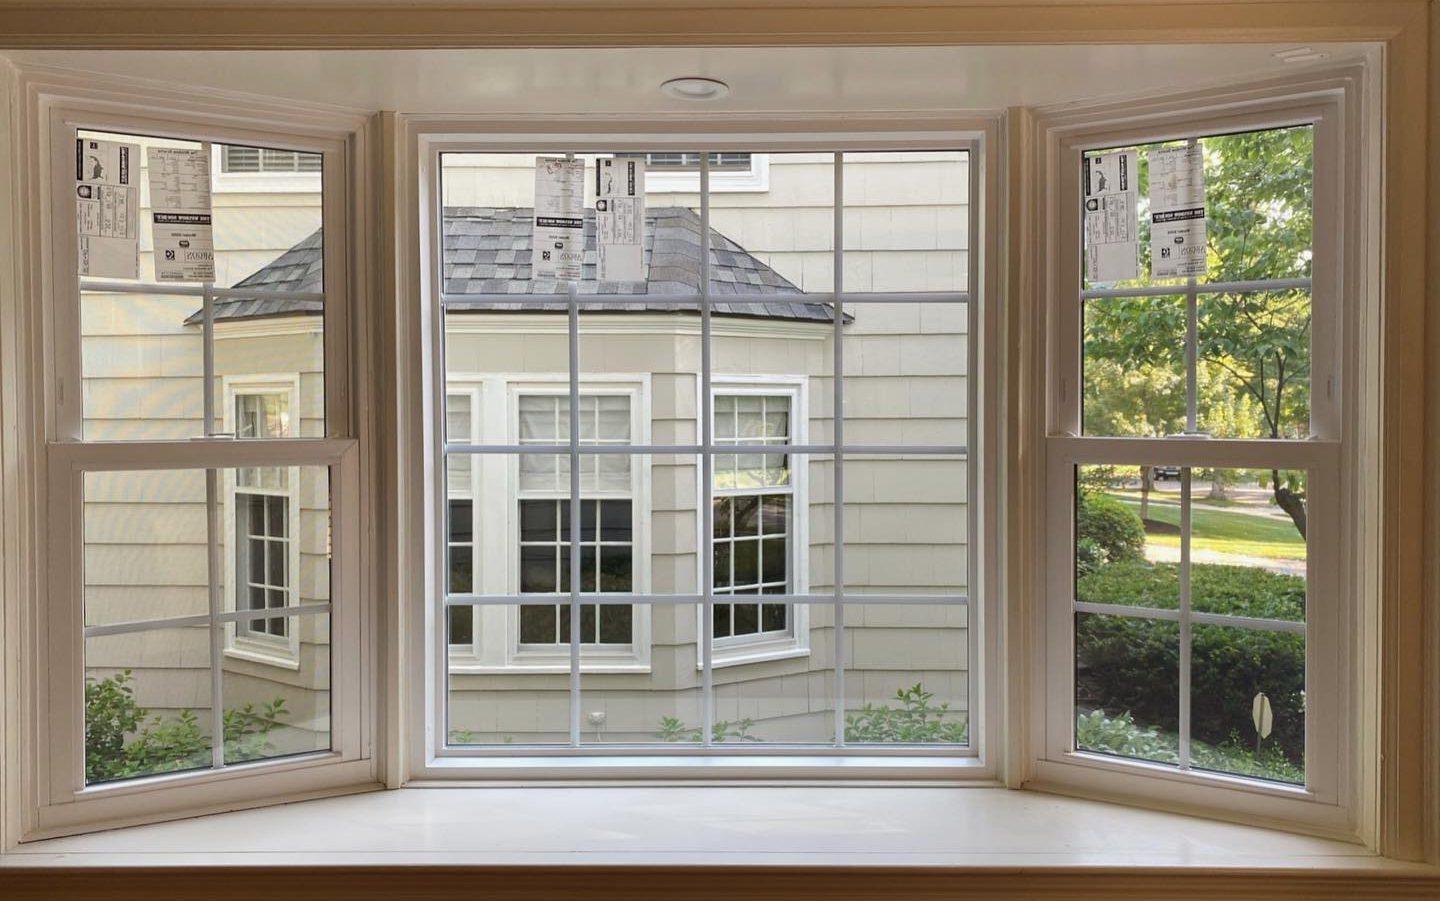
How to Build Bay Windows Framing
Published: August 9, 2024
Learn how to build bay windows framing with our step-by-step guide. Enhance your home's aesthetics and functionality with expert tips and detailed instructions.
(Many of the links in this article redirect to a specific reviewed product. Your purchase of these products through affiliate links helps to generate commission for Twigandthistle.com, at no extra cost. Learn more)
Building bay window framing can seem like a big project, but it’s doable with some patience and the right tools. Bay windows add both light and space to a room, making it look larger and more inviting. This guide will help you understand the basics of framing a bay window, from gathering materials to the final steps. Whether you're a seasoned DIYer or just starting, following these steps will help ensure success. With some effort, you’ll transform an ordinary wall into a beautiful bay window that enhances your home’s appearance.
Getting Ready for Your Project
Gather Materials: Collect all necessary tools and materials like lumber, nails, screws, a saw, a level, a tape measure, and safety gear.
Safety First: Wear safety goggles, gloves, and a dust mask. Ensure the workspace is well-ventilated and free of clutter.
Measure and Mark: Measure the area where the bay window will be installed. Mark the dimensions on the wall and floor using a pencil and tape measure.
Clear the Area: Remove any furniture or obstacles near the workspace. Lay down a drop cloth to protect the floor.
Check for Utilities: Ensure there are no electrical wires, plumbing, or gas lines in the wall where the window will be installed. Use a stud finder to locate studs.
Cut the Opening: Use a saw to cut the opening for the bay window. Follow the marked dimensions carefully.
Frame the Opening: Build the frame using lumber. Ensure the frame is level and square. Secure it with nails or screws.
Install Support Brackets: Attach support brackets under the window frame to provide additional stability.
Double-Check Measurements: Verify all measurements and adjustments before proceeding to the next steps.
Clean Up: Remove any debris and tools from the workspace to keep it safe and organized.
Gathering Materials and Tools
- Measuring Tape: Essential for accurate measurements of window dimensions and framing materials.
- Circular Saw: Used to cut wood pieces to the required lengths.
- Hammer: Necessary for driving nails into the wood.
- Nails: Secure the framing pieces together.
- Wood Screws: Provide additional strength and stability to the frame.
- Drill: Makes holes for screws and other fasteners.
- Level: Ensures the frame is even and straight.
- Framing Square: Helps create precise right angles.
- 2x4 Lumber: Main material for constructing the frame.
- Plywood: Used for sheathing the frame.
- Insulation: Keeps the bay window area energy-efficient.
- Caulk: Seals gaps to prevent drafts.
- Safety Glasses: Protects eyes from debris.
- Work Gloves: Protects hands while handling materials.
- Pencil: Marks measurements and cutting lines.
- Chalk Line: Helps mark long, straight lines on wood.
- Utility Knife: Cuts insulation and other materials.
- Stud Finder: Locates wall studs for secure attachment.
- Ladder: Reaches higher areas safely.
- Clamps: Holds wood pieces in place while working.
Required Skills and Time Commitment
Skill Level: Advanced
Time Required: 2-3 days
- Planning and Measuring: 2-3 hours
- Cutting and Preparing Materials: 4-6 hours
- Building the Frame: 6-8 hours
- Installing the Frame: 4-6 hours
- Finishing Touches: 2-3 hours
Detailed Steps to Follow
Measure and Plan
- Measure the width and height of the window opening.
- Decide the depth of the bay window.
- Draw a blueprint or sketch.
Gather Materials
- 2x4 lumber for framing.
- Plywood for the base and roof.
- Nails and screws.
- Level and measuring tape.
Prepare the Opening
- Remove the existing window.
- Ensure the opening is square and level.
Build the Base
- Cut 2x4s to the desired depth.
- Assemble a rectangular frame.
- Attach plywood on top of the frame.
Construct the Side Frames
- Cut 2x4s to match the height and depth.
- Create two triangular frames for the sides.
- Ensure angles are accurate.
Assemble the Front Frame
- Cut 2x4s to match the width and height.
- Build a rectangular frame for the front.
Attach Frames Together
- Connect the side frames to the base.
- Attach the front frame to the sides and base.
- Use nails or screws for stability.
Install the Roof
- Cut plywood to fit the top.
- Secure it to the top of the frames.
- Ensure it is level and secure.
Insulate and Finish
- Add insulation between the studs.
- Cover with drywall or paneling.
- Install the new window in the frame.
Seal and Paint
- Use caulk to seal gaps.
- Paint or stain the frame to match the house.
Helpful Tips and Tricks
Measure twice, cut once. Always double-check measurements before cutting any wood. This avoids costly mistakes.
Use a level. Ensure the frame is perfectly level and plumb. This prevents future issues with window operation and sealing.
Pre-drill holes. Pre-drill screw holes to prevent wood from splitting. This makes assembly easier and cleaner.
Use quality lumber. Opt for straight, high-quality lumber. Warped or knotty wood can cause alignment problems.
Reinforce corners. Use metal brackets or corner braces for added strength. This helps the frame withstand weight and pressure.
Seal gaps. Apply caulk or foam insulation to seal any gaps. This improves energy efficiency and prevents drafts.
Common mistakes to avoid:
Skipping the level. Not using a level can result in a crooked frame, causing problems with window alignment.
Ignoring building codes. Always check local building codes. Non-compliance can lead to fines or having to redo the work.
Rushing the process. Take your time to ensure accuracy. Rushing can lead to mistakes and poor craftsmanship.
Alternatives for materials or methods:
Composite lumber. Consider using composite lumber instead of traditional wood. It’s more durable and resistant to rot.
Pocket screws. Use pocket screws for a cleaner look and stronger joints. They are less visible and provide a tight fit.
Foam insulation. Instead of fiberglass, use foam insulation. It provides better sealing and is easier to work with.
Estimating the Costs
Lumber: You'll need 2x4s for the frame. Expect to spend around $100 for quality wood.
Plywood: For the base and sides, $50 should cover it.
Insulation: To keep the bay window energy-efficient, budget $30.
Drywall: For the interior finish, $20.
Nails and Screws: A box of each will cost about $10.
Caulk and Sealant: To seal gaps, $10.
Primer and Paint: For a finished look, $30.
Tools: If you don't already own them, a saw ($50), drill ($40), hammer ($10), and level ($15) are essential.
Total Estimated Cost: Around $365.
Budget-Friendly Alternatives:
- Use reclaimed wood for the frame to save on lumber costs.
- Look for discounted or leftover paint at hardware stores.
- Borrow tools from friends or rent them from a local shop.
Different Ways to Customize
Materials: Instead of traditional wood, consider using composite materials for better durability. For a rustic look, reclaimed wood adds character. Metal framing can provide a modern, industrial vibe.
Colors: Paint the frame in bold colors like navy blue or forest green for a striking appearance. For a classic look, use neutral tones such as white, beige, or gray. Staining the wood can highlight its natural grain and add warmth.
Styles: For a Victorian style, add decorative molding and trim. A contemporary look can be achieved with clean lines and minimalist design. For a cottage feel, use shiplap or beadboard panels.
Glass Options: Use stained glass for a vintage touch. Double-glazed windows improve insulation. Tinted glass can reduce glare and add privacy.
Seating: Incorporate a window seat with storage underneath. Use cushions and pillows in coordinating fabrics for comfort and style.
Lighting: Install recessed lighting above the bay window for a cozy ambiance. Pendant lights can add a decorative element.
Curtains and Blinds: Use Roman shades for a tailored look. Sheer curtains provide privacy while letting in light. Plantation shutters offer a classic, timeless appeal.
Additional Features: Add built-in shelving on either side of the window for books or decorative items. Consider a radiator cover that doubles as a shelf below the window.
Eco-Friendly Building Tips
Reclaimed wood is a great choice for framing bay windows. It reduces the need for new lumber, saving trees. Look for wood from old barns, factories, or even shipping pallets. Bamboo is another eco-friendly option. It grows quickly and is very strong.
Use low-VOC (volatile organic compounds) paints and finishes. These are better for your health and the environment. Recycled metal can be used for brackets and supports. It’s sturdy and gives a unique look.
Insulation is key for energy efficiency. Choose recycled denim or sheep’s wool insulation. Both are natural and effective. Double-glazed windows help keep heat in during winter and out during summer, reducing energy use.
When cutting wood, try to minimize waste. Use leftover pieces for smaller projects or donate them. Solar-powered tools can also reduce your carbon footprint. They use renewable energy instead of electricity from fossil fuels.
For sealing gaps, use eco-friendly caulk. It’s made from natural materials and doesn’t release harmful chemicals. Recycled glass can be used for decorative elements, adding a unique touch while being sustainable.
Composting sawdust and wood shavings instead of throwing them away can enrich your garden soil. Rainwater collection systems can provide water for cleaning tools and mixing concrete, reducing water waste.
By choosing these methods and materials, you can build bay windows that are both beautiful and kind to the planet.
Your Bay Window Awaits
Building bay windows framing isn't just about adding space; it's about creating a cozy nook. With the right tools and a bit of patience, you can transform any room. Remember to measure twice, cut once. Use quality materials to ensure durability. Don't rush the process; take your time to get everything just right. If you hit a snag, don't hesitate to ask for help or look up tutorials. Safety first: always wear protective gear. Once finished, you'll have a beautiful bay window that adds charm and value to your home. Enjoy the extra light and the new view. Happy building!
What tools do I need to build bay window framing?
You’ll need a measuring tape, circular saw, hammer, nails, level, drill, screws, and safety gear like gloves and goggles.
How do I measure for bay window framing?
Measure the width and height of the window opening. Then, measure the depth you want the bay to extend outward. Double-check all measurements to ensure accuracy.
What type of wood should I use?
Use pressure-treated lumber for the frame. It’s durable and resistant to moisture, which is crucial for windows.
How do I ensure the frame is level?
Use a level frequently while building. Check both the horizontal and vertical alignment to make sure everything is straight.
Can I install the bay window by myself?
It’s possible, but having a helper makes the job easier and safer. Bay windows are heavy and awkward to handle alone.
How do I secure the frame to the house?
Use lag bolts or screws to attach the frame securely to the house’s structure. Make sure to hit the studs for a strong hold.
What should I do about insulation?
Add insulation around the frame before installing the window. This helps with energy efficiency and keeps your home comfortable.