
Home>Home & Furniture>Doors & Windows>How to Build a DIY Magnetic Screen Door
Doors & Windows
How to Build a DIY Magnetic Screen Door
Published: September 17, 2024
Learn how to build a DIY magnetic screen door with our step-by-step guide. Keep bugs out and let fresh air in with this easy, cost-effective home improvement project.
(Many of the links in this article redirect to a specific reviewed product. Your purchase of these products through affiliate links helps to generate commission for Twigandthistle.com, at no extra cost. Learn more)
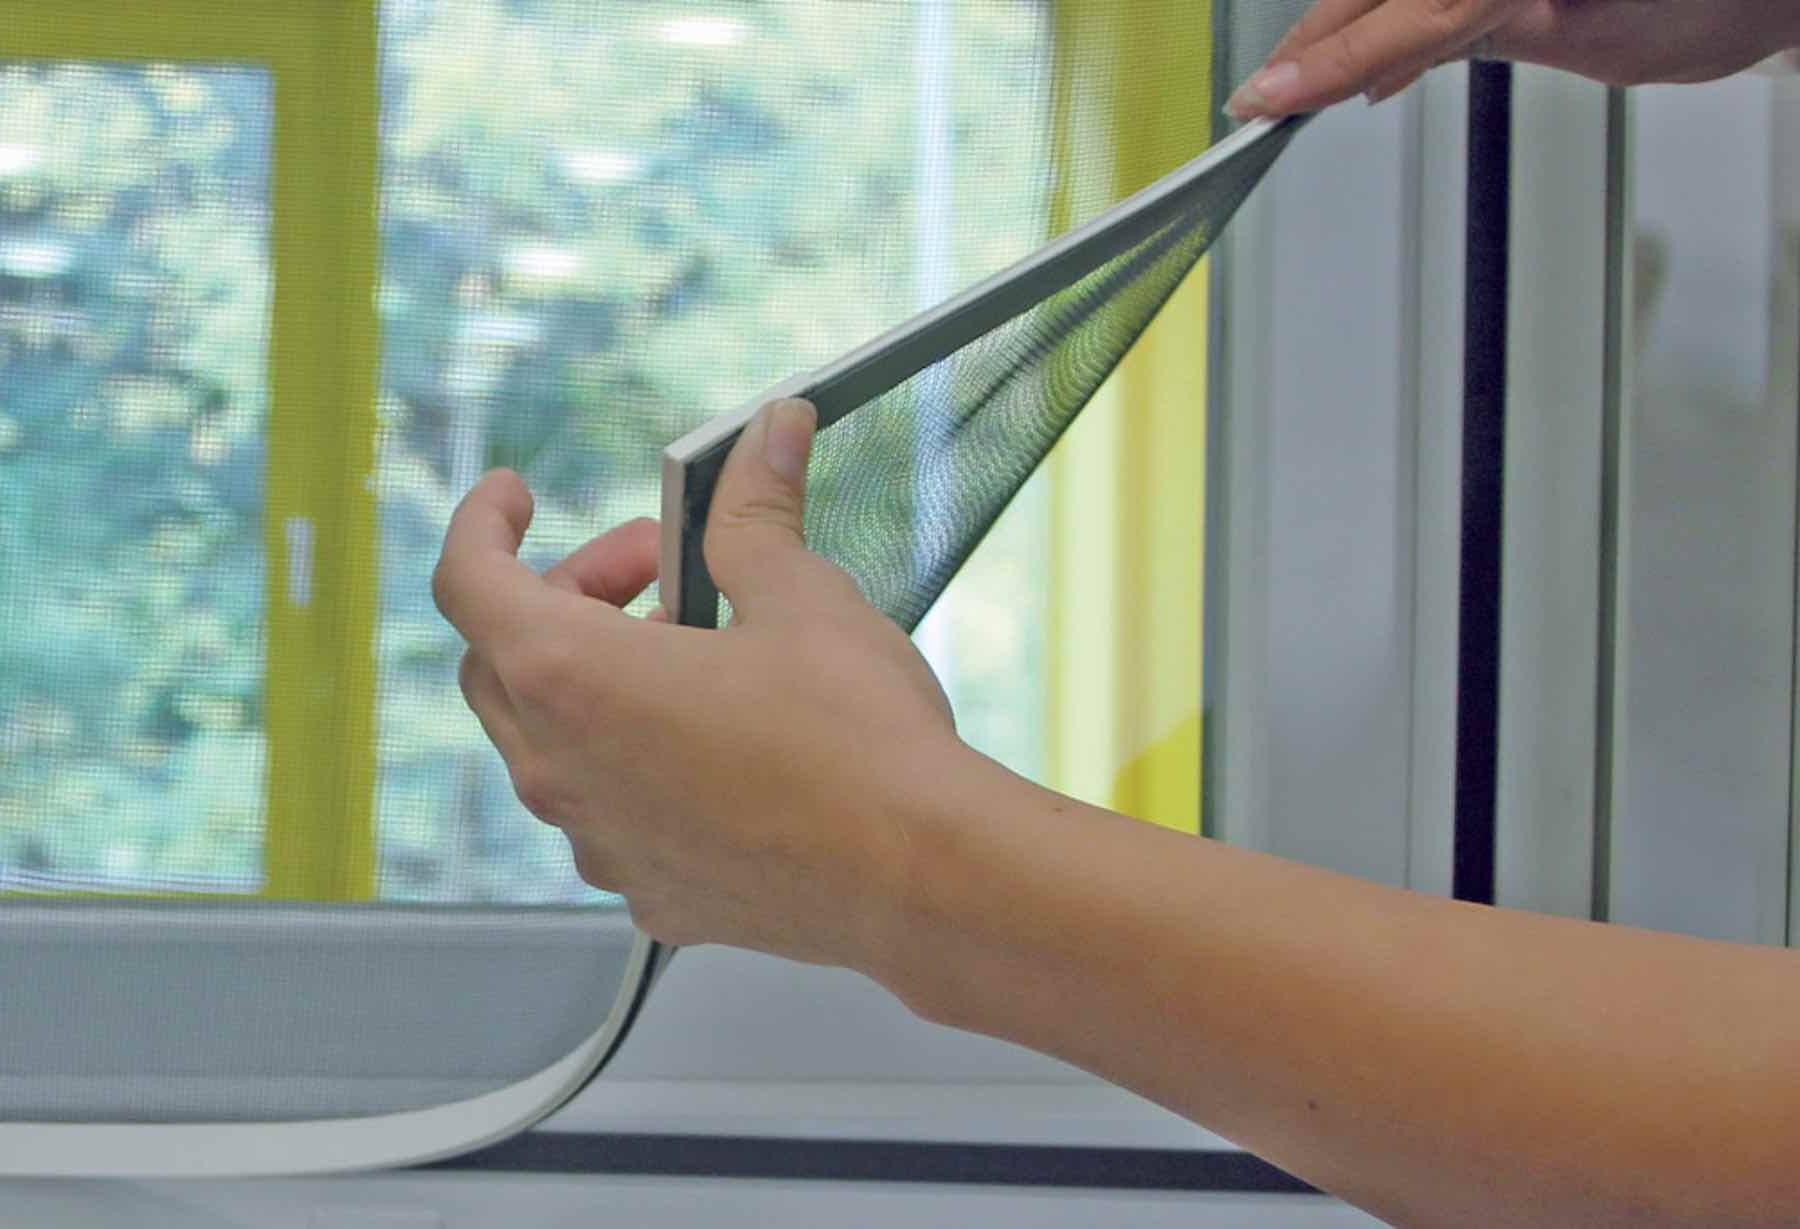
Tired of pesky bugs invading your home every time you open the door? Building a DIY magnetic screen door can be the perfect solution. This project is budget-friendly and easy to complete, even for beginners. Magnetic screen doors offer the convenience of hands-free entry and exit while keeping unwanted insects outside. Plus, they allow fresh air to flow freely into your home. With just a few materials and basic tools, you'll have a functional, attractive screen door in no time. Ready to get started? Let's dive into the step-by-step process of creating your own magnetic screen door.
Getting Ready for Your Project
Measure Your Door Frame: Use a tape measure to get the exact height and width of your door frame. Write these measurements down.
Gather Materials: Collect all necessary items like magnetic strips, screen mesh, adhesive, scissors, and a staple gun. Make sure everything is within reach.
Prepare the Workspace: Clear an area near the door where you can lay out the screen mesh and other materials. Ensure it’s clean and free of clutter.
Safety Gear: Wear gloves to protect your hands from sharp edges and safety glasses to shield your eyes from flying debris.
Cut the Screen Mesh: Using the measurements, cut the screen mesh to fit your door frame. Add an extra inch on all sides for adjustments.
Attach Magnetic Strips: Cut the magnetic strips to match the height of the door. Attach them to the edges of the screen mesh using adhesive.
Secure the Screen: Use a staple gun to attach the screen mesh to the door frame. Start at the top and work your way down, ensuring it’s taut.
Test the Closure: Close the door to make sure the magnetic strips align and seal properly. Adjust if needed.
Trim Excess Mesh: Once everything is secure, trim any excess mesh for a clean finish.
Final Check: Open and close the door a few times to ensure the screen operates smoothly and the magnets hold firmly.
What You Need: Materials and Tools
Magnetic Strips: These will hold the screen door closed. Make sure they are strong enough to keep bugs out but easy to pull apart.
Screen Mesh: This is the main material for the door. Choose a durable, fine mesh to keep insects out while allowing airflow.
Velcro Strips: Used to attach the screen mesh to the door frame. Velcro makes it easy to remove and clean the screen.
Measuring Tape: Essential for measuring the door frame and cutting the screen mesh to the correct size.
Scissors: Needed for cutting the screen mesh and Velcro strips to the right lengths.
Staple Gun: Helps secure the screen mesh to the door frame more permanently if needed.
Sewing Kit: Useful for sewing the magnetic strips into the screen mesh. A needle and strong thread will do the job.
Utility Knife: Handy for trimming any excess mesh or Velcro after installation.
Marker: Helps mark measurements on the screen mesh and Velcro for precise cutting.
Straight Edge or Ruler: Ensures straight cuts on the screen mesh and Velcro strips.
Safety Gloves: Protect your hands while cutting and handling the materials.
Skill Level and Time Commitment
Skill Level: Intermediate
Time Required: 2-3 hours
Steps:
- Measure the Door Frame: 10-15 minutes
- Cut the Screen Material: 20-30 minutes
- Attach Magnets: 30-40 minutes
- Secure Screen to Frame: 30-40 minutes
- Test and Adjust: 20-30 minutes
Follow These Steps
Gather Materials:
- Magnetic screen kit
- Measuring tape
- Scissors
- Adhesive strips or Velcro
- Staple gun (optional)
Measure Door Frame:
- Use measuring tape to measure the height and width of the door frame.
- Write down measurements to ensure accuracy.
Cut Screen:
- Lay out the magnetic screen on a flat surface.
- Cut the screen to match the door frame measurements.
Attach Adhesive Strips:
- Apply adhesive strips or Velcro along the edges of the door frame.
- Ensure strips are evenly spaced and securely attached.
Position Screen:
- Align the top of the screen with the top of the door frame.
- Press the screen firmly onto the adhesive strips or Velcro.
Secure Sides:
- Press the sides of the screen onto the adhesive strips or Velcro.
- Make sure the screen is taut and free of wrinkles.
Install Magnets:
- Place magnets along the center seam of the screen.
- Ensure magnets are evenly spaced and align properly.
Test Closure:
- Open and close the screen to check magnet alignment.
- Adjust magnets if necessary for a secure closure.
Optional Stapling:
- For extra security, use a staple gun to staple the screen edges to the door frame.
- Space staples evenly for a clean look.
Trim Excess Screen:
- Use scissors to trim any excess screen material.
- Ensure edges are neat and even.
Final Check:
- Inspect the screen for any gaps or loose areas.
- Make final adjustments to ensure a snug fit.
Helpful Tips and Tricks
Measure accurately before cutting any materials. This ensures a snug fit and prevents gaps where bugs can enter. Use a sharp utility knife for clean cuts on the screen mesh.
Use strong magnets to ensure the door closes properly. Weaker magnets may not hold up against wind or frequent use. Place magnets evenly along the edges for consistent closure.
Reinforce the edges of the screen with duct tape or fabric tape. This prevents fraying and adds durability. Attach the screen to the door frame using Velcro strips for easy removal and cleaning.
Common mistakes to avoid:
- Skipping measurements: This can lead to a poor fit.
- Using weak magnets: They won't hold the screen closed.
- Not reinforcing edges: The screen may tear easily.
Alternatives for materials or methods:
- Instead of Velcro, use adhesive hooks for a more permanent solution.
- If magnets aren't available, use a zipper for closure.
- For a more durable option, consider metal mesh instead of fabric screen.
Estimating the Cost
Magnetic strips: $10-$15
Screen mesh: $20-$30
Velcro tape: $5-$10
Wooden frame: $15-$25
Staple gun: $10-$20
Staples: $2-$5
Measuring tape: $5-$10
Scissors: $5-$10
Screws: $2-$5
Drill: $20-$50
Total cost: $94-$180
Budget-friendly alternatives:
Magnetic strips: Use old fridge magnets
Screen mesh: Repurpose old window screens
Velcro tape: Use safety pins or sewing
Wooden frame: Reuse scrap wood
Staple gun: Borrow from a friend
Staples: Use nails or tacks
Measuring tape: Use a ruler
Scissors: Use any sharp cutting tool
Screws: Use nails
Drill: Borrow or use a manual screwdriver
Different Ways to Customize
Materials: Instead of using standard fiberglass mesh, try pet-resistant mesh for durability or no-see-um mesh to keep out tiny insects. For the frame, consider PVC pipe instead of wood for a lightweight, weather-resistant option.
Colors: Paint the frame in a color that matches your home’s exterior. Use black mesh for a classic look or white mesh for a brighter appearance. For a fun twist, try colored mesh in shades like green or blue.
Styles: Add a decorative trim around the edges for a polished look. Use magnetic strips with a decorative pattern or magnetic buttons for a unique touch. Install a bottom sweep to keep out dirt and debris.
Fastening Options: Instead of adhesive, use Velcro strips for easy removal or screws for a more permanent solution. Magnetic snaps can provide a stronger hold compared to standard magnets.
Additional Features: Attach a weighted bottom to keep the screen in place during windy conditions. Add a handle for easier opening or a pet door for your furry friends. Install a retractable screen mechanism for a sleek, modern look.
Eco-Friendly Tips
Eco-friendly materials can make a big difference. Start with a recycled wooden frame. Old pallets or leftover wood from other projects work well. Sand and paint the wood with non-toxic paint.
For the screen, use recycled mesh. Old window screens or mesh from other projects can be reused. If buying new, look for eco-friendly options made from recycled materials.
Magnets are essential. Reuse magnets from old fridge magnets or other household items. If purchasing, choose neodymium magnets for their strength and longevity.
Velcro strips can help secure the screen. Opt for biodegradable Velcro if available, or reuse strips from old clothing or bags.
Use natural adhesives like plant-based glues to attach the mesh to the frame. These are less harmful to the environment compared to synthetic glues.
When assembling, use hand tools instead of power tools to reduce energy consumption. A hammer, nails, and a staple gun should suffice.
Finally, consider upcycling any leftover materials. Extra wood can become garden stakes, and leftover mesh can be used for small repairs around the house.
Your DIY Project Awaits
Building a DIY magnetic screen door is easier than you might think. With some basic tools and a bit of patience, you can create a functional, stylish addition to your home. Measure your door frame carefully, cut the screen material to fit, and attach the magnets securely. Don't forget to test the door to ensure it closes properly. This project not only saves money but also adds a personal touch to your living space. Plus, it keeps bugs out while letting fresh air in. So grab your supplies, follow the steps, and enjoy the fruits of your labor. Happy building!
What materials do I need to build a DIY magnetic screen door?
You'll need magnetic strips, screen mesh, adhesive tape, scissors, and a measuring tape. Optional items include sewing supplies if you want to reinforce the edges.
How do I measure my door for the screen?
Measure the height and width of your door frame. Add a few extra inches to each measurement to ensure the screen covers the entire opening.
Can I install the magnetic screen door without any tools?
Yes, you can! Most magnetic screen doors use adhesive tape for easy installation. Just make sure the surface is clean before applying the tape.
How do I attach the magnetic strips to the screen mesh?
Lay the screen mesh flat, then place the magnetic strips along the edges. Use adhesive tape or sew them in place for extra durability.
Will the magnetic screen door keep bugs out?
Absolutely! The magnetic closure ensures the screen snaps shut quickly, keeping bugs and other pests outside.
How do I clean my DIY magnetic screen door?
Cleaning is simple. Remove the screen from the door frame, then wash it with mild soap and water. Let it air dry before reattaching.
Can I use a magnetic screen door on sliding doors?
Yes, you can! Just make sure to measure the sliding door frame accurately and follow the same installation steps.