
Home>Home & Furniture>Doors & Windows>How to Build a DIY Garage Door
Doors & Windows
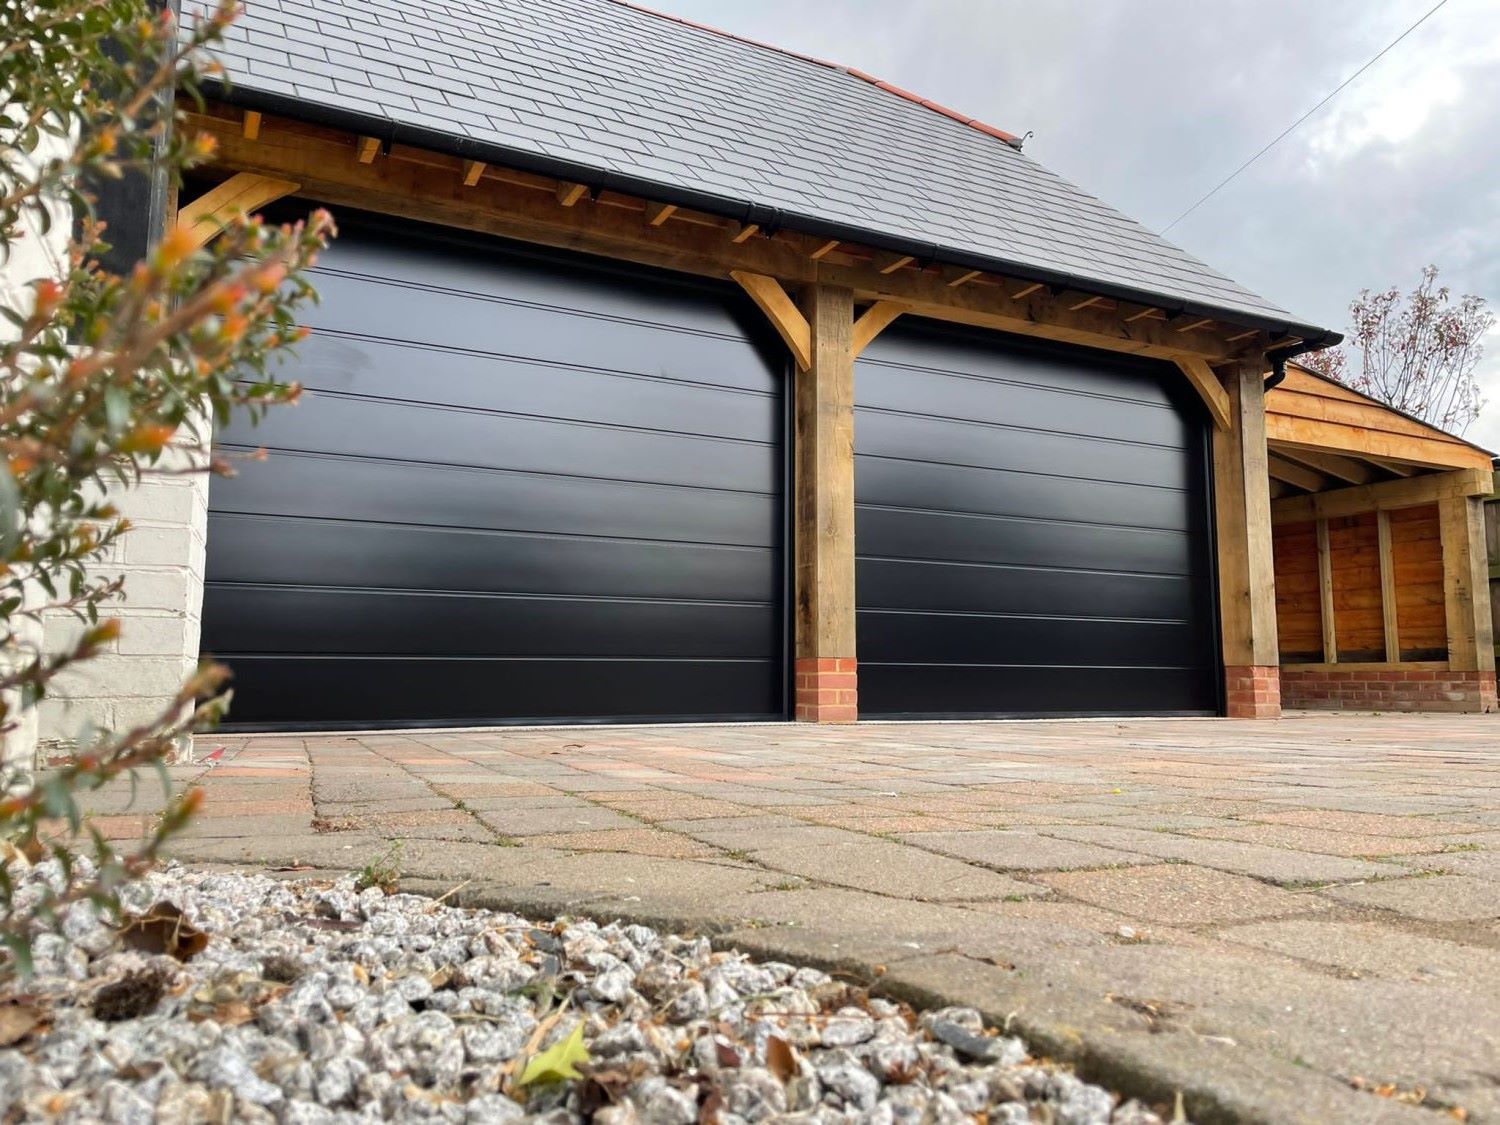
How to Build a DIY Garage Door
Published: September 14, 2024
Learn how to build a DIY garage door with our step-by-step guide. From materials to installation, get expert tips for a functional and stylish garage door project.
(Many of the links in this article redirect to a specific reviewed product. Your purchase of these products through affiliate links helps to generate commission for Twigandthistle.com, at no extra cost. Learn more)
Building your own garage door might sound tricky, but it’s a project you can tackle with the right tools and a bit of patience. Think of it as a chance to personalize a crucial part of your home. Whether you're replacing an old door or starting from scratch, doing it yourself can save money and give a sense of satisfaction. In this guide, you’ll learn step-by-step how to measure, cut, assemble, and install your new garage door. Ready to get started? Grab your tools, and let’s dive in!
Preparation Steps
Measure the Opening: Use a tape measure to get the width and height of the garage door opening. Write down these measurements.
Gather Materials and Tools: Collect wood, screws, hinges, rollers, tracks, and a garage door opener. Tools needed include a drill, saw, level, and screwdriver.
Clear the Workspace: Remove any obstacles from the garage area. Ensure you have enough room to move around and work safely.
Wear Safety Gear: Put on safety glasses, gloves, and sturdy shoes. This will protect you from splinters, sharp edges, and heavy materials.
Check for Electrical Wires: Look for any electrical wires near the garage door area. Turn off the power if necessary to avoid accidents.
Read Instructions: Go through the manual for the garage door opener and any other components. Understanding the steps beforehand will make the process smoother.
Prepare the Frame: Ensure the garage door frame is square and level. Use a level to check and make adjustments if needed.
Pre-Drill Holes: Mark and pre-drill holes for hinges and rollers. This will make installation easier and more accurate.
Organize Parts: Lay out all the parts and tools in an orderly manner. This helps you find what you need quickly and keeps the workspace tidy.
Test the Opener: Before installing, test the garage door opener to ensure it works properly. This can save time and effort later.
Materials and Tools Needed
Materials Needed:
- Garage Door Panels: These form the main structure. Choose sturdy materials like steel or wood.
- Hinges: Connect the panels, allowing the door to bend as it opens and closes.
- Rollers: Help the door glide smoothly along the tracks.
- Tracks: Guide the door's movement. Install them on both sides of the garage opening.
- Springs: Counterbalance the door's weight, making it easier to lift.
- Cables: Work with the springs to lift the door.
- Brackets: Secure the tracks and other components to the garage walls.
- Weatherstripping: Seals gaps around the door, keeping out drafts and debris.
- Insulation: Optional, but helps maintain temperature inside the garage.
- Garage Door Opener: Automates the opening and closing process.
Tools Needed:
- Drill: For making holes and driving screws.
- Screwdriver Set: Tighten or loosen screws.
- Wrench Set: Tighten bolts and nuts.
- Tape Measure: Ensure accurate measurements.
- Level: Check that tracks and panels are straight.
- Hammer: Drive nails or adjust components.
- Pliers: Grip and manipulate wires or small parts.
- Saw: Cut materials to size if needed.
- Ladder: Reach high places safely.
- Safety Gear: Gloves, goggles, and a helmet to protect yourself during installation.
Skill Level and Time Required
Skill Level: Advanced
Time Required: 2-3 days
- Planning and Measuring: 2-3 hours
- Gathering Materials and Tools: 1-2 hours
- Building the Frame: 4-6 hours
- Installing Panels: 3-4 hours
- Adding Hardware: 2-3 hours
- Painting or Staining: 4-6 hours
- Final Adjustments and Testing: 2-3 hours
Step-by-Step Instructions
Gather Materials and Tools
- Wood panels or metal sheets
- Hinges
- Rollers
- Tracks
- Springs
- Screws and bolts
- Drill
- Screwdriver
- Measuring tape
- Level
Measure the Opening
- Use a measuring tape to get the width and height of the garage door opening.
- Ensure measurements are accurate to avoid fitting issues.
Cut Panels
- Cut wood panels or metal sheets to fit the measured dimensions.
- Sand edges to smooth any rough areas.
Attach Hinges
- Lay panels flat on the ground.
- Attach hinges between panels, ensuring they are evenly spaced.
Install Rollers
- Attach rollers to the sides of each panel.
- Ensure rollers are securely fastened.
Mount Tracks
- Install tracks on both sides of the garage door opening.
- Use a level to ensure tracks are straight.
Attach Panels to Tracks
- Lift the bottom panel and place rollers into the tracks.
- Continue adding panels, ensuring each one fits securely in the tracks.
Install Springs
- Attach springs to the top of the door.
- Follow manufacturer instructions for proper tension.
Secure Everything
- Double-check all screws, bolts, and attachments.
- Ensure the door moves smoothly along the tracks.
Test the Door
- Open and close the door several times.
- Make adjustments if necessary to ensure smooth operation.
Helpful Tips and Tricks
Measure Twice, Cut Once: Always double-check measurements before cutting materials. This saves time and prevents waste.
Use Quality Hinges and Springs: Invest in good-quality hinges and springs. They ensure smooth operation and longevity.
Pre-Drill Holes: Pre-drill holes for screws to avoid splitting the wood. This makes assembly easier and more precise.
Weatherproofing: Apply weatherstripping around the edges to keep out drafts and moisture. This helps maintain the garage's temperature and protects stored items.
Balance the Door: Ensure the door is balanced. An unbalanced door can strain the opener and cause wear and tear.
Common Mistakes to Avoid:
Ignoring Safety Gear: Always wear safety glasses, gloves, and ear protection. Safety should be a priority.
Skipping Instructions: Follow the manufacturer's instructions carefully. Skipping steps can lead to improper installation.
Using Incorrect Tools: Use the right tools for each task. Improper tools can damage materials and slow progress.
Alternatives for Materials or Methods:
Composite Materials: Instead of traditional wood, consider composite materials. They are durable, low-maintenance, and resistant to weather.
Automatic Openers: If manual operation is too cumbersome, install an automatic opener. It adds convenience and can be a good investment.
Reclaimed Wood: For a rustic look, use reclaimed wood. It’s eco-friendly and adds character to the garage door.
Estimating the Cost
Materials:
- Wood (for the frame and panels): $200-$300
- Metal tracks: $100-$150
- Springs: $50-$100
- Hinges: $20-$40
- Handles: $10-$20
- Weatherstripping: $20-$30
- Paint or stain: $30-$50
- Screws and nails: $10-$20
Tools:
- Circular saw: $50-$100 (or rent for $10-$20/day)
- Drill: $40-$80
- Tape measure: $10-$15
- Level: $10-$20
- Hammer: $10-$15
- Screwdriver set: $10-$20
- Paintbrushes: $5-$10
Total Cost: $575-$970
Budget-friendly alternatives:
- Reclaimed wood: $100-$150
- Used metal tracks: $50-$75
- Second-hand tools: Save up to 50% off new prices
- DIY paint: Mix leftover paints for unique colors
Total Cost with Alternatives: $375-$600
Creative Variations and Customizations
Materials: Instead of traditional wood, consider using metal like aluminum or steel for a modern look. Fiberglass can offer durability with less weight. Reclaimed wood adds a rustic charm and is eco-friendly.
Colors: Paint the door in bold colors like red or blue to make it stand out. For a more classic look, use neutral tones like beige, gray, or white. Staining the wood can highlight its natural grain and give a warm, rich finish.
Styles: Opt for a carriage-style door with decorative hinges and handles for a vintage feel. A contemporary design with clean lines and minimal hardware suits modern homes. Windows can be added for natural light and aesthetic appeal; choose from frosted, clear, or tinted glass.
Hardware: Use black iron hardware for a traditional look. Stainless steel offers a sleek, modern touch. Brass or bronze can add a touch of elegance and warmth.
Insulation: For better energy efficiency, add insulated panels. This helps keep the garage warmer in winter and cooler in summer.
Automation: Install a smart garage door opener that can be controlled via a smartphone app. This adds convenience and security.
Decorative Elements: Add trim or molding to give the door a more finished look. Decorative panels or inlays can add texture and interest.
Lighting: Install LED lights around the door frame for better visibility and a modern touch. Motion-sensor lights can enhance security.
Weatherproofing: Use weatherstripping to seal gaps and keep out drafts and moisture. Rain guards can help protect the door from water damage.
Handles and Knobs: Choose ornate handles for a classic look or sleek, minimalist ones for a modern aesthetic. Custom-made handles can add a unique touch.
Finishes: Consider a matte finish for a subtle, understated look. A glossy finish can make the door pop and add a touch of luxury. Textured finishes like wood grain or hammered metal can add depth and interest.
Eco-Friendly Tips
Use reclaimed wood for the door panels. Old barn wood or pallets can give a rustic look while being eco-friendly. Opt for recycled metal for the frame and hardware. This reduces waste and often costs less than new materials. Insulate the door with recycled denim or sheep wool instead of traditional foam. These materials are natural and have excellent insulating properties. Choose low-VOC paint or stain to finish the door. This reduces harmful emissions and is better for indoor air quality. Install solar-powered openers to reduce electricity use. This makes your garage door more sustainable and energy-efficient.
Your Garage Door Awaits
Building a DIY garage door isn't just about saving money. It's about learning, gaining skills, and having a sense of accomplishment. With the right tools and materials, you can create a sturdy, functional door that fits your needs. Remember to measure carefully, follow instructions, and take your time. Safety should always be a top priority, so don't skip on protective gear. If you hit a snag, plenty of resources online can help you out. By the end, you'll not only have a new garage door but also the satisfaction of knowing you built it yourself. Happy building!
How much will it cost to build a DIY garage door?
Costs can vary, but typically, materials might run you between $300 and $600. It depends on the type of wood or metal you choose and any extra features like windows or insulation.
What tools do I need for this project?
You’ll need a tape measure, saw, drill, screwdriver, level, hammer, and safety gear like gloves and goggles. A ladder will also come in handy.
How long will it take to complete?
Expect to spend a weekend on this project. If you’re experienced, it might take less time. For beginners, plan for a couple of days to ensure everything’s done right.
Can I use reclaimed wood for my garage door?
Absolutely! Reclaimed wood can give your garage door a unique, rustic look. Just make sure the wood is sturdy and free from rot or pests.
Do I need to insulate my garage door?
Insulation isn’t a must, but it’s a good idea if you live in a place with extreme temperatures. It helps keep your garage warmer in winter and cooler in summer.
How do I maintain my DIY garage door?
Regularly check for any loose screws or bolts, and lubricate the hinges and tracks. If it’s a wooden door, repaint or reseal it every couple of years to protect against weather damage.
Is it safe to install a garage door opener myself?
Yes, but follow the instructions carefully. Make sure the opener is compatible with your door and always double-check the safety features. If in doubt, consult a professional.