
Home>Home & Furniture>Doors & Windows>How to Build a DIY Cellar Door
Doors & Windows
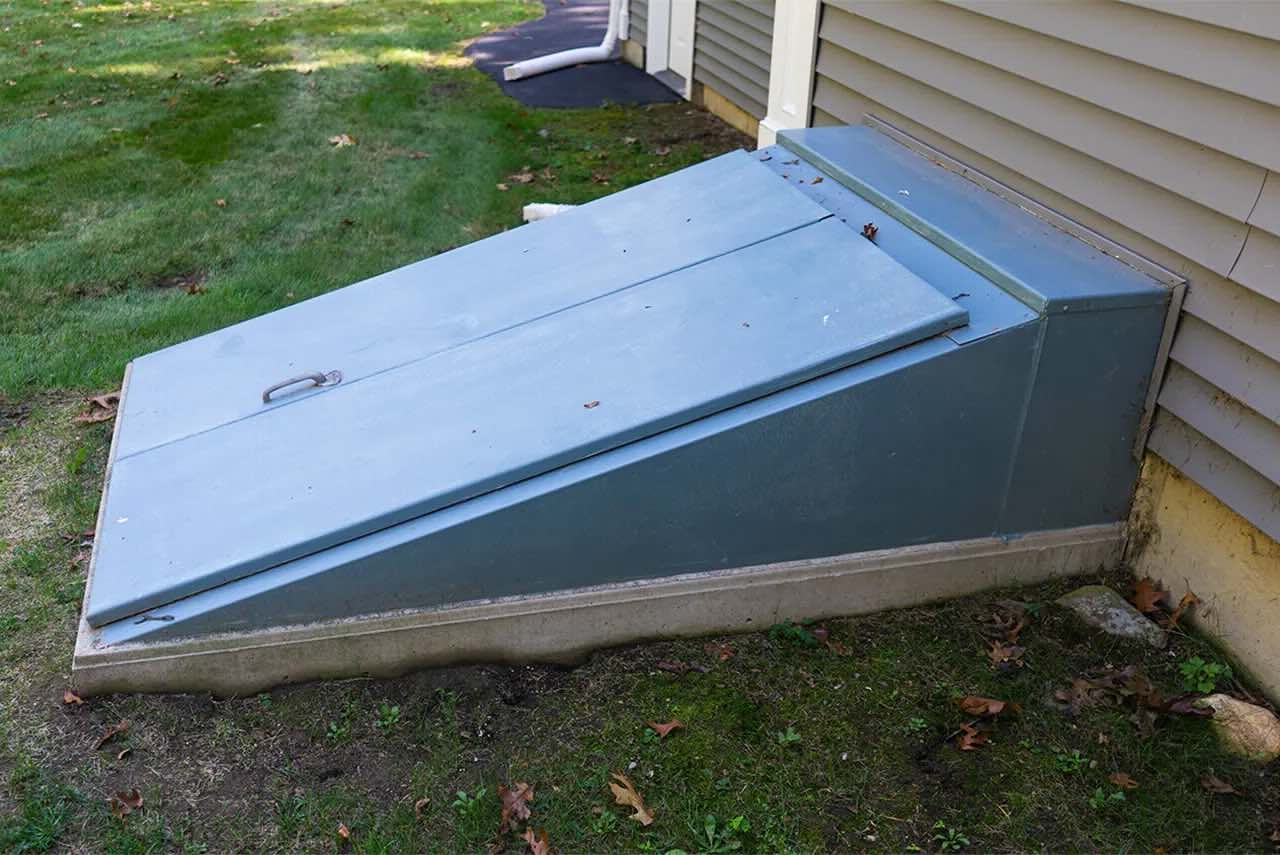
How to Build a DIY Cellar Door
Published: September 8, 2024
Learn how to build a DIY cellar door with our step-by-step guide. Discover essential tools, materials, and tips for a durable and stylish addition to your home.
(Many of the links in this article redirect to a specific reviewed product. Your purchase of these products through affiliate links helps to generate commission for Twigandthistle.com, at no extra cost. Learn more)
Building a DIY cellar door can be a rewarding project for any homeowner. Not only can it boost your home's value, but it also adds a layer of safety. Whether you need extra storage or an emergency exit, constructing a sturdy and functional door is essential. With some basic tools, materials, and a bit of patience, you can create a door that serves both practical and aesthetic purposes. This guide will take you through each step, making the process straightforward and manageable. Let's get started on transforming that cellar entrance into something secure and stylish.
Getting Ready for Your Project
Measure the Opening: Use a tape measure to get the exact dimensions of the cellar entrance. Write down the width, height, and depth.
Gather Materials: Collect all necessary supplies like wood, hinges, screws, nails, a saw, a drill, and a hammer. Make sure everything is within reach.
Safety Gear: Wear safety goggles, gloves, and a dust mask to protect yourself from debris and dust.
Clear the Workspace: Remove any obstacles around the cellar entrance. Ensure you have enough room to move freely.
Check for Utilities: Before drilling or cutting, confirm there are no utility lines (like gas or water pipes) in the area.
Prepare the Wood: Cut the wood pieces according to your measurements. Sand the edges to avoid splinters.
Lay Out Tools: Arrange tools in an organized manner. Place them on a workbench or a sturdy table for easy access.
Mark Drill Points: Use a pencil to mark where you will drill holes for hinges and screws. This ensures accuracy.
Test Fit: Before final assembly, place the wood pieces together to ensure they fit properly. Make adjustments if needed.
Check Weather Conditions: If working outside, ensure the weather is clear. Rain or strong winds can make the project difficult and unsafe.
Materials and Tools Checklist
Materials:
- Pressure-Treated Lumber: Used for framing the door and ensuring durability against moisture.
- Plywood: Forms the main surface of the door.
- Hinges: Allows the door to open and close smoothly.
- Screws and Nails: Essential for assembling the door parts.
- Weather Stripping: Helps seal the door to keep out moisture and pests.
- Wood Stain or Paint: Protects the wood and gives it a finished look.
- Gravel: Provides a base for the door to rest on, ensuring proper drainage.
- Concrete Mix: Used to create a solid foundation for the door frame.
- Door Handle and Lock: Adds security and ease of use.
Tools:
- Tape Measure: Ensures accurate measurements for cutting and fitting materials.
- Circular Saw: Cuts the lumber and plywood to the required sizes.
- Drill: Makes holes for screws and helps in assembling the door.
- Hammer: Drives nails into the wood.
- Level: Ensures the door and frame are even and properly aligned.
- Screwdriver: Tightens screws during assembly.
- Shovel: Digs the area for the foundation.
- Trowel: Spreads and smooths the concrete mix.
- Paintbrush or Roller: Applies stain or paint to the door.
These materials and tools will help you build a sturdy, functional cellar door.
Required Skills and Time Commitment
Skill Level: Intermediate
Time Required: 1-2 days
- Preparation and Planning: 2-3 hours
- Gathering Materials: 1-2 hours
- Measuring and Cutting Wood: 3-4 hours
- Assembling the Door: 4-5 hours
- Installing Hinges and Hardware: 2-3 hours
- Painting or Staining: 3-4 hours (including drying time)
Important Keywords: Intermediate, 1-2 days, Preparation, Planning, Gathering Materials, Measuring, Cutting Wood, Assembling, Installing Hinges, Painting, Staining
Detailed Building Instructions
Measure the Opening
- Use a tape measure to find the width and height of the cellar entrance.
- Write down these measurements.
Cut the Wood
- Get two pieces of plywood. Cut them to match the measurements.
- Sand the edges to make them smooth.
Build the Frame
- Cut 2x4 lumber to create a frame for each plywood piece.
- Attach the lumber to the plywood using wood screws.
Attach Hinges
- Place three heavy-duty hinges on one side of each door.
- Secure the hinges with screws.
Install the Doors
- Position the doors over the cellar opening.
- Attach the hinges to the frame of the cellar entrance.
Add Handles and Lock
- Attach handles to the outside of each door.
- Install a lock or latch to keep the doors secure.
Seal the Edges
- Use weather stripping around the edges of the doors.
- This will help keep out moisture and pests.
Paint or Stain
- Apply a coat of paint or stain to protect the wood.
- Let it dry completely before using the doors.
Helpful Tips and Tricks
Measure accurately before cutting any materials. Use a carpenter's square to ensure corners are perfect. Pre-drill holes to avoid splitting wood. Use treated lumber for durability against moisture. Seal all edges with weatherproof sealant to prevent water damage. Install a proper drainage system to keep water away from the cellar.
Common mistakes include not leveling the ground properly, which can cause the door to sit unevenly. Skipping the primer before painting can lead to peeling paint. Using untreated wood can result in quicker decay.
Instead of traditional wood, consider composite materials for longer-lasting results. For hinges, stainless steel offers better resistance to rust compared to regular steel. If cutting wood isn't your thing, pre-fabricated kits can save time and effort.
Budgeting for Your DIY Cellar Door
Lumber: $100 - $150. You’ll need pressure-treated wood for durability.
Hinges: $20 - $30. Heavy-duty hinges are best for cellar doors.
Latch: $10 - $15. A sturdy latch ensures the door stays closed.
Screws: $5 - $10. Use galvanized screws to prevent rust.
Weatherstripping: $10 - $15. Keeps out moisture and pests.
Paint or Stain: $20 - $30. Protects the wood from weather damage.
Tools: If you don’t have them, you might need a saw ($50 - $100), drill ($40 - $60), and measuring tape ($5 - $10).
Total Cost: Around $220 - $420, depending on the tools you already own.
Budget-Friendly Alternatives:
- Reclaimed wood: Often cheaper or even free.
- Basic hinges: Can save $10.
- Second-hand tools: Check thrift stores or online marketplaces.
Creative Customization Ideas
Materials: Instead of traditional wood, consider using metal for a more industrial look or composite materials for durability. Reclaimed wood can add a rustic charm.
Colors: Paint the door in bold colors like red or blue for a standout feature. For a more subtle look, use earth tones like brown or green. Staining the wood can also highlight its natural grain.
Styles: Opt for a barn door style with cross braces for a farmhouse feel. A modern style with clean lines and minimal hardware can give a sleek appearance. Adding decorative trim or molding can enhance the door's design.
Hardware: Use wrought iron handles and hinges for a vintage look. Stainless steel hardware can provide a contemporary touch. Hidden hinges can offer a seamless look.
Windows: Incorporate small windows or glass panels to allow light into the cellar. Frosted or stained glass can add privacy and style.
Security: Add a deadbolt or padlock for extra security. Consider installing a smart lock for modern convenience.
Insulation: Use weather stripping or foam insulation to keep the cellar temperature controlled. This is especially useful if storing wine or perishables.
Decorative Elements: Add carvings or engravings for a personalized touch. Metal accents or inlays can also add character.
Finishes: Choose a matte finish for a more understated look or a glossy finish for a polished appearance. Distressed finishes can give an antique feel.
Eco-Friendly Building Tips
Reclaimed Wood: Use old barn wood or pallets. These materials add character and reduce waste.
Recycled Metal: For hinges and handles, consider using metal from old tools or machinery. This gives a rustic look while being eco-friendly.
Natural Insulation: Use sheep wool or recycled denim for insulation. These materials are sustainable and provide good thermal properties.
Low-VOC Paints: Choose paints with low volatile organic compounds. They are better for indoor air quality and the environment.
Solar-Powered Lights: Install solar lights around the cellar door. This reduces electricity usage and is easy to set up.
Rainwater Collection: Set up a rainwater collection system nearby. Use the collected water for gardening or other household needs.
Local Sourcing: Buy materials from local suppliers. This reduces the carbon footprint associated with transportation.
Recycled Glass: Use recycled glass for any windows or decorative elements. It’s sustainable and adds a unique touch.
Natural Sealants: Opt for natural sealants like beeswax or linseed oil. These are less harmful to the environment compared to synthetic options.
Compostable Materials: Use compostable materials for any temporary structures or supports. This ensures minimal waste after the project is completed.
Your Cellar Door Awaits
Building a DIY cellar door isn't just about saving money. It's about creating something with your own hands. You've learned how to measure, cut, and assemble the door. You’ve seen how to install hinges and secure the door frame. Each step brings you closer to a finished project you can be proud of. Don't rush the process. Take your time to ensure everything fits perfectly. Remember, the key is in the details. A well-built door not only looks good but also lasts longer. If you hit a snag, don't get discouraged. Every mistake is a chance to learn. Keep your tools handy, follow the steps, and soon enough, you'll have a sturdy, functional cellar door. Enjoy the satisfaction of a job well done. Now, go ahead and show off your new creation!
How do I measure for a cellar door?
Measure the width and height of the opening. Add a few inches to each side for the frame. This ensures a snug fit.
What materials do I need?
You’ll need wood, hinges, screws, a saw, a drill, and weatherproofing materials. Don’t forget paint or stain if you want to finish it nicely.
How do I build the frame?
Cut the wood to size, then assemble the frame using screws. Make sure it’s square and level before attaching it to the opening.
How do I attach the door to the frame?
Use heavy-duty hinges. Attach them to the door first, then to the frame. Make sure the door swings freely and closes tightly.
How do I weatherproof the cellar door?
Apply weatherstripping around the edges. Use sealant on any gaps. This keeps out moisture and pests.
Can I add a lock?
Yes, install a deadbolt or padlock for extra security. Make sure it’s easy to use but sturdy enough to keep intruders out.
How do I maintain my cellar door?
Check for wear and tear regularly. Reapply sealant and paint as needed. Keep the hinges oiled to prevent rust.