
Home>Home & Furniture>Doors & Windows>How to Build a DIY Cat Window Perch
Doors & Windows
How to Build a DIY Cat Window Perch
Published: August 11, 2024
Learn how to build a DIY cat window perch with our step-by-step guide. Create a cozy spot for your feline friend to enjoy the view and bask in the sunlight.
(Many of the links in this article redirect to a specific reviewed product. Your purchase of these products through affiliate links helps to generate commission for Twigandthistle.com, at no extra cost. Learn more)
Cats love to watch the world outside, and a window perch offers a perfect spot for them. Building a DIY cat window perch isn't complicated and gives your pet a cozy place to relax. You'll enjoy crafting something useful, and your cat will appreciate the new vantage point. Plus, it's a great way to use some simple materials you might already have at home. With a bit of effort, you can create a sturdy, comfortable perch that fits your window perfectly. Get ready to make your cat's day with this fun, easy project. Let's start building that perch!
Getting Ready for Your Project
Measure the Window: Use a tape measure to get the width and height of the window where the perch will go. Write down these measurements.
Gather Materials: Collect all necessary materials like wood, screws, brackets, a cushion, and fabric. Make sure you have a saw, drill, screwdriver, and measuring tape.
Choose a Sturdy Wood: Pick a strong, durable wood like pine or oak. This ensures the perch can support your cat's weight.
Cut the Wood: Use a saw to cut the wood to the size of your window measurements. Sand the edges to make them smooth.
Install Brackets: Attach metal brackets to the wall under the window. Make sure they are level and securely fastened.
Attach the Perch: Place the cut wood on the brackets. Use screws to secure the wood to the brackets.
Add Cushion: Place a soft cushion on top of the wood. Secure it with fabric and a staple gun to keep it in place.
Safety Tips:
- Wear Safety Gear: Always wear safety goggles and gloves when cutting wood or using tools.
- Check Stability: Ensure the perch is stable and can hold your cat's weight before letting your cat use it.
- Keep Tools Away: Store tools safely out of reach when not in use.
Workspace Setup: Clear a workspace with enough room to cut wood and assemble the perch. Make sure the area is well-lit and ventilated.
What You Need: Materials and Tools
- Wooden Board: A sturdy base for the perch. Choose a piece that fits your window size.
- Brackets: Metal brackets will support the wooden board. Ensure they are strong enough to hold your cat's weight.
- Screws: Necessary for attaching brackets to the wall and the board. Use screws suitable for your wall type.
- Drill: A power drill makes it easier to create holes for screws.
- Measuring Tape: Accurate measurements ensure the perch fits perfectly.
- Level: Ensures the perch is even, preventing your cat from sliding off.
- Pencil: Mark spots for drilling and measuring.
- Sandpaper: Smooths the wooden board, preventing splinters.
- Fabric: Adds comfort to the perch. Choose a durable, washable fabric.
- Staple Gun: Secures the fabric to the wooden board.
- Scissors: Cuts fabric to the correct size.
- Stud Finder: Locates wall studs for securely attaching brackets.
- Safety Glasses: Protects eyes while drilling and sanding.
- Vacuum: Cleans up sawdust and debris after drilling and sanding.
Skill Level and Time Commitment
Skill Level: Intermediate
Time Required: 2-3 hours
- Measure and Cut Materials: 30 minutes
- Assemble the Frame: 45 minutes
- Attach the Perch to the Window: 30 minutes
- Add Cushion and Finishing Touches: 15 minutes
Important Keywords: Measure, Cut, Assemble, Attach, Cushion
Follow These Steps
Gather Materials:
- Wooden board (size depends on window width)
- Brackets (2-3, depending on board length)
- Screws
- Drill
- Level
- Measuring tape
- Soft fabric or cushion
- Velcro strips or double-sided tape
Measure Window:
- Use measuring tape to find the width of the window.
- Ensure the wooden board is slightly wider than the window.
Cut Wooden Board:
- If needed, cut the board to the desired length.
- Sand edges to smooth any rough spots.
Attach Brackets:
- Position brackets evenly along the board's underside.
- Use a drill to secure brackets with screws.
Mark Wall:
- Hold the board with attached brackets against the window.
- Use a pencil to mark where the brackets will be screwed into the wall.
Drill Holes:
- Drill holes into the wall where marked.
- Ensure holes are level.
Mount Perch:
- Align brackets with drilled holes.
- Secure the board to the wall using screws.
Add Cushion:
- Place soft fabric or cushion on top of the board.
- Use Velcro strips or double-sided tape to keep it in place.
Test Stability:
- Gently press down on the perch to ensure it is secure.
- Make any necessary adjustments.
Invite Cat:
- Encourage your cat to explore the new perch.
- Place treats or toys on the perch to attract interest.
Helpful Tips and Tricks
Measure your window first to ensure the perch fits perfectly. Use sturdy brackets to support the weight of your cat. Velcro strips can help secure the perch to the window sill without damaging it. Carpet remnants make a cozy surface for your cat and are easy to attach with a staple gun.
Common mistakes include not anchoring the brackets securely, which can lead to accidents. Avoid using thin wood that might not support your cat's weight. Make sure the perch is level to prevent your cat from sliding off.
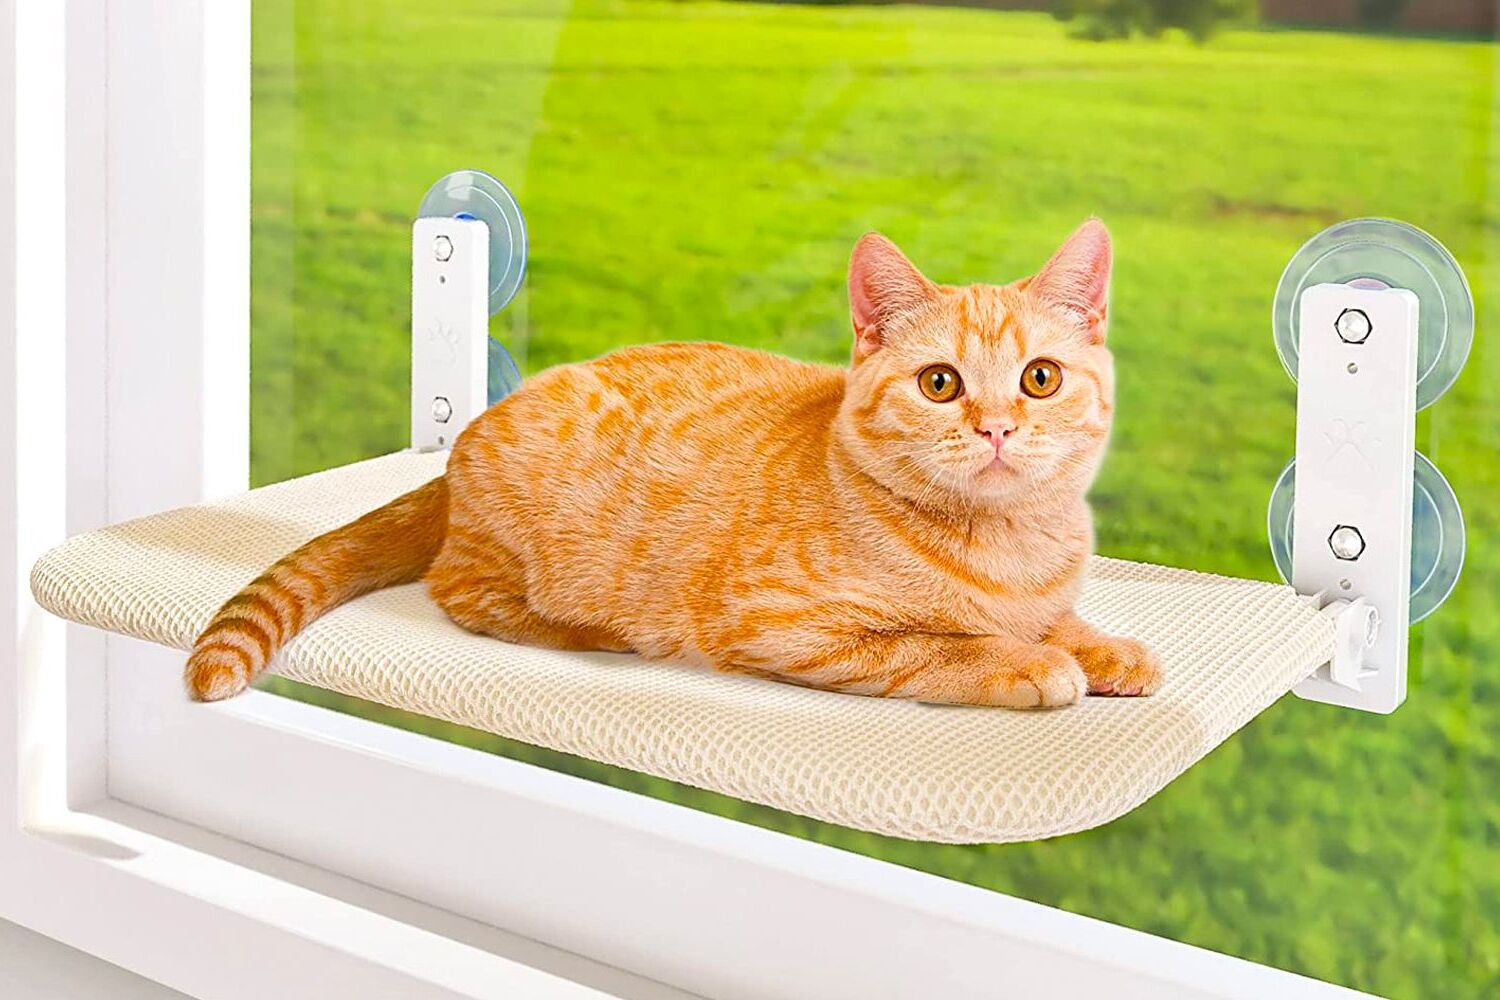
For alternatives, consider using PVC pipes for the frame instead of wood. They are lightweight and easy to cut. Instead of carpet, a removable cushion can be easier to clean. If you don't want to drill into your window sill, suction cups designed for holding shelves can be a good option.
Estimating Your Costs
Materials:
- Wooden board (24"x12"): $10
- Brackets (2): $5
- Screws (pack): $3
- Foam cushion: $8
- Fabric cover: $5
- Velcro strips: $3
Tools:
- Drill: $30 (or borrow for free)
- Screwdriver: $5
- Measuring tape: $3
- Scissors: $2
Total cost: $74
Budget-friendly alternatives:
- Use scrap wood instead of buying a new board.
- Repurpose an old cushion or pillow.
- Use leftover fabric from other projects.
- Borrow tools from friends or neighbors.
Different Ways to Customize
Materials: Instead of wood, try using PVC pipes for a lightweight frame. Metal brackets can add extra stability. For the perch surface, consider bamboo or recycled plastic for an eco-friendly option.
Colors: Paint the perch in bright colors like turquoise or yellow to add a pop of color to your room. Use stencils to create patterns or designs. Natural wood stains can give a rustic look.
Styles: For a modern look, use sleek metal and glass. A vintage style can be achieved with distressed wood and antique hardware. Add cushions with bold prints for a contemporary touch.
Cushions: Use memory foam for extra comfort. Waterproof fabric can make cleaning easier. Removable covers allow for easy washing and changing styles.
Mounting Options: Use suction cups for a non-permanent solution. Hanging straps can create a hammock-style perch. Wall brackets provide a sturdy, permanent mount.
Additional Features: Add a small canopy for shade. Attach toys or dangling feathers for entertainment. Install a small ramp for easier access.
Safety: Ensure all materials are non-toxic. Sand any rough edges to prevent splinters. Use heavy-duty screws and anchors for secure mounting.
Eco-Friendly Ideas
Use reclaimed wood for the base and supports. Old pallets or leftover planks from other projects work great. Sand them down to avoid splinters. For the perch cushion, repurpose an old pillow or use fabric scraps to sew a cover. Stuff it with recycled materials like shredded old clothes or foam pieces.
Instead of buying new brackets, reuse metal brackets from old shelves or furniture. If you need to buy screws or nails, opt for recycled metal options. Use non-toxic paint or varnish to finish the wood, ensuring it's safe for your cat.
For added stability, consider using recycled plastic or metal pipes as additional supports. Secure the perch with eco-friendly adhesives or screws. Finally, decorate with natural fibers like jute or sisal rope, which can double as a scratching post.
Enjoy Your Cat's New Favorite Spot
You've got all the steps now. Building a DIY cat window perch isn't just a fun project, it's a great way to make your cat happy. With some basic tools and a bit of time, you can create a cozy spot for your furry friend to lounge and watch the world. Remember to use sturdy materials and secure everything well. Your cat will love the new perch, and you'll enjoy seeing them so content. Plus, you get the satisfaction of knowing you made it yourself. So grab those tools, follow the steps, and get building. Your cat's new favorite spot is just a few hours away. Happy crafting!
How much weight can a DIY cat window perch hold?
A sturdy DIY cat window perch can usually hold around 15-20 pounds. Make sure to use strong materials and secure it well.
What materials do I need to build a cat window perch?
You’ll need wood, screws, brackets, fabric, and foam. A drill and a saw will also come in handy.
How do I attach the perch to the window?
Use brackets and screws to secure the perch to the window frame. Make sure it’s level and tightly fastened.
Can I make a perch without drilling into the wall?
Yes, you can use suction cups or adhesive hooks. Just ensure they’re strong enough to support your cat’s weight.
How long does it take to build a cat window perch?
It usually takes about 2-3 hours from start to finish, depending on your DIY skills and tools.
Is it safe for my cat to use a window perch?
Absolutely, as long as it’s securely attached and made from durable materials. Always double-check the stability.
Can I customize the perch to match my home decor?
Sure thing! Use fabric and paint that match your home’s style. Get creative with colors and patterns.