
Home>Home & Furniture>Doors & Windows>Easter Window Painting Guide
Doors & Windows
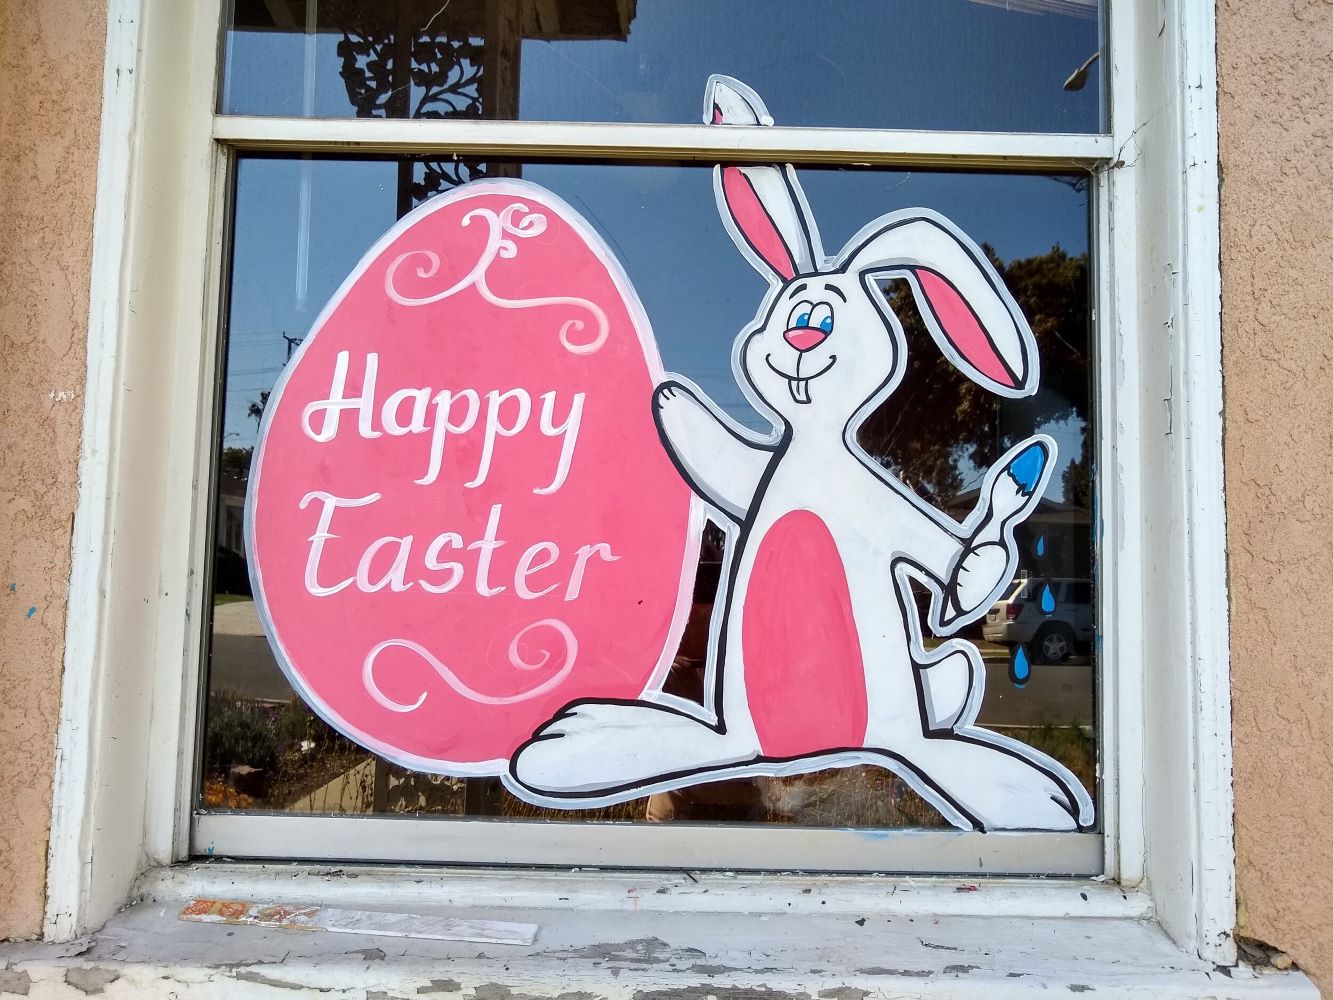
Easter Window Painting Guide
Published: August 13, 2024
Discover the ultimate Easter window painting guide! Learn tips, techniques, and design ideas to create festive, eye-catching window art that will brighten up your home this Easter.
(Many of the links in this article redirect to a specific reviewed product. Your purchase of these products through affiliate links helps to generate commission for Twigandthistle.com, at no extra cost. Learn more)
Decorating windows for Easter adds a fun, festive touch to any home. Painting your windows can bring the holiday spirit to life with colorful designs. Whether you want to showcase bunnies, eggs, or spring flowers, this guide will help you get started. You don’t need to be an artist to create eye-catching window art. Simple materials and a bit of creativity will do the trick. With a few tips and tricks, you'll have your windows looking bright and cheerful in no time. Let's dive into the world of Easter window painting and make your home shine!
Getting Ready for Your Project
Gather Supplies: Collect paints, brushes, stencils, and cleaning materials. Make sure you have drop cloths to protect floors.
Clean Windows: Use a glass cleaner to remove dirt and grime. Clean windows ensure paint adheres properly.
Set Up Workspace: Lay down drop cloths under the windows. Arrange paints and brushes on a nearby table for easy access.
Plan Design: Sketch your Easter design on paper first. This helps visualize the final look and avoid mistakes.
Tape Edges: Use painter’s tape to outline the area you’ll paint. This keeps paint off window frames.
Test Paints: Try a small amount of each color on a piece of glass or plastic. This checks how they look when dry.
Wear Safety Gear: Put on gloves and old clothes. Paint can be messy, and some types might irritate skin.
Ventilate Area: Open windows or use a fan. Proper ventilation prevents inhaling fumes from the paint.
Check Weather: Ensure it’s not too humid or rainy. Moisture can affect paint drying time and quality.
What You Need to Get Started
Glass Paints: Special paints designed for glass surfaces. They come in various colors and are easy to apply.
Paint Brushes: Different sizes for detailed work and larger areas. Soft bristles work best on glass.
Painter's Tape: Helps create clean edges and protect areas you don't want painted.
Stencils: Pre-cut designs to help outline shapes and patterns. Great for beginners.
Glass Cleaner: Ensures the window is free of dirt and grease before painting.
Paper Towels: Useful for cleaning up spills and wiping brushes.
Palette: A flat surface for mixing paints. Can be plastic or disposable.
Apron: Protects your clothes from paint splatters.
Drop Cloth: Covers the floor to catch any drips or spills.
Cotton Swabs: Helps correct small mistakes and clean up edges.
Water Container: For rinsing brushes between colors.
Permanent Marker: Outlines designs before painting. Make sure it's suitable for glass.
Sponge: Useful for creating texture and blending colors.
Hair Dryer: Speeds up the drying process between layers.
Gloves: Keeps your hands clean and free from paint.
Step Stool: Helps reach higher parts of the window.
Pencil: Lightly sketch designs before using paint or marker.
Eraser: Removes pencil marks if needed.
Sealant Spray: Protects the finished painting from smudging and fading.
How Much Time and Skill You Need
Skill Level: Beginner
Time Required:
- Designing the Pattern: 30 minutes
- Gathering Supplies: 15 minutes
- Cleaning the Window: 10 minutes
- Drawing the Outline: 20 minutes
- Painting the Design: 1-2 hours
- Drying Time: 1 hour
Total Time: Approximately 3-4 hours
Follow These Steps
Gather Supplies
- Glass paint (various colors)
- Paintbrushes (different sizes)
- Painter's tape
- Paper towels
- Glass cleaner
- Easter-themed stencils (optional)
- Palette or disposable plate for mixing colors
Clean the Window
- Use glass cleaner to remove dirt and smudges.
- Wipe with paper towels until completely dry.
Plan Your Design
- Sketch your design on paper.
- Use Easter-themed stencils if needed.
Tape the Edges
- Apply painter's tape around the window edges to avoid paint spills.
Outline the Design
- Use a thin paintbrush to outline your design on the window.
- Let the outline dry for a few minutes.
Fill in Colors
- Use different paintbrushes for each color.
- Apply the paint within the outlined areas.
- Allow each color to dry before adding another to prevent smudging.
Add Details
- Use a fine paintbrush for small details like eyes, patterns, or text.
- Let the details dry completely.
Remove Tape
- Carefully peel off the painter's tape once the paint is dry.
Touch Up
- Fix any mistakes with a small paintbrush and matching paint.
Clean Up
- Wash paintbrushes and palette.
- Store any leftover paint for future use.
Helpful Hints for Success
Use washable paint to avoid permanent stains. Outline your design with a light pencil before painting. Mix colors on a palette to get the perfect shades. Use painter's tape to create clean edges. Layer colors from light to dark for depth. Let each layer dry before adding another to prevent smudging. Keep a damp cloth nearby to quickly fix mistakes. Use different brush sizes for details and larger areas. Add glitter for a festive touch. Seal your work with a clear spray to protect it.
Common mistakes to avoid: Using permanent paint, not letting layers dry, skipping the outline, and not cleaning brushes between colors.
Alternatives: Use window markers for easier cleanup. Stickers or decals can replace painting for a quicker option. Acrylic paint mixed with dish soap can work if washable paint isn't available.
How Much Will It Cost?
Glass Paints: $20-$30 for a basic set of colors. Brushes: $5-$10 for a variety pack. Painter's Tape: $3-$5 for a roll. Stencils: $10-$15 for Easter-themed designs. Cleaning Supplies: $5-$10 for glass cleaner and cloths. Drop Cloth: $5-$10 to protect surfaces.
Total Cost: $48-$80
Budget-Friendly Alternatives:
- Homemade Stencils: Use cardboard or thick paper, saving $10-$15.
- Acrylic Paints: Mix with a glass medium, costing around $15 for both, saving $5-$15.
- Old Sheets or Newspapers: Instead of a drop cloth, saving $5-$10.
Different Ways to Personalize
Alternative Materials: Instead of traditional window paint, use acrylic paint mixed with a bit of dish soap. This makes it easier to wash off later. For a more textured look, try using chalk markers or gel pens.
Colors: Go beyond pastels. Use metallic paints for a shiny effect or neon colors for a bold, modern look. For a more natural feel, use earth tones like browns, greens, and soft yellows.
Styles: Create a stained glass effect by outlining designs with black paint and filling them in with vibrant colors. Try a silhouette style by painting solid shapes in black or dark colors against a bright background. For a whimsical touch, use cartoon-style drawings with exaggerated features and bright colors.
Themes: Instead of traditional Easter eggs and bunnies, paint spring flowers, butterflies, or birds. Create a storyboard across multiple windows, telling a story with each pane. For a cultural twist, incorporate patterns and symbols from different cultures' spring celebrations.
Techniques: Use sponges to create a soft, blended background. Try stamping with cut vegetables or sponges for unique shapes and textures. Use stencils for precise shapes and patterns, or freehand for a more organic look.
Add-ons: Enhance your paintings with glitter glue for sparkle or puffy paint for a 3D effect. Attach small decorations like faux flowers or paper cutouts around the window frame to complement your design.
Eco-Friendly Ideas
Eco-friendly materials can make Easter window painting both fun and sustainable. Use non-toxic paints made from natural ingredients like clay or plant-based pigments. These are safer for the environment and your health.
Recycled materials can be great for creating stencils. Old cardboard or paper can be cut into shapes like eggs, bunnies, or flowers. This reduces waste and gives new life to materials you already have.
Reusable tools like brushes and sponges can be cleaned and used again. Avoid single-use items whenever possible. If you need to use tape, choose paper tape instead of plastic tape, as it’s biodegradable.
For cleaning up, use eco-friendly soap and water instead of harsh chemicals. This keeps harmful substances out of the water supply.
Encourage friends and family to join in. Sharing materials and tools can make the activity more sustainable and enjoyable for everyone.
Your Easter Window Masterpiece Awaits
You've got all the tools and tips to create a stunning Easter window painting. Grab your paints, brushes, and let your creativity flow. Remember, preparation is key: clean your window, sketch your design, and layer your colors. Don't stress about perfection; it's all about having fun and expressing yourself. If you make a mistake, just wipe it off and try again. Once your masterpiece is complete, step back and admire your work. Share your creation with friends and family, and maybe even inspire them to try their hand at window painting. With a bit of practice and patience, you'll get better each time. So, go ahead, transform your window into a festive display that brings joy to everyone who sees it. Happy painting!
How do I choose the right paint for Easter window decorations?
Go for acrylic or tempera paints. They’re vibrant, easy to clean, and stick well to glass. Avoid oil-based paints since they’re tough to remove.
What tools will I need to paint my windows?
You’ll need paintbrushes of different sizes, sponges, painter’s tape, and a drop cloth. Don’t forget a palette for mixing colors and some paper towels for quick clean-ups.
How can I make sure my design looks good from both inside and outside?
Paint your design in layers. Start with the background, then add details. This way, it’ll look great from both sides. Also, use bold outlines to make the design pop.
How do I remove the paint after Easter?
Use a razor blade scraper for dried paint. For stubborn spots, try a mix of warm water and vinegar. Always test a small area first to avoid scratching the glass.
Can I involve my kids in window painting?
Absolutely! Kids can help with simple shapes and backgrounds. Just make sure to use non-toxic paints and supervise them closely to avoid messes.
How do I prevent paint from dripping?
Use painter’s tape to outline your design and catch drips. Also, don’t overload your brush with paint. Thin, even layers work best.
What are some easy Easter designs for beginners?
Start with Easter eggs, bunnies, flowers, and crosses. These designs are simple yet festive. You can find templates online to trace if you’re not confident in freehand drawing.