
Home>Home & Furniture>Doors & Windows>DIY Transom Window Coverings Guide
Doors & Windows
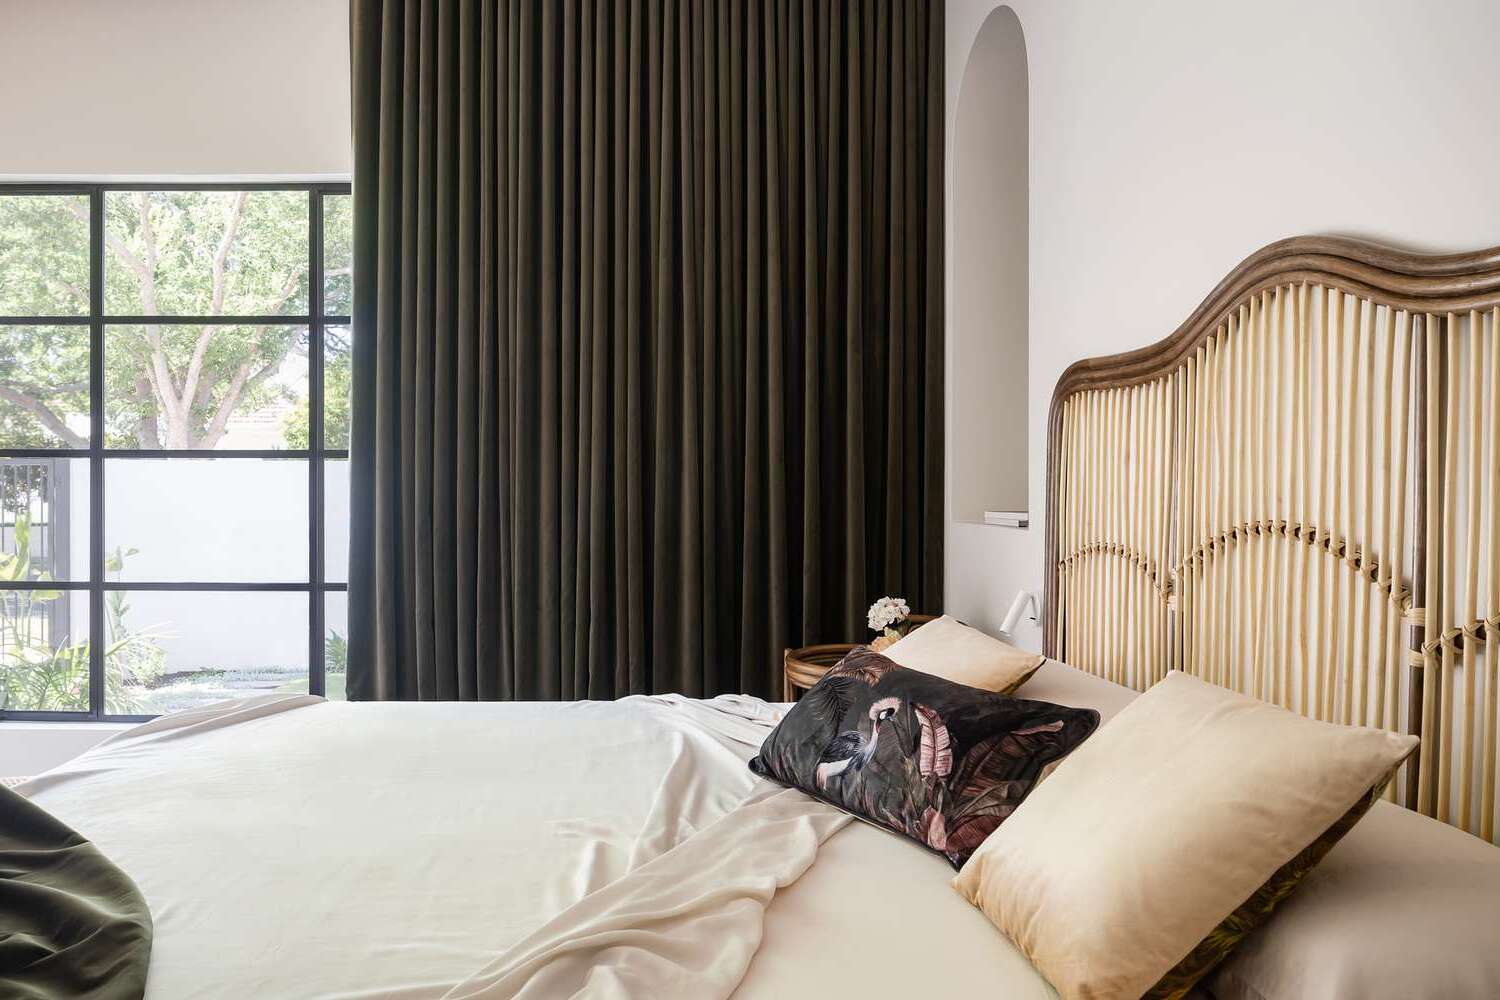
DIY Transom Window Coverings Guide
Published: August 25, 2024
Discover creative and easy DIY transom window coverings with our comprehensive guide. Enhance your home's privacy and style with these simple, budget-friendly solutions.
(Many of the links in this article redirect to a specific reviewed product. Your purchase of these products through affiliate links helps to generate commission for Twigandthistle.com, at no extra cost. Learn more)
Transom windows add charm to any space. Often placed above doors or larger windows, they allow extra light to flood a room. Sometimes, you might want to cover them either for privacy or to control the light. Creating your own transom window coverings can be a fun and rewarding project. You don’t need to be an expert to craft something beautiful and functional. With some simple tools, creativity, and a bit of patience, you can design coverings that fit your style. This guide will help you through the steps to make your very own DIY transom window coverings.
Getting Ready for the Project
Measure the Window: Use a tape measure to get the exact dimensions of the transom window. Write down the width and height.
Choose Materials: Decide on the type of covering you want, like curtains, blinds, or frosted film. Gather all necessary materials, including fabric, rods, brackets, or adhesive.
Gather Tools: Collect tools like a drill, screws, screwdriver, level, and scissors. Having everything ready will save time.
Prepare the Workspace: Clear the area around the window. Lay down a drop cloth to catch any debris or dust.
Safety Gear: Wear safety goggles and gloves to protect your eyes and hands. Use a sturdy ladder if the window is high up.
Clean the Window: Wipe down the window and surrounding frame with a damp cloth. This ensures a clean surface for installation.
Mark Drill Points: Use a pencil to mark where you will drill holes for brackets or rods. Double-check measurements to ensure accuracy.
Check for Obstacles: Look for any electrical wires or pipes behind the wall where you plan to drill. Use a stud finder if necessary.
Pre-Drill Holes: Drill pilot holes at the marked points. This makes it easier to screw in brackets or rods.
Install Brackets or Rods: Secure the brackets or rods according to the manufacturer's instructions. Use a level to ensure they are straight.
Attach Covering: Hang the curtains, blinds, or apply the frosted film. Make sure everything is secure and looks even.
Test Functionality: Open and close the covering to ensure it operates smoothly. Make any necessary adjustments.
Materials and Tools Needed
- Measuring Tape: Essential for getting accurate dimensions of the window.
- Fabric: Choose a fabric that matches your decor. It will be used to cover the window.
- Scissors: Needed for cutting the fabric to the correct size.
- Sewing Machine: Useful for hemming the edges of the fabric to prevent fraying.
- Thread: Matches the fabric color for a seamless look.
- Curtain Rod: Holds the fabric in place above the window.
- Brackets: Secure the curtain rod to the wall.
- Screws: Fasten the brackets to the wall.
- Drill: Makes holes for the screws.
- Level: Ensures the curtain rod is straight.
- Pencil: Marks where to drill holes.
- Iron: Removes wrinkles from the fabric before hanging.
- Pins: Hold fabric in place while sewing.
- Ladder: Reaches the top of the window safely.
- Safety Glasses: Protects eyes while drilling.
Skill Level and Time Required
Skill Level: Intermediate
Time Required: 3-4 hours
Steps:
- Measure the window dimensions.
- Cut the fabric or material to size.
- Sew or attach the edges to prevent fraying.
- Install curtain rods or hooks.
- Hang the coverings.
Tools Needed:
- Measuring tape
- Scissors
- Sewing machine or needle and thread
- Curtain rods or hooks
- Drill (if needed for installation)
Step-by-Step Instructions
Measure the Window
- Use a tape measure to find the width and height of the transom window.
- Write down the measurements.
Choose Your Material
- Decide on fabric, wood, or another material for the covering.
- Purchase enough material based on your measurements.
Cut the Material
- Use scissors or a saw to cut the material to the size of the window.
- Ensure the edges are straight and smooth.
Prepare the Frame (if using)
- Cut wood pieces to create a frame for the covering.
- Sand the edges to avoid splinters.
Attach the Material to the Frame
- Use a staple gun or nails to secure the fabric or other material to the frame.
- Make sure it is tight and wrinkle-free.
Install Mounting Hardware
- Attach brackets or hooks to the wall above the window.
- Ensure they are level and secure.
Hang the Covering
- Lift the frame or material and hook it onto the mounting hardware.
- Adjust as needed to ensure it is centered and straight.
Secure the Covering
- Use additional screws or nails to secure the covering if necessary.
- Check that it is firmly in place.
Add Finishing Touches
- Paint or stain the frame if desired.
- Add decorative elements like trim or tassels.
Clean Up
- Remove any debris or tools from the area.
- Wipe down the covering to remove dust or fingerprints.
Tips and Tricks
Measure accurately before starting. Use a metal tape measure for precise measurements. Add extra inches to your measurements for fabric to ensure full coverage.
Choose lightweight materials like sheer curtains or bamboo shades. These are easier to handle and install. Avoid heavy fabrics which can be cumbersome.
Use tension rods for easy installation. They fit snugly within the window frame without needing screws or nails. Command hooks are another great option for hanging lightweight curtains without damaging walls.
Consider using adhesive Velcro strips to attach fabric directly to the window frame. This method is simple and allows for easy removal and cleaning.
Iron your fabric before hanging to remove wrinkles. This gives a polished look. Hem the edges if needed to prevent fraying.
Common mistakes to avoid include not measuring correctly, choosing materials that are too heavy, and not securing the coverings properly. These can lead to poor fit, sagging, or damage to the window frame.
Alternatives for materials include using frosted window film for privacy without blocking light. Static cling films are easy to apply and remove. Roman shades offer a more tailored look and can be made from various fabrics.
Cost Estimation
Materials:
- Fabric: $20-$40 (depends on quality and design)
- Curtain Rod: $10-$20
- Hooks or Brackets: $5-$10
- Thread: $2-$5
- Velcro or Magnetic Strips: $5-$10
Tools:
- Measuring Tape: $5-$10
- Scissors: $5-$15
- Sewing Machine: $100-$200 (or borrow one)
- Iron: $20-$30
Total Estimated Cost: $172-$340
Budget-Friendly Alternatives:
- Use Old Fabric: Free (repurpose old sheets or curtains)
- Hand-Sewing: Free (if you have needles and thread)
- Borrow Tools: Free (ask friends or family)
- DIY Curtain Rod: $5 (use a wooden dowel or PVC pipe)
Total Estimated Cost with Alternatives: $37-$80
Variations and Customizations
Alternative Materials: Use bamboo shades for a natural look, or frosted window film for privacy. Fabric panels can add a soft touch, while wooden shutters offer a classic feel.
Colors: Choose neutral tones like beige or gray for a subtle look. Bright colors like turquoise or yellow can make the window a focal point. Metallic shades like gold or silver add a modern touch.
Styles: Opt for Roman shades for an elegant appearance. Roller shades are simple and functional. Stained glass film can create a vintage vibe, while woven wood shades give a rustic charm.
Patterns: Consider geometric designs for a contemporary feel. Floral patterns can bring a touch of nature indoors. Stripes add a classic look, while abstract designs offer a modern twist.
Hardware: Use decorative rods for added flair. Magnetic clips can make installation easier. Cordless options are safer for homes with kids or pets. Custom brackets can match the room's decor.
Finishes: Matte finishes provide a subtle look, while glossy finishes add shine. Distressed finishes can give a vintage feel. Textured finishes add depth and interest.
Layering: Combine sheer curtains with blackout shades for versatility. Use valances to add a decorative top layer. Layered fabrics can create a rich, luxurious look.
Personal Touches: Add trim or tassels for extra detail. Use stencils to paint a custom design. Incorporate family photos or artwork into the covering for a personal touch.
Sustainability Tips
Bamboo Shades: Bamboo grows quickly, making it a renewable resource. Use bamboo shades for a natural look.
Reclaimed Wood: Old wood from barns or pallets can be repurposed. Sand and stain it for a rustic frame.
Fabric Scraps: Leftover fabric from other projects can be sewn into curtains. Mix and match patterns for a unique design.
Old Sheets: Turn old bed sheets into window coverings. Cut to size, hem the edges, and add a rod pocket.
Vintage Scarves: Use colorful scarves as window treatments. Drape them over a rod for a bohemian vibe.
Recycled Paper: Create paper shades from recycled paper. Fold and glue layers for a textured effect.
Natural Dyes: Dye fabric with natural ingredients like tea, coffee, or beet juice. This adds color without harmful chemicals.
Cork: Cork is sustainable and can be used for window coverings. Cut cork sheets to size and attach them to a frame.
Old Jeans: Repurpose denim from old jeans. Sew panels together for a durable, stylish covering.
Jute or Burlap: These materials are biodegradable and add a rustic touch. Use them as simple, earthy window coverings.
Recycled Plastic: Some companies make fabric from recycled plastic bottles. This eco-friendly option can be used for curtains.
Natural Rope: Create a macramé design using natural rope. Hang it in front of the window for a decorative touch.
Second-Hand Finds: Check thrift stores for old curtains or fabric. These can be altered to fit your transom window.
Homemade Starch Paste: Use cornstarch and water to make a paste. Apply it to fabric and stick it directly to the window for a temporary covering.
Beeswax Wraps: Use large beeswax wraps as a window covering. They can be molded to fit and are reusable.
Your DIY Masterpiece Awaits
You've got the tools, the know-how, and the creativity to make your transom window coverings shine. Remember, measurements are key. Double-check those dimensions before cutting any material. Choose fabrics or materials that complement your room's style. Don't be afraid to mix textures or patterns. Installation might seem tricky, but with patience, you'll get it right. Use a level to ensure everything's straight. If you hit a snag, take a break and revisit the problem with fresh eyes. Personal touches like trims or tassels can elevate your project. Finally, stand back and admire your handiwork. You've transformed a simple window into a focal point. Keep experimenting with other DIY projects. Each one hones your skills and boosts your confidence. Happy crafting!
How do I measure for transom window coverings?
Measure the width and height of the window frame. Add a couple of inches to each side for overlap. This ensures the covering blocks light and provides privacy.
What materials work best for transom window coverings?
Lightweight fabrics like cotton or linen are great. You can also use frosted window film or wooden blinds for a more polished look.
Can I install transom window coverings myself?
Absolutely! Most coverings come with easy-to-follow instructions. You'll need basic tools like a drill, screws, and a measuring tape.
How do I attach fabric coverings to a transom window?
Use a tension rod or small curtain rod. Place it inside the window frame, then hang the fabric. Velcro strips can also work for a no-drill option.
Are there any no-drill options for transom window coverings?
Yes, adhesive hooks or tension rods are perfect for no-drill installations. Window film is another great option that sticks directly to the glass.
How do I clean transom window coverings?
Fabric coverings can usually be machine-washed or spot-cleaned. For window film, just use a damp cloth. Wooden blinds can be dusted or wiped with a damp cloth.
Can I use blackout materials for transom windows?
Sure thing! Blackout curtains or films are perfect if you need to block out all light. Just make sure they fit snugly to prevent light leaks.