
Home>Home & Furniture>Doors & Windows>DIY French Door Pet Door Guide
Doors & Windows
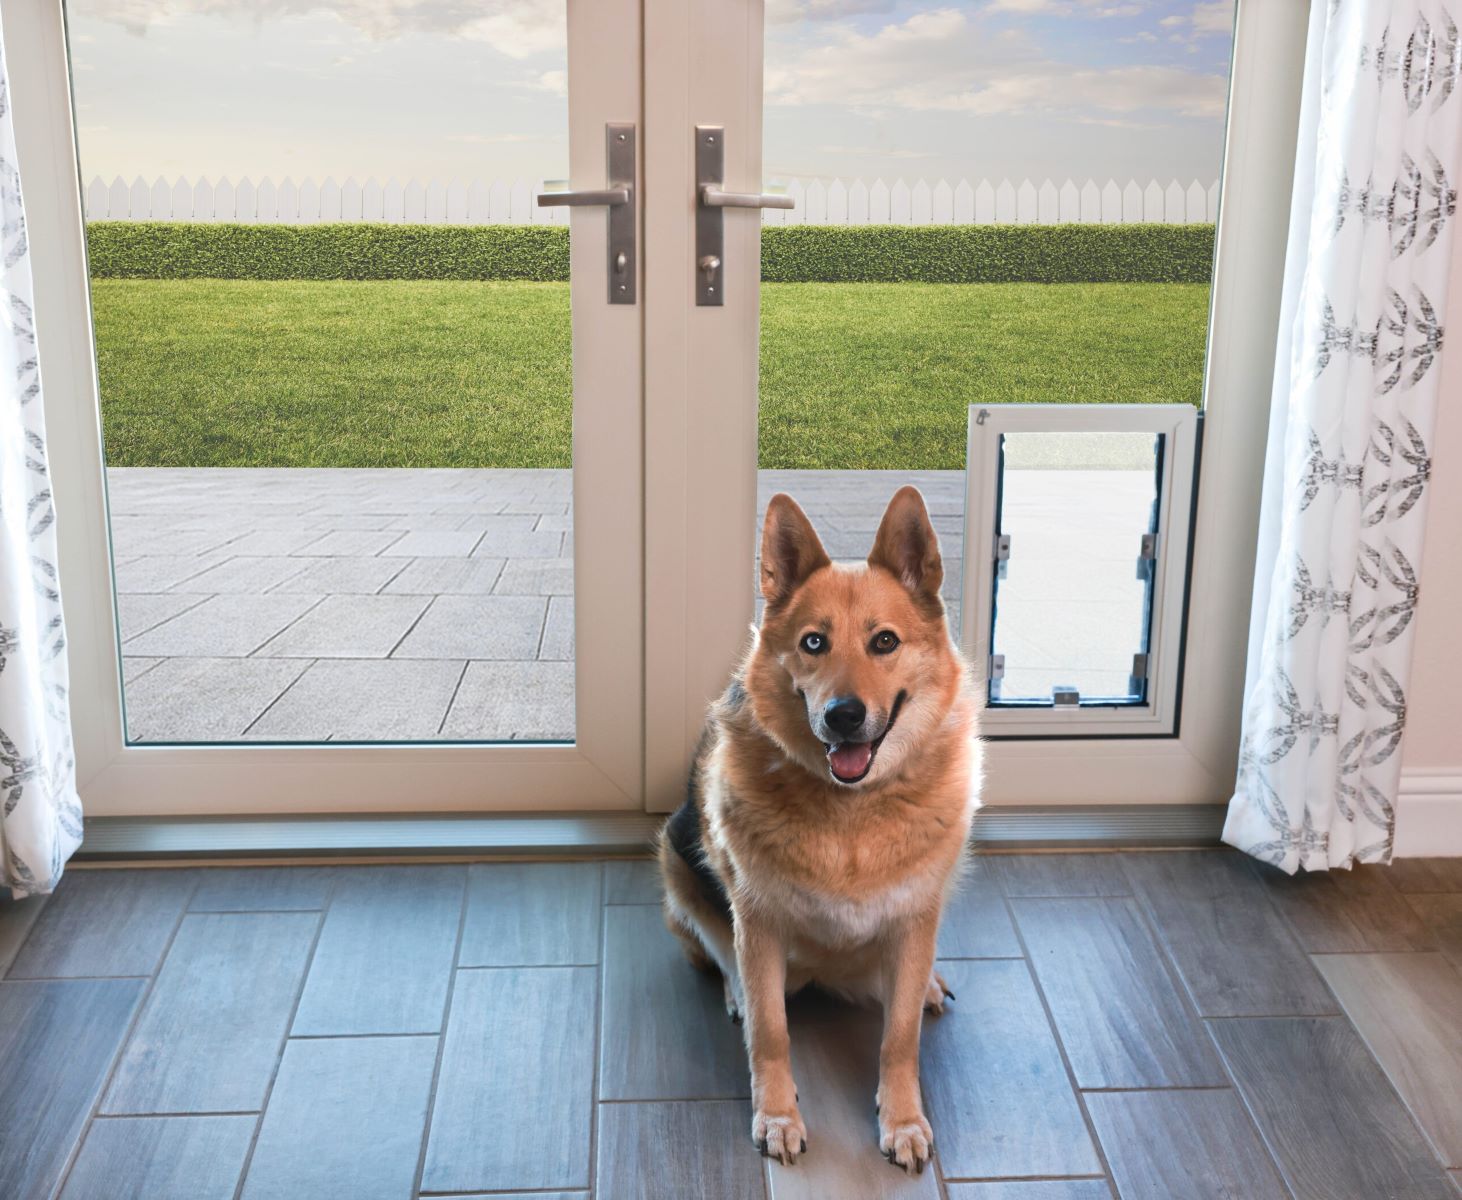
DIY French Door Pet Door Guide
Published: September 18, 2024
Learn how to install a pet door in your French doors with our step-by-step DIY guide. Ensure your furry friend's freedom while maintaining your home's aesthetic and security.
(Many of the links in this article redirect to a specific reviewed product. Your purchase of these products through affiliate links helps to generate commission for Twigandthistle.com, at no extra cost. Learn more)
Ever thought about adding a pet door to your French doors? It's easier than you think. With a few tools and some patience, your pet can enjoy freedom, and you can avoid constant door duty. This guide will walk you through the basic steps to create a pet door in your French doors. No need for professional help or expensive kits. If you're ready to roll up your sleeves and get a bit hands-on, this project will be rewarding and fun. Let’s get started on giving your pet the freedom they deserve.
Getting Ready for Your Project
Measure Your Pet: Ensure the pet door fits your pet comfortably. Measure their height and width.
Choose the Right Door: Select a pet door compatible with French doors. Look for one designed for glass installation.
Gather Tools and Materials: You’ll need a tape measure, pencil, masking tape, glass cutter, safety gloves, and the pet door kit.
Safety First: Wear safety gloves and goggles to protect yourself from glass shards.
Prepare the Workspace: Clear the area around the door. Lay down a drop cloth to catch any debris.
Mark the Cut Area: Use masking tape to outline where the pet door will go. Double-check measurements.
Cut the Glass: Carefully cut along the marked lines using a glass cutter. Take your time to avoid mistakes.
Install the Pet Door: Follow the manufacturer’s instructions to install the pet door into the cut-out section.
Seal the Edges: Use weather stripping or silicone sealant to ensure no drafts or water leaks through the new opening.
Test the Door: Make sure the pet door opens and closes smoothly. Let your pet try it out to ensure they’re comfortable using it.
What You Need: Materials and Tools
- Pet Door Kit: Contains the actual door flap and frame. Choose one that fits your pet's size.
- Measuring Tape: Ensures accurate measurements for cutting the door.
- Pencil: Marks where to cut.
- Drill: Creates starter holes for the jigsaw.
- Jigsaw: Cuts the hole in the door.
- Screwdriver: Secures the pet door frame to the door.
- Sandpaper: Smooths the edges of the cut hole.
- Level: Ensures the pet door is installed straight.
- Masking Tape: Helps mark the cutting area clearly.
- Safety Glasses: Protects your eyes while cutting.
- Work Gloves: Keeps your hands safe during the project.
- Drop Cloth: Catches debris and protects the floor.
Skill Level and Time Commitment
Skill Level: Intermediate
Time Required: 3-4 hours
- Measure and Mark: 30 minutes
- Cutting the Glass: 1 hour
- Installing the Pet Door Frame: 1 hour
- Sealing and Finishing: 30 minutes
Tools Needed:
- Tape measure
- Glass cutter
- Screwdriver
- Caulk gun
Materials Needed:
- Pet door kit
- Caulk
- Safety gloves
How to Install: Step-by-Step Guide
Gather Materials:
- Pet door kit
- Measuring tape
- Pencil
- Drill
- Jigsaw
- Screwdriver
- Sandpaper
- Painter's tape
Measure and Mark:
- Measure your pet's height and width.
- Mark the desired location on the French door using a pencil.
Tape the Area:
- Apply painter's tape around the marked area to prevent chipping.
Drill Pilot Holes:
- Drill holes at each corner of the marked area.
Cut the Opening:
- Use a jigsaw to cut along the marked lines, connecting the pilot holes.
Sand the Edges:
- Smooth the cut edges with sandpaper.
Install the Pet Door Frame:
- Place the pet door frame into the opening.
- Secure it with screws using a screwdriver.
Attach the Flap:
- Follow the manufacturer's instructions to attach the flap to the frame.
Test the Door:
- Ensure the flap swings freely and your pet can pass through comfortably.
Clean Up:
- Remove painter's tape.
- Clean any debris from the area.
Helpful Tips and Tricks
Measure Twice, Cut Once: Always double-check measurements before cutting. This avoids mistakes and wasted materials.
Use a Template: Create a cardboard template of the pet door. This helps visualize placement and ensures accurate cutting.
Choose the Right Tools: A jigsaw works best for cutting through the door. Make sure blades are sharp for clean cuts.
Seal the Edges: After cutting, seal the edges of the hole with weatherstripping or caulk. This prevents drafts and moisture.
Secure the Pet Door: Use screws to attach the pet door frame securely. Ensure it’s level and aligned properly.
Test the Fit: Before final installation, test the pet door to make sure it swings freely and your pet can use it comfortably.
Common Mistakes to Avoid:
Incorrect Measurements: Misjudging the size of the pet door can lead to a poor fit. Always measure your pet and the door area accurately.
Skipping the Template: Not using a template can result in uneven cuts and misalignment.
Using the Wrong Tools: Using a handsaw instead of a jigsaw can make cutting difficult and less precise.
Not Sealing Edges: Failing to seal edges can lead to drafts, water damage, and increased energy costs.
Alternatives for Materials or Methods:
Material: Instead of a plastic pet door, consider using a more durable aluminum or steel option for better longevity.
Method: If cutting into a glass French door, hire a professional to avoid breaking the glass. Alternatively, install a pet door in a nearby wall.
Budgeting for Your DIY Pet Door
Materials:
- Pet Door Kit: $50 - $150
- Weatherstripping: $10 - $20
- Caulk: $5 - $10
- Screws and Anchors: $5 - $10
- Wood Trim (if needed): $10 - $20
Tools:
- Jigsaw: $30 - $100 (or borrow)
- Drill: $20 - $60 (or borrow)
- Measuring Tape: $5 - $10
- Screwdriver: $5 - $15
- Caulk Gun: $5 - $10
- Safety Glasses: $5 - $10
Total Cost: $150 - $415
Budget-Friendly Alternatives:
- Borrow Tools: Save $60 - $185
- Buy Used Tools: Save up to 50%
- Basic Pet Door Kit: $50
- Reuse Screws and Anchors: Save $5 - $10
Different Styles and Custom Options
Materials: Instead of using a standard plastic pet door, consider using plexiglass or tempered glass for a more durable and stylish look. For the frame, wood or metal can be used instead of plastic to match the door's aesthetic.
Colors: Paint the pet door frame to match or contrast with the French door. Use white for a classic look, black for a modern touch, or even bright colors like red or blue for a fun pop.
Styles: Choose a decorative frame with intricate designs or patterns to add a touch of elegance. For a rustic look, use reclaimed wood or barn wood. For a sleek, modern style, opt for a minimalist metal frame.
Sizes: Customize the size of the pet door to fit your pet perfectly. Larger pets may need a bigger door, while smaller pets can use a more compact one.
Security: Add a locking mechanism to the pet door for added security. Options include slide-in panels or electronic locks that only open with a special collar tag.
Weatherproofing: Use weatherstripping around the pet door to keep out drafts and moisture. Consider adding a double flap system for better insulation.
Installation: For a seamless look, install the pet door flush with the French door. Alternatively, create a raised frame for a more pronounced appearance.
Accessories: Add a pet ramp or steps if the door is higher off the ground. Include a decorative mat on both sides to keep the area clean and stylish.
Eco-Friendly Ideas for Your Project
Reclaimed Wood: Use old wood from pallets or discarded furniture. Sand it down, cut to size, and frame the pet door.
Recycled Plastic: Find plastic sheets from old containers or bins. Cut to fit the door opening, providing a weather-resistant flap.
Natural Insulation: Use wool or cotton scraps to insulate the edges. These materials keep drafts out and are biodegradable.
Eco-Friendly Paint: Choose non-toxic, low-VOC paint for any wood parts. This reduces harmful emissions and is safer for pets.
Repurposed Hardware: Salvage hinges, screws, and handles from old doors or furniture. Clean and reuse them to reduce waste.
Energy-Efficient Seals: Install weather stripping made from recycled rubber. This helps maintain indoor temperature and reduces energy use.
DIY Tools: Borrow tools from friends or a local library. This minimizes the need to buy new tools, saving resources.
Your Pet's New Favorite Spot
Adding a pet door to your French doors isn't just a fun project, it's a game-changer for both you and your furry buddy. With a bit of effort, some basic tools, and a sprinkle of patience, you've created a convenient passageway that offers freedom for your pet and peace of mind for you. No more constant door duty or scratched-up doors. Plus, it adds a touch of DIY pride to your home. Remember, the key steps are measuring accurately, cutting carefully, and securing everything properly. Now, sit back and watch your pet enjoy their newfound independence. You've done a fantastic job, and your pet will thank you with every wag and purr. Happy DIY-ing!
How do I choose the right pet door for my French door?
Measure your pet's height and width. Then, check the dimensions of your French door's glass panels. Look for a pet door that fits within those measurements.
Can I install a pet door in a glass panel?
Yes, but it requires cutting the glass. You might need a professional glazier to help with this part to avoid breaking the glass.
What tools will I need for the installation?
You'll need a measuring tape, marker, drill, jigsaw, and screwdriver. If cutting glass, a glass cutter or professional help is necessary.
How do I ensure the pet door is secure?
Use the provided screws and follow the manufacturer's instructions. Double-check that the door is tightly sealed to prevent drafts or security issues.
Can I remove the pet door later?
Yes, you can remove it. However, you might need to replace the glass panel or patch up the door where the pet door was installed.
Will the pet door affect my home's insulation?
A well-installed pet door with weatherstripping should minimize any impact on insulation. Look for pet doors with energy-efficient features.
How do I train my pet to use the new pet door?
Start by propping the pet door open and encouraging your pet with treats. Gradually lower the flap until your pet gets used to pushing through it.