
Home>Home & Furniture>Doors & Windows>DIY Farmhouse Door Trim Guide
Doors & Windows
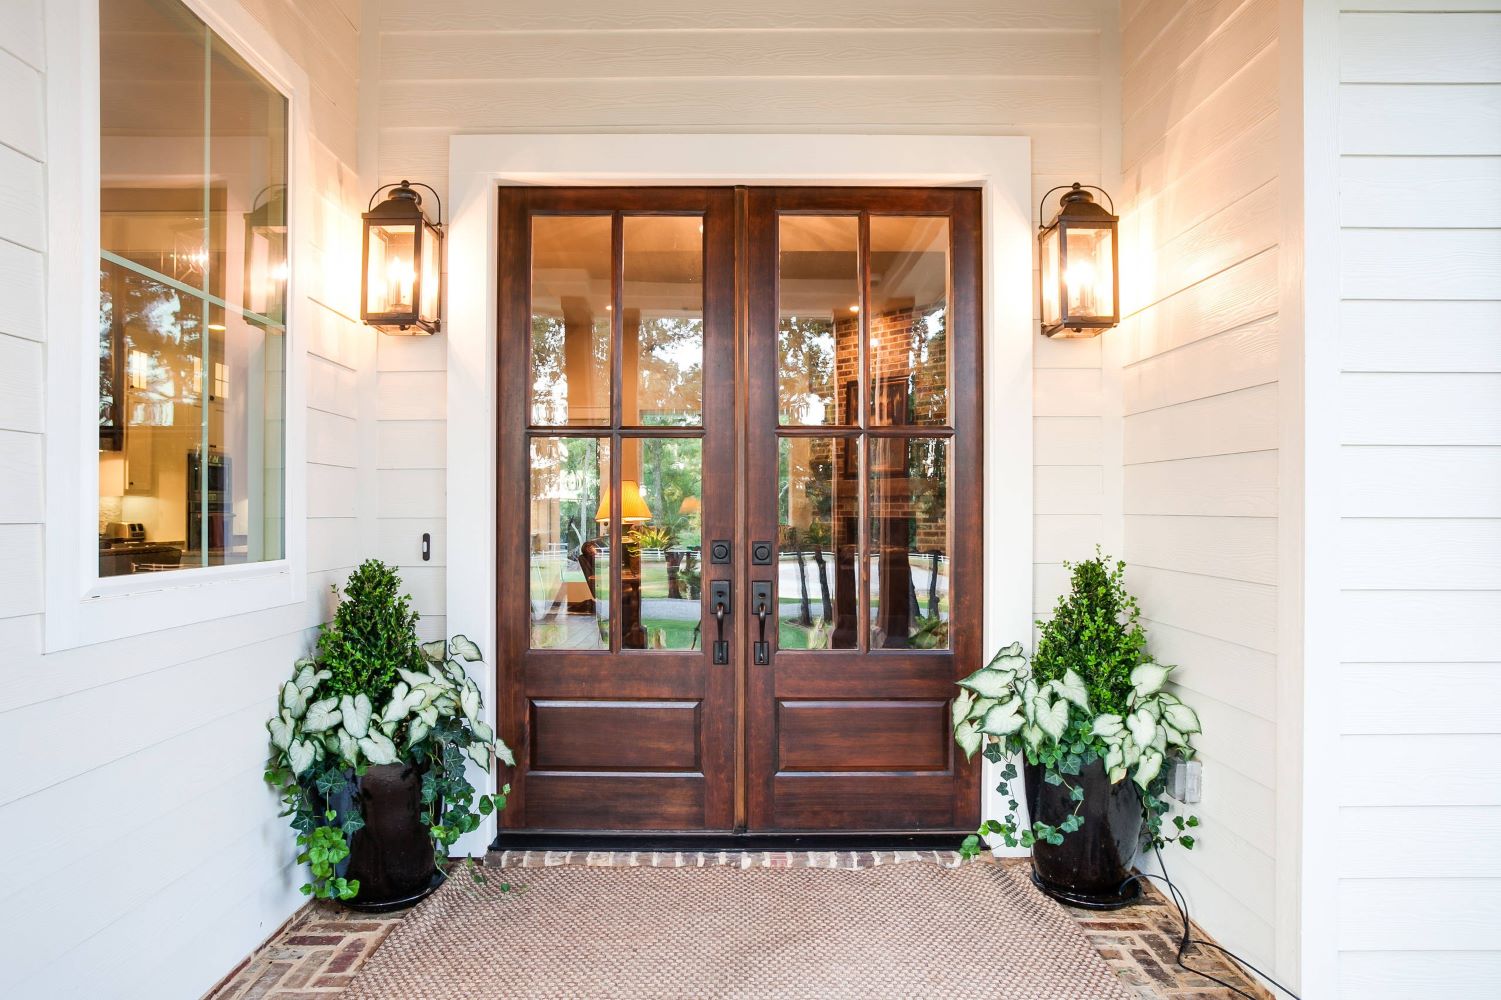
DIY Farmhouse Door Trim Guide
Published: September 13, 2024
Transform your home with our DIY Farmhouse Door Trim Guide. Step-by-step instructions, tools, and tips to create charming, rustic door frames. Perfect for beginners!
(Many of the links in this article redirect to a specific reviewed product. Your purchase of these products through affiliate links helps to generate commission for Twigandthistle.com, at no extra cost. Learn more)
Transforming your home's look is possible with some simple DIY projects, and farmhouse door trim is a fantastic choice. Adding this charming feature brings character and warmth to any room. Plus, creating it yourself can save money while giving a sense of accomplishment. This guide will walk you through the steps, making it easy even for beginners. Gather your tools, pick up materials, and follow along. By the end, you’ll have beautiful door trim enhancing your space. Ready to get started? Let’s dive into crafting that perfect farmhouse style!
Getting Ready for Your Project
Gather Materials: Collect wood trim, nails, a hammer, a saw, measuring tape, wood filler, sandpaper, paint, and a paintbrush.
Measure the Door Frame: Use a measuring tape to measure the height and width of the door frame. Write down these measurements.
Cut the Wood Trim: Using a saw, cut the wood trim pieces to match the measurements. Make sure to cut at 45-degree angles for the corners.
Prepare the Workspace: Clear the area around the door. Lay down a drop cloth to catch any debris or paint drips.
Safety Gear: Wear safety goggles and gloves to protect your eyes and hands while cutting and nailing.
Sand the Trim: Smooth the edges of the cut trim pieces with sandpaper to remove any rough spots.
Prime and Paint: Apply a coat of primer to the trim pieces. Once dry, paint them in your desired color. Let them dry completely.
Attach the Trim: Position the trim pieces around the door frame. Use a hammer and nails to secure them in place.
Fill Nail Holes: Use wood filler to cover any nail holes. Once dry, sand the filled spots smooth.
Final Touches: Touch up any paint if needed. Clean up your workspace and enjoy your new farmhouse door trim!
What You Need: Materials and Tools
- Measuring Tape: Used to measure the dimensions of your door frame accurately.
- Pencil: For marking measurements on the wood.
- Miter Saw: Cuts wood at precise angles, essential for creating clean corners.
- Nail Gun: Secures the trim pieces to the wall quickly and efficiently.
- Level: Ensures the trim is straight and even.
- Wood Glue: Provides extra hold for the trim pieces.
- Caulk Gun: Fills gaps and seams for a seamless look.
- Sandpaper: Smooths rough edges and surfaces.
- Primer and Paint: Prepares and finishes the trim for a polished appearance.
- Trim Boards: The main material for creating the farmhouse look. Typically, 1x4 or 1x6 boards are used.
- Safety Glasses: Protects your eyes while cutting and nailing.
- Work Gloves: Keeps your hands safe from splinters and sharp edges.
- Putty Knife: Applies wood filler to cover nail holes.
- Wood Filler: Fills in any imperfections or nail holes in the trim.
- Painter’s Tape: Protects adjacent surfaces from paint and primer.
Required Skills and Time Commitment
Skill Level: Intermediate
Time Required: 4-6 hours
Important Keywords:
- Skill Level: Intermediate
- Time Required: 4-6 hours
Steps:
- Measure and Cut: Measure door frame dimensions. Cut trim pieces to size.
- Sand and Paint: Sand edges for smoothness. Apply paint or stain.
- Attach Trim: Use nails or adhesive to secure trim around the door.
- Fill Gaps: Fill any gaps with caulk. Smooth out for a clean finish.
- Final Touches: Touch up paint if needed. Ensure everything is secure.
Tools Needed:
- Measuring tape
- Saw
- Sandpaper
- Paint or stain
- Nails or adhesive
- Caulk
Materials Needed:
- Trim pieces
- Paint or stain
- Caulk
How to Do It: Step-by-Step Guide
Gather Materials and Tools
- Wood trim pieces (1x4s, 1x6s)
- Measuring tape
- Miter saw
- Hammer or nail gun
- Finishing nails
- Wood filler
- Sandpaper
- Paint or stain
- Paintbrush or roller
- Level
- Pencil
Measure the Door Frame
- Use the measuring tape to measure the height and width of the door frame.
- Write down the measurements.
Cut the Wood Trim
- Cut two 1x4s to the height of the door frame for the side pieces.
- Cut one 1x6 to the width of the door frame for the top piece.
- Use a miter saw for precise cuts.
Attach the Side Pieces
- Place one 1x4 on each side of the door frame.
- Ensure they are level.
- Secure with finishing nails using a hammer or nail gun.
Attach the Top Piece
- Place the 1x6 horizontally across the top of the door frame.
- Make sure it is level.
- Secure with finishing nails.
Fill Nail Holes
- Use wood filler to fill any nail holes.
- Let it dry according to the instructions on the filler.
Sand the Trim
- Sand the wood filler and any rough edges until smooth.
- Wipe away dust with a damp cloth.
Paint or Stain
- Apply paint or stain to the trim.
- Use a paintbrush or roller for even coverage.
- Allow it to dry completely.
Final Touches
- Inspect the trim for any missed spots.
- Touch up as needed.
Helpful Tips and Tricks
Measure Twice, Cut Once: Always double-check measurements before cutting. This avoids wasting materials and ensures a perfect fit.
Use Quality Wood: Opt for pine or oak. These woods are durable and look great when stained or painted.
Pre-Paint or Stain: Paint or stain the trim before installation. This saves time and ensures even coverage.
Mitered Corners: Cut corners at a 45-degree angle for a seamless look. Use a miter saw for precision.
Nail Set and Wood Filler: Use a nail set to countersink nails. Fill holes with wood filler for a smooth finish.
Caulk Gaps: Apply caulk to fill any gaps between the trim and wall. This gives a polished appearance.
Level and Plumb: Use a level to ensure the trim is straight. This prevents a crooked look.
Common Mistakes to Avoid:
Skipping Primer: Always use primer before painting. This helps the paint adhere better and last longer.
Incorrect Measurements: Not measuring properly can lead to gaps or overlaps. Always measure twice.
Using the Wrong Nails: Use finishing nails, not common nails. Finishing nails are less noticeable.
Rushing the Job: Take your time. Rushing can lead to mistakes and a less professional look.
Alternatives for Materials or Methods:
MDF Trim: Medium-density fiberboard (MDF) is a cheaper alternative to wood. It’s easy to work with and paint.
Adhesive Instead of Nails: Use construction adhesive for a cleaner look. This avoids nail holes.
Pre-Made Trim Kits: These kits come pre-cut and ready to install. They save time and ensure a perfect fit.
Paintable Caulk: Use paintable caulk for filling gaps. This allows you to paint over it for a seamless finish.
Estimating the Cost
Wood: $30-$50 for pine or poplar boards. Paint or Stain: $15-$25 for a quart. Sandpaper: $5 for a pack. Wood Filler: $5-$10. Caulk: $3-$5. Primer: $10-$15. Nails: $5 for a small box. Tape Measure: $10. Miter Saw: $100-$200 (or rent for $20/day). Hammer: $10. Paintbrushes: $5-$10. Safety Gear: $10 for goggles and gloves.
Total: $208-$345 (if buying all tools).
Budget-Friendly Alternatives: Use MDF boards instead of wood ($20-$30). Borrow tools from friends or rent. Buy used tools from thrift stores.
Different Ways to Customize
Materials: Instead of traditional wood, try reclaimed wood for a rustic look. MDF (medium-density fiberboard) offers a budget-friendly option. For a modern twist, use metal or PVC trim.
Colors: Classic white gives a clean look. For a bold statement, paint the trim black or navy blue. Stained wood can highlight natural grain patterns, adding warmth.
Styles: Use shiplap for a coastal feel. Beadboard adds texture and charm. Crown molding at the top of the trim can add elegance. For a minimalist approach, go with flat trim.
Finishes: Matte paint provides a subtle look. Glossy finishes make the trim stand out. Distressed finishes can give a vintage vibe.
Details: Add decorative corners or rosettes for extra flair. Use contrasting colors for the trim and door to create visual interest. Layered trim can add depth and dimension.
Hardware: Incorporate decorative nails or screws for an industrial look. Use antique hardware for a vintage feel. Modern handles and hinges can update the overall appearance.
Eco-Friendly Tips
Reclaimed wood makes a great choice for farmhouse door trim. Look for old barn wood or pallets. Sand and stain them to match your decor.
Bamboo is another eco-friendly option. It grows quickly and is very durable. You can find bamboo trim pieces at most home improvement stores.
Recycled metal can add a rustic touch. Use old metal sheets or pipes for a unique look. Just make sure to smooth any sharp edges.
Low-VOC paints and stains are better for the environment and your health. They release fewer harmful chemicals into the air.
Natural oils like linseed or tung oil can be used to finish wood. They are less toxic than synthetic finishes and give a beautiful, natural look.
Cork is a renewable resource that can be used for trim. It’s lightweight, easy to work with, and adds a unique texture.
Salvaged hardware can add character to your trim. Look for old hinges, knobs, or hooks at thrift stores or salvage yards.
Insulation made from recycled materials can be added behind the trim. This helps improve energy efficiency in your home.
Compostable materials like hemp or jute can be used for decorative elements. They are biodegradable and add a rustic touch.
DIY tools can be borrowed or rented instead of bought. This reduces waste and saves money.
Your Farmhouse Door Trim Awaits
You've got all the tools and materials. Now, it's time to bring your farmhouse door trim to life. Measure twice, cut once. Sand those edges smooth. Don't rush the painting; let each coat dry properly. When attaching the trim, make sure everything's level. A little patience goes a long way. If you mess up, don't sweat it. Mistakes happen, and they can be fixed. Your door will look amazing with that fresh trim. Enjoy the process, and take pride in your work. This project not only adds charm but also boosts your DIY confidence. So, grab your tools and get started. Your farmhouse door trim is just a few steps away from being a reality. Happy building!
How do I measure for farmhouse door trim?
Measure the height and width of your door frame. Add a few extra inches to each side for overhang. This gives a more rustic look.
What materials do I need?
You’ll need wood planks, a saw, nails, a hammer, measuring tape, level, and paint or stain. Don’t forget sandpaper for smooth edges.
Can I use reclaimed wood?
Absolutely! Reclaimed wood adds character and a vintage feel. Just make sure it’s clean and sturdy.
How do I attach the trim to the wall?
Use nails or a nail gun to secure the trim. Make sure it’s level before nailing it in place. You might need a helper to hold the trim steady.
Should I paint or stain the trim?
That’s up to you! Paint gives a more finished look, while stain shows off the wood’s natural grain. Choose what fits your style best.
How do I make sure the corners are neat?
Cut the ends of the trim at a 45-degree angle for mitered corners. This makes the corners fit together seamlessly.
Can I do this project alone?
Yes, but having a buddy helps, especially when holding long pieces of wood. It’s more fun and efficient with two people.