
Home>Home & Furniture>Dining Room>How to Paint Your Dining Room Table
Dining Room
How to Paint Your Dining Room Table
Published: August 8, 2024
Transform your dining space with our step-by-step guide on how to paint your dining room table. Learn tips, tricks, and techniques for a stunning, durable finish.
(Many of the links in this article redirect to a specific reviewed product. Your purchase of these products through affiliate links helps to generate commission for Twigandthistle.com, at no extra cost. Learn more)
Painting your dining room table can breathe new life into your space. Whether you're tired of the old look or want something fresh, this DIY project is a great way to customize your furniture. It's not as hard as you might think! With some basic supplies, a little patience, and some elbow grease, you can transform your table into a beautiful piece that reflects your style. This guide will take you through the steps, ensuring you get a smooth, professional finish. Ready to get started? Let’s gather your materials and prepare for an exciting project.
Getting Ready for the Project
Gather Supplies: Get paint, primer, sandpaper, drop cloths, paintbrushes, and painter's tape.
Choose a Workspace: Find a well-ventilated area like a garage or outdoor space. Lay down drop cloths to protect the floor.
Clean the Table: Wipe down the table with a damp cloth to remove dust and grime. Let it dry completely.
Remove Hardware: Take off any hardware like knobs or handles. Store them in a safe place.
Sand the Surface: Use sandpaper to smooth out the table's surface. This helps the paint stick better. Wipe away dust with a tack cloth.
Apply Painter's Tape: Use painter's tape to cover areas you don't want painted, like edges or designs.
Prime the Table: Apply a coat of primer to the table. This helps the paint adhere and last longer. Let it dry according to the primer's instructions.
Safety Tips: Wear a mask to avoid inhaling fumes. Use gloves to protect your hands. Keep a fire extinguisher nearby in case of emergencies.
What You Need to Get Started
- Sandpaper: Smooths the table surface. Use medium-grit (120-150) for initial sanding, then fine-grit (220) for finishing.
- Sanding Block: Holds sandpaper, making it easier to grip and apply even pressure.
- Drop Cloth: Protects floors from paint spills and dust.
- Painter’s Tape: Masks areas you don’t want painted, like edges or hardware.
- Primer: Prepares the table surface, ensuring paint adheres well and lasts longer.
- Paint: Choose a durable, high-quality paint suitable for furniture. Latex or chalk paint works well.
- Paintbrushes: Use a high-quality brush for smooth application. A 2-inch angled brush is versatile.
- Foam Roller: Helps achieve a smooth, even finish on larger surfaces.
- Paint Tray: Holds paint, making it easier to load brushes and rollers.
- Tack Cloth: Removes dust and debris after sanding, ensuring a clean surface for painting.
- Screwdriver: Removes any hardware or detachable parts from the table.
- Clean Cloth: Wipes down the table before and after sanding to remove dust and dirt.
- Wood Filler: Fills any holes or imperfections in the table surface before painting.
- Putty Knife: Applies wood filler smoothly and evenly.
- Protective Gear: Wear gloves, a mask, and safety glasses to protect yourself from dust and fumes.
How Much Time and Skill You Need
Skill Level: Intermediate
Time Required: Approximately 2-3 days
Preparation: 2-3 hours
- Sand the table
- Clean the surface
Priming: 1-2 hours
- Apply primer
- Allow drying time
Painting: 3-4 hours
- Apply first coat
- Let it dry
- Apply second coat
Drying Time: 24-48 hours
- Ensure paint fully cures
Step-by-Step Guide
Gather Supplies
- Paintbrushes
- Sandpaper (120-grit and 220-grit)
- Primer
- Paint (your choice of color)
- Drop cloth or old sheets
- Painter's tape
- Screwdriver (if needed to remove parts)
Prepare the Area
- Lay down a drop cloth to protect the floor.
- Remove any items from the table.
- Use painter's tape to cover areas you don't want painted.
Disassemble the Table
- If possible, remove the legs or any detachable parts using a screwdriver.
Sand the Table
- Use 120-grit sandpaper to sand the entire surface.
- Wipe away dust with a damp cloth.
- Sand again with 220-grit sandpaper for a smoother finish.
- Clean off all dust and debris.
Apply Primer
- Use a paintbrush to apply a coat of primer.
- Let it dry according to the manufacturer's instructions.
Sand Again
- Lightly sand the primed surface with 220-grit sandpaper.
- Wipe away any dust.
Paint the Table
- Apply the first coat of paint using a paintbrush.
- Let it dry completely.
- Apply a second coat for better coverage.
- Allow the second coat to dry fully.
Reassemble the Table
- Once the paint is dry, reattach any parts you removed.
Clean Up
- Remove painter's tape.
- Fold up the drop cloth.
- Clean your brushes and any other tools used.
Helpful Tips and Tricks
Clean the table thoroughly before starting. Dust, grease, or grime can ruin your paint job. Use a mixture of water and mild soap, then dry it completely.
Sand the surface to remove old paint or varnish. This helps the new paint stick better. Use medium-grit sandpaper for this step.
Prime the table with a good-quality primer. This ensures the paint adheres well and lasts longer. Let the primer dry completely before moving on.
Choose the right paint. For dining tables, latex or oil-based paints work best. They are durable and easy to clean.
Apply thin coats of paint. Thick coats can lead to drips and uneven surfaces. Let each coat dry before adding another.
Seal the paint with a clear polyurethane finish. This protects the paint from scratches and spills. Apply at least two coats for best results.
Common Mistakes to Avoid:
Skipping the sanding step. This can cause the paint to peel off easily.
Not using a primer. This can result in uneven paint and poor adhesion.
Applying thick coats of paint. This can lead to drips and a messy finish.
Alternatives:
Instead of sanding, use a liquid deglosser. It removes the old finish without the dust.
For a more natural look, use a wood stain instead of paint. It enhances the wood grain and gives a rustic feel.
If you prefer a matte finish, use chalk paint. It requires less prep work and gives a vintage look.
Estimating the Cost
Materials:
- Primer: $10-$15
- Paint: $20-$30 (for a quart)
- Sandpaper: $5-$10 (variety pack)
- Painter's Tape: $3-$5
- Drop Cloth: $5-$10
- Paint Brushes/Rollers: $10-$20
Tools:
- Screwdriver: $5-$10 (if disassembling table)
- Paint Tray: $3-$5
- Sanding Block: $5-$10
Total Cost: $66-$115
Budget-Friendly Alternatives:
- Primer and Paint Combo: $25-$35 (saves on buying separate primer)
- Reuse Old Brushes/Rollers: $0 (if you have them)
- Old Sheets as Drop Cloths: $0 (instead of buying new ones)
Adjusted Total Cost: $41-$75
Different Ways to Customize
Alternative materials can change the look and feel of your table. Instead of regular paint, try chalk paint for a vintage look or milk paint for a rustic finish. For a modern touch, use metallic paint.
Colors can set the mood. Bright colors like turquoise or yellow make the room lively. Neutral tones like gray or beige create a calm atmosphere. For a bold statement, consider black or navy blue.
Styles can also vary. For a distressed look, sand the edges after painting. To add texture, use a sponge or rag to apply the paint. Stencils can create patterns or designs on the tabletop. For a two-tone effect, paint the legs one color and the top another.
Finishes matter too. A matte finish gives a soft, understated look. Glossy finishes make the table shine and are easier to clean. For a middle ground, choose a satin finish.
Hardware can be updated. Change the knobs or handles on any drawers or extensions to match the new look. Gold or brushed nickel can add a touch of elegance.
Protective coatings like polyurethane or wax can seal the paint and make it last longer. These coatings also add a layer of durability against scratches and spills.
Combining techniques can make your table unique. Mix chalk paint with a distressed finish or use stencils with metallic paint. The possibilities are endless.
Eco-Friendly Tips
Prep the Table: Sand the surface using recycled sandpaper or a sanding block. This helps the paint stick better. Clean the table with a mixture of vinegar and water instead of chemical cleaners.
Choose Eco-Friendly Paint: Use low-VOC (volatile organic compounds) or zero-VOC paints. These paints release fewer harmful chemicals into the air. Brands like Benjamin Moore Natura or Sherwin-Williams Harmony are good options.
Reuse Supplies: If you have old brushes, rollers, or paint trays, clean and reuse them. This reduces waste. If you need new ones, look for biodegradable or recycled options.
Primer: Apply a coat of eco-friendly primer. This helps the paint adhere better and last longer. Brands like AFM Safecoat offer non-toxic primers.
Paint Application: Use a paint sprayer if possible. It uses less paint and provides a smooth finish. If using brushes or rollers, apply thin, even coats to avoid waste.
Seal the Table: Once the paint is dry, apply a water-based, non-toxic sealant. This protects the paint and makes the table more durable.
Clean Up: Clean brushes and rollers with biodegradable soap and water. Dispose of any leftover paint or materials at a local hazardous waste facility to prevent environmental harm.
Final Touches: Consider adding recycled or upcycled decorations to your table. This adds a personal touch while being kind to the planet.
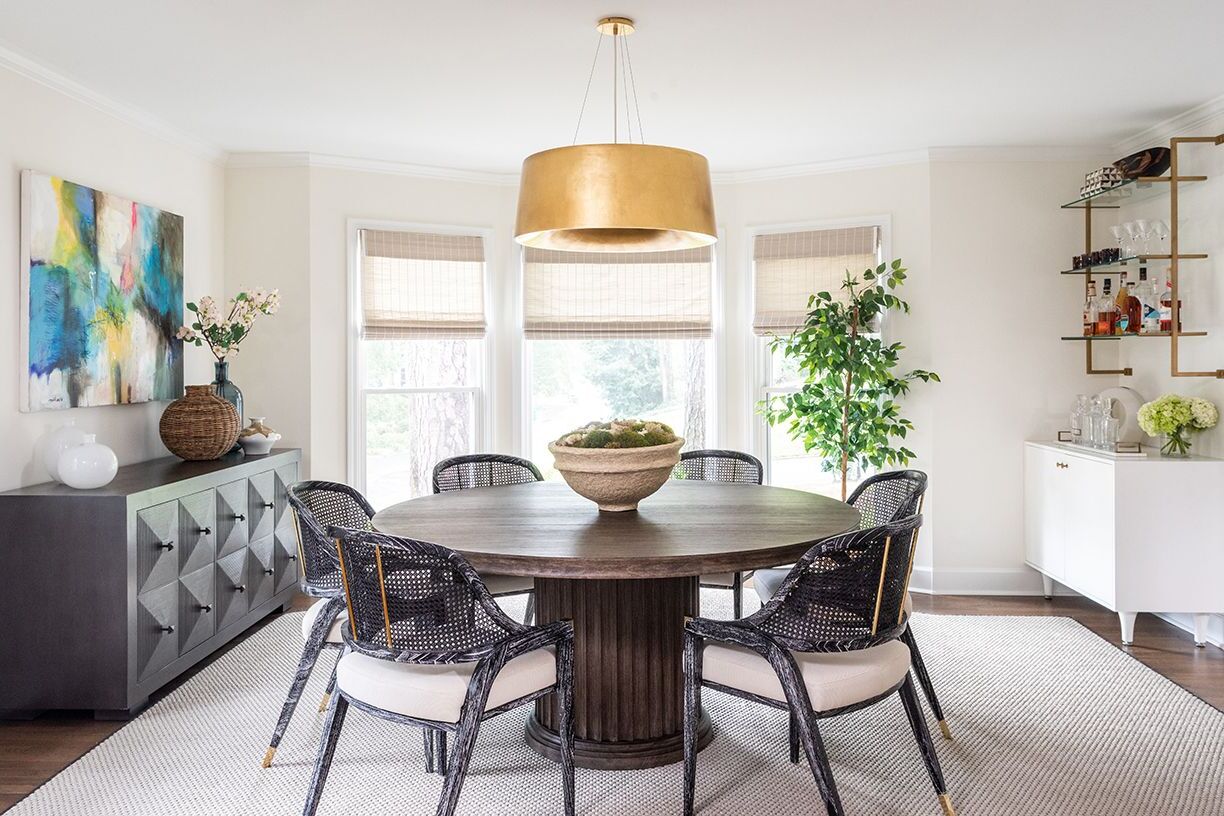
Your Table's New Look
You've got a freshly painted dining room table that looks fantastic. All that hard work paid off. Remember, patience is key. Let each coat dry properly. Sanding between coats makes a huge difference. Don't rush. Quality over speed. Your table's new look will last longer if you take your time.
Keep your workspace clean. Dust and debris can ruin a perfect finish. Use drop cloths to protect your floors. Ventilation is important. Paint fumes aren't good for anyone. Open windows or use fans.
Finally, enjoy your handiwork. A DIY project like this isn't just about the end result. It's about the process. Learning new skills, making something with your own hands, and seeing the transformation happen. Now, gather around your beautiful table and make some new memories. Happy painting!
How do I prepare my dining room table for painting?
First, clean the table thoroughly with soap and water. Then, sand the surface using medium-grit sandpaper to remove any old finish. Wipe away dust with a damp cloth. Finally, apply a primer to help the paint adhere better.
What type of paint should I use?
Use latex paint or chalk paint for a smooth, durable finish. Latex is great for a sleek look, while chalk paint gives a more rustic, matte finish. Both types are easy to work with and clean up.
Do I need to sand between coats of paint?
Yes, lightly sand between coats using fine-grit sandpaper. This helps the next coat stick better and gives a smoother finish. Make sure to wipe away any dust before applying the next coat.
How many coats of paint should I apply?
Apply at least two coats of paint for even coverage. Depending on the color and type of paint, you might need a third coat. Always let each coat dry completely before adding another.
Should I use a sealer after painting?
Yes, applying a clear sealer or polyurethane protects the paint from scratches and spills. Choose a finish that matches your paint, like matte or glossy. Apply at least two coats for best results.
How long should I wait before using the table?
Wait at least 24 hours before light use and up to a week for the paint to fully cure. This ensures the paint is hard and durable, preventing chips and scratches.
Can I paint over a varnished table?
Yes, but you need to sand the varnish off first. Use medium-grit sandpaper to remove the shiny layer, then clean the surface. Apply a primer before painting to ensure the paint sticks well.