
Home>Home & Furniture>Bedroom>DIY Floating Shelves for Bedroom
Bedroom
DIY Floating Shelves for Bedroom
Published: July 18, 2024
Discover how to create stylish DIY floating shelves for your bedroom with our step-by-step guide. Maximize space and add a personal touch to your decor effortlessly!
(Many of the links in this article redirect to a specific reviewed product. Your purchase of these products through affiliate links helps to generate commission for Twigandthistle.com, at no extra cost. Learn more)
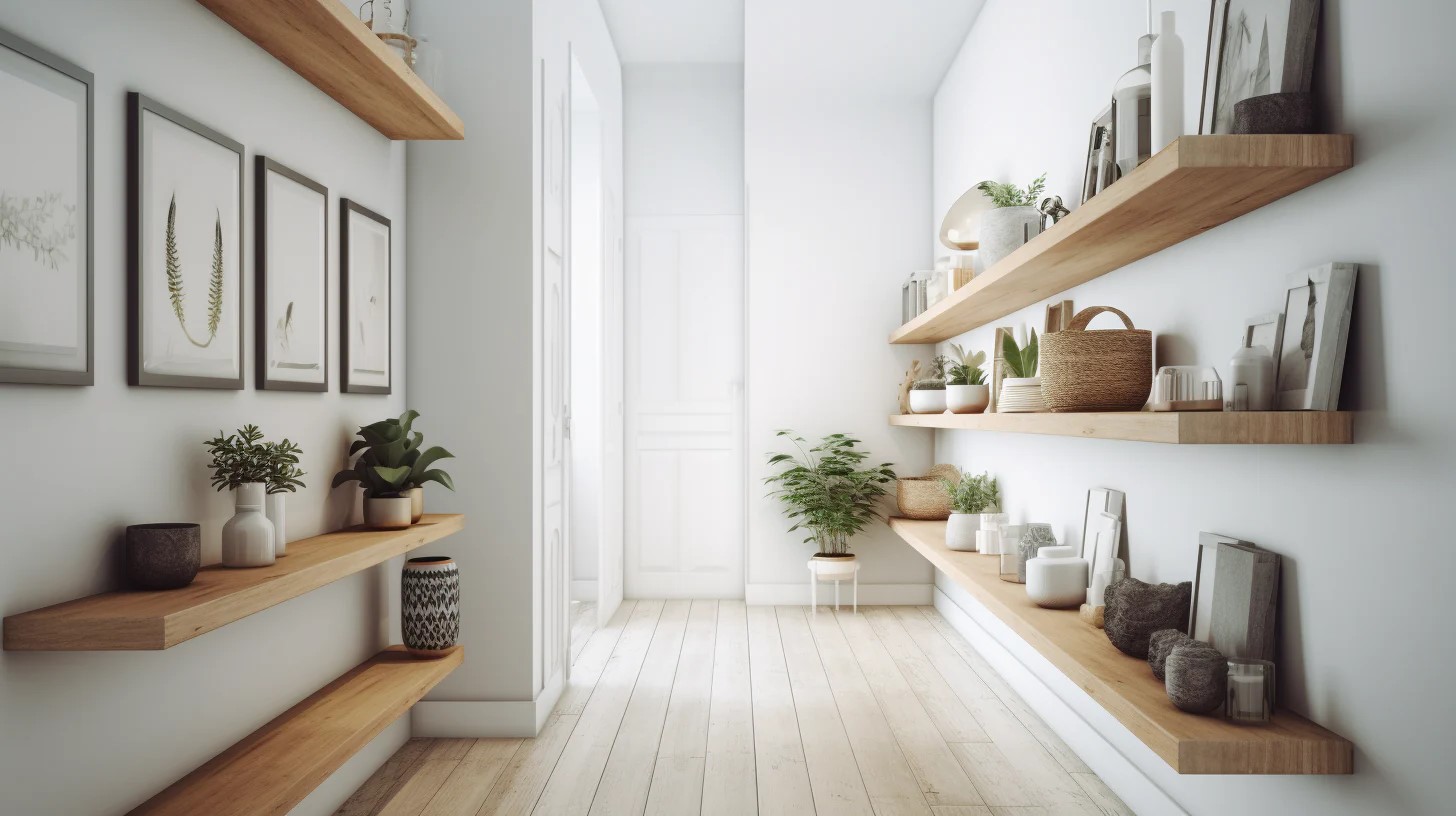
Transforming your bedroom with floating shelves can be a fun and rewarding project. These sleek and stylish shelves not only provide additional storage but also add a modern touch. Whether you want a place to display your favorite books, photos, or decor, floating shelves do the trick. They are easy to make, affordable, and customizable to fit your space and style. With just a few basic materials and tools, you can create a unique and functional addition to your room. Ready to dive into the world of DIY? Let’s get started on crafting your perfect bedroom shelves!
Getting Ready for the Project
Measure the Wall: Use a tape measure to find the exact length and height where you want the shelves. Mark the spots with a pencil.
Gather Materials: Get wood planks, brackets, screws, a drill, a level, sandpaper, and paint or stain. Make sure everything is within reach.
Safety Gear: Wear safety goggles and gloves to protect your eyes and hands. Keep a first aid kit nearby just in case.
Prepare the Wood: Sand the wood planks to smooth out rough edges. Wipe off dust with a damp cloth.
Paint or Stain: Apply paint or stain to the wood planks. Let them dry completely before moving on.
Find Studs: Use a stud finder to locate studs in the wall. Mark these spots with a pencil for secure mounting.
Set Up Workspace: Lay down a drop cloth to catch any dust or paint drips. Make sure your workspace is well-lit and ventilated.
Pre-Drill Holes: Drill holes in the wood planks and wall where the brackets will go. This makes it easier to screw them in later.
Check Level: Use a level to ensure your marks and holes are straight. Adjust as needed to avoid crooked shelves.
Organize Tools: Keep your drill, screws, brackets, and other tools organized and within easy reach. This saves time and reduces frustration.
What You Need to Get Started
Wood Boards: Choose sturdy wood like pine or oak for the shelves. Measure the length and width to fit your space.
Brackets: Metal or wooden brackets will support the shelves. Ensure they are strong enough to hold the weight.
Screws: Use wood screws to attach the brackets to the wall and the shelves to the brackets. Make sure they are the right length.
Wall Anchors: These provide extra support, especially if not drilling into studs. They prevent the screws from pulling out of the wall.
Drill: A power drill makes holes for screws and wall anchors. It speeds up the process and ensures precision.
Level: Ensures the shelves are straight. A crooked shelf can cause items to slide off.
Measuring Tape: Accurate measurements prevent mistakes. Measure twice, cut once.
Pencil: Mark spots for drilling and cutting. Easily erasable if mistakes are made.
Sandpaper: Smooths rough edges on the wood. Prevents splinters and gives a polished look.
Paint or Stain: Customize the shelves to match your room. Protects the wood from damage.
Paintbrushes or Rollers: Apply paint or stain evenly. Choose the right size for your project.
Safety Gear: Wear goggles and gloves. Protects eyes from dust and hands from splinters.
How Much Time and Skill Is Needed?
Skill Level: Intermediate
Time Required: 3-4 hours
Steps:
- Measure and Mark: 30 minutes
- Cut Wood: 45 minutes
- Sand and Paint: 1 hour
- Install Brackets: 30 minutes
- Mount Shelves: 30 minutes
Follow These Steps
Gather Materials:
- Wooden boards (size depends on your preference)
- Brackets
- Screws
- Wall anchors
- Drill
- Level
- Measuring tape
- Pencil
- Sandpaper
- Paint or stain (optional)
- Paintbrush (if painting or staining)
Measure and Mark:
- Use the measuring tape to determine where you want the shelves.
- Mark the spots on the wall with a pencil.
- Ensure marks are level using a level tool.
Prepare the Boards:
- Sand the wooden boards until smooth.
- Paint or stain the boards if desired. Let them dry completely.
Install Brackets:
- Hold a bracket against the wall where you marked.
- Drill holes for the wall anchors.
- Insert wall anchors into the drilled holes.
- Attach the bracket to the wall using screws.
Attach Shelves:
- Place the wooden board on top of the installed brackets.
- Secure the board to the brackets with screws.
Check Stability:
- Ensure the shelves are level and securely attached.
- Adjust if necessary.
Decorate:
- Place items on your new floating shelves.
Helpful Tips and Tricks
Measure twice, cut once. Always double-check measurements before cutting wood to ensure accuracy.
Use a level. Make sure shelves are straight by using a level during installation.
Anchor properly. Use wall anchors if not drilling into studs to ensure shelves hold weight.
Sand edges. Sand wood edges to avoid splinters and give a smooth finish.
Paint or stain. Apply paint or stain before installation to avoid messes on walls.
Pre-drill holes. Pre-drill screw holes to prevent wood from splitting.
Common Mistakes to Avoid:
Skipping the level. Not using a level can result in crooked shelves.
Ignoring wall anchors. Forgetting wall anchors can cause shelves to fall.
Incorrect measurements. Wrong measurements lead to poorly fitting shelves.
Alternatives for Materials or Methods:
Use metal brackets. Instead of wooden supports, metal brackets offer a modern look.
Floating shelf kits. Pre-made kits simplify the process and ensure all parts fit.
Reclaimed wood. Using reclaimed wood adds character and is eco-friendly.
How Much Will It Cost?
Materials:
- Wood boards: $20-$50 (depends on wood type and size)
- Brackets: $10-$30 (depends on style and strength)
- Screws: $5
- Wall anchors: $5
- Sandpaper: $5
- Wood stain or paint: $10-$20
Tools:
- Drill: $30-$100 (if you don't have one)
- Level: $10
- Measuring tape: $5
- Screwdriver: $5-$15
- Paintbrush: $5
Total Estimated Cost: $105-$270
Budget-Friendly Alternatives:
- Use reclaimed wood: Free or low cost
- Buy second-hand tools: Save up to 50%
- Skip wood stain/paint: Use natural wood finish
Different Ways to Customize
Materials: Use reclaimed wood for a rustic look or plywood for a modern, sleek finish. Metal brackets can add an industrial touch, while invisible brackets keep the focus on the shelves.
Colors: Paint the shelves in bold colors like navy blue or forest green for a statement piece. For a more subtle look, use neutral tones like white, beige, or light gray. Staining the wood can also bring out its natural beauty.
Styles: Create geometric shapes like hexagons or triangles for a unique design. Arrange shelves in a staggered pattern for visual interest. Add LED strip lights underneath for a cozy, ambient glow.
Alternative Uses: Turn one shelf into a mini desk by making it deeper. Use smaller shelves to display plants or collectibles. Install a row of hooks underneath a shelf for hanging jewelry or scarves.
Finishes: Sand the wood for a smooth finish or leave it rough for a more natural look. Apply a clear varnish to protect the wood or use a matte finish for a more understated appearance.
Eco-Friendly Ideas
Reclaimed wood is a great choice. Look for old pallets or wood from demolished buildings. Sand and stain it for a fresh look.
Bamboo is another eco-friendly option. It's a fast-growing plant, making it a sustainable resource. Bamboo shelves are sturdy and stylish.
Use non-toxic paint or finishes. Many paints contain harmful chemicals. Choose water-based or natural paints to keep the air in your bedroom clean.
Recycled metal brackets can support your shelves. Check local scrap yards or online marketplaces for used brackets. They add a rustic touch and reduce waste.
Consider upcycling old furniture. An old dresser drawer can become a unique floating shelf. Just remove the drawer, paint it, and mount it on the wall.
Natural adhesives like plant-based glues are better for the environment. Avoid synthetic glues that release harmful fumes.
LED lighting under shelves adds a modern touch. LEDs use less energy and last longer than traditional bulbs.
Thrift stores often have hidden gems. Look for old shelves or materials that can be repurposed. This reduces the demand for new products and saves money.
Minimal packaging is key. When buying materials, choose items with little to no packaging. This reduces waste and supports eco-friendly practices.
Plan your project carefully to avoid mistakes. This saves materials and reduces waste. Measure twice, cut once!
Your DIY Masterpiece Awaits
You've got all the tools and know-how to create stunning floating shelves for your bedroom. With a bit of patience and creativity, you'll transform your space into something truly unique. Remember, the key is in the details—measuring accurately, choosing the right materials, and taking your time with the installation. Don't rush; enjoy the process. Each step you take brings you closer to a functional and stylish addition to your room.
Once your shelves are up, you'll have a perfect spot for your favorite books, decor, or even some plants. Plus, you'll have the satisfaction of knowing you did it all yourself. So grab your tools, roll up your sleeves, and get to work. Your bedroom will thank you for it. Happy building!
How do I choose the right wood for floating shelves?
Pick sturdy wood like oak, maple, or walnut. These types are strong and can hold more weight. Avoid softwoods like pine, which may sag over time.
What tools will I need to install floating shelves?
You'll need a drill, level, stud finder, screws, and brackets. A tape measure and pencil will also help with precise measurements.
How do I find the studs in my wall?
Use a stud finder to locate the studs. Move it across the wall until it beeps or lights up, indicating a stud. Mark the spot with a pencil.
How high should I install floating shelves?
For a bedroom, install shelves eye level or slightly higher. Typically, this means about 4-5 feet from the floor. Adjust based on what you'll place on them.
Can I install floating shelves on drywall?
Yes, but use anchors or toggle bolts for extra support. These help distribute the weight and prevent the shelves from falling.
How much weight can floating shelves hold?
It depends on the brackets and wood used. Generally, they can hold 15-30 pounds per foot. Always check the weight limit of your brackets.
How do I make sure the shelves are level?
Use a level during installation. Place it on the shelf and adjust until the bubble is centered. Double-check before securing the brackets.
Can I paint or stain my floating shelves?
Absolutely! Paint or stain the shelves to match your room's decor. Just make sure to sand and clean the wood first for a smooth finish.