
Home>Home & Furniture>Bathroom>DIY Composting Toilet: A Step-by-Step Guide
Bathroom
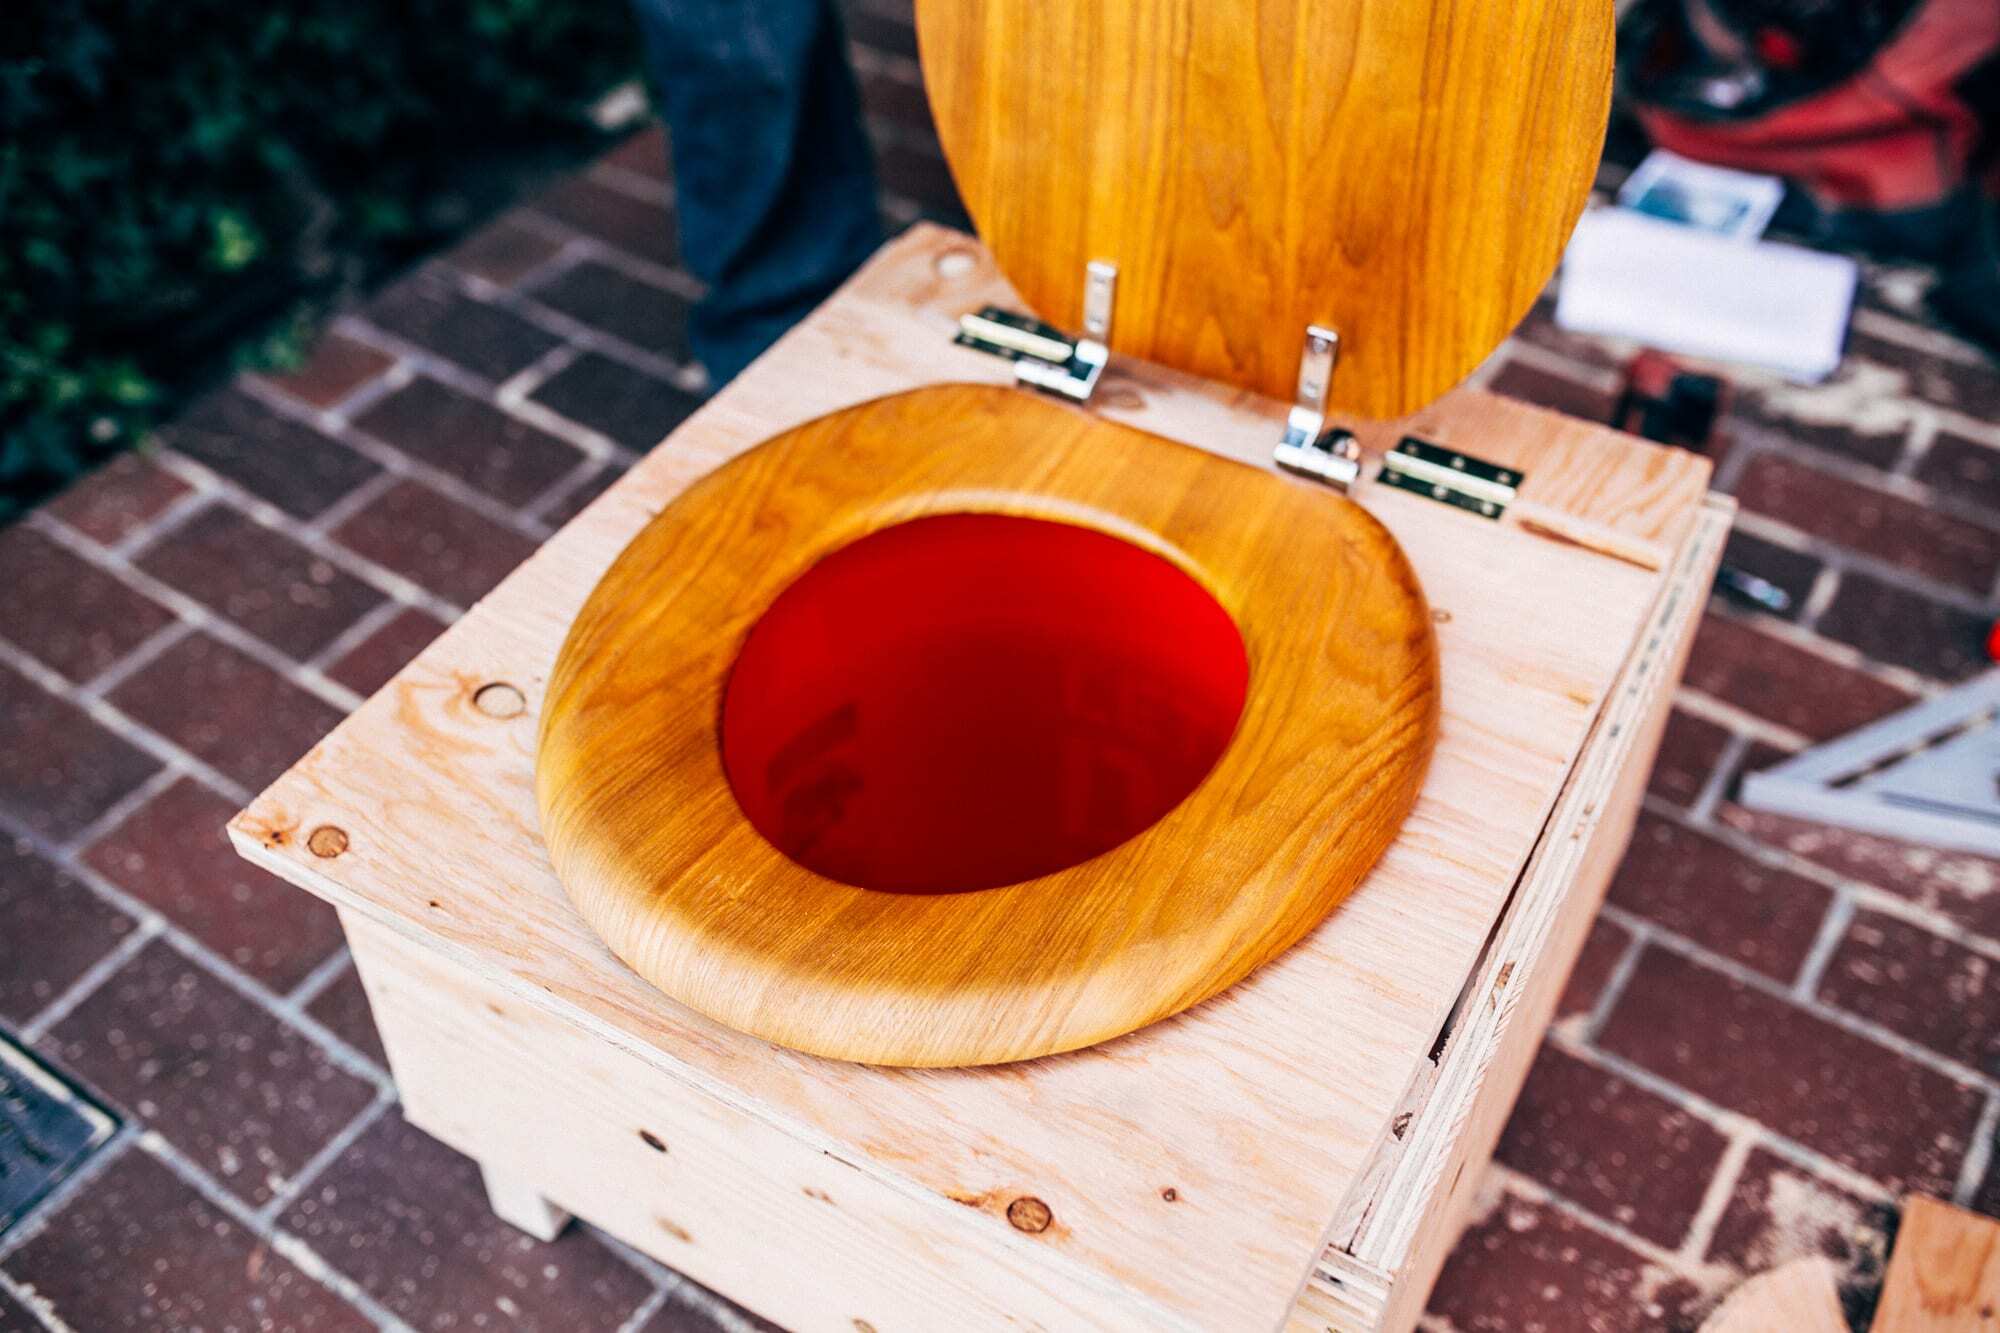
DIY Composting Toilet: A Step-by-Step Guide
Published: March 7, 2024
Editor-in-Chief with a decade in home renovation and a passion for vintage furniture. Diane is known for her weekend treasure hunts at flea markets, enriching our content with unique style insights.
Learn how to create a DIY composting toilet for your bathroom with our step-by-step guide. Save money and reduce waste with this eco-friendly solution.
(Many of the links in this article redirect to a specific reviewed product. Your purchase of these products through affiliate links helps to generate commission for Twigandthistle.com, at no extra cost. Learn more)
Introduction
Are you looking to reduce your environmental impact and create a sustainable waste management system for your home or outdoor space? Building your own composting toilet could be the perfect solution. Not only does it help in minimizing water usage, but it also produces nutrient-rich compost that can be used to fertilize plants. In this step-by-step guide, we will walk you through the process of building and maintaining your very own DIY composting toilet. Whether you're an experienced DIY enthusiast or a beginner looking to take on a new project, this guide will provide you with all the information you need to get started.
Understanding Composting Toilets
Composting toilets are a sustainable and eco-friendly alternative to traditional flush toilets. They work by using the natural process of decomposition to break down human waste into compost. This process is facilitated by the presence of microorganisms, which thrive in an aerobic environment. Unlike conventional toilets that use water to flush waste into the sewage system, composting toilets require little to no water, making them an ideal choice for off-grid properties, cabins, and eco-friendly homes.
How Composting Toilets Work
Composting toilets utilize a combination of organic matter, such as sawdust or peat moss, to cover and aid in the decomposition of human waste. The waste is then broken down by aerobic bacteria, fungi, and other microorganisms, transforming it into a nutrient-rich material known as compost. This compost can be safely used as fertilizer for non-edible plants, completing the cycle of waste management and sustainability.
Types of Composting Toilets
There are various types of composting toilets available, including self-contained units, central systems, and DIY designs. Self-contained units are typically used in smaller spaces and are entirely self-contained, meaning they do not require a connection to a sewage system. Central systems, on the other hand, are designed for larger properties and can accommodate multiple users. DIY composting toilets offer the flexibility to customize the design and size according to specific needs and space constraints.
Odor Control and Ventilation
One common concern with composting toilets is odor control. However, when properly maintained, composting toilets should not produce any foul odors. Adequate ventilation is essential to ensure that the composting process remains aerobic, preventing the production of unpleasant smells. Ventilation systems, such as fans and vent pipes, help to maintain airflow and create a healthy environment for the decomposition process to occur.
Legal and Regulatory Considerations
Before installing a composting toilet, it's crucial to check local regulations and building codes to ensure compliance. While composting toilets are legal in many areas, there may be specific requirements regarding installation, maintenance, and waste disposal. It's essential to research and understand the legal considerations associated with composting toilets in your region before embarking on a DIY project.
By understanding the principles behind composting toilets and their functionality, you can make an informed decision about whether a DIY composting toilet is the right choice for your home or outdoor space.
Benefits of DIY Composting Toilets
-
Water Conservation: One of the primary benefits of DIY composting toilets is their ability to conserve water. Traditional flush toilets can use a significant amount of water with each use, contributing to water scarcity and increasing utility costs. By opting for a composting toilet, you can drastically reduce your water consumption and make a positive impact on the environment.
-
Off-Grid Capability: DIY composting toilets are ideal for off-grid properties or remote locations where access to a sewage system may be limited or non-existent. They provide a sustainable waste management solution without the need for complex plumbing or infrastructure, making them a practical choice for cabins, tiny homes, and eco-friendly dwellings.
-
Nutrient-Rich Compost: Composting toilets produce nutrient-rich compost that can be used to fertilize non-edible plants and enrich the soil. This natural fertilizer is a valuable byproduct of the composting process, contributing to sustainable gardening practices and reducing the reliance on chemical fertilizers.
-
Reduced Environmental Impact: By diverting human waste from the conventional sewage system, DIY composting toilets help minimize the environmental impact associated with wastewater treatment and transportation. They promote a closed-loop system where waste is transformed into a beneficial resource, aligning with principles of sustainability and resource conservation.
-
Cost Savings: In addition to saving water, DIY composting toilets can lead to long-term cost savings. With no need for extensive plumbing or sewage infrastructure, the initial installation and maintenance costs are often lower than those of traditional flush toilets. Furthermore, the production of compost reduces the need to purchase commercial fertilizers, offering additional financial benefits.
-
Independence and Resilience: DIY composting toilets provide a sense of independence and resilience, especially in off-grid or self-sufficient living scenarios. They offer a practical solution for managing waste without relying on external utilities or services, empowering individuals to take control of their environmental impact and resource usage.
-
Versatility and Customization: DIY composting toilets can be customized to suit specific space requirements and design preferences. Whether you have limited indoor space or need a solution for an outdoor facility, the flexibility of DIY composting toilet designs allows for adaptation to diverse environments and usage needs.
-
Educational Value: Building and maintaining a DIY composting toilet can be an educational and empowering experience. It provides an opportunity to learn about sustainable waste management, microbiology, and the natural processes of decomposition, fostering a deeper understanding of environmental stewardship and self-sufficiency.
By embracing the benefits of DIY composting toilets, individuals can contribute to sustainable living practices, reduce their ecological footprint, and create a more environmentally conscious home or outdoor space.
Choosing the Right Location
When it comes to setting up a DIY composting toilet, choosing the right location is crucial for ensuring functionality, convenience, and compliance with local regulations. Here are some key considerations to keep in mind when selecting the location for your composting toilet:
-
Accessibility and Privacy: The chosen location should provide easy access for users while also offering a level of privacy. Whether it's an indoor or outdoor installation, consider the proximity to living spaces and the need for a discreet and comfortable environment.
-
Ventilation and Airflow: Adequate ventilation is essential for the proper functioning of a composting toilet. When choosing the location, ensure that there is sufficient airflow to support the aerobic decomposition process. Indoor installations may require the incorporation of vent pipes or fans to facilitate ventilation.
-
Distance from Water Sources: To prevent contamination and ensure environmental safety, it's important to place the composting toilet at a safe distance from water sources such as wells, streams, or water bodies. This helps to minimize the risk of groundwater pollution and protects water quality.
-
Compliance with Regulations: Check local building codes and regulations regarding the installation of composting toilets. Some areas may have specific requirements for setback distances, ventilation systems, and waste management practices. Ensure that the chosen location aligns with these regulations to avoid potential legal issues.
-
Ground Stability and Drainage: Whether installing the composting toilet indoors or outdoors, consider the stability of the ground and the drainage characteristics of the area. The location should be on stable ground to prevent shifting or settling of the structure. Additionally, proper drainage helps manage any liquid byproducts from the composting process.
-
Proximity to Composting Material: If using a DIY composting toilet that requires the addition of organic cover material, consider the proximity to a storage area for the composting material. This ensures convenient access for replenishing the cover material as needed, promoting ease of maintenance.
-
Climate Considerations: In colder climates, consider the insulation and heating requirements for an outdoor composting toilet to prevent freezing during winter months. For indoor installations, ensure that the location allows for temperature regulation to support the composting process year-round.
By carefully considering these factors, you can select the optimal location for your DIY composting toilet, promoting efficient operation, regulatory compliance, and user comfort.
Building the Composting Toilet Structure
Building the structure for your DIY composting toilet is a critical step that involves creating a functional and durable enclosure for the composting process. Whether you opt for an indoor or outdoor installation, the design and construction of the composting toilet structure should prioritize ventilation, privacy, and ease of maintenance. Here's a detailed guide to help you build the composting toilet structure:
1. Design Considerations
Before constructing the composting toilet structure, consider the overall design and layout. Determine the size of the structure based on the number of users and available space. The structure should provide sufficient room for comfortable use while accommodating the composting chamber and ventilation components. Additionally, consider incorporating features such as a hinged or removable lid for easy access during maintenance.
2. Ventilation System
Proper ventilation is essential for the composting process and odor control. Incorporate a ventilation system into the structure, such as a vent pipe or fan, to ensure continuous airflow. The ventilation system should facilitate the aerobic decomposition of waste and prevent the buildup of foul odors. Position the ventilation components to promote efficient air circulation within the composting chamber.
3. Privacy and Comfort
If the composting toilet is located in an outdoor setting, prioritize privacy and user comfort. Consider adding features such as a door with a lock, window ventilation, and adequate lighting. For indoor installations, ensure that the structure integrates seamlessly with the existing interior design while maintaining privacy and convenience for users.
4. Construction Materials
Select durable and weather-resistant materials for building the composting toilet structure. Common options include treated lumber, cedar, or composite materials that can withstand outdoor conditions. For indoor installations, choose materials that are moisture-resistant and easy to clean. Consider using eco-friendly and sustainable materials to align with the principles of environmental sustainability.
5. Composting Chamber
Integrate the composting chamber into the structure, ensuring that it is easily accessible for waste deposition and maintenance. The chamber should be designed to accommodate the composting material and provide adequate space for the decomposition process. Consider incorporating a removable container or access door for convenient removal of finished compost.
6. Sealing and Insulation
To prevent odors and maintain a controlled environment within the composting toilet structure, ensure proper sealing and insulation. Seal any gaps or joints to prevent the escape of odors and pests. Additionally, consider insulating the structure in colder climates to maintain optimal temperatures for the composting process.
7. Aesthetics and Integration
While functionality is key, consider the aesthetics of the composting toilet structure. Whether it's a standalone outdoor unit or an integrated indoor design, the structure should blend harmoniously with its surroundings. Incorporate landscaping, exterior finishes, or interior decor to enhance the visual appeal and integration of the composting toilet within its environment.
By following these guidelines, you can construct a well-designed and functional composting toilet structure that supports the composting process, user comfort, and environmental sustainability.
Adding the Composting Material
Once the composting toilet structure is in place, the next crucial step is to add the composting material to initiate the decomposition process. The composting material serves multiple purposes, including covering waste, absorbing moisture, and providing the necessary carbon source for microbial activity. Here's a detailed guide on adding the composting material to your DIY composting toilet:
-
Selecting the Composting Material: Choose a suitable composting material such as sawdust, wood shavings, peat moss, or coconut coir. These materials aid in the aerobic decomposition of waste while helping to control odors and absorb excess moisture. Select a material that is readily available, affordable, and conducive to the composting process.
-
Layering and Coverage: Begin by adding a layer of the chosen composting material to the bottom of the composting chamber. This initial layer serves as a base for waste deposition and helps establish the aerobic conditions necessary for decomposition. After each use, cover the deposited waste with a generous layer of the composting material to promote odor control and microbial activity.
-
Balancing Carbon and Nitrogen: Achieving the right balance of carbon and nitrogen is essential for effective composting. The composting material, which primarily consists of carbon-rich organic matter, helps balance the nitrogen-rich waste materials. Aim for a balanced carbon-to-nitrogen ratio to facilitate efficient decomposition and the production of high-quality compost.
-
Maintaining Adequate Cover: Regularly monitor the composting toilet to ensure that there is always an adequate cover of composting material over the waste. This cover layer helps prevent odors, deter pests, and maintain the aerobic conditions necessary for the composting process. Replenish the composting material as needed to maintain optimal coverage.
-
Mixing and Aerating: Periodically mix and aerate the composting material within the chamber to promote uniform decomposition and airflow. This can be done using a handheld tool or by gently turning the contents of the composting chamber. Mixing the material helps distribute moisture and microorganisms, accelerating the composting process.
-
Monitoring Moisture Levels: Keep an eye on the moisture content within the composting chamber. The composting material should maintain a damp, but not overly wet, consistency. If the material becomes too dry, lightly mist it with water to rehydrate. Conversely, if it becomes excessively wet, add additional dry composting material to absorb the excess moisture.
-
Adding Amendments: Depending on the specific composting toilet design and requirements, you may consider adding organic amendments such as biochar, rock dust, or microbial inoculants to enhance the composting process. These amendments can contribute to the overall quality of the compost and the efficiency of waste breakdown.
By following these steps and guidelines for adding the composting material, you can kickstart the composting process within your DIY composting toilet, leading to the production of nutrient-rich compost and the effective management of human waste in an eco-friendly and sustainable manner.
Maintaining and Troubleshooting
Maintaining a DIY composting toilet is essential to ensure its long-term functionality and effectiveness in managing human waste. Additionally, being able to troubleshoot common issues can help address any potential challenges that may arise during the composting process. Here's a comprehensive guide to maintaining and troubleshooting your DIY composting toilet:
Regular Maintenance Tasks
-
Monitoring Composting Progress: Regularly check the composting chamber to assess the progress of decomposition. Look for signs of active composting, such as the breakdown of waste materials and the development of a rich, earthy smell. Monitoring the composting process allows you to make adjustments as needed and ensures that the system is functioning optimally.
-
Adding Composting Material: Maintain a consistent cover of composting material over the waste to promote odor control and microbial activity. Keep a supply of the chosen composting material readily available for replenishment as needed.
-
Aerating the Compost: Periodically aerate the composting material within the chamber to promote airflow and microbial activity. Gently turn the contents of the composting chamber to distribute moisture and microorganisms, facilitating the decomposition process.
-
Managing Moisture Levels: Monitor and manage the moisture content within the composting chamber. Adjust the moisture levels by lightly misting the composting material with water if it becomes too dry, or adding additional dry material to absorb excess moisture.
-
Inspecting Ventilation System: Check the ventilation components, such as vent pipes or fans, to ensure that they are functioning properly. Adequate ventilation is crucial for maintaining aerobic conditions and preventing the buildup of odors.
-
Emptying Finished Compost: When the composting process is complete, remove the finished compost from the chamber. Use the nutrient-rich compost to fertilize non-edible plants and enrich the soil, completing the cycle of waste management and sustainability.
Troubleshooting Common Issues
-
Foul Odors: If foul odors are present, check the ventilation system for blockages or malfunctions. Ensure that the composting material is adequately covering the waste to prevent odor escape. Adjust the ventilation and cover material as needed to address odor issues.
-
Excessive Moisture: If the composting material becomes excessively wet, add additional dry material to absorb the excess moisture. Check for any sources of water intrusion into the composting chamber and address them promptly to maintain the appropriate moisture levels.
-
Slow Composting: If the composting process appears to be slow or stagnant, assess the carbon-to-nitrogen ratio of the composting material. Adjust the balance by adding more carbon-rich material if needed to stimulate microbial activity and decomposition.
-
Pest Infestation: To deter pests such as flies or insects, ensure that the composting material effectively covers the waste. Consider incorporating natural pest deterrents, such as diatomaceous earth, to discourage unwanted insects from the composting chamber.
-
Ventilation Issues: If airflow within the composting chamber is inadequate, inspect the ventilation system for obstructions or malfunctions. Clean or repair the ventilation components as necessary to restore proper airflow and aerobic conditions.
By performing regular maintenance tasks and addressing common troubleshooting issues, you can ensure the efficient and sustainable operation of your DIY composting toilet, contributing to environmental conservation and sustainable waste management.
Conclusion
In conclusion, building and maintaining a DIY composting toilet offers a sustainable and eco-friendly solution for managing human waste while minimizing water usage and producing nutrient-rich compost. By understanding the principles of composting toilets, selecting the right location, constructing a functional structure, adding the appropriate composting material, and performing regular maintenance, individuals can create an effective and environmentally conscious waste management system. The benefits of DIY composting toilets, including water conservation, off-grid capability, nutrient-rich compost production, reduced environmental impact, cost savings, and educational value, make them a practical choice for a wide range of settings. Embracing the principles of sustainability and self-sufficiency, DIY composting toilets contribute to a more environmentally conscious and resource-efficient lifestyle. With proper care and attention, DIY composting toilets can play a significant role in promoting sustainable living practices and reducing the ecological footprint of households and outdoor spaces.