
Home>Create & Decorate>DIY & Crafts>Wooden DIY Shoe Rack: Step-by-Step Guide
DIY & Crafts
Wooden DIY Shoe Rack: Step-by-Step Guide
Published: June 2, 2024

Content Creator specializing in woodworking and interior transformations. Caegan's guides motivate readers to undertake their own projects, while his custom furniture adds a personal touch.
Learn how to build a stylish and functional wooden DIY shoe rack with our step-by-step guide. Perfect for DIY & Crafts enthusiasts looking to organize their space.
(Many of the links in this article redirect to a specific reviewed product. Your purchase of these products through affiliate links helps to generate commission for Twigandthistle.com, at no extra cost. Learn more)
Introduction
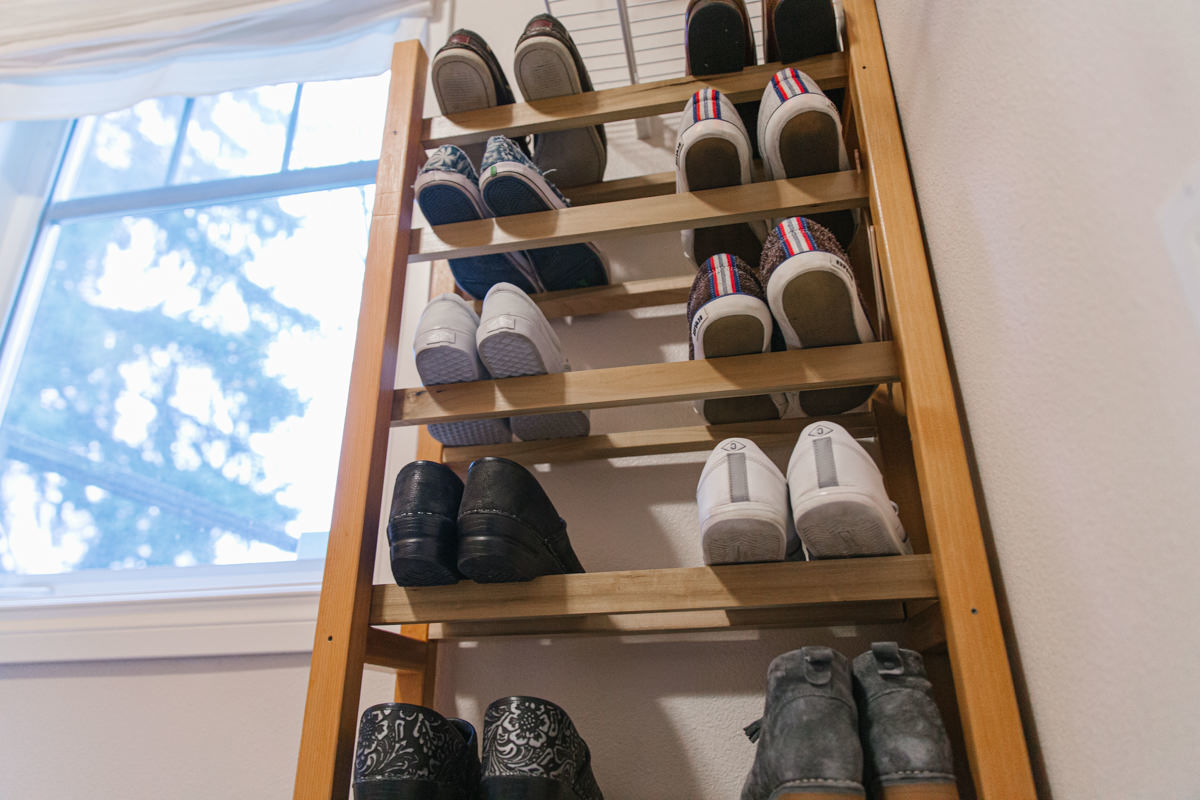
Are you tired of tripping over shoes scattered around your entryway? A wooden DIY shoe rack could be the perfect solution to keep your space organized and clutter-free. Not only is it a practical addition to your home, but it also adds a touch of rustic charm. In this step-by-step guide, we'll walk you through the process of creating your very own wooden shoe rack, providing you with the satisfaction of completing a useful project while adding a personal touch to your home. Let's get started!
Materials Needed
To get started on your wooden DIY shoe rack, you'll need the following materials:
- Wood: Select sturdy and durable wood for the frame and shelves. Pine or cedar are excellent choices due to their strength and attractive grain patterns.
- Measuring Tape: Essential for taking accurate measurements to ensure the proper fit of your shoe rack.
- Saw: A handsaw or power saw will be necessary for cutting the wood to the desired dimensions.
- Sandpaper: Choose medium and fine-grit sandpaper to smooth the rough edges and surfaces of the wood.
- Wood Screws: These will be used to secure the frame and shelves together, so ensure you have an adequate supply in various lengths.
- Drill: A drill will be essential for creating pilot holes and driving the wood screws into place.
- Wood Glue: Opt for a strong wood adhesive to reinforce the joints and ensure the stability of your shoe rack.
- Paint or Stain: If you wish to add a pop of color or enhance the natural beauty of the wood, have paint or wood stain on hand.
- Paintbrushes or Rags: These will be necessary for applying the paint or stain to the wood.
- Safety Gear: Don't forget to prioritize safety with the use of goggles, gloves, and a dust mask when working with wood and power tools.
Gather these materials before you begin, and you'll be well-prepared to embark on this rewarding DIY project.
Step 1: Cutting the Wood
The first step in creating your wooden DIY shoe rack is to cut the wood to the required dimensions. Using a measuring tape, carefully measure and mark the wood according to the desired lengths for the frame and shelves. Once marked, use a saw to make precise cuts along the measured lines. It's crucial to ensure that the cuts are straight and accurate to guarantee a stable and visually appealing shoe rack. Take your time with this step, as precision in cutting the wood will set the foundation for the rest of the project. Remember to prioritize safety by using appropriate safety gear, such as goggles and gloves, while operating the saw.
After cutting the main frame pieces, proceed to cut the shelves to the desired width and length. These shelves will provide the platforms for organizing and displaying your shoes, so it's important to measure and cut them accurately. Once all the wood pieces are cut to size, use medium-grit sandpaper to smooth any rough edges and surfaces, preparing the wood for the next phase of the project. With the wood cut and smoothed, you're ready to move on to the next step in constructing your wooden shoe rack.
Step 2: Sanding the Wood
After cutting the wood for your DIY shoe rack, the next crucial step is sanding. Sanding serves multiple purposes, including smoothing rough edges, removing splinters, and preparing the wood for a flawless finish. Begin by using medium-grit sandpaper to gently sand the cut edges and surfaces of the wood. This will help eliminate any sharp or uneven areas, ensuring a safe and polished final product.
Once the rough edges have been smoothed, switch to fine-grit sandpaper to further refine the surfaces. Sand the entire wood pieces, paying attention to any imperfections or blemishes. The goal is to achieve a uniformly smooth texture across all surfaces, creating a professional and visually appealing result.
As you sand, be mindful of the wood's natural grain, working with it rather than against it. This approach will help prevent any potential damage to the wood and result in a more refined finish. Take your time during this process, as thorough sanding is key to achieving a high-quality end product.
After sanding, use a clean cloth to wipe away any dust or debris from the wood. This will prepare the surfaces for the next steps in the construction process. With the wood now smoothly sanded and prepped, you're ready to move on to the exciting phase of assembling the frame for your DIY shoe rack.
Step 3: Assembling the Frame
With the wood cut and sanded to perfection, it's time to move on to assembling the frame of your DIY shoe rack. Begin by laying out the main frame pieces according to your design plan. Use a measuring tape to ensure precise alignment and spacing between the pieces. Once satisfied with the layout, it's time to secure the frame together.
Start by applying a small amount of wood glue to the joints where the pieces will connect. This will help reinforce the frame and provide additional stability. Next, use a drill to create pilot holes in the wood at the designated connection points. Pilot holes are essential for preventing the wood from splitting when driving in the screws.
With the pilot holes in place, carefully drive wood screws through the holes to secure the frame together. Be mindful of the screw length to avoid piercing through the wood or causing any damage. As you work, periodically check for squareness to ensure that the frame is aligned correctly and stands true.
Once the frame is securely assembled, take a moment to admire your progress. The frame serves as the foundation for your shoe rack, and seeing it come together is a rewarding moment in the DIY process. With the frame complete, you're ready to move on to the next step of attaching the shelves, bringing your shoe rack one step closer to completion.
Step 4: Attaching the Shelves
After successfully assembling the frame, the next critical step in creating your wooden DIY shoe rack is attaching the shelves. These shelves will provide the platforms for organizing and displaying your shoes, so it's essential to secure them firmly to the frame.
Begin by positioning the shelves within the frame, ensuring equal spacing between each shelf. Use a measuring tape to guarantee uniform placement. Once satisfied with the positioning, use a pencil to mark the areas where the shelves will be attached to the frame.
Next, apply a thin, even layer of wood glue along the edges of the shelves that will come into contact with the frame. This adhesive will help reinforce the connection between the shelves and the frame, adding stability to the overall structure.
With the wood glue applied, carefully position the shelves back into place within the frame, aligning them with the previously marked areas. Once in position, use a drill to create pilot holes through the frame and into the shelves at the designated attachment points.
Finally, drive wood screws through the pilot holes to firmly secure the shelves to the frame. Be mindful of the screw length to avoid penetrating through the shelves or causing any damage. As you work, ensure that the shelves are level and securely attached to the frame.
Once all the shelves are securely in place, take a moment to admire the progress of your DIY shoe rack. The addition of the shelves brings your creation one step closer to being a functional and stylish storage solution for your home. With the shelves attached, your shoe rack is nearly complete, and you're ready to move on to the final step of adding the finishing touches.
Step 5: Finishing Touches
With the main structure of your wooden DIY shoe rack assembled, it's time to add the finishing touches that will enhance its appearance and durability. This step involves applying a protective finish to the wood, whether it's a coat of paint or a rich wood stain. Additionally, you may choose to add decorative elements or hardware to personalize your shoe rack and complement your home's aesthetic.
Begin by preparing the wood surfaces for the finish. If you've opted for paint, use a paintbrush to apply a primer to the wood. The primer will help the paint adhere better and provide a more even finish. If you've chosen to stain the wood, use a clean rag to apply the stain in the direction of the wood grain. Allow the primer or stain to dry completely before proceeding to the next step.
Once the primer or stain has dried, it's time to apply the final coat of paint or sealant. Using a paintbrush, carefully apply the paint in smooth, even strokes, ensuring full coverage of the wood surfaces. If you've chosen to stain the wood, use a clean rag to apply a clear wood sealant to protect the wood and enhance its natural beauty. Allow the paint or sealant to dry thoroughly before handling the shoe rack.
As a final touch, consider adding decorative elements such as knobs, handles, or hooks to the shoe rack. These additions can not only enhance the visual appeal of the piece but also provide practical functionality for hanging accessories or organizing small items. Choose hardware that complements the style of your home and adds a personal touch to your DIY creation.
With the finishing touches complete, step back and admire your handiwork. Your wooden DIY shoe rack is now a functional and stylish addition to your home, providing a designated space for organizing and displaying your footwear. Whether placed in the entryway, closet, or bedroom, your custom shoe rack is sure to make a statement while keeping your space tidy and inviting.
Conclusion
In conclusion, creating a wooden DIY shoe rack is a fulfilling and practical endeavor that allows you to customize a storage solution to fit your specific needs. By following the step-by-step guide outlined in this article, you can transform basic wood materials into a functional and visually appealing piece of furniture. From cutting and sanding the wood to assembling the frame, attaching the shelves, and adding the finishing touches, each step contributes to the creation of a personalized shoe rack that adds both organization and charm to your home. Embrace the opportunity to showcase your craftsmanship and creativity while enjoying the benefits of a clutter-free and stylish living space. With your newly constructed shoe rack in place, you can take pride in the fact that you've not only tackled a rewarding DIY project but also enhanced the functionality and aesthetic of your home.