
Home>Create & Decorate>DIY & Crafts>Wood Gate Plans: How To Build A Double Swing
DIY & Crafts
Wood Gate Plans: How To Build A Double Swing
Published: May 22, 2024

Content Creator specializing in woodworking and interior transformations. Caegan's guides motivate readers to undertake their own projects, while his custom furniture adds a personal touch.
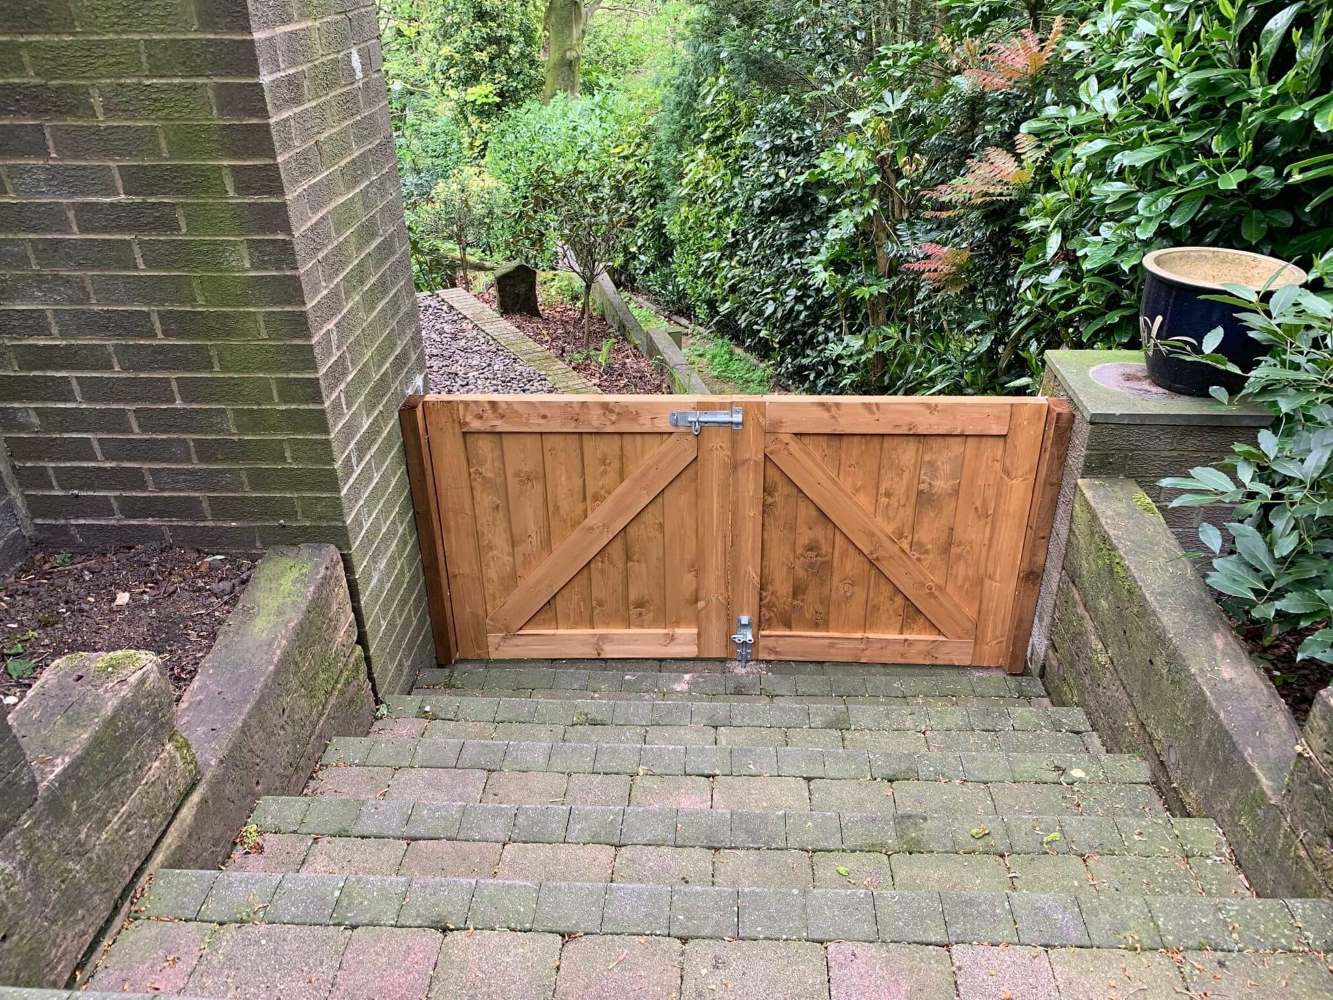
Discover step-by-step wood gate plans for building a double swing gate with our DIY & Crafts guide. Create a stunning entrance to your property with our easy-to-follow instructions.
(Many of the links in this article redirect to a specific reviewed product. Your purchase of these products through affiliate links helps to generate commission for Twigandthistle.com, at no extra cost. Learn more)
Introduction
So, you've decided to add a touch of charm and functionality to your property by building a double swing wood gate. A well-constructed wood gate not only enhances the aesthetics of your home but also provides security and privacy. Whether you're a seasoned DIY enthusiast or a novice looking for a rewarding project, building a wood gate can be a fulfilling endeavor. In this guide, we'll walk you through the process of creating your very own double swing wood gate, providing you with the satisfaction of completing a practical and visually appealing addition to your property. Let's dive in and get started on this exciting project!
Materials Needed
To begin your wood gate project, you will need the following materials:
- Pressure-treated lumber: This will serve as the primary material for your wood gate, providing durability and resistance to rot and decay.
- Wood screws: These will be used to secure the various components of the gate together.
- Gate hinges: Choose heavy-duty gate hinges that can support the weight of your double swing gate.
- Gate latch: Select a sturdy gate latch to ensure the security of your wood gate.
- Wood glue: This will help reinforce the joints and connections of the gate components.
- Decorative hardware (optional): If you want to add a decorative touch to your wood gate, consider embellishments such as ornate handles or decorative accents.
- Paint or stain: Once your wood gate is assembled, you may choose to paint or stain it to complement the aesthetic of your property and protect the wood from the elements.
Gathering these materials before you begin will ensure a smooth and efficient construction process.
Tools Required
When embarking on the construction of your double swing wood gate, it's essential to have the right tools at your disposal. Here's a list of the tools you'll need to bring your wood gate plans to life:
-
Tape Measure: For accurately measuring the dimensions of the gate components and ensuring precise cuts.
-
Circular Saw or Miter Saw: To cut the lumber to the required lengths and angles.
-
Drill and Drill Bits: Necessary for pre-drilling holes and driving screws into the wood.
-
Screwdriver: For securing screws and attaching hardware.
-
Level: To ensure that the gate is installed evenly and plumb.
-
Clamps: These will help hold the gate components together during assembly.
-
Speed Square: Useful for marking straight and square lines on the wood for precise cuts and assembly.
-
Safety Gear: Including goggles, gloves, and ear protection to ensure safety during the construction process.
Having these tools on hand will streamline the construction process and contribute to the successful completion of your wood gate project.
Step 1: Measuring and Planning
Before diving into the construction of your double swing wood gate, it's crucial to start with precise measurements and thoughtful planning. Here's how to approach this essential first step:
-
Measure the Opening: Begin by measuring the width of the gate opening. Take accurate measurements at the top, middle, and bottom of the opening to account for any variations in the terrain. Additionally, measure the height of the opening to determine the appropriate size for your wood gate.
-
Consider Clearances: When planning the size of your wood gate, factor in the necessary clearances for smooth operation. Allow space for the gate to swing freely without obstructing any nearby structures or landscaping features.
-
Sketch the Design: With your measurements in hand, sketch out a design for your wood gate. Consider the style and aesthetics you want to achieve, whether it's a simple and classic design or a more ornate and decorative look. Your sketch will serve as a visual guide as you progress through the construction process.
-
Calculate Lumber Requirements: Based on your measurements and design, calculate the amount of lumber needed for the gate frame and pickets. This will ensure that you purchase the correct quantity of materials for the project.
-
Plan for Post Placement: If your wood gate will be attached to posts, plan for the placement of the posts and ensure that they are installed securely and aligned to support the gate.
By meticulously measuring and planning at the outset, you'll set the stage for a successful wood gate construction project, laying the foundation for the subsequent steps of cutting, assembling, and installing your double swing gate.
Step 2: Cutting the Wood
Once you have meticulously measured and planned your wood gate, it's time to move on to the crucial step of cutting the wood. This step requires precision and attention to detail to ensure that the components of your double swing gate come together seamlessly. Here's how to approach the cutting process:
-
Prepare Your Workspace: Set up a spacious and well-lit work area where you can lay out your lumber and operate your cutting tools safely. Clear any obstructions and ensure that the area is conducive to accurate measurements and cuts.
-
Cut the Frame Components: Using a circular saw or miter saw, carefully cut the pressure-treated lumber to the dimensions required for the frame of your wood gate. Pay close attention to the angles and lengths specified in your design, and make precise cuts to achieve a snug and secure fit during assembly.
-
Trim the Pickets: If your wood gate design includes pickets for added style and security, measure and cut the pickets to the desired length. Ensure that each picket is uniform in size to maintain a consistent and visually appealing appearance when installed on the gate frame.
-
Be Mindful of Safety: When operating power tools for cutting wood, prioritize safety by wearing appropriate protective gear, such as goggles and gloves. Follow the manufacturer's guidelines for the safe use of cutting tools and exercise caution throughout the cutting process.
-
Double-Check Measurements: Before making any cuts, double-check your measurements to avoid errors that could lead to ill-fitting components. Accurate and precise cuts are essential for the successful assembly of your wood gate, so take the time to verify your measurements before proceeding.
By approaching the cutting process with care and precision, you'll set the stage for a smooth and efficient assembly of your double swing wood gate. With the frame components and pickets accurately cut to size, you'll be ready to move on to the next steps of assembling the gate and bringing your vision to life.
Step 3: Assembling the Frame
With the wood components cut to the precise dimensions, it's time to proceed with assembling the frame of your double swing wood gate. This step is pivotal in bringing together the individual elements of the gate, creating a sturdy and well-structured foundation for the rest of the construction process. Here's a detailed guide on how to effectively assemble the frame of your wood gate:
-
Lay Out the Components: Begin by laying out the cut lumber for the gate frame in your workspace. Arrange the pieces according to your design and ensure that all components are easily accessible for assembly.
-
Align the Frame Members: Position the horizontal and vertical frame members according to your gate design. Use a speed square to ensure that the corners are square and the frame members are aligned at perfect right angles. This step is crucial for the structural integrity and visual appeal of your wood gate.
-
Secure the Joints: Apply wood glue to the ends of the frame members before joining them together. This will provide added strength and stability to the frame. Use wood screws to secure the joints, driving them in at evenly spaced intervals to create a secure bond between the frame components.
-
Reinforce with Bracing: Depending on the size and design of your wood gate, you may need to reinforce the frame with diagonal bracing to prevent warping and ensure structural stability. Cut the bracing components to the required length and attach them securely to the frame using wood screws.
-
Check for Squareness: Once the frame is assembled, double-check for squareness using a tape measure and the diagonal measurement method. Measure from one corner of the frame to the opposite corner, and then compare it to the measurement from the other two corners. If the measurements are equal, the frame is square and ready for the next steps.
-
Add Decorative Elements: If you've chosen to incorporate decorative elements into your wood gate, such as ornate accents or trim pieces, this is the time to add them to the frame. Secure these elements with wood glue and screws, ensuring that they complement the overall design of the gate.
By following these steps, you'll effectively assemble the frame of your double swing wood gate, setting the stage for the subsequent stages of attaching hinges, installing the gate, and adding the finishing touches. With a well-constructed frame, your wood gate will embody both functionality and visual appeal, enhancing the overall aesthetic of your property.
Step 4: Attaching the Hinges
Attaching the hinges is a critical step in the construction of your double swing wood gate, as it directly impacts the functionality and durability of the gate. Properly installed hinges ensure smooth operation and long-term reliability. Here's a detailed guide on how to effectively attach the hinges to your wood gate:
-
Select Heavy-Duty Hinges: Choose heavy-duty hinges that are designed to support the weight and movement of your wood gate. Opt for hinges made from durable materials, such as stainless steel or galvanized steel, to ensure resistance to rust and corrosion.
-
Position the Hinges: Determine the placement of the hinges on the gate frame and the adjacent post or structure. The hinges should be positioned to allow the gate to swing freely without obstruction. Use a level to ensure that the hinges are aligned vertically and horizontally for smooth operation.
-
Pre-Drill Screw Holes: Before attaching the hinges, pre-drill pilot holes for the screws. This helps prevent the wood from splitting and ensures that the screws can be driven in smoothly and securely.
-
Attach the Hinges: Secure the hinges to the gate frame and the adjacent post or structure using wood screws. Ensure that the hinges are firmly attached and that the screws are driven in flush with the surface of the wood to prevent any protrusions that could interfere with the gate's movement.
-
Check for Smooth Operation: Once the hinges are attached, test the gate to ensure that it swings smoothly and evenly. Make any necessary adjustments to the hinge placement or tightness to achieve optimal operation.
-
Add Additional Support: Depending on the size and weight of your wood gate, you may need to add additional support, such as a gate wheel or caster, to assist in the smooth operation and weight distribution of the gate. Consider the specific needs of your gate and add support as necessary.
By following these steps, you'll effectively attach the hinges to your double swing wood gate, ensuring that it operates smoothly and reliably. Properly installed hinges contribute to the overall functionality and longevity of your wood gate, providing you with a secure and convenient entryway to your property.
Step 5: Installing the Gate
Installing the gate is the culmination of your efforts in constructing a double swing wood gate. This step involves positioning the gate within the gate opening, attaching it to the hinges, and ensuring that it operates smoothly and securely. Here's a detailed guide on how to effectively install your wood gate:
-
Position the Gate: Carefully position the gate within the gate opening, ensuring that it is aligned and centered. Use shims or spacers to maintain an even gap between the gate and the adjacent structures, such as posts or fences. This step is crucial for achieving a balanced and visually appealing installation.
-
Attach the Gate to the Hinges: With the assistance of a helper, lift the gate and align the hinges with the hinge pins or mounting plates on the gate posts or adjacent structures. Secure the hinges by inserting the hinge pins or fastening the mounting plates with screws. Ensure that the gate is level and plumb during this process to prevent binding or uneven operation.
-
Test the Operation: Once the gate is attached to the hinges, test its operation to ensure that it swings smoothly and evenly. Open and close the gate several times to verify that it clears the ground and adjacent structures without obstruction. Make any necessary adjustments to the hinge tension or gate position to achieve optimal operation.
-
Install the Gate Latch: If your wood gate is equipped with a latch for securing it in the closed position, install the latch according to the manufacturer's instructions. Position the latch at a convenient height and ensure that it engages securely with the gate post or adjacent structure to provide reliable security.
-
Add Finishing Touches: Once the gate is installed and operational, take the opportunity to add any finishing touches, such as decorative hardware or a protective finish. Consider painting or staining the gate to complement the aesthetic of your property and protect the wood from the elements. Additionally, consider adding ornamental elements or trim pieces to enhance the visual appeal of the gate.
By following these steps, you'll effectively install your double swing wood gate, ensuring that it operates smoothly and securely. A well-installed wood gate not only provides security and privacy but also adds a touch of charm and functionality to your property, serving as a testament to your craftsmanship and attention to detail.
Conclusion
In conclusion, building a double swing wood gate is a rewarding and practical project that can enhance the aesthetics and functionality of your property. By following the steps outlined in this guide, you can create a sturdy and visually appealing wood gate that provides security, privacy, and a touch of charm to your home. From measuring and planning to cutting the wood, assembling the frame, attaching the hinges, and installing the gate, each step contributes to the successful completion of your wood gate project. With the right materials, tools, and attention to detail, you can bring your wood gate plans to life, adding a personalized and functional element to your property. Whether you're a seasoned DIY enthusiast or a novice looking for a fulfilling project, building a double swing wood gate is an achievable endeavor that yields both practical and aesthetic benefits.