
Home>Create & Decorate>DIY & Crafts>How To Build Wall Cabinets
DIY & Crafts
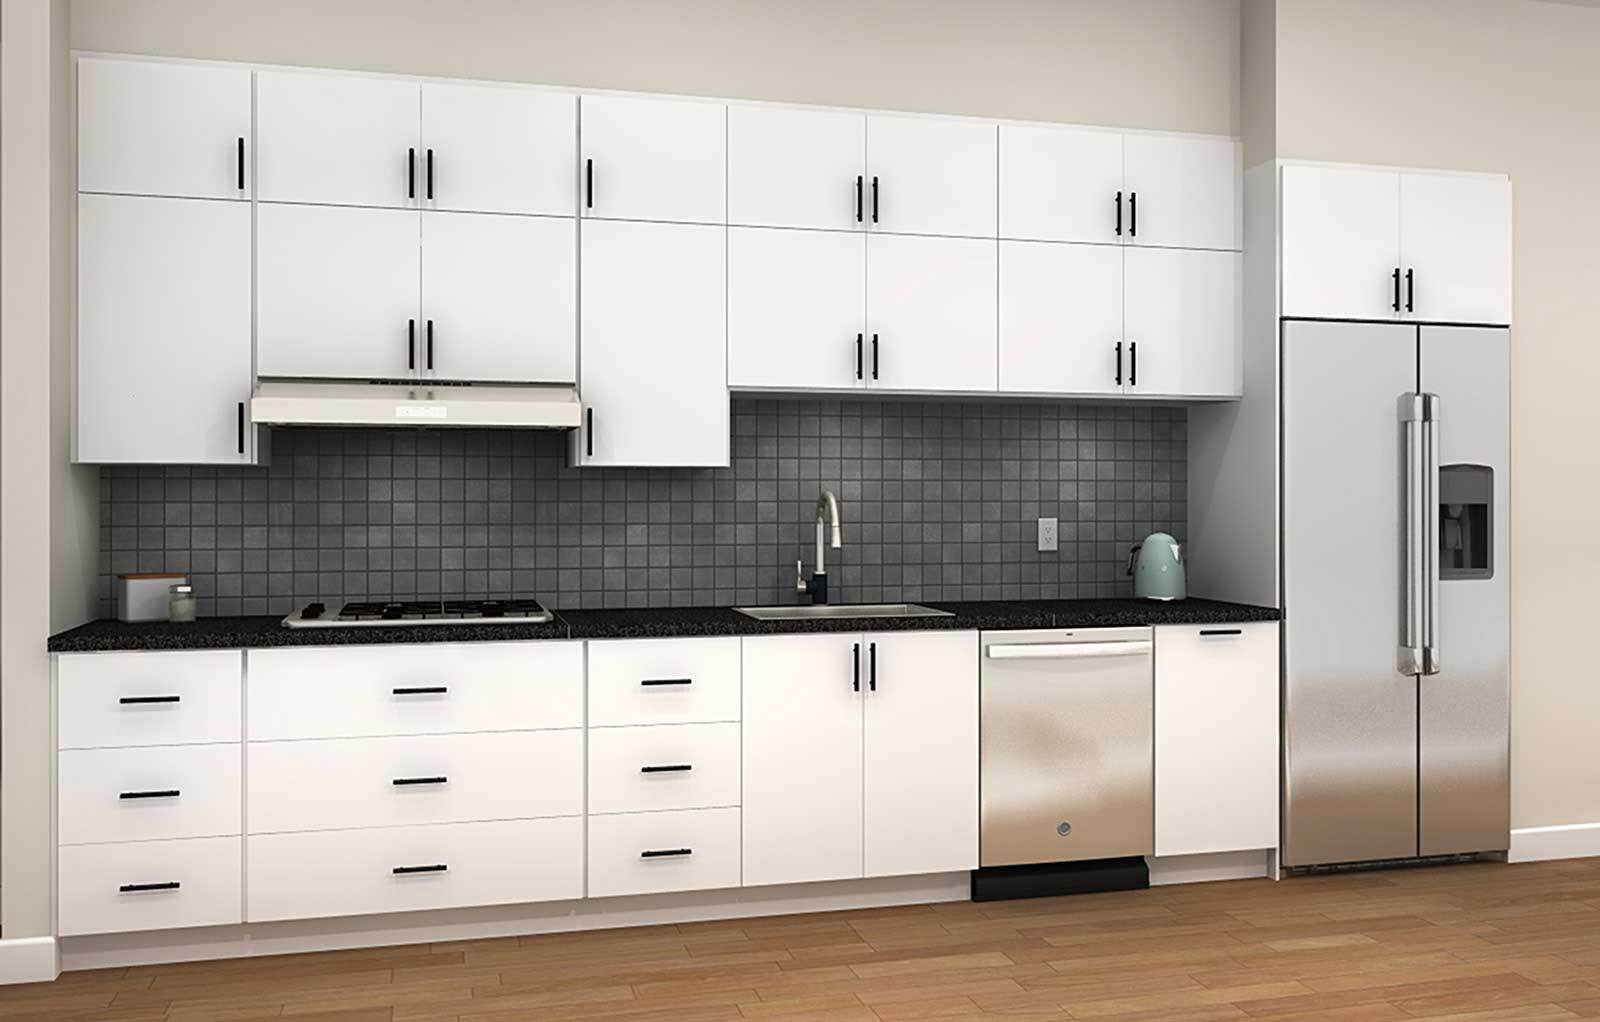
How To Build Wall Cabinets
Published: May 29, 2024

Content Creator specializing in woodworking and interior transformations. Caegan's guides motivate readers to undertake their own projects, while his custom furniture adds a personal touch.
Learn how to build wall cabinets with our step-by-step DIY guide. Perfect for DIY & Crafts enthusiasts looking to enhance their home storage.
(Many of the links in this article redirect to a specific reviewed product. Your purchase of these products through affiliate links helps to generate commission for Twigandthistle.com, at no extra cost. Learn more)
Introduction
So, you've decided to take on the challenge of building wall cabinets for your home. Congratulations! Building your own wall cabinets can be a rewarding and cost-effective way to add storage and style to any room. Whether you're a seasoned DIY enthusiast or a beginner looking for a new project, this guide will walk you through the process of creating custom wall cabinets that perfectly suit your space and needs. From planning and measuring to adding the finishing touches, we've got you covered. Let's dive in and get started on this exciting journey of cabinet construction!
Planning and Measuring
Before you start swinging your hammer, it's crucial to lay the groundwork for your wall cabinet project. Here's how to get started:
-
Assess Your Space: Take a good look at the area where you plan to install the wall cabinets. Consider the dimensions, existing decor, and any obstacles that may affect the cabinet installation.
-
Determine Cabinet Size: Measure the available wall space and decide on the dimensions of your cabinets. Consider the items you intend to store in the cabinets to ensure they will accommodate your needs.
-
Sketch Your Design: Create a rough sketch or use a design software to visualize how your wall cabinets will look. This will help you determine the number of cabinets you need and their placement.
-
Gather Materials and Tools: Make a list of the materials and tools required for the project. This may include plywood or MDF for the cabinet boxes, screws, a saw, drill, and other woodworking essentials.
-
Consider Functionality: Think about the functionality of your cabinets. Will they have doors or open shelves? Do you need adjustable shelves? These considerations will impact the design and construction of your cabinets.
-
Check Local Building Codes: If you're installing cabinets in a kitchen or bathroom, be sure to check local building codes for any specific requirements regarding cabinet construction and installation.
By taking the time to plan and measure accurately, you'll set yourself up for success as you move on to the next steps of building your wall cabinets.
Choosing Materials and Tools
When it comes to building wall cabinets, selecting the right materials and tools is essential for a successful outcome. Here's what you need to consider:
-
Selecting the Right Wood: Choose a high-quality plywood or MDF (medium-density fiberboard) for constructing the cabinet boxes. These materials are sturdy, durable, and well-suited for cabinet construction. Consider the thickness of the wood based on the size and weight capacity of your intended items.
-
Essential Tools: Gather the necessary tools for the project, including a circular saw or table saw for cutting the wood to size, a power drill for assembling the cabinets, a tape measure for precise measurements, and a level to ensure the cabinets are installed straight and even.
-
Hardware and Fasteners: Don't forget to purchase hinges, handles, and other hardware for the cabinet doors. Additionally, stock up on screws, wood glue, and other fasteners needed for assembly.
-
Finishing Materials: If you plan to paint or stain your cabinets, be sure to have the appropriate finishing materials on hand. Sandpaper, paint brushes, and wood stain or paint will be necessary to achieve the desired look for your cabinets.
-
Safety Gear: Prioritize safety by wearing protective gear such as goggles, gloves, and a dust mask when working with wood and power tools.
By carefully selecting the right materials and ensuring you have the necessary tools at your disposal, you'll be well-prepared to tackle the construction of your wall cabinets.
Building the Cabinet Frame
Now that you've completed the planning and gathered the necessary materials and tools, it's time to dive into the construction phase by building the cabinet frame. Follow these steps to create a sturdy and well-constructed frame for your wall cabinets:
-
Cutting the Pieces: Begin by cutting the plywood or MDF into the individual components of the cabinet frame, including the top, bottom, sides, and back. Use a circular saw or table saw to ensure precise cuts according to your measurements.
-
Assembling the Box: Once the pieces are cut, assemble the box by attaching the sides to the top and bottom using wood glue and screws. Ensure that the corners are square by using a carpenter's square or by measuring diagonally from corner to corner.
-
Adding the Back Panel: After the box is assembled, attach the back panel to provide stability and structural support to the cabinet. Use wood glue and screws to secure the back panel to the frame, ensuring it is flush with the edges.
-
Reinforcing the Joints: To reinforce the joints and ensure the cabinet frame is solid, consider adding corner braces or L-brackets to the inside corners of the cabinet. This will enhance the overall strength and durability of the frame.
-
Cutting Openings: If your design includes openings for electrical outlets or other fixtures, carefully measure and cut these openings in the back panel before proceeding with the next steps.
By following these steps, you'll be well on your way to constructing a robust and well-built cabinet frame that serves as the foundation for your wall cabinets. Once the frame is complete, you can proceed to the next phase of adding shelves and doors to your custom-built cabinets.
Adding Shelves and Doors
After constructing the sturdy frame for your wall cabinets, the next step is to add shelves and doors to complete the functional and aesthetic aspects of the cabinets. Here's how to proceed with this crucial phase of the construction process:
-
Measuring for Shelves: Begin by measuring the interior dimensions of the cabinet frame to determine the size of the shelves. Use a tape measure to ensure accurate measurements, taking into account any obstructions such as shelf support brackets or hardware.
-
Cutting and Installing Shelves: Once you have the measurements, cut the shelves from the same plywood or MDF used for the cabinet frame. Carefully place the shelves within the cabinet, ensuring they are level and securely supported. Adjustable shelf pins can be used to allow for flexibility in shelf placement.
-
Designing and Installing Doors: If your design includes cabinet doors, measure the openings and determine the dimensions for the doors. Cut the door panels to size and attach hinges to the doors. Then, install the hinges onto the cabinet frame, ensuring the doors open and close smoothly. Consider using a drill template to ensure accurate and consistent placement of the hinges.
-
Adding Door Hardware: Once the doors are installed, add door handles or knobs to complete the look. Choose hardware that complements the style of your cabinets and aligns with the overall design aesthetic of the room.
-
Testing and Adjusting: After installing the shelves and doors, test the functionality of the cabinets by opening and closing the doors and placing items on the shelves. Make any necessary adjustments to ensure everything operates smoothly and fits as intended.
By following these steps, you'll be able to add shelves and doors to your wall cabinets, transforming them from a basic frame into fully functional storage units that meet your specific needs and enhance the visual appeal of your space. With the shelves and doors in place, you're one step closer to completing your custom-built wall cabinets.
Installing the Cabinets
Installing the cabinets is the exciting phase where your hard work comes to fruition. Follow these steps to ensure a successful installation:
-
Locate Wall Studs: Use a stud finder to locate and mark the positions of the wall studs where the cabinets will be installed. Securing the cabinets to the studs will ensure they are properly supported and can bear the weight of their contents.
-
Positioning the Cabinets: With the help of a friend or family member, hold the first cabinet against the wall at the desired height and use a level to ensure it is perfectly horizontal. Once level, secure the cabinet to the wall studs using screws driven through the back of the cabinet and into the studs.
-
Connecting Multiple Cabinets: If you are installing multiple cabinets side by side, use clamps to hold them together and ensure they are aligned properly before securing them to the wall. This will create a seamless and professional-looking installation.
-
Adjusting for Uneven Walls: In some cases, walls may not be perfectly straight or level. If this is the case, use shims behind the cabinets to adjust for any irregularities and ensure the cabinets are aligned and level.
-
Securing the Cabinets Together: If you have multiple cabinets, secure them together using screws through the sides or the face frames. This will create a unified and stable installation.
-
Installing Filler Strips: If there are gaps between the cabinets and the wall or between individual cabinets, install filler strips to create a seamless and finished look. These strips can be cut to size and attached using wood glue and finishing nails.
-
Hanging the Doors: Once the cabinets are securely installed, hang the doors and adjust them as needed to ensure they open and close smoothly. Check for consistent spacing between the doors and make any necessary adjustments.
By following these steps, you can ensure that your wall cabinets are securely and professionally installed, ready to serve their purpose in providing storage and enhancing the aesthetics of your space.
Finishing Touches and Decoration
After the hard work of building and installing your wall cabinets, it's time to add the finishing touches that will elevate their appearance and functionality. Here's how to put the final polish on your custom-built cabinets:
-
Applying Finish: Depending on your design preferences, you may choose to apply a finish to the cabinets. This could involve painting the cabinets in a color that complements the room's decor, or applying a wood stain to enhance the natural beauty of the wood. Be sure to apply the finish in a well-ventilated area and follow the manufacturer's instructions for the best results.
-
Adding Trim and Molding: Consider adding decorative trim or molding to the top and bottom of the cabinets to create a more polished and custom look. Crown molding, in particular, can add a touch of elegance to the cabinets and create a seamless transition between the cabinets and the ceiling.
-
Installing Lighting: To enhance both the functionality and ambiance of your wall cabinets, consider installing interior cabinet lighting. LED strip lights or puck lights can be discreetly installed inside the cabinets to illuminate the contents and create a warm and inviting atmosphere.
-
Accessorizing: Once the cabinets are in place, consider adding accessories such as decorative knobs or handles to the doors. These small details can make a big impact on the overall look of the cabinets and tie them in with the room's design aesthetic.
-
Organizational Inserts: To maximize the storage potential of your cabinets, consider adding organizational inserts such as pull-out shelves, drawer dividers, or spice racks. These inserts can help keep the contents of the cabinets neatly organized and easily accessible.
-
Showcasing Decor: Once the cabinets are fully functional, take the opportunity to showcase decorative items or cherished possessions on the open shelves. This not only adds a personal touch to the cabinets but also contributes to the overall decor of the room.
By attending to these finishing touches and decoration details, you can ensure that your wall cabinets not only serve their practical purpose but also enhance the visual appeal of the space they inhabit. With careful attention to these final steps, your custom-built wall cabinets will be a standout feature in your home.