
Home>Create & Decorate>DIY & Crafts>How To Build 2 Step Stairs
DIY & Crafts
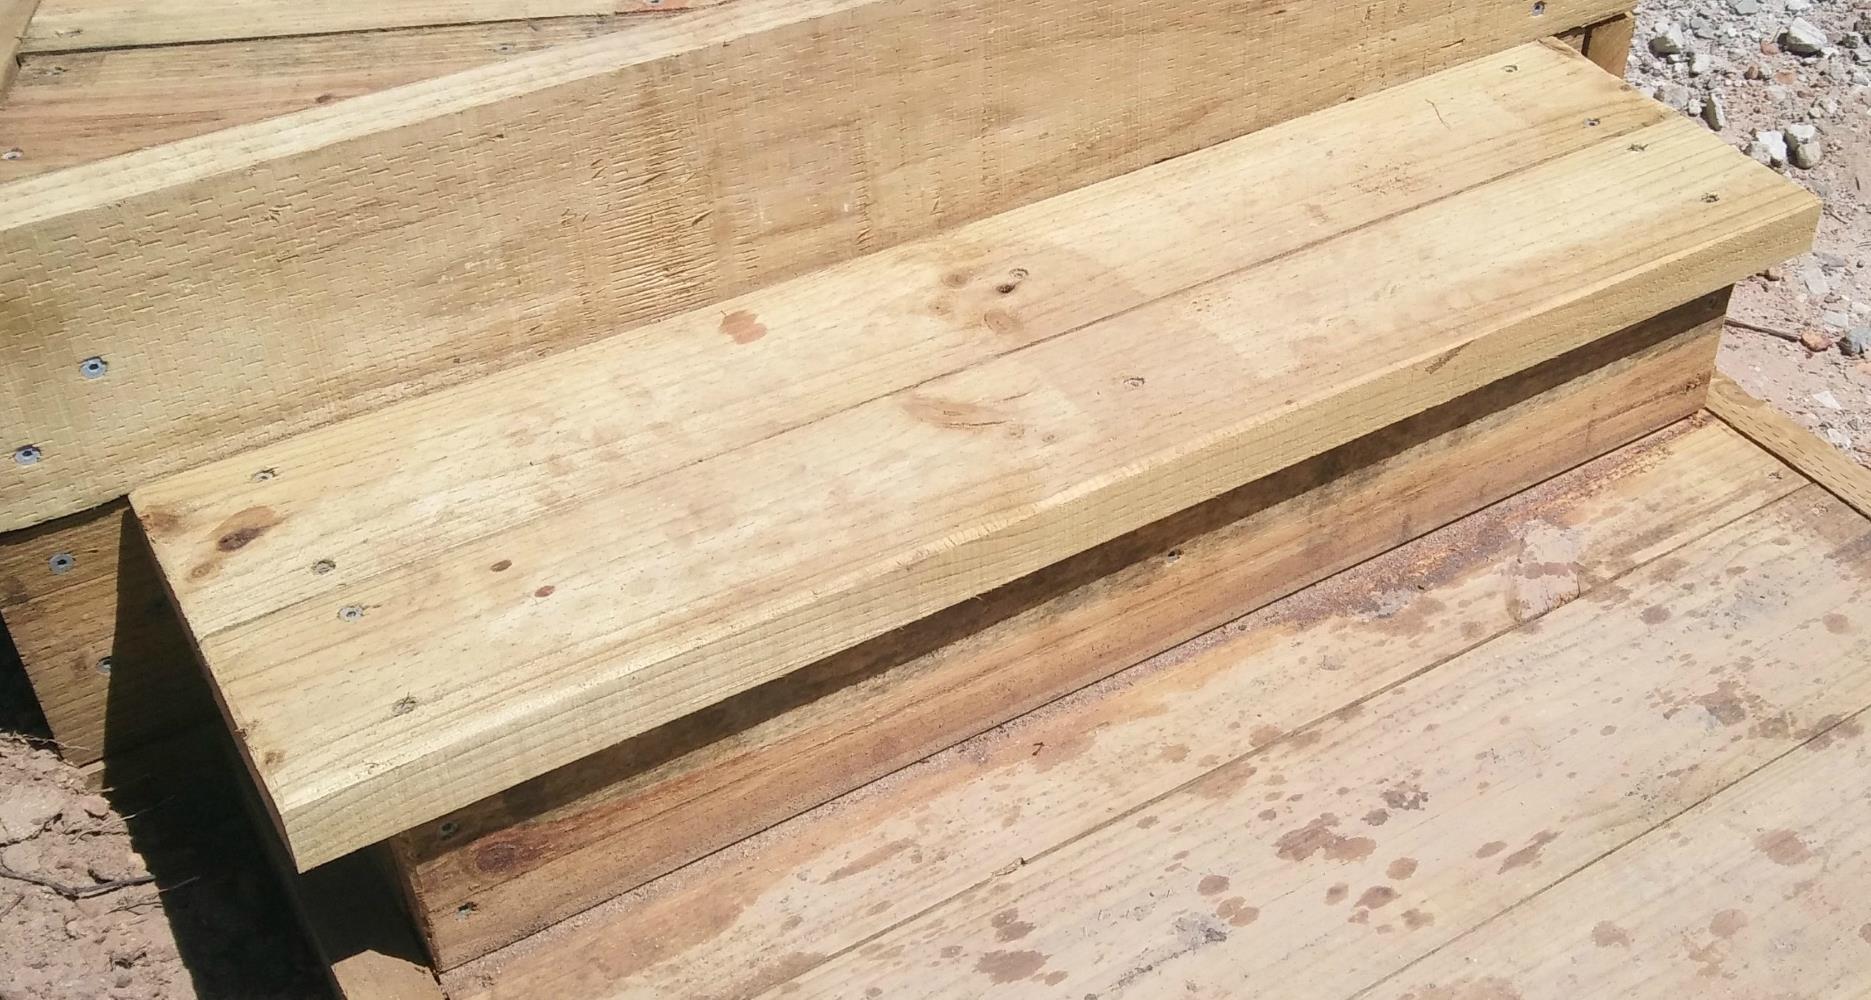
How To Build 2 Step Stairs
Published: May 24, 2024

Senior Editor in Create & Decorate, Kathryn combines traditional craftsmanship with contemporary trends. Her background in textile design and commitment to sustainable crafts inspire both content and community.
Learn how to build 2 step stairs with our easy DIY & Crafts guide. Create a safe and stylish addition to your home with our step-by-step instructions.
(Many of the links in this article redirect to a specific reviewed product. Your purchase of these products through affiliate links helps to generate commission for Twigandthistle.com, at no extra cost. Learn more)
Introduction
So, you've got a deck or platform that's a bit too high off the ground, and you're tired of doing a little hop to get up there. It's time to build some 2-step stairs! Whether you're a seasoned DIY enthusiast or a newbie looking to flex your handy skills, building 2-step stairs is a manageable project that can make a big difference in the accessibility and aesthetics of your outdoor space. In this guide, we'll walk you through the process, from gathering materials and tools to attaching the steps to your deck or platform. Let's roll up our sleeves and get started!
Step 1: Gather Materials and Tools
Before diving into the construction of your 2-step stairs, it's crucial to gather all the necessary materials and tools. Here's what you'll need:
Materials:
- Pressure-treated lumber: Two 2×6 or 2×8 boards for the stringers, and two 2×6 boards for the steps.
- Gravel or crushed stone: For creating a stable base.
- Concrete mix: To secure the stair stringers in place.
- Galvanized deck screws: These will ensure the durability of your stairs, even in outdoor conditions.
Tools:
- Tape measure: For accurate measurements.
- Circular saw: To cut the lumber to the required dimensions.
- Carpenter's square: Essential for ensuring the angles are precise.
- Level: To ensure your stairs are straight and even.
- Drill/driver: For securing the steps and stringers together.
- Shovel: For preparing the ground where the stairs will be placed.
With these materials and tools at the ready, you're all set to move on to the next step in building your 2-step stairs.
Step 2: Measure and Cut the Wood
Once you have all your materials and tools gathered, it's time to get down to the nitty-gritty of measuring and cutting the wood for your 2-step stairs. Here's how to do it:
-
Measure the Rise and Run: The rise is the vertical distance between the ground and the top of the deck or platform, while the run is the horizontal distance the stairs will cover. Measure these carefully to determine the dimensions of your steps.
-
Cut the Stringers: Using the pressure-treated lumber, cut two 2×6 or 2×8 boards to the length of the total rise of your stairs. Use a circular saw to make these cuts, ensuring they are precise and uniform.
-
Mark and Cut the Steps: Measure and cut two 2×6 boards to the determined run of the stairs. You'll need two of these boards to create the steps for your stairs. Make sure the cuts are straight and accurate to ensure a secure and even staircase.
-
Angle Cuts: If your stairs will be attached to a deck or platform, you may need to make angle cuts on the top of the stringers to ensure a proper fit. Use a carpenter's square to mark and guide your cuts, and be sure to double-check the angles before cutting.
By carefully measuring and cutting the wood for your 2-step stairs, you'll set the stage for a sturdy and well-constructed addition to your outdoor space. With this step completed, you're ready to move on to the next phase of the project.
Step 3: Assemble the Steps
With the wood cut to the appropriate dimensions, it's time to assemble the steps for your 2-step stairs. Follow these steps to bring your staircase to life:
-
Lay Out the Stringers: Place the two stringers on the ground, parallel to each other, with the top of the stringers facing each other. Ensure they are spaced evenly and are parallel to one another.
-
Attach the Steps: Position the cut 2×6 boards for the steps on top of the stringers. Space them evenly, ensuring there is a uniform overhang on each side. Use a drill/driver and galvanized deck screws to secure the steps to the stringers. Be sure to drive the screws in firmly to create a strong connection.
-
Check for Level: Once the steps are attached, use a level to ensure they are even and level. This step is crucial for the safety and stability of your stairs, so take the time to make any necessary adjustments.
-
Add Support: For added stability, consider adding support blocks between the stringers and below the steps. These blocks can be cut from the remaining pressure-treated lumber and attached with deck screws.
-
Reinforce the Steps: To further reinforce the steps, consider adding a diagonal brace underneath each step. This will help prevent any swaying or wobbling and ensure a solid, durable staircase.
By following these steps, you'll assemble a set of sturdy and reliable 2-step stairs that will provide safe and convenient access to your deck or platform. Once the steps are assembled, you're ready to move on to the final phase of the project: attaching the steps to your outdoor space.
Step 4: Attach the Steps to the Deck or Platform
Now that the steps are assembled, it's time to securely attach them to your deck or platform. Follow these steps to ensure a safe and stable connection:
-
Position the Stairs: Carefully position the assembled steps in the desired location against the deck or platform. Ensure that the bottom of the stringers rests firmly on the ground and that the steps align with the edge of the deck.
-
Mark the Attachment Points: Use a pencil to mark the attachment points on the deck or platform where the stringers will be secured. Make sure the marks are accurate and aligned with the stringers.
-
Pre-Drill Holes: To prevent the wood from splitting, pre-drill holes at the marked attachment points using a drill/driver and an appropriate-sized drill bit. This step is crucial, especially when working with pressure-treated lumber.
-
Secure the Stringers: With the pre-drilled holes in place, use galvanized deck screws to secure the stringers to the deck or platform. Drive the screws through the holes in the stringers and into the underlying structure of the deck or platform. Ensure the attachment is firm and secure.
-
Check for Stability: Once the stringers are attached, carefully test the stability of the stairs. Apply pressure to different areas of the steps to ensure they are solid and do not wobble. If any instability is detected, recheck the attachment points and make any necessary adjustments.
-
Finishing Touches: To complete the installation, consider adding additional screws or brackets to reinforce the connection between the stringers and the deck or platform. This extra reinforcement can provide added stability and peace of mind.
By following these steps, you'll effectively attach the steps to your deck or platform, creating a safe and durable access point to your outdoor space. With the completion of this step, your 2-step stairs are ready to be put to use, providing a functional and visually appealing addition to your home.
Conclusion
Congratulations! You've successfully completed the construction of your 2-step stairs. By following the steps outlined in this guide, you've not only enhanced the accessibility of your outdoor space but also added a touch of craftsmanship to your home. With the right materials, tools, and a bit of elbow grease, you've created a functional and visually appealing set of stairs that will serve you well for years to come. Now, it's time to step back, admire your handiwork, and enjoy the convenience and safety that your new stairs provide. Whether it's a small step or a giant leap for your DIY skills, building 2-step stairs is a rewarding project that showcases your ability to transform raw materials into a practical and valuable addition to your home. Keep up the great work, and may your future DIY endeavors be just as fulfilling!