
Home>Create & Decorate>DIY & Crafts>DIY Photo Booth: Capture Memories With This Fun Craft Project
DIY & Crafts
DIY Photo Booth: Capture Memories With This Fun Craft Project
Published: May 25, 2024

Content Creator specializing in woodworking and interior transformations. Caegan's guides motivate readers to undertake their own projects, while his custom furniture adds a personal touch.
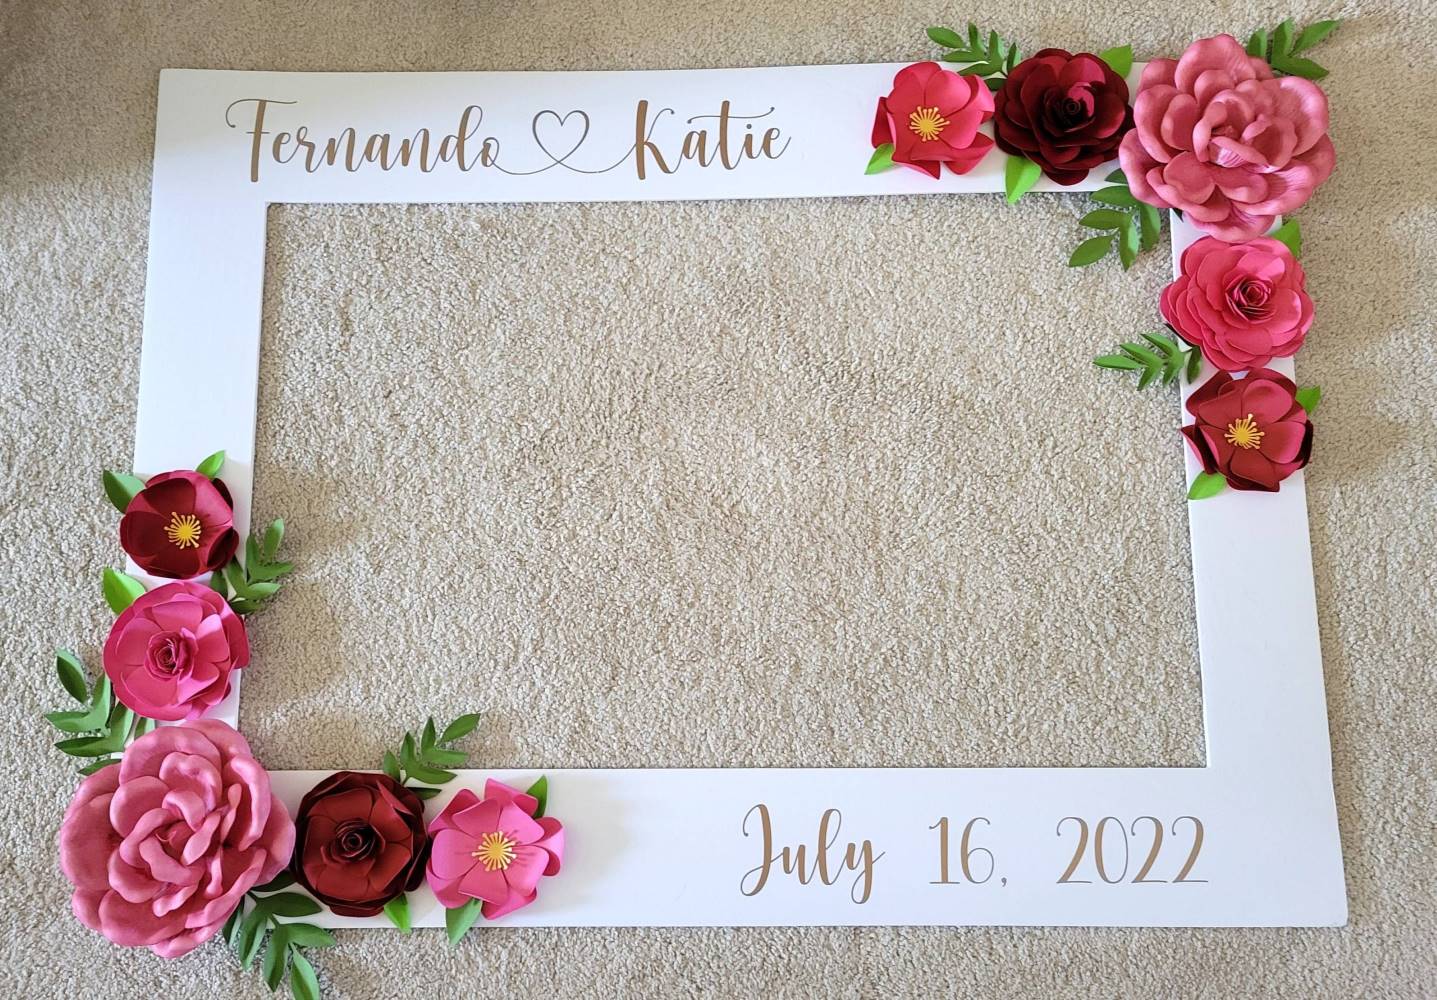
Create unforgettable memories with our DIY photo booth craft project. Perfect for DIY & Crafts enthusiasts looking to capture special moments in a fun and creative way.
(Many of the links in this article redirect to a specific reviewed product. Your purchase of these products through affiliate links helps to generate commission for Twigandthistle.com, at no extra cost. Learn more)
Introduction
Are you looking for a fun and creative way to capture memories at your next event? Look no further than a DIY photo booth! Whether you're hosting a birthday party, wedding, or any other special occasion, a DIY photo booth can add an extra element of entertainment and help your guests create lasting memories. In this article, we'll guide you through the process of creating your own photo booth, complete with fun props and tips for a successful setup. Let's dive in and discover how to bring the joy of a photo booth to your next gathering!
Materials Needed
To get started on your DIY photo booth project, you'll need a few essential materials. Here's a list of what you'll require:
-
Backdrop: Choose a backdrop that suits the theme of your event. You can use a plain colored sheet, a patterned fabric, or even a customized backdrop with the event's name or date.
-
Camera or Smartphone: You'll need a camera to capture the fun moments. A digital camera or a smartphone with a high-quality camera will work perfectly.
-
Tripod: A tripod will help keep the camera steady and ensure that every photo is well-framed.
-
Lighting: Good lighting is crucial for great photos. If your event is indoors, consider using soft box lights or ring lights to illuminate the photo booth area.
-
Props: Gather an assortment of fun props such as hats, glasses, boas, and signs to add an extra element of enjoyment to the photos.
-
Printer (optional): If you want to provide instant prints for your guests, you'll need a printer and photo paper. This is a great way for guests to take home a physical memento of the event.
-
Backdrop Stand (optional): If you're using a fabric backdrop, a backdrop stand will help keep it in place and prevent any wrinkles or creases.
With these materials in hand, you'll be well-equipped to create a memorable and entertaining DIY photo booth for your event.
Setting Up the Photo Booth
Once you have gathered all the necessary materials, it's time to set up your DIY photo booth. Follow these steps to create a captivating and functional photo booth area:
-
Choose the Perfect Location: Select a spot at your event venue that has enough space for the photo booth setup and is easily accessible to your guests. Consider the lighting in the area and make any necessary adjustments to ensure optimal photo quality.
-
Set Up the Backdrop: Hang the chosen backdrop using a backdrop stand or by securing it to a wall. Ensure that it is wrinkle-free and positioned at an appropriate height for guests of all ages. If you're using a customized backdrop, make sure it's prominently displayed for maximum impact.
-
Position the Camera and Tripod: Place the camera on the tripod and position it at the ideal distance from the backdrop. Adjust the height and angle to frame the shots perfectly. If you're using a smartphone, a tripod with an adjustable phone mount can be a convenient alternative.
-
Arrange the Lighting: If the existing lighting in the area is insufficient, set up additional lighting to ensure well-lit and vibrant photos. Soft box lights or ring lights can be positioned strategically to enhance the overall photo quality.
-
Create a Photo Booth Sign: Craft a sign that lets guests know they're entering a photo booth area. You can get creative with the sign by adding a catchy phrase or the event's hashtag to encourage guests to share their photos on social media.
-
Test the Setup: Before the event begins, take some test shots to ensure that the camera, lighting, and backdrop are all working together harmoniously. This is also a great opportunity to make any necessary adjustments to achieve the best results.
By following these steps, you'll have a well-prepared and inviting photo booth area that's ready to capture countless memories throughout your event.
Adding Fun Props
No DIY photo booth is complete without an array of fun and quirky props to add an extra element of enjoyment to the photos. Here's how to curate and incorporate a delightful selection of props for your photo booth:
-
Select a Variety of Props: Gather an assortment of props that cater to different tastes and preferences. Include items such as hats, wigs, oversized sunglasses, feather boas, funny signs, and themed accessories related to your event. The more diverse the props, the more entertaining the photos will be.
-
DIY Props: Get creative and craft some DIY props to personalize the photo booth experience. You can make props using cardboard, colorful paper, and craft sticks. Consider creating themed props that align with the purpose of the event, such as birthday hats for a birthday party or masquerade masks for a formal event.
-
Props for Group Photos: Include props that are perfect for group photos. Think about items like oversized frames, speech bubbles, or props with multiple handles that can be held by several people at once. These props can encourage guests to interact and strike playful poses together.
-
Props for Different Ages: If your event includes guests of various ages, ensure that you have props suitable for everyone. From children to adults, having a mix of props that cater to different age groups will ensure that everyone can participate and have fun in the photo booth.
-
Display and Organize: Set up a designated table or area near the photo booth to display the props attractively. Use decorative containers or vases to organize the props neatly, making it easy for guests to browse and select their favorites. Consider adding a small mirror to allow guests to adjust their props before taking photos.
-
Encourage Creativity: Encourage guests to get creative with the props and take playful and spontaneous photos. A chalkboard or whiteboard can be included as a prop, allowing guests to write personalized messages or draw fun doodles to accompany their photos.
By incorporating a diverse and engaging selection of props, you'll elevate the photo booth experience and ensure that your guests have a blast capturing memorable moments with their creative and entertaining photos.
Taking and Printing Photos
Once the setup is complete and the props are in place, it's time to capture the fun and excitement with the photo booth. Here's how to ensure that every moment is immortalized through photos:
-
Encourage Interaction: As the event progresses, encourage guests to visit the photo booth and take memorable photos. Whether it's a solo portrait or a group shot, the photo booth provides an opportunity for guests to interact and create lasting memories together.
-
Provide Clear Instructions: Display a sign or instructions near the photo booth to guide guests on how to operate the camera or smartphone. If you're offering instant prints, provide clear directions on how to obtain the printed photos.
-
Capture Candid Moments: While posed photos are fun, candid moments often result in the most genuine and heartwarming images. Encourage guests to let loose and capture spontaneous moments that reflect the joy and camaraderie of the event.
-
Utilize Props Creatively: The props aren't just for show – they're meant to be used creatively in the photos. Encourage guests to experiment with different props, strike playful poses, and express their unique personalities through the photos.
-
Offer Instant Prints (Optional): If you've opted to include a printer, ensure that it's set up to provide instant prints. Guests will love the opportunity to take home physical copies of their favorite photos as keepsakes from the event.
-
Create a Digital Gallery: In addition to printed photos, consider setting up a digital gallery or online album where guests can view and download their photo booth pictures. This allows guests to access their photos even after the event has ended, extending the enjoyment and memories.
By following these tips, you'll ensure that every moment captured in the photo booth is filled with joy, creativity, and lasting memories. Whether it's a wedding, birthday, or any special occasion, the photo booth will undoubtedly become a highlight of the event, creating cherished mementos for all who attend.
Tips for a Successful DIY Photo Booth
-
Engage with Guests: Encourage guests to visit the photo booth by personally inviting them or having the event host make announcements. Interaction and participation are key to the success of the photo booth.
-
Keep the Line Moving: If the event is bustling, ensure that the photo booth line keeps moving smoothly. This can be achieved by having an attendant to assist with props and photo-taking, ensuring that everyone gets a turn without long wait times.
-
Promote Social Sharing: Create a designated hashtag for the event and display it prominently in the photo booth area. Encourage guests to share their photo booth experiences on social media using the event hashtag, fostering a sense of community and shared memories.
-
Provide Clear Instructions: Make sure that the operation of the photo booth is straightforward for guests. Display clear instructions on how to take photos, use props, and access printed or digital copies of the images.
-
Capture Group Photos: Encourage group photos by providing props and signage that prompt guests to gather together. Group photos are not only fun but also create lasting memories of the event's camaraderie.
-
Maintain the Props: Throughout the event, periodically check and tidy up the prop area to ensure that everything remains organized and appealing. Replace any damaged or worn-out props to keep the photo booth experience fresh and enjoyable for all guests.
-
Consider a Theme: If the event has a specific theme, incorporate it into the photo booth setup. From props to the backdrop, aligning the photo booth with the event's theme adds an extra layer of fun and cohesiveness.
-
Express Gratitude: After the event, consider sending a thank-you message to the guests, accompanied by a digital gallery link where they can access and download their photo booth pictures. This thoughtful gesture extends the event's appreciation and allows guests to relive the fun moments.
By implementing these tips, you can ensure that your DIY photo booth becomes a resounding success, leaving guests with cherished memories and a delightful experience to remember.
Conclusion
In conclusion, creating a DIY photo booth is a fantastic way to add an element of fun and excitement to any event. By following the steps outlined in this article, from setting up the backdrop and props to capturing and printing photos, you can ensure that your guests will have a memorable and enjoyable experience. The DIY photo booth serves as a platform for creativity, interaction, and the preservation of cherished moments. Whether it's a wedding, birthday party, or any special occasion, the DIY photo booth has the power to bring people together and capture the joy of the moment. With the right materials, thoughtful setup, and engaging props, your DIY photo booth is sure to be a highlight of the event, leaving guests with lasting memories to treasure.