Home>Create & Decorate>DIY & Crafts>DIY: How To Build Stunning Built-In Bookshelves For Your Home

DIY & Crafts
DIY: How To Build Stunning Built-In Bookshelves For Your Home
Published: February 28, 2024

Content Creator specializing in woodworking and interior transformations. Caegan's guides motivate readers to undertake their own projects, while his custom furniture adds a personal touch.
Learn how to create beautiful built-in bookshelves for your home with our step-by-step DIY guide. Perfect for DIY & Crafts enthusiasts!
(Many of the links in this article redirect to a specific reviewed product. Your purchase of these products through affiliate links helps to generate commission for Twigandthistle.com, at no extra cost. Learn more)
Introduction
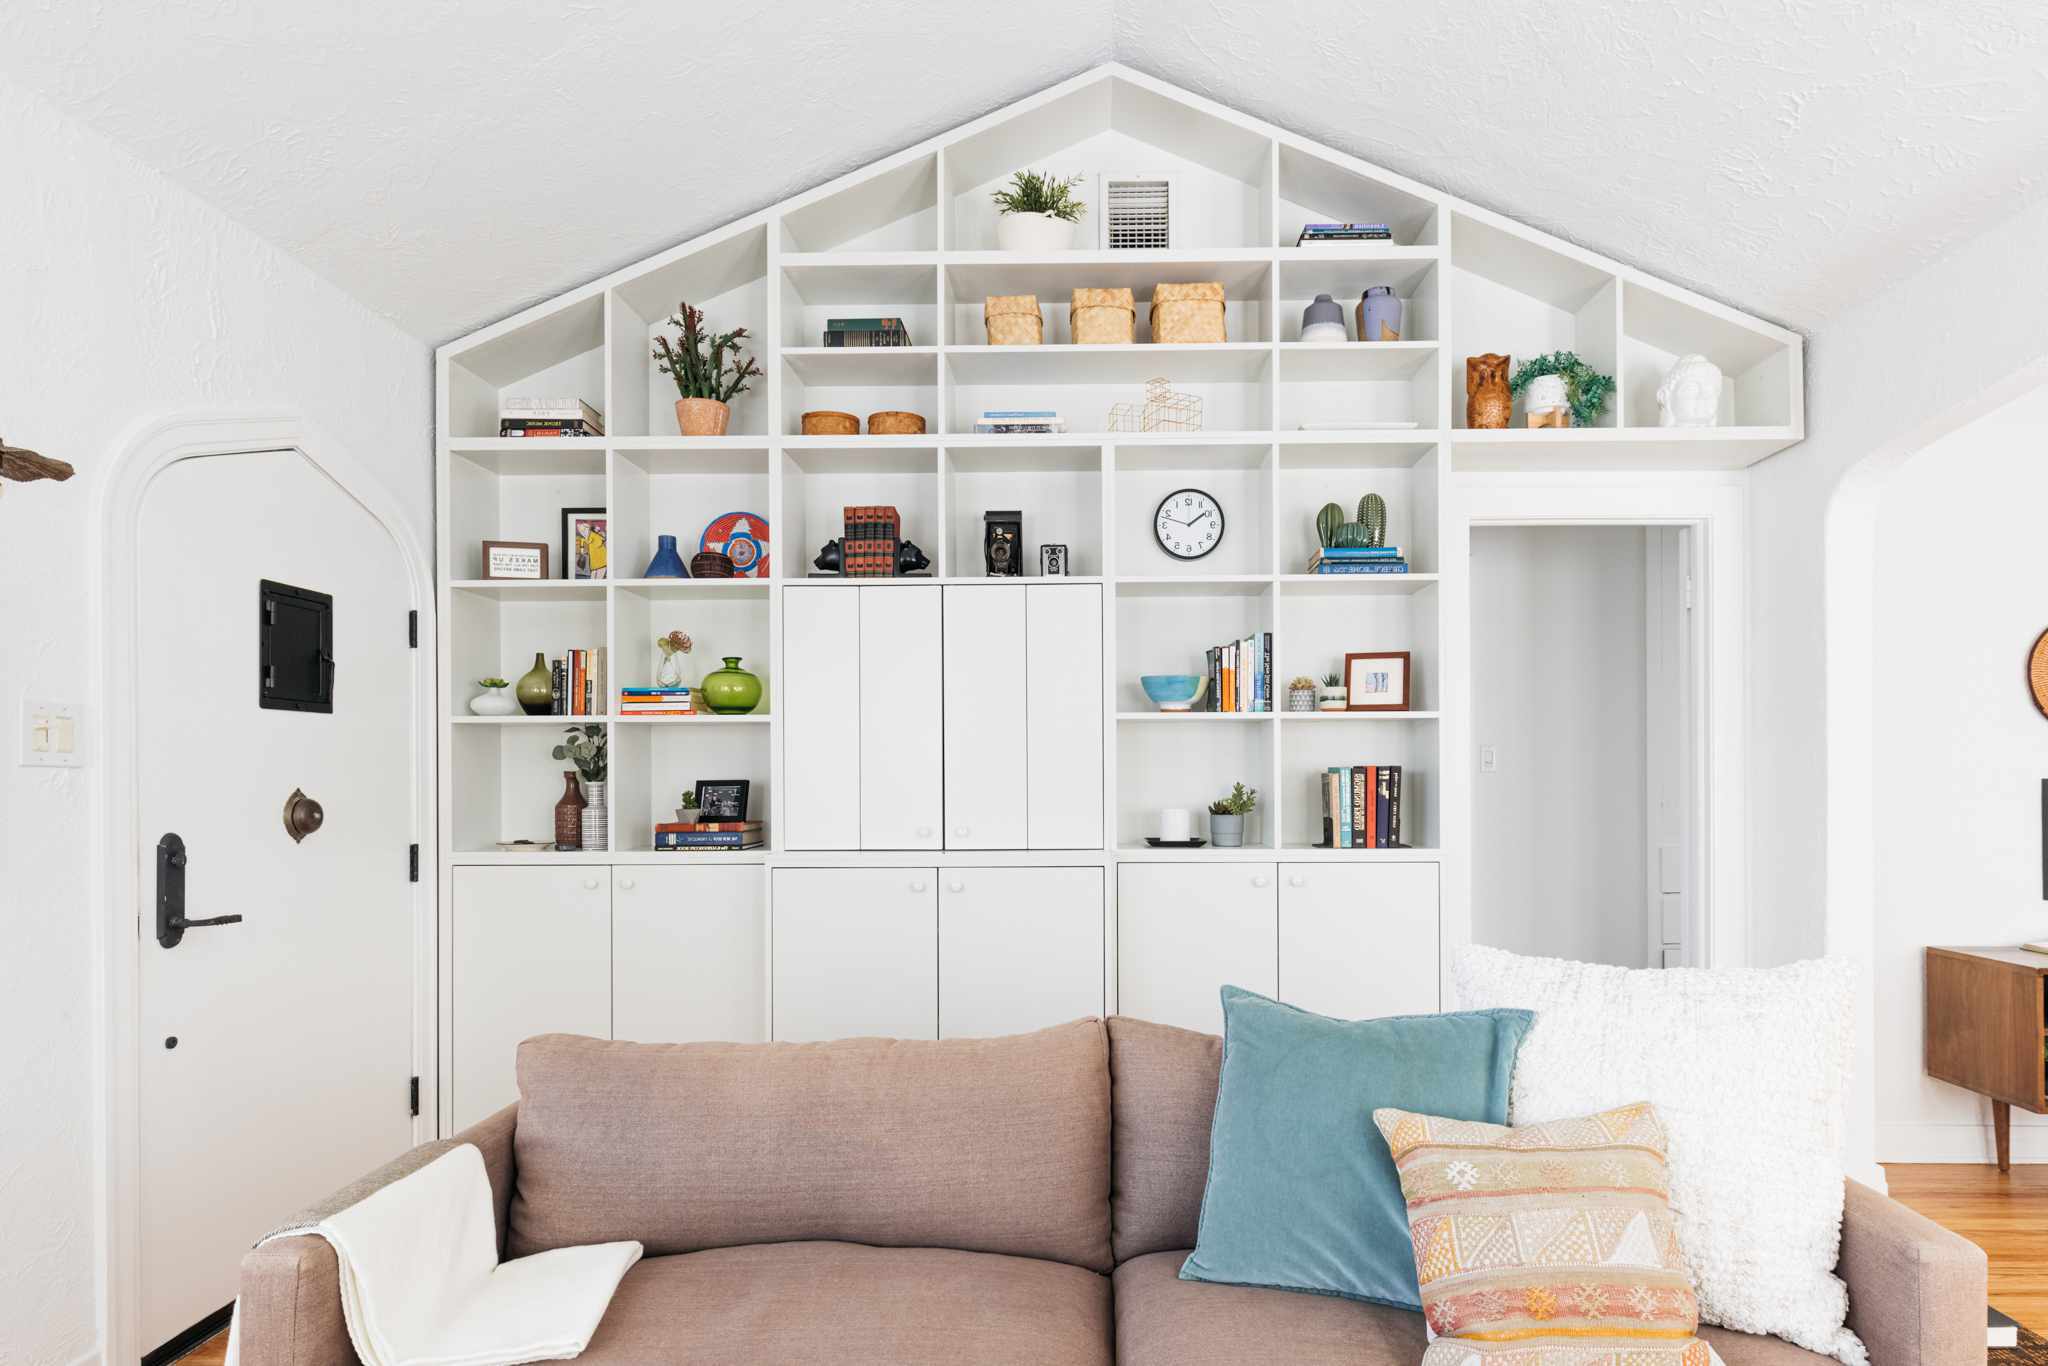
Are you looking to add a touch of elegance and functionality to your home? Built-in bookshelves are a fantastic way to enhance the aesthetic appeal of any room while providing valuable storage space for your favorite books, decorative items, and more. Whether you're a seasoned DIY enthusiast or a novice looking to embark on a new project, building stunning built-in bookshelves can be a rewarding and fulfilling endeavor.
In this comprehensive guide, we will walk you through the step-by-step process of creating your own custom built-in bookshelves. From planning and measuring to the finishing touches, you'll learn everything you need to know to bring this impressive addition to your home to life. With a bit of creativity, patience, and the right tools, you can transform a plain wall into a stunning focal point that reflects your personal style and enhances the functionality of your space.
So, roll up your sleeves, gather your tools, and get ready to embark on a DIY journey that will not only add value to your home but also provide a sense of accomplishment and pride. Let's dive into the exciting world of DIY built-in bookshelves and unleash your creativity!
Read more: How to Create Built-In Bookshelves
Step 1: Planning and Measuring
Before diving into the construction of your built-in bookshelves, meticulous planning and precise measurements are crucial for a successful outcome. This initial step sets the foundation for the entire project and ensures that your bookshelves will seamlessly integrate into your space.
Assess Your Space
Begin by assessing the area where you intend to install the built-in bookshelves. Take note of any architectural features, such as outlets, vents, or moldings, that may impact the design and placement of the shelves. Consider the overall aesthetic of the room and envision how the bookshelves will complement the existing decor.
Determine the Dimensions
Next, carefully measure the dimensions of the wall where the bookshelves will be installed. Take precise measurements of the height, width, and depth of the space to determine the optimal size for your bookshelves. Consider factors such as the height of the ceiling and the available floor space to ensure that the bookshelves will harmonize with the room's proportions.
Sketch Your Design
With the measurements in hand, sketch a rough design of the bookshelves, including the number of shelves, their placement, and any additional features such as cabinets or decorative moldings. Visualizing the layout will help you refine the design and ensure that it aligns with your vision for the space.
Read more: How to DIY Built-In Bookcase Around Window
Consider Functionality
Think about how you intend to use the bookshelves. Will they primarily house books, or will they also display decorative items? Consider incorporating adjustable shelves to accommodate items of varying heights and create a versatile storage solution.
Select Materials
Based on your design and the overall aesthetic of the room, choose the materials for your bookshelves. Whether you opt for solid wood for a timeless look or prefer the versatility of MDF (medium-density fiberboard), selecting the right materials is essential for achieving the desired style and durability.
Seek Inspiration
Gather inspiration from interior design magazines, online platforms, or home improvement shows to explore different styles and configurations. This can spark new ideas and help you refine your vision for the built-in bookshelves.
By meticulously planning and taking precise measurements, you lay the groundwork for a successful built-in bookshelf project. This thoughtful approach sets the stage for the subsequent steps, ensuring that your custom bookshelves will seamlessly integrate into your home while reflecting your personal style and functional needs.
Step 2: Gathering Materials and Tools
Once you have meticulously planned and measured the space for your built-in bookshelves, the next crucial step is gathering the necessary materials and tools to bring your vision to life. This phase is essential for ensuring that you have everything you need to execute the construction process smoothly and efficiently.
Read more: How to Hide a Door with DIY Solutions
Materials
Wood or MDF
The primary material for constructing the shelves and frame is a key consideration. Solid wood, such as oak or pine, offers a timeless and durable option, while MDF provides a more affordable and versatile alternative. Consider the aesthetic appeal, durability, and budget when selecting the material for your built-in bookshelves.
Shelf Supports
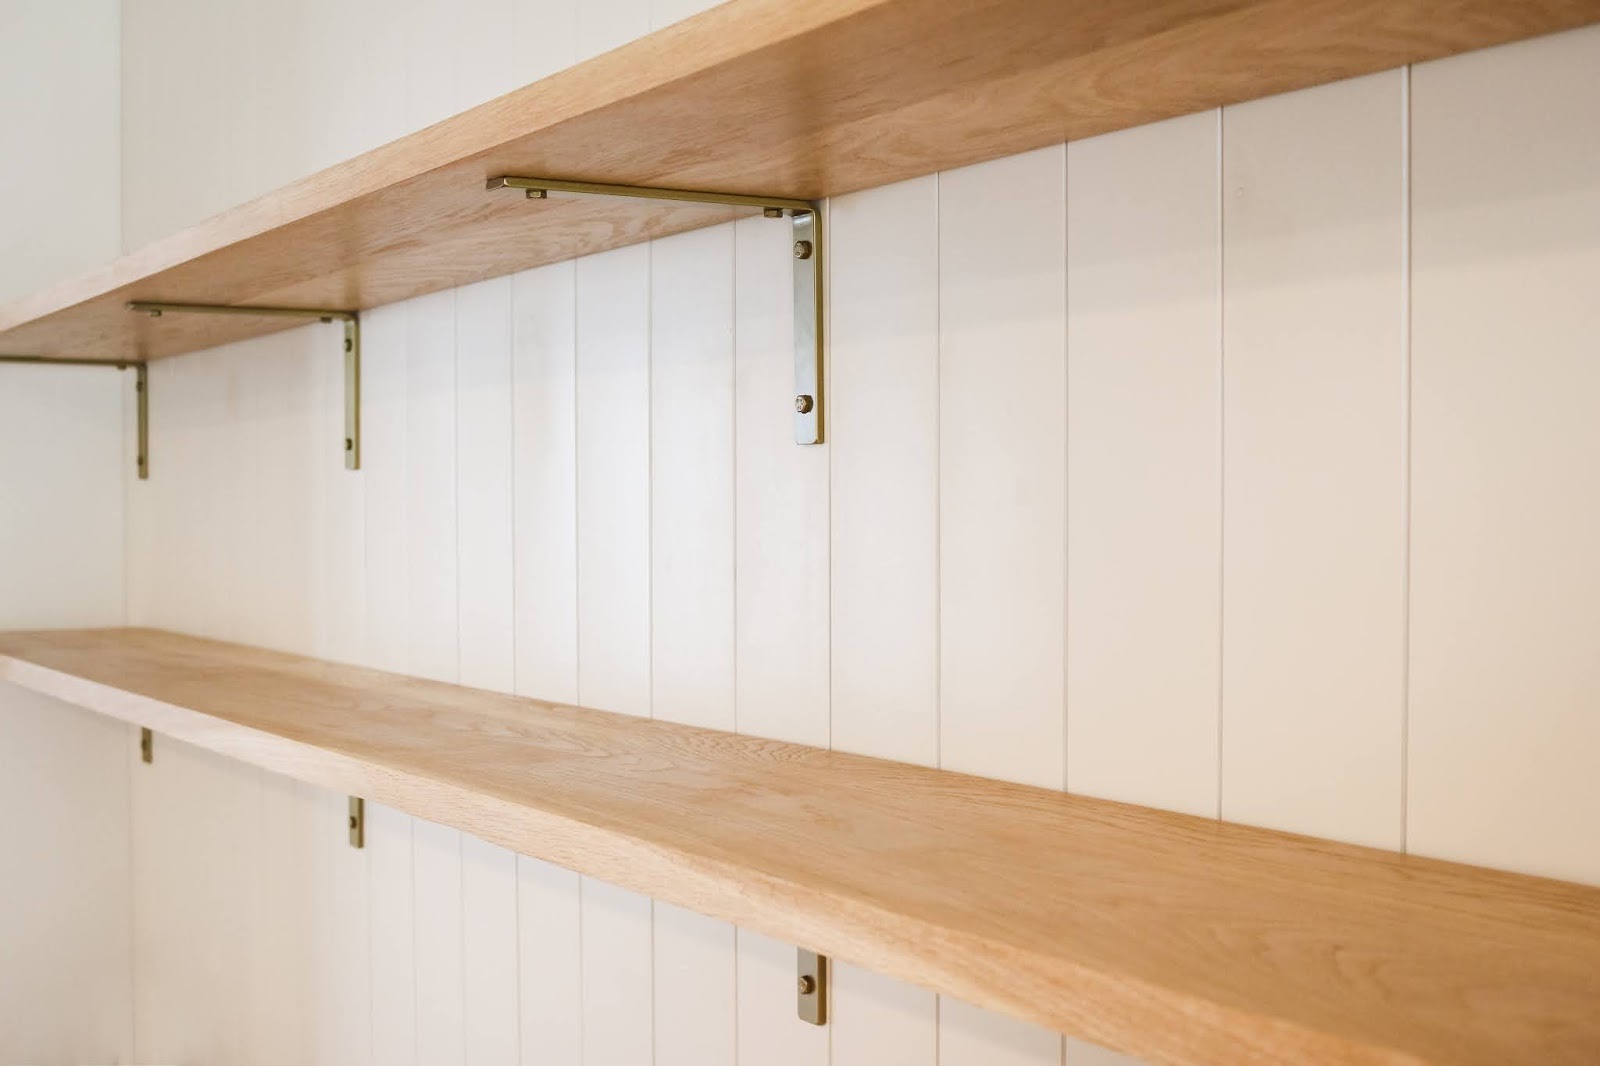
Depending on the design and weight-bearing capacity required, choose suitable shelf supports. Options include metal brackets, adjustable shelf pins, or integrated shelf standards, each offering distinct advantages in terms of stability and adjustability.
Trim and Molding
To add a polished and refined look to your bookshelves, consider incorporating decorative trim and molding. Crown molding, baseboards, and decorative edging can elevate the overall aesthetic and seamlessly integrate the bookshelves with the room's existing decor.
Wood Glue and Screws
Secure the structural components of the bookshelves with high-quality wood glue and screws. Opt for screws designed for woodworking, such as countersunk or trim head screws, to ensure a secure and professional finish.
Finishing Materials
Select the appropriate finishing materials, such as paint, stain, or varnish, to achieve the desired look for your bookshelves. Consider the existing color scheme of the room and choose a finish that complements the overall aesthetic.
Tools
Measuring Tape and Level
Accurate measurements and precise alignment are essential for the success of your built-in bookshelf project. A reliable measuring tape and level will ensure that the shelves are installed evenly and securely.
Circular Saw or Miter Saw
A circular saw or miter saw is indispensable for cutting the wood or MDF to the required dimensions. These tools enable precise and clean cuts, ensuring that the components fit together seamlessly.
Drill and Bits
A power drill equipped with a variety of drill bits is essential for creating pilot holes, countersinks, and installing screws. Additionally, a countersink bit will allow the screws to sit flush with the surface, creating a professional and polished appearance.
Wood Clamps
Wood clamps are invaluable for holding components together during assembly and ensuring that the glue dries securely. They provide stability and precision during the construction process.
Paintbrushes or Sprayer
If you plan to paint or stain the bookshelves, high-quality paintbrushes or a paint sprayer will facilitate a smooth and even application, resulting in a professional finish.
By gathering the appropriate materials and tools, you set the stage for a seamless and efficient construction process. With careful consideration of the materials and the acquisition of essential tools, you are well-prepared to move on to the next exciting phase of building your stunning built-in bookshelves.
Step 3: Building the Frame
With meticulous planning, precise measurements, and all the necessary materials and tools at your disposal, it's time to embark on the exciting phase of building the frame for your stunning built-in bookshelves. The frame serves as the structural backbone of the bookshelves, providing stability and support for the shelves while contributing to the overall aesthetic of the design.
Assembling the Vertical Supports
Begin by cutting the wood or MDF to the required dimensions for the vertical supports of the bookshelves. Using a circular saw or miter saw, ensure clean and precise cuts to achieve uniformity and consistency in the appearance of the frame. Once the components are cut, carefully position them against the wall, ensuring that they are plumb and level. Secure the vertical supports in place using wood clamps to hold them steady during the assembly process.
Read more: How to Build a DIY Dining Table
Attaching Horizontal Supports and Backing
Next, attach the horizontal supports to connect the vertical components and form the basic framework of the bookshelves. Use wood glue and screws to secure the horizontal supports to the vertical pieces, creating a sturdy and reliable structure. Additionally, consider adding a backing to the frame for enhanced stability and to provide a surface for attaching the shelves. A backing also prevents the wall from being visible between the shelves, creating a seamless and polished appearance.
Incorporating Decorative Elements
To elevate the visual appeal of the frame, consider incorporating decorative elements such as crown molding or trim. These embellishments not only add a touch of sophistication to the bookshelves but also conceal any gaps between the frame and the wall, resulting in a seamless integration with the room's architecture. Carefully measure and cut the decorative elements to ensure a precise fit and secure them in place using wood glue and finishing nails.
Ensuring Structural Integrity
Throughout the assembly process, prioritize the structural integrity of the frame. Use a level to confirm that the frame is plumb and ensure that all connections are secure and stable. Additionally, periodically check for any signs of warping or misalignment, making adjustments as needed to maintain the integrity of the frame.
By meticulously constructing the frame with attention to detail and precision, you lay the foundation for the next phase of the project: installing the shelves. The frame not only provides the necessary support for the shelves but also contributes to the overall aesthetic of the built-in bookshelves, setting the stage for a visually stunning and functional addition to your home.
Step 4: Installing Shelves
With the frame of your built-in bookshelves meticulously constructed, it's time to proceed to the pivotal phase of installing the shelves. This step not only adds the functional elements to your project but also contributes significantly to the overall aesthetic appeal of the bookshelves. The careful placement and secure installation of the shelves will bring your vision to life, creating a versatile and visually captivating storage solution for your home.
Read more: How to Build Built-In Cabinets
Preparing the Shelves
Before installing the shelves, ensure that the wood or MDF components are precisely cut to the required dimensions. Use a circular saw or miter saw to achieve clean and accurate cuts, allowing the shelves to fit seamlessly within the frame. Additionally, consider applying a finish to the shelves, such as paint or stain, to enhance their appearance and protect the surfaces.
Positioning and Alignment
Carefully position the shelves within the frame, ensuring equal spacing between each shelf for a balanced and visually appealing layout. Use a level to confirm that the shelves are perfectly horizontal, making any necessary adjustments to achieve precise alignment. Additionally, consider the functionality of the shelves and their intended use, adjusting the positioning to accommodate items of varying heights and sizes.
Securing the Shelves
Once the shelves are positioned to your satisfaction, secure them in place using appropriate shelf supports or brackets. Depending on the design and weight-bearing capacity required, choose supports that provide stability and reliability. Ensure that the supports are installed securely, preventing any wobbling or instability that could compromise the functionality and safety of the bookshelves.
Concealing Fasteners
To achieve a polished and professional appearance, consider concealing the fasteners used to secure the shelves. Depending on the design, you may opt for floating shelves that hide the supports within the structure, creating a seamless and visually striking display. Alternatively, if visible supports are utilized, ensure that they are positioned discreetly to minimize their impact on the overall aesthetic.
Final Adjustments
After installing the shelves, take a moment to assess the overall appearance and functionality of the bookshelves. Make any final adjustments to the positioning or alignment as needed, ensuring that the shelves are not only visually appealing but also practical for storing and displaying your items. Confirm that the shelves are securely installed and capable of supporting the intended load without any signs of strain or instability.
By meticulously installing the shelves with attention to detail and precision, you bring your built-in bookshelves one step closer to completion. The careful positioning and secure installation of the shelves contribute to the functionality and visual allure of the project, setting the stage for the final phase of adding the finishing touches to your stunning built-in bookshelves.
Step 5: Finishing Touches
With the frame constructed and the shelves securely installed, the final phase of adding the finishing touches to your built-in bookshelves is an opportunity to elevate the overall aesthetic and ensure that every detail reflects your vision for the space. This pivotal step encompasses the application of finishes, the integration of decorative elements, and the meticulous attention to detail that will bring your stunning built-in bookshelves to life.
Applying Finishes
The application of finishes, such as paint, stain, or varnish, plays a crucial role in enhancing the appearance and durability of your bookshelves. Consider the existing color scheme of the room and select a finish that complements the overall aesthetic. Whether you opt for a classic white finish to impart a timeless elegance or choose a rich stain to accentuate the natural beauty of the wood, the finishing touch will unify the bookshelves with the room's decor while providing protection against wear and tear.
Adding Decorative Elements
Incorporating decorative elements, such as crown molding, trim, or decorative hardware, can elevate the visual appeal of your built-in bookshelves. Crown molding adds a touch of sophistication, creating a seamless transition between the bookshelves and the ceiling. Additionally, decorative trim can conceal any gaps and add a refined finish to the edges of the bookshelves. Selecting complementary hardware, such as stylish knobs or handles for any integrated cabinets, can further personalize the appearance of the bookshelves, infusing them with character and charm.
Read more: How to Make Built-In Cabinets
Concealing Exposed Surfaces
As a final touch, consider concealing any exposed surfaces or hardware to achieve a polished and cohesive look. If visible screws or fasteners are utilized, ensure that they are positioned discreetly and, if necessary, filled and painted to seamlessly blend with the surrounding surfaces. Paying attention to these subtle details will contribute to a professional and refined finish, ensuring that your built-in bookshelves exude a sense of craftsmanship and attention to detail.
Styling and Personalization
Once the finishing touches are complete, take the opportunity to style the bookshelves with your favorite books, decorative items, and personal mementos. Consider incorporating a mix of vertical and horizontal arrangements, varying the heights and textures of the displayed items to create visual interest. By infusing the bookshelves with your personal touch, you transform them into a reflection of your style and personality, adding warmth and character to the space.
By meticulously attending to the finishing touches, you bring your vision for stunning built-in bookshelves to fruition. The application of finishes, integration of decorative elements, and personalized styling culminate in a captivating and functional addition to your home, showcasing your creativity and attention to detail.
Conclusion
Congratulations on successfully completing the construction of your stunning built-in bookshelves! This transformative DIY project has not only added a touch of elegance and functionality to your home but has also provided a sense of accomplishment and pride in your craftsmanship. As you stand back and admire the seamless integration of the bookshelves with your space, you can take pride in the meticulous planning, precise measurements, and attention to detail that have culminated in this visually striking and functional addition to your home.
The journey of building built-in bookshelves has been a testament to your creativity, patience, and determination. From the initial planning and measuring to the final finishing touches, each step has contributed to the creation of a custom storage solution that reflects your personal style and enhances the aesthetic appeal of your space.
As you bask in the satisfaction of a job well done, take a moment to appreciate the versatility and functionality of your new bookshelves. Whether they are showcasing your favorite literary treasures, displaying decorative items, or providing valuable storage space, these built-in bookshelves have become a focal point that enriches the ambiance of your home.
Furthermore, the skills and knowledge gained throughout this project have empowered you to take on future DIY endeavors with confidence and enthusiasm. The experience of building built-in bookshelves has not only enhanced your home but has also enriched your understanding of woodworking, design principles, and the gratifying nature of hands-on creativity.
As you reflect on this remarkable journey, remember that the beauty of DIY projects lies not only in the tangible results but also in the personal growth and fulfillment they bring. Your built-in bookshelves stand as a testament to your dedication and ingenuity, serving as a daily reminder of the joy that comes from transforming raw materials into a functional and visually captivating masterpiece.
So, as you revel in the beauty and practicality of your newly constructed built-in bookshelves, let this project inspire you to continue exploring the boundless possibilities of DIY craftsmanship and creativity. Your home is now adorned with a timeless and personalized feature that embodies your passion for design and your unwavering commitment to creating a space that truly reflects your unique style and personality.

