Home>Create & Decorate>DIY & Crafts>DIY: Home Made Entertainment Centers

DIY & Crafts
DIY: Home Made Entertainment Centers
Published: May 30, 2024

Senior Editor in Create & Decorate, Kathryn combines traditional craftsmanship with contemporary trends. Her background in textile design and commitment to sustainable crafts inspire both content and community.
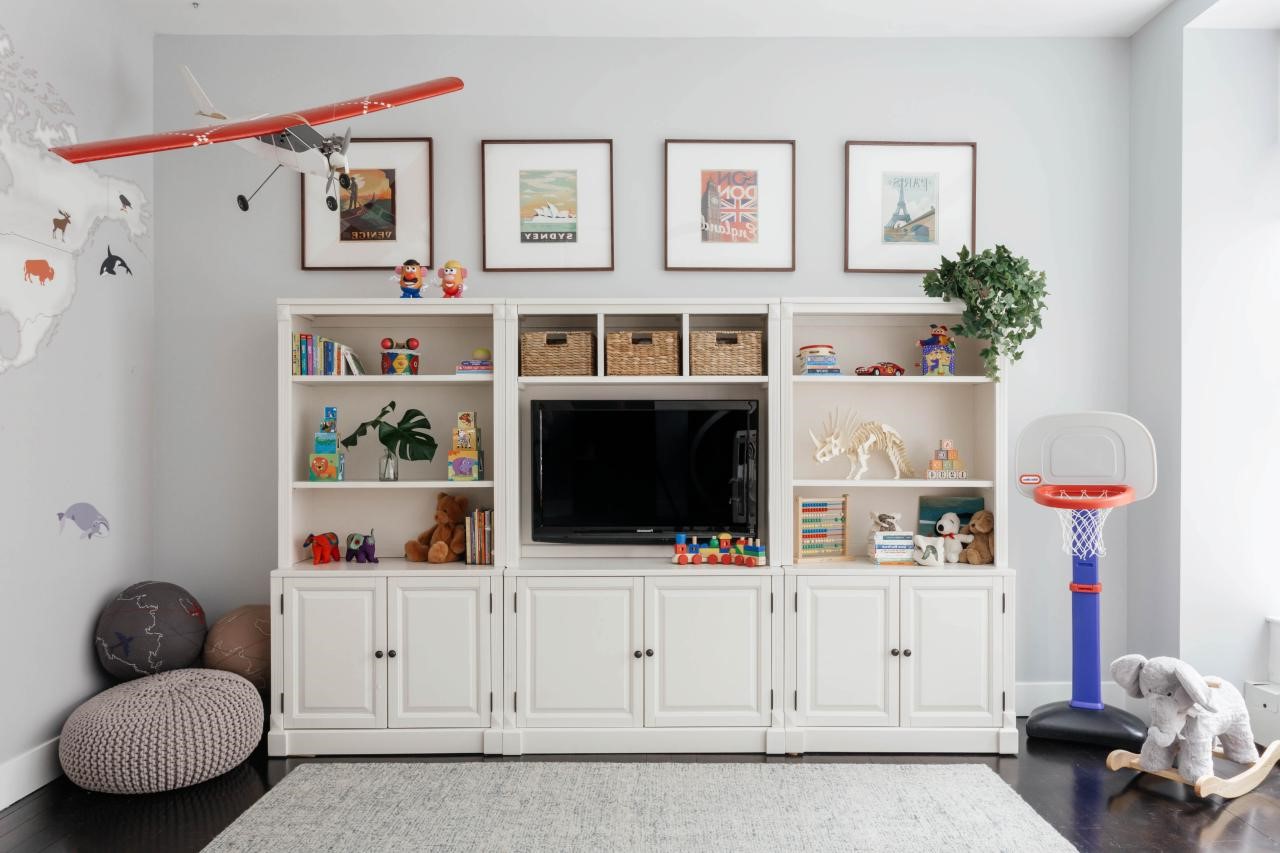
Discover creative and budget-friendly DIY entertainment center ideas for your home with our DIY & Crafts guide. Transform your living space with these homemade entertainment center projects.
(Many of the links in this article redirect to a specific reviewed product. Your purchase of these products through affiliate links helps to generate commission for Twigandthistle.com, at no extra cost. Learn more)
Introduction
So, you're tired of your old, boring entertainment center and you've decided to take matters into your own hands. Well, you've come to the right place! Building your home entertainment center can be a fun and rewarding project that not only adds a personal touch to your living space but also saves you some hard-earned cash. Whether you're a seasoned DIY enthusiast or a newbie looking to flex your creative muscles, creating your own entertainment center is a fantastic way to showcase your skills and spruce up your living room. In this guide, we'll walk you through the process of designing and building your very own home entertainment center from scratch. Let's dive in!
Read more: How to Build an Entertainment Center
Choosing the Right Materials
When it comes to building your own entertainment center, selecting the right materials is crucial for ensuring both durability and aesthetic appeal. Here are some key materials you'll need to consider:
1. Wood
Wood is a popular choice for DIY entertainment centers due to its versatility and durability. Oak, maple, and birch are excellent options for a sturdy and long-lasting structure, while plywood is a more budget-friendly alternative that still offers strength and stability.
2. Hardware
Choosing the right hardware, such as hinges, drawer slides, and knobs, is essential for the functionality and overall look of your entertainment center. Opt for high-quality hardware that complements the style of your design and ensures smooth operation.
3. Finishing Materials
Selecting the appropriate finishing materials, such as paint, stain, or varnish, is crucial for protecting the wood and achieving the desired aesthetic. Consider the color scheme of your living space and choose a finish that complements the overall decor.
4. Glass and Metal Accents
If you're aiming for a more modern or eclectic look, incorporating glass shelves or metal accents can add a touch of sophistication to your entertainment center. These materials can create visual interest and contrast when combined with wood.
5. Backing Material
Don't overlook the backing material for your entertainment center. Whether you opt for plywood, beadboard, or fabric, the backing provides structural support and can enhance the overall appearance of the piece.
By carefully selecting the right materials for your DIY entertainment center, you can ensure that your project not only looks great but also stands the test of time.
Designing Your Entertainment Center
Designing your entertainment center is where your creativity truly shines. Here are some key points to consider when planning the design of your DIY entertainment center:
-
Measure Your Space: Before diving into the design process, take precise measurements of the area where your entertainment center will be placed. Consider the height, width, and depth available to ensure that your design fits perfectly within the space.
-
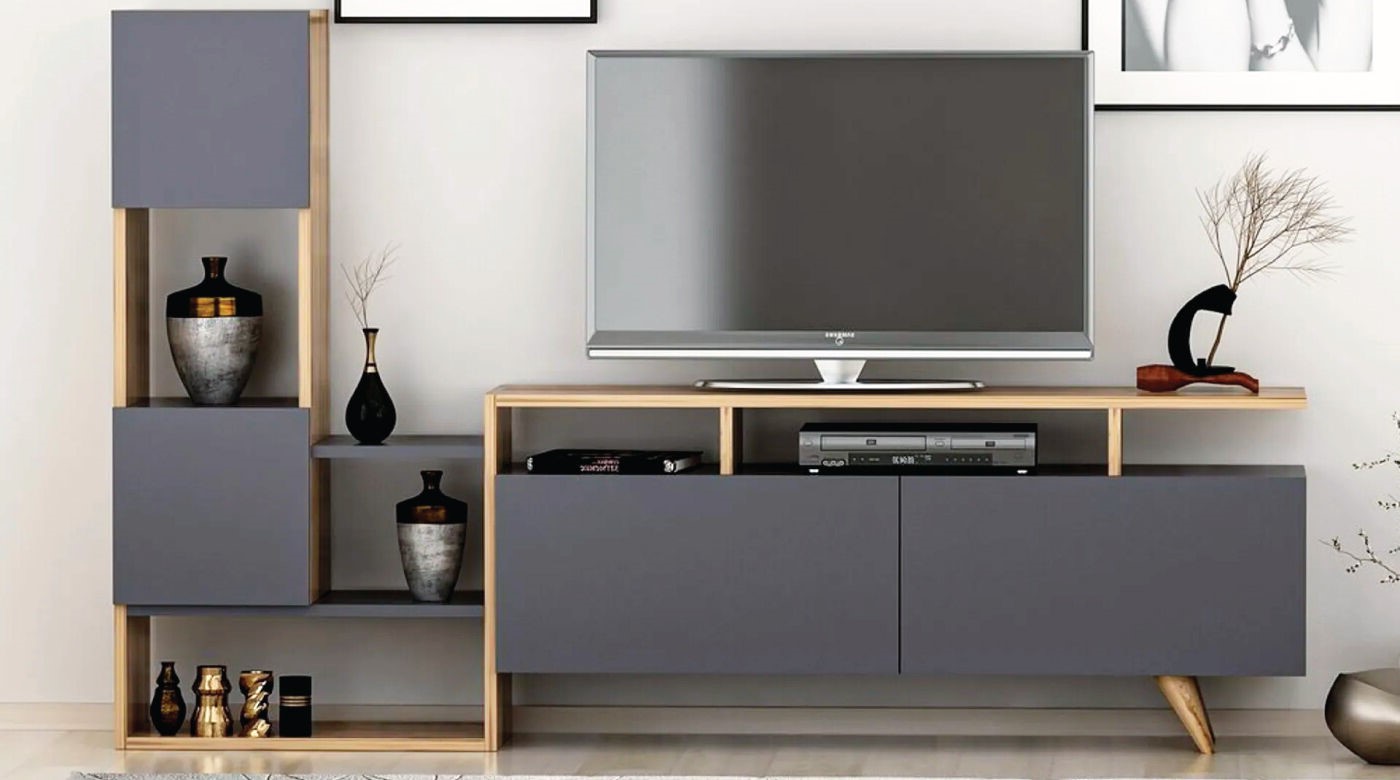
Functionality: Determine the primary function of your entertainment center. Will it primarily hold a television, gaming consoles, or other media devices? Consider incorporating features such as adjustable shelves, cable management systems, and built-in lighting to enhance functionality.
-
Style and Aesthetics: Choose a design that complements the existing decor of your living room. Whether you prefer a sleek, modern look or a rustic, farmhouse style, aligning the aesthetics of your entertainment center with the overall theme of the room is essential.
-
Storage Needs: Assess your storage requirements for media collections, gaming accessories, and other items. Incorporate a combination of open shelving, closed cabinets, and drawers to accommodate your storage needs while maintaining a clutter-free appearance.
-
Entertainment Center Layout: Sketch out a rough layout of your entertainment center, considering the placement of electronic devices, speakers, and any additional accessories. This will help you visualize the arrangement and ensure that everything fits seamlessly within the design.
-
Personal Touches: Don't be afraid to add personal touches to your design. Whether it's intricate woodwork, decorative molding, or custom hardware, infusing your personality into the design will make your entertainment center truly unique.
By carefully considering these aspects during the design phase, you can create a personalized entertainment center that not only serves its functional purpose but also becomes a standout feature in your home.
Building the Frame
Building the frame of your DIY entertainment center forms the foundation for the entire structure. Here's a step-by-step guide to constructing the frame:
-
Cutting the Wood: Begin by cutting the wood pieces according to the measurements outlined in your design plan. Use a circular saw, table saw, or miter saw to achieve precise cuts for the top, bottom, sides, and any internal dividers or shelves.
-
Assembling the Basic Structure: Once the pieces are cut, assemble the basic frame using wood glue and screws. Ensure that the corners are square and use clamps to hold the pieces together while the glue sets. This step forms the skeleton of your entertainment center.
-
Reinforcing the Joints: To reinforce the joints and add stability to the frame, consider using pocket hole joinery or adding corner braces. These methods help prevent the frame from wobbling or becoming misaligned over time.
-
Incorporating Internal Supports: Depending on the size of your entertainment center, it may be necessary to incorporate internal supports such as vertical dividers or a center spine. These supports add strength to the frame and provide additional stability for shelving and electronic equipment.
-
Creating Openings for Wiring: If your entertainment center will house electronic devices, consider incorporating openings or channels for wiring. This allows for organized cable management and prevents unsightly tangles of cords behind the unit.
-
Checking for Level and Plumb: Before proceeding to the next phase of construction, use a level to ensure that the frame is perfectly level and plumb. Making any necessary adjustments at this stage will prevent issues when adding shelves and doors later on.
By following these steps, you can construct a sturdy and well-built frame for your DIY entertainment center, setting the stage for the addition of shelves, storage compartments, and decorative elements.
Adding Shelves and Storage
Once the frame of your DIY entertainment center is in place, it's time to focus on adding shelves and storage compartments to enhance its functionality and visual appeal. Here's a detailed guide on incorporating these essential elements:
-
Measuring and Planning: Begin by carefully measuring the dimensions of the internal space within the frame. Consider the height, width, and depth available for each shelf and storage compartment. Use these measurements to create a detailed plan for the placement of shelves and the configuration of storage areas.
-
Adjustable Shelving: For versatility and adaptability, consider incorporating adjustable shelving. This allows you to customize the spacing between shelves to accommodate various media devices, decor items, or collectibles. Utilize shelf pins or adjustable shelf hardware to facilitate easy repositioning of the shelves.
-
Building and Installing Shelves: Cut the shelf boards to the appropriate dimensions based on your plan. Use a combination of wood glue and screws to secure the shelves in place, ensuring they are level and securely anchored to the frame. Consider using a shelf jig to ensure consistent and precise shelf placement.
-
Incorporating Storage Compartments: If your design includes closed storage compartments such as cabinets or drawers, carefully measure and cut the necessary components. Install hinges for cabinet doors and drawer slides for smooth opening and closing functionality. Ensure that the storage compartments align with the overall design and provide ample space for your storage needs.
-
Cable Management: To maintain a tidy and organized appearance, incorporate cable management features within the entertainment center. Consider adding cable access holes or channels to route and conceal wires from electronic devices. This prevents unsightly cable clutter and simplifies the setup of media equipment.
-
Decorative Backing: Enhance the visual appeal of the interior of the entertainment center by adding a decorative backing. Whether using beadboard, fabric, or wallpaper, the backing material can add a pop of color or texture, elevating the overall aesthetic of the storage area.
-
Finishing Touches: Before finalizing the installation of shelves and storage compartments, apply any desired finishing touches such as paint, stain, or varnish. Ensure that the finish complements the overall design of the entertainment center and provides a cohesive look throughout the interior.
By carefully implementing these steps, you can create a well-organized and visually appealing storage space within your DIY entertainment center, catering to both functional storage needs and aesthetic preferences.
Finishing Touches and Decorative Elements
As you near the completion of your DIY entertainment center, it's time to focus on the finishing touches and decorative elements that will elevate the overall look and feel of the piece. Here's a detailed guide on adding those final flourishes:
-
Hardware Selection: Choose the hardware that will adorn your entertainment center, such as handles, knobs, and hinges. Opt for hardware that complements the style of your design, whether it's sleek and modern or ornate and traditional. The hardware serves as both a functional element and a decorative accent, so select pieces that align with the overall aesthetic.
-
Trim and Molding: Incorporating trim and molding can add a touch of sophistication and visual interest to your entertainment center. Consider adding crown molding along the top, baseboard trim at the bottom, or decorative trim around cabinet doors. These details create a polished and refined look, elevating the craftsmanship of the piece.
-
Lighting Features: Integrate lighting elements to enhance the ambiance of your entertainment center. LED strip lights, recessed lighting, or puck lights can be strategically placed to illuminate display areas, accentuate decorative items, or create a warm glow within the unit. Thoughtfully placed lighting adds a captivating dimension to the overall design.
-
Glass Doors and Panels: If your design includes closed storage compartments, consider incorporating glass doors or panels. This allows for the display of decorative items while providing a glimpse into the contents of the cabinets. Frosted or textured glass can add a touch of elegance, while clear glass offers a transparent view of the interior.
-
Custom Woodwork: Infuse your personality into the entertainment center by incorporating custom woodwork elements. Whether it's intricate carvings, decorative inlays, or routed patterns, adding unique woodwork details can make your piece a true work of art. Consider incorporating your initials, a family crest, or a meaningful symbol for a personalized touch.
-
Paint or Stain Application: Apply the chosen paint or stain to the entire entertainment center, ensuring a consistent and smooth finish. Whether you opt for a bold color to make a statement or a rich stain to highlight the natural beauty of the wood, the application of the finish brings the entire piece together, creating a cohesive and polished appearance.
-
Display Shelves and Backing: If your entertainment center includes open display shelves, consider adding a decorative backing to enhance the visual appeal. Whether it's a contrasting paint color, patterned wallpaper, or textured fabric, the backing serves as a backdrop for displayed items, adding depth and character to the overall design.
By incorporating these finishing touches and decorative elements, you can transform your DIY entertainment center into a stunning focal point within your home, showcasing your craftsmanship and attention to detail.
Conclusion
In conclusion, creating your own DIY entertainment center is a fulfilling and rewarding endeavor that allows you to showcase your creativity and craftsmanship while enhancing the functionality and aesthetics of your living space. By carefully selecting the right materials, designing a personalized layout, constructing a sturdy frame, adding shelves and storage, and incorporating finishing touches and decorative elements, you can bring your vision to life. Whether you prefer a sleek and modern design or a rustic and charming style, the possibilities for customization are endless. Embrace the opportunity to infuse your personality into every aspect of the entertainment center, from the hardware and trim to the custom woodwork and lighting features. With careful planning and attention to detail, your DIY entertainment center will not only serve as a practical storage and display solution but also stand as a testament to your DIY prowess. So, roll up your sleeves, gather your tools, and embark on the journey of creating a one-of-a-kind entertainment center that reflects your unique style and adds a touch of handmade charm to your home.

