Home>Create & Decorate>DIY & Crafts>DIY Floor To Ceiling Bookshelves: Transform Your Space With Custom Storage


DIY & Crafts
DIY Floor To Ceiling Bookshelves: Transform Your Space With Custom Storage
Published: June 12, 2024

Content Creator specializing in woodworking and interior transformations. Caegan's guides motivate readers to undertake their own projects, while his custom furniture adds a personal touch.
Transform your space with custom DIY floor to ceiling bookshelves. Discover creative storage solutions for your home with our DIY & Crafts project.
(Many of the links in this article redirect to a specific reviewed product. Your purchase of these products through affiliate links helps to generate commission for Twigandthistle.com, at no extra cost. Learn more)
Introduction
Are you tired of cluttered shelves and limited storage space? Do you want to transform your room with a custom storage solution that adds both functionality and style? If so, DIY floor to ceiling bookshelves might be the perfect project for you. By creating your own bookshelves, you can customize them to fit your space perfectly and showcase your favorite books, decor, and personal items. In this guide, we'll walk you through the process of building your own floor to ceiling bookshelves, from choosing the right materials to adding the finishing touches. Whether you're a seasoned DIY enthusiast or a beginner looking for a rewarding project, these bookshelves can elevate the look and feel of any room in your home.
Read more: DIY Garage Ceiling Storage Solutions
Choosing the Right Materials
When embarking on a DIY floor to ceiling bookshelves project, selecting the right materials is crucial for ensuring the durability and aesthetic appeal of your final product. Here are some key materials to consider:
1. Wood
Opt for high-quality, sturdy wood such as oak, maple, or pine for the main structure of your bookshelves. These woods are not only durable but also provide a timeless, classic look that can complement various interior styles.
2. Plywood
For the shelves themselves, plywood is an excellent choice due to its strength and stability. Look for plywood with a smooth finish to ensure a polished appearance for your bookshelves.
3. Hardware
Invest in high-quality hardware such as screws, brackets, and anchors to ensure the stability and safety of your floor to ceiling bookshelves. Additionally, consider decorative hardware such as knobs or pulls to add a personalized touch to your project.
Read more: DIY Ceiling Kayak Garage Storage Guide
4. Paint or Stain
Depending on your preference, you can choose to paint or stain the wood to match your existing decor. Consider the color scheme of the room where the bookshelves will be installed and select a paint or stain that complements the space.
By carefully selecting the right materials, you can lay a solid foundation for your DIY floor to ceiling bookshelves, ensuring that they not only serve their practical purpose but also enhance the overall look of your room.
Measuring and Planning Your Space
Before diving into the construction of your floor to ceiling bookshelves, it's essential to take precise measurements and thoroughly plan the layout to ensure a seamless and professional-looking result. Here's how to approach this crucial step:
-
Measure the Space: Begin by measuring the height, width, and depth of the wall where you intend to install the bookshelves. Take into account any baseboards, crown molding, or other architectural features that may impact the dimensions.
-
Consider Functionality: Determine the purpose of your bookshelves. Will they primarily hold books, or will they also display decorative items? Understanding the intended use will help you decide on the number and spacing of shelves.
-
Create a Detailed Plan: Use graph paper or a digital design tool to sketch out the layout of your bookshelves. Consider the placement of vertical supports, the spacing between shelves, and any additional features such as cabinets or drawers.
-
Account for Accessibility: If the bookshelves will store frequently used items, ensure that the lower shelves are easily accessible. Conversely, if they are primarily for display, you may prioritize aesthetics over accessibility.
-
Account for Lighting and Outlets: Take note of any electrical outlets, light switches, or built-in lighting on the wall where the bookshelves will be installed. Plan the shelf layout to accommodate these features without obstructing them.
-
Double-Check Your Measurements: Before proceeding to the construction phase, double-check all measurements to avoid costly mistakes. It's advisable to measure multiple times to ensure accuracy.
By investing time in meticulous measuring and planning, you can lay the groundwork for a successful DIY project and avoid potential issues during the construction phase. This preparation will set the stage for a seamless and visually appealing installation of your floor to ceiling bookshelves.
Building the Frame
Building the frame is a pivotal step in constructing floor to ceiling bookshelves that are sturdy and reliable. Here's a detailed guide on how to build the frame for your custom bookshelves:
-
Cutting the Wood: Begin by cutting the main vertical supports and horizontal pieces of the frame according to the measurements and design plan. Use a miter saw or a circular saw to ensure precise cuts.
-
Assembling the Vertical Supports: Position the vertical supports against the wall, ensuring they are plumb and securely anchored to the wall studs. Use a level to confirm that the supports are perfectly vertical before attaching them.
-
Attaching Horizontal Pieces: Once the vertical supports are in place, attach the horizontal pieces to create the frame structure. Use wood glue and screws to secure the horizontal pieces to the vertical supports, ensuring a strong and stable frame.
-
Adding Cross Bracing (if needed): Depending on the height and width of your bookshelves, you may need to add cross braces for additional support. Measure and cut the cross braces to fit between the vertical supports, then attach them securely to the frame.
-
Securing the Frame: Double-check the stability and alignment of the frame before proceeding. Make any necessary adjustments to ensure that the frame is level and securely anchored to the wall.
By following these steps, you can build a solid and reliable frame for your floor to ceiling bookshelves. A well-constructed frame is essential for the overall stability and longevity of your custom storage solution.
Installing the Shelves
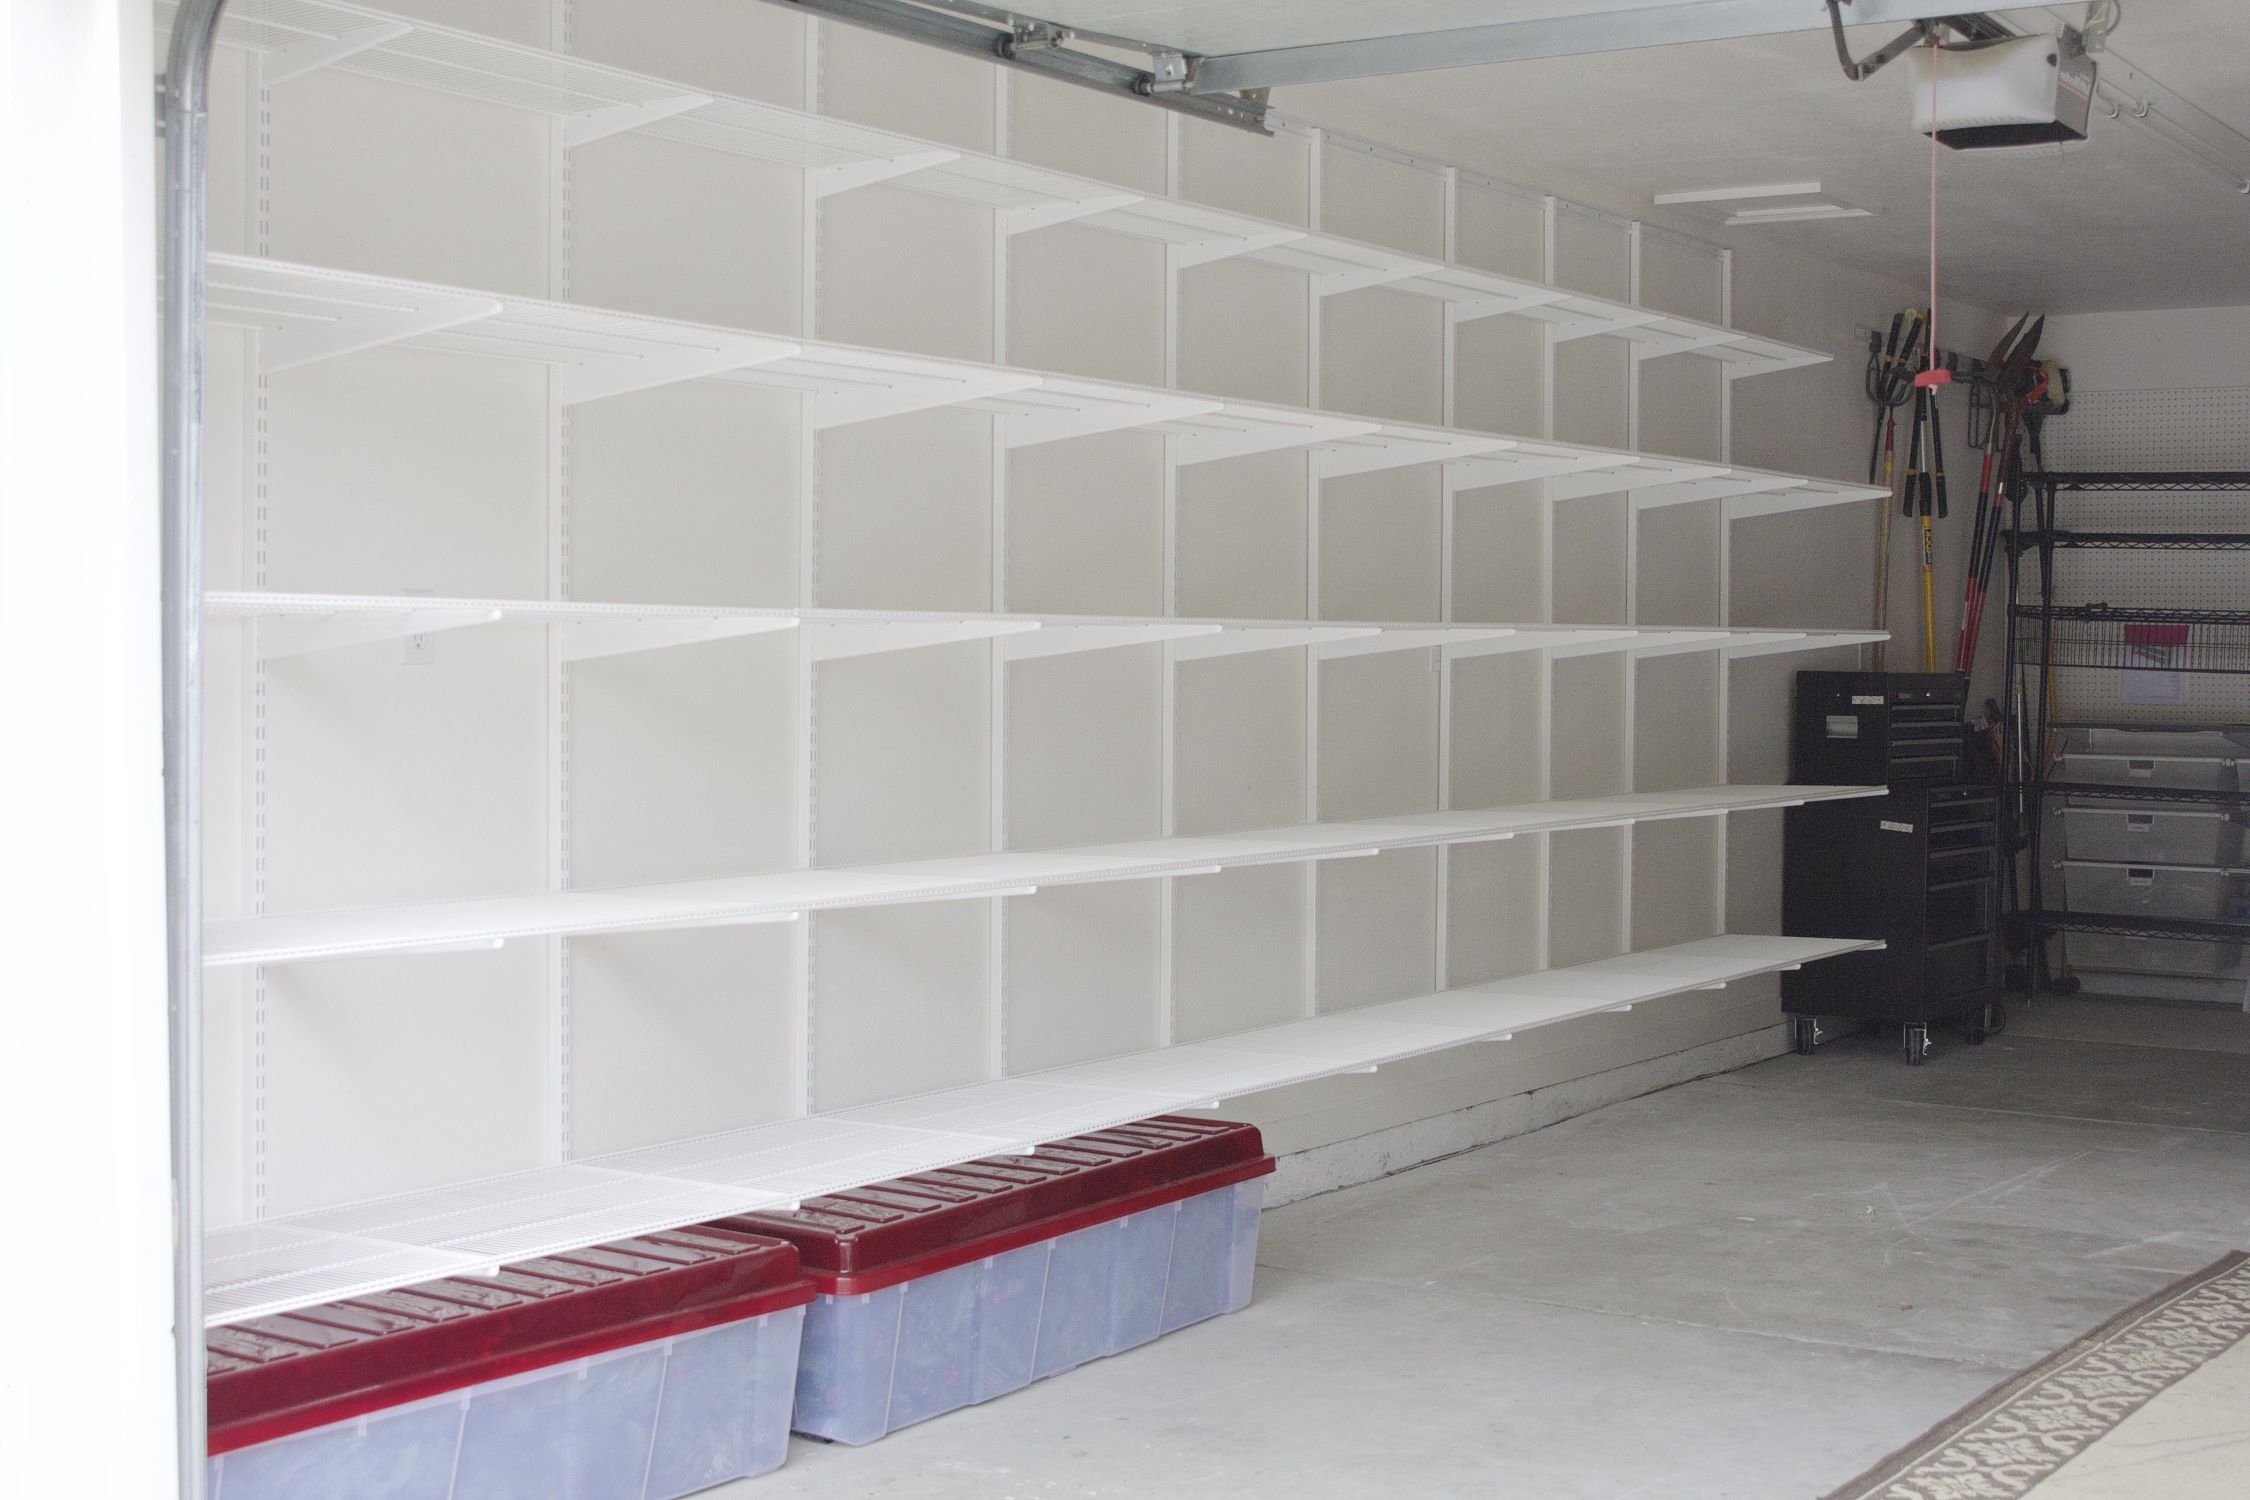
Installing the shelves is a critical phase in the construction of your floor to ceiling bookshelves. Proper installation ensures that the shelves are not only secure but also visually appealing. Here's a step-by-step guide on how to install the shelves for your custom bookshelves:
-
Positioning the Shelves: Begin by determining the desired spacing between the shelves. Use a level and a pencil to mark the positions on the vertical supports where the shelves will be installed. Ensure that the markings are aligned and level to maintain a uniform appearance.
-
Attaching Shelf Brackets: Depending on your design, you may choose to use shelf brackets or cleats to support the shelves. Install the brackets or cleats at the marked positions on the vertical supports, ensuring that they are securely anchored and level.
-
Placing the Shelves: Carefully place the shelves onto the installed brackets or cleats. Double-check that each shelf is level and properly positioned before securing it in place.
-
Securing the Shelves: Once the shelves are in position, use screws or finishing nails to secure them to the brackets or cleats. Ensure that the shelves are firmly attached and can support the intended weight without sagging.
-
Adjusting for Uniformity: After securing the shelves, use a level to confirm that they are all uniformly aligned. Make any necessary adjustments to ensure that the shelves are level and parallel to each other.
-
Testing the Stability: Apply gentle pressure to each shelf to test its stability. Ensure that the shelves can support the weight of books and other items without shifting or wobbling.
By following these steps, you can effectively install the shelves for your floor to ceiling bookshelves, creating a functional and visually appealing storage solution for your space. Proper installation is essential for ensuring the longevity and reliability of your custom bookshelves.
Read more: How to Create Built-In Bookshelves
Adding Finishing Touches
After completing the construction and installation of your floor to ceiling bookshelves, it's time to add the finishing touches that will elevate the overall look and functionality of your custom storage solution. Here are some essential steps to consider for adding those final details:
-
Trim and Molding: To give your bookshelves a polished and professional appearance, consider adding trim and molding to conceal any gaps between the shelves and the wall. Use decorative trim pieces to frame the edges of the bookshelves, creating a cohesive and refined look.
-
Paint or Stain: If you opted for unfinished wood or plywood, applying a coat of paint or stain can enhance the visual appeal of your bookshelves. Choose a color or finish that complements the overall aesthetic of the room while protecting the wood from wear and tear.
-
Back Panel: Adding a back panel to your bookshelves can create a striking visual impact and provide a backdrop for your displayed items. Consider using beadboard, wallpaper, or paint to create a decorative back panel that adds depth and character to the shelves.
-
Lighting: Incorporating lighting into your bookshelves can highlight your displayed items and create a warm, inviting ambiance. LED strip lights or puck lights can be discreetly installed to illuminate the shelves, adding both functionality and visual interest.
-
Decorative Hardware: Consider adding decorative hardware such as knobs, pulls, or handles to the doors or drawers of your bookshelves. These small details can personalize the look of your storage solution and tie in with the overall design of the room.
-
Accessorizing: Once the bookshelves are complete, take the opportunity to accessorize them with your favorite books, decorative objects, and personal mementos. Arranging items in an artful and intentional manner can transform your bookshelves into a focal point of the room.
By paying attention to these finishing touches, you can elevate the appearance and functionality of your floor to ceiling bookshelves, creating a custom storage solution that seamlessly integrates with your home's aesthetic and meets your organizational needs.
Conclusion
In conclusion, embarking on a DIY project to build floor to ceiling bookshelves can be a rewarding and transformative endeavor for your living space. By carefully selecting the right materials, meticulously measuring and planning your space, constructing a sturdy frame, installing the shelves, and adding the finishing touches, you can create a custom storage solution that not only enhances the functionality of your room but also adds a touch of personal style. The process of building floor to ceiling bookshelves allows you to tailor the design to your specific needs and preferences, resulting in a one-of-a-kind storage solution that complements your home's aesthetic. Whether you're an experienced DIY enthusiast or a novice looking to expand your skills, the satisfaction of creating and installing your own custom bookshelves is unparalleled. With the right tools, materials, and attention to detail, you can transform your space and enjoy the practical and visual benefits of floor to ceiling bookshelves for years to come.

