
Home>Organize & Storage>Closet Organization>How to Build a DIY Closet Rod
Closet Organization
How to Build a DIY Closet Rod
Published: September 2, 2024
Learn how to build a DIY closet rod with our step-by-step guide. Maximize your closet space and organize efficiently with easy-to-follow instructions and tips.
(Many of the links in this article redirect to a specific reviewed product. Your purchase of these products through affiliate links helps to generate commission for Twigandthistle.com, at no extra cost. Learn more)
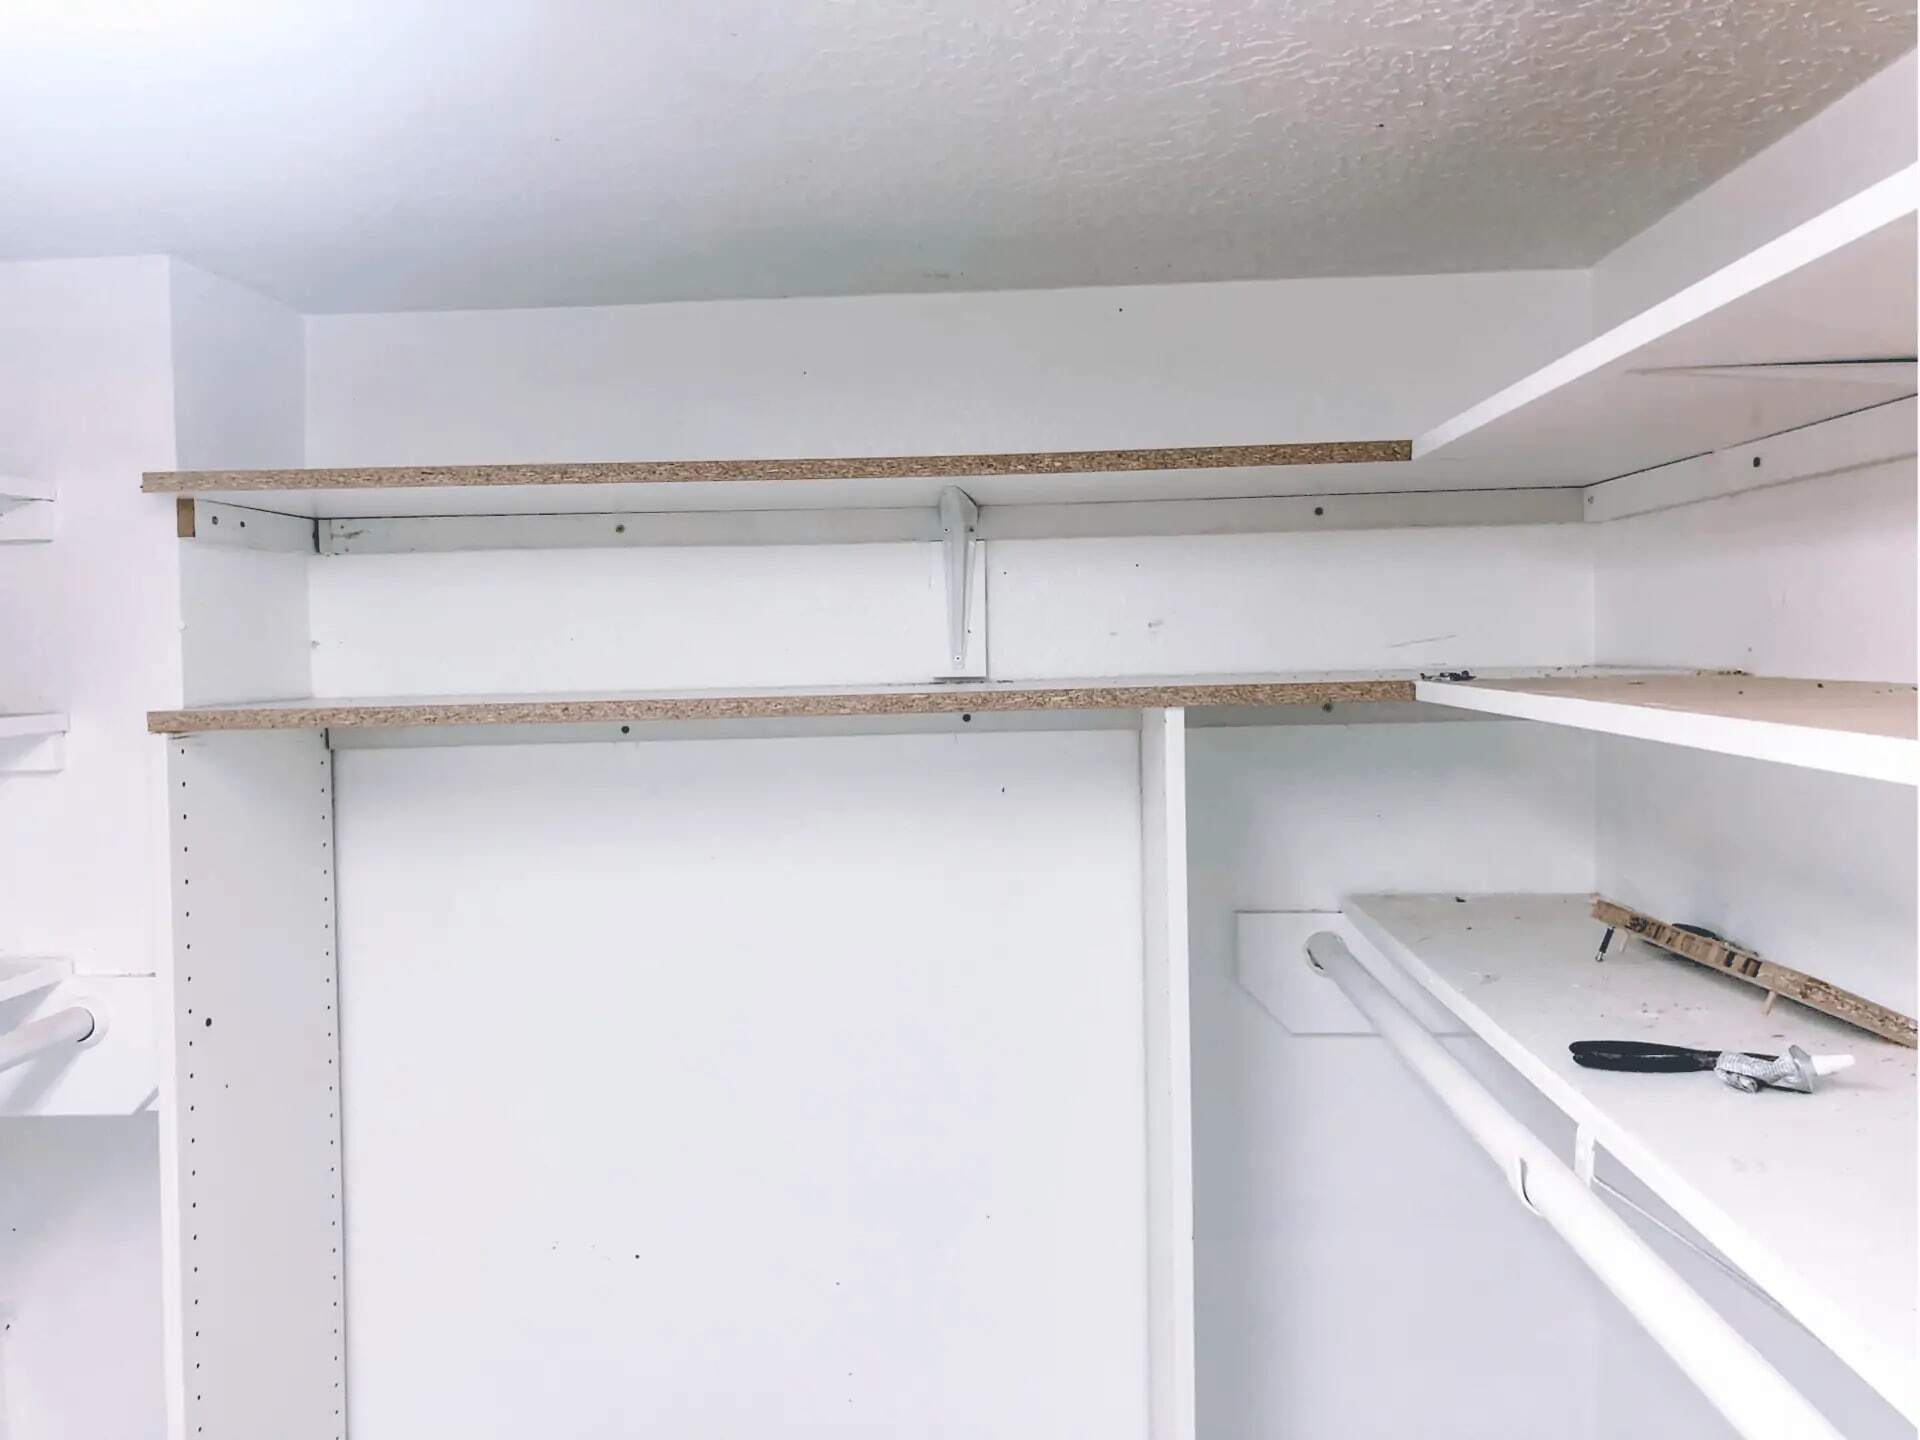
Tired of cluttered closets and clothes strewn everywhere? Building a DIY closet rod can be a simple and rewarding project. With just a few tools and materials, you can create a customized solution to organize your clothing and accessories. This guide will walk you through each step, making it easy even for beginners. No need for fancy skills or expensive equipment – just a bit of effort and creativity. Ready to transform that messy closet into a neatly organized space? Grab your tools and let's get started!
Getting Ready for Your Project
Measure the Space: Use a tape measure to find the width of the closet where the rod will go. Write down the measurements.
Gather Materials: Get a closet rod, brackets, screws, a drill, a level, a pencil, and a screwdriver. Make sure the rod fits the width of the closet.
Clear the Area: Remove any clothes or items from the closet. This makes it easier to work and keeps things clean.
Mark the Spots: Use a pencil to mark where the brackets will go. Make sure they are level and evenly spaced.
Drill Pilot Holes: Use a drill to make small holes where you marked the spots. This helps the screws go in easier.
Install Brackets: Screw the brackets into the pilot holes using a screwdriver. Make sure they are secure.
Safety Gear: Wear safety glasses to protect your eyes while drilling. Use gloves if needed to protect your hands.
Check Stability: Once the rod is in place, gently pull on it to make sure it’s secure. Adjust if necessary.
Organize Tools: Keep all tools and materials within reach but out of the way to avoid tripping.
Ventilation: Ensure the workspace is well-ventilated, especially if using power tools.
What You Need: Materials and Tools
Materials and Tools Needed:
- Closet Rod: A sturdy metal or wooden rod to hang clothes.
- Rod Brackets: Supports that hold the rod in place on the wall.
- Screws: Fasteners to secure the brackets to the wall.
- Wall Anchors: Used if screwing into drywall to provide extra support.
- Measuring Tape: Ensures accurate placement of the rod and brackets.
- Level: Ensures the rod is installed straight.
- Drill: Makes holes for screws and anchors.
- Screwdriver: Tightens screws into the brackets.
- Pencil: Marks where to drill holes.
- Stud Finder: Locates wall studs for extra support.
Closet Rod: Choose a rod that fits the width of your closet. Metal rods are strong and durable, while wooden rods offer a classic look.
Rod Brackets: These come in various styles. Make sure they match the rod's diameter and are strong enough to hold the weight of your clothes.
Screws: Use screws that are long enough to go through the brackets and into the wall securely.
Wall Anchors: If you can't screw directly into a stud, wall anchors will help keep the rod from pulling out of the drywall.
Measuring Tape: Measure the width of the closet and the height where you want the rod. Accurate measurements prevent mistakes.
Level: A level ensures the rod is perfectly horizontal, so clothes hang evenly.
Drill: A power drill makes it easier to create holes for screws and anchors. Choose a bit size that matches the screws.
Screwdriver: Use a manual or electric screwdriver to drive screws into the brackets and wall.
Pencil: Mark spots for drilling holes. Pencil marks are easy to erase if adjustments are needed.
Stud Finder: This tool helps locate studs behind the drywall. Screwing into studs provides the strongest support for the rod.
Skill Level and Time Commitment
Skill Level: Beginner
Time Required: 1-2 hours
- Measure and Mark: 10 minutes
- Cut the Rod: 15 minutes
- Install Brackets: 20 minutes
- Attach the Rod: 15 minutes
- Final Adjustments: 10 minutes
Follow These Steps
Gather Materials:
- Closet rod
- Rod brackets
- Screws
- Drill
- Measuring tape
- Level
- Pencil
Measure the Space:
- Use the measuring tape to find the width of your closet where the rod will go.
- Mark the desired height for the rod on both sides of the closet with a pencil.
Install Brackets:
- Hold a bracket against one of the pencil marks.
- Use the level to ensure it’s straight.
- Mark the screw holes with a pencil.
- Drill pilot holes at the marked spots.
- Attach the bracket to the wall using screws.
- Repeat on the other side.
Cut the Rod (if needed):
- Measure the distance between the installed brackets.
- If the rod is too long, cut it to the correct length using a saw.
Install the Rod:
- Slide one end of the rod into one bracket.
- Lift the other end and place it into the opposite bracket.
Check Stability:
- Ensure the rod is secure and level.
- Adjust brackets if necessary.
Test the Rod:
- Hang a few items to test the rod’s strength.
- Make sure it holds weight without bending or coming loose.
Helpful Tips and Tricks
Measure the space accurately before buying materials. Use a level to ensure the rod is straight. Pre-drill holes to prevent wood from splitting. Choose sturdy brackets to support the weight of clothes. Sand any rough edges on the rod to avoid snagging clothes.
Common mistakes include not measuring correctly, using weak brackets, and not securing the rod properly. Avoid using plastic brackets as they can break easily.
Alternatives for materials include using a metal pipe instead of a wooden rod for added strength. Instead of traditional brackets, consider using pipe flanges for a more industrial look.
Budgeting Your Project
Materials:
- Closet rod: $10-$20
- Rod brackets: $5-$10 (for a pair)
- Screws: $2-$5 (pack)
- Wall anchors: $3-$5 (pack)
- Wood for support: $5-$15 (depends on size)
Tools:
- Drill: $30-$50 (if you don't have one)
- Screwdriver: $5-$10
- Measuring tape: $5-$10
- Level: $10-$15
- Saw: $10-$20 (if cutting wood)
Total Cost: $75-$160
Budget-friendly alternatives:
- Closet rod: Use a sturdy wooden dowel or PVC pipe ($5-$10)
- Rod brackets: Make your own with scrap wood or metal ($0 if you have materials)
- Drill: Borrow from a friend or rent from a hardware store ($0-$10)
- Saw: Use a hand saw instead of a power saw ($5-$10)
Total Cost with Alternatives: $40-$80
Personalize Your Closet Rod
Materials: Instead of a standard wooden rod, consider using a metal pipe for a more industrial look. PVC pipes offer a lightweight, budget-friendly option. For a rustic touch, try a tree branch with the bark still on.
Colors: Paint the rod to match your room's decor. Use metallic spray paint for a sleek, modern finish. Bright colors can add a fun pop, while stains can enhance the natural wood grain.
Styles: Add decorative end caps or finials to the rod for a polished look. For a minimalist style, use simple brackets. If you prefer a vintage feel, opt for ornate brackets with intricate designs.
Additional Features: Install hooks along the rod for hanging accessories like scarves or belts. Add a second rod below the first for extra hanging space. Consider integrating LED strip lights along the rod for better visibility and a touch of elegance.
Eco-Friendly Building Tips
Use reclaimed wood for the rod. Old furniture or pallets can provide sturdy material. Sand it smooth to avoid splinters.
For brackets, try repurposing metal pipes or old shelf brackets. These can often be found at thrift stores or salvage yards.
Use natural finishes like beeswax or linseed oil instead of chemical-laden varnishes. These are safer for you and the environment.
Consider using bamboo. It grows quickly, making it a more sustainable option than traditional hardwoods.
If you need screws or nails, look for recycled metal options. These are often available at hardware stores focused on sustainability.
For added support, use fabric scraps to create a sling under the rod. This can help distribute weight and reduce strain on the wood.
Finally, always measure twice to avoid mistakes that waste materials.
Your Closet Rod Awaits
You've got all the tools and materials ready, so now it's time to put them to use. Measure your space accurately, cut the rod to fit, and secure it with brackets. Don't forget to double-check everything before drilling. Once installed, give it a little test to ensure it's sturdy. If it wobbles, tighten those screws.
Remember, a well-installed closet rod can handle a lot of weight, so don't skimp on the hardware. With a bit of effort, you'll have a custom closet rod that fits perfectly and looks great. Plus, you get the satisfaction of knowing you did it yourself.
So, grab your tools, follow these steps, and enjoy your new, organized closet. Happy building!
How do I measure for a closet rod?
Measure the width of your closet where you want the rod. Use a tape measure to get the distance between the two walls. Make sure to measure at the height where you plan to install the rod.
What materials do I need?
You’ll need a closet rod, rod brackets, screws, a drill, a level, a tape measure, and a pencil. You might also need a saw if you need to cut the rod to size.
How high should I install the rod?
Standard height for a single closet rod is about 66 inches from the floor. If you’re installing two rods, place the lower one at 42 inches and the upper one at 84 inches.
How do I ensure the rod is level?
Use a level when marking where to place the brackets. After installing one bracket, place the rod on it and use the level to mark the spot for the second bracket.
Can I install a rod in a small closet?
Yes, you can! Just make sure to measure accurately and choose a rod that fits the space. Adjustable rods are great for small closets.
What type of rod should I use?
Choose a rod that can support the weight of your clothes. Metal rods are sturdy and durable. Wooden rods can also work but make sure they’re thick enough to handle the load.
How do I secure the brackets?
Drill pilot holes where you marked for the brackets. Then, use screws to attach the brackets to the wall. Make sure they’re firmly in place before placing the rod.