
Home>Organize & Storage>Closet Organization>DIY Baby Closet Bookshelf Tutorial
Closet Organization
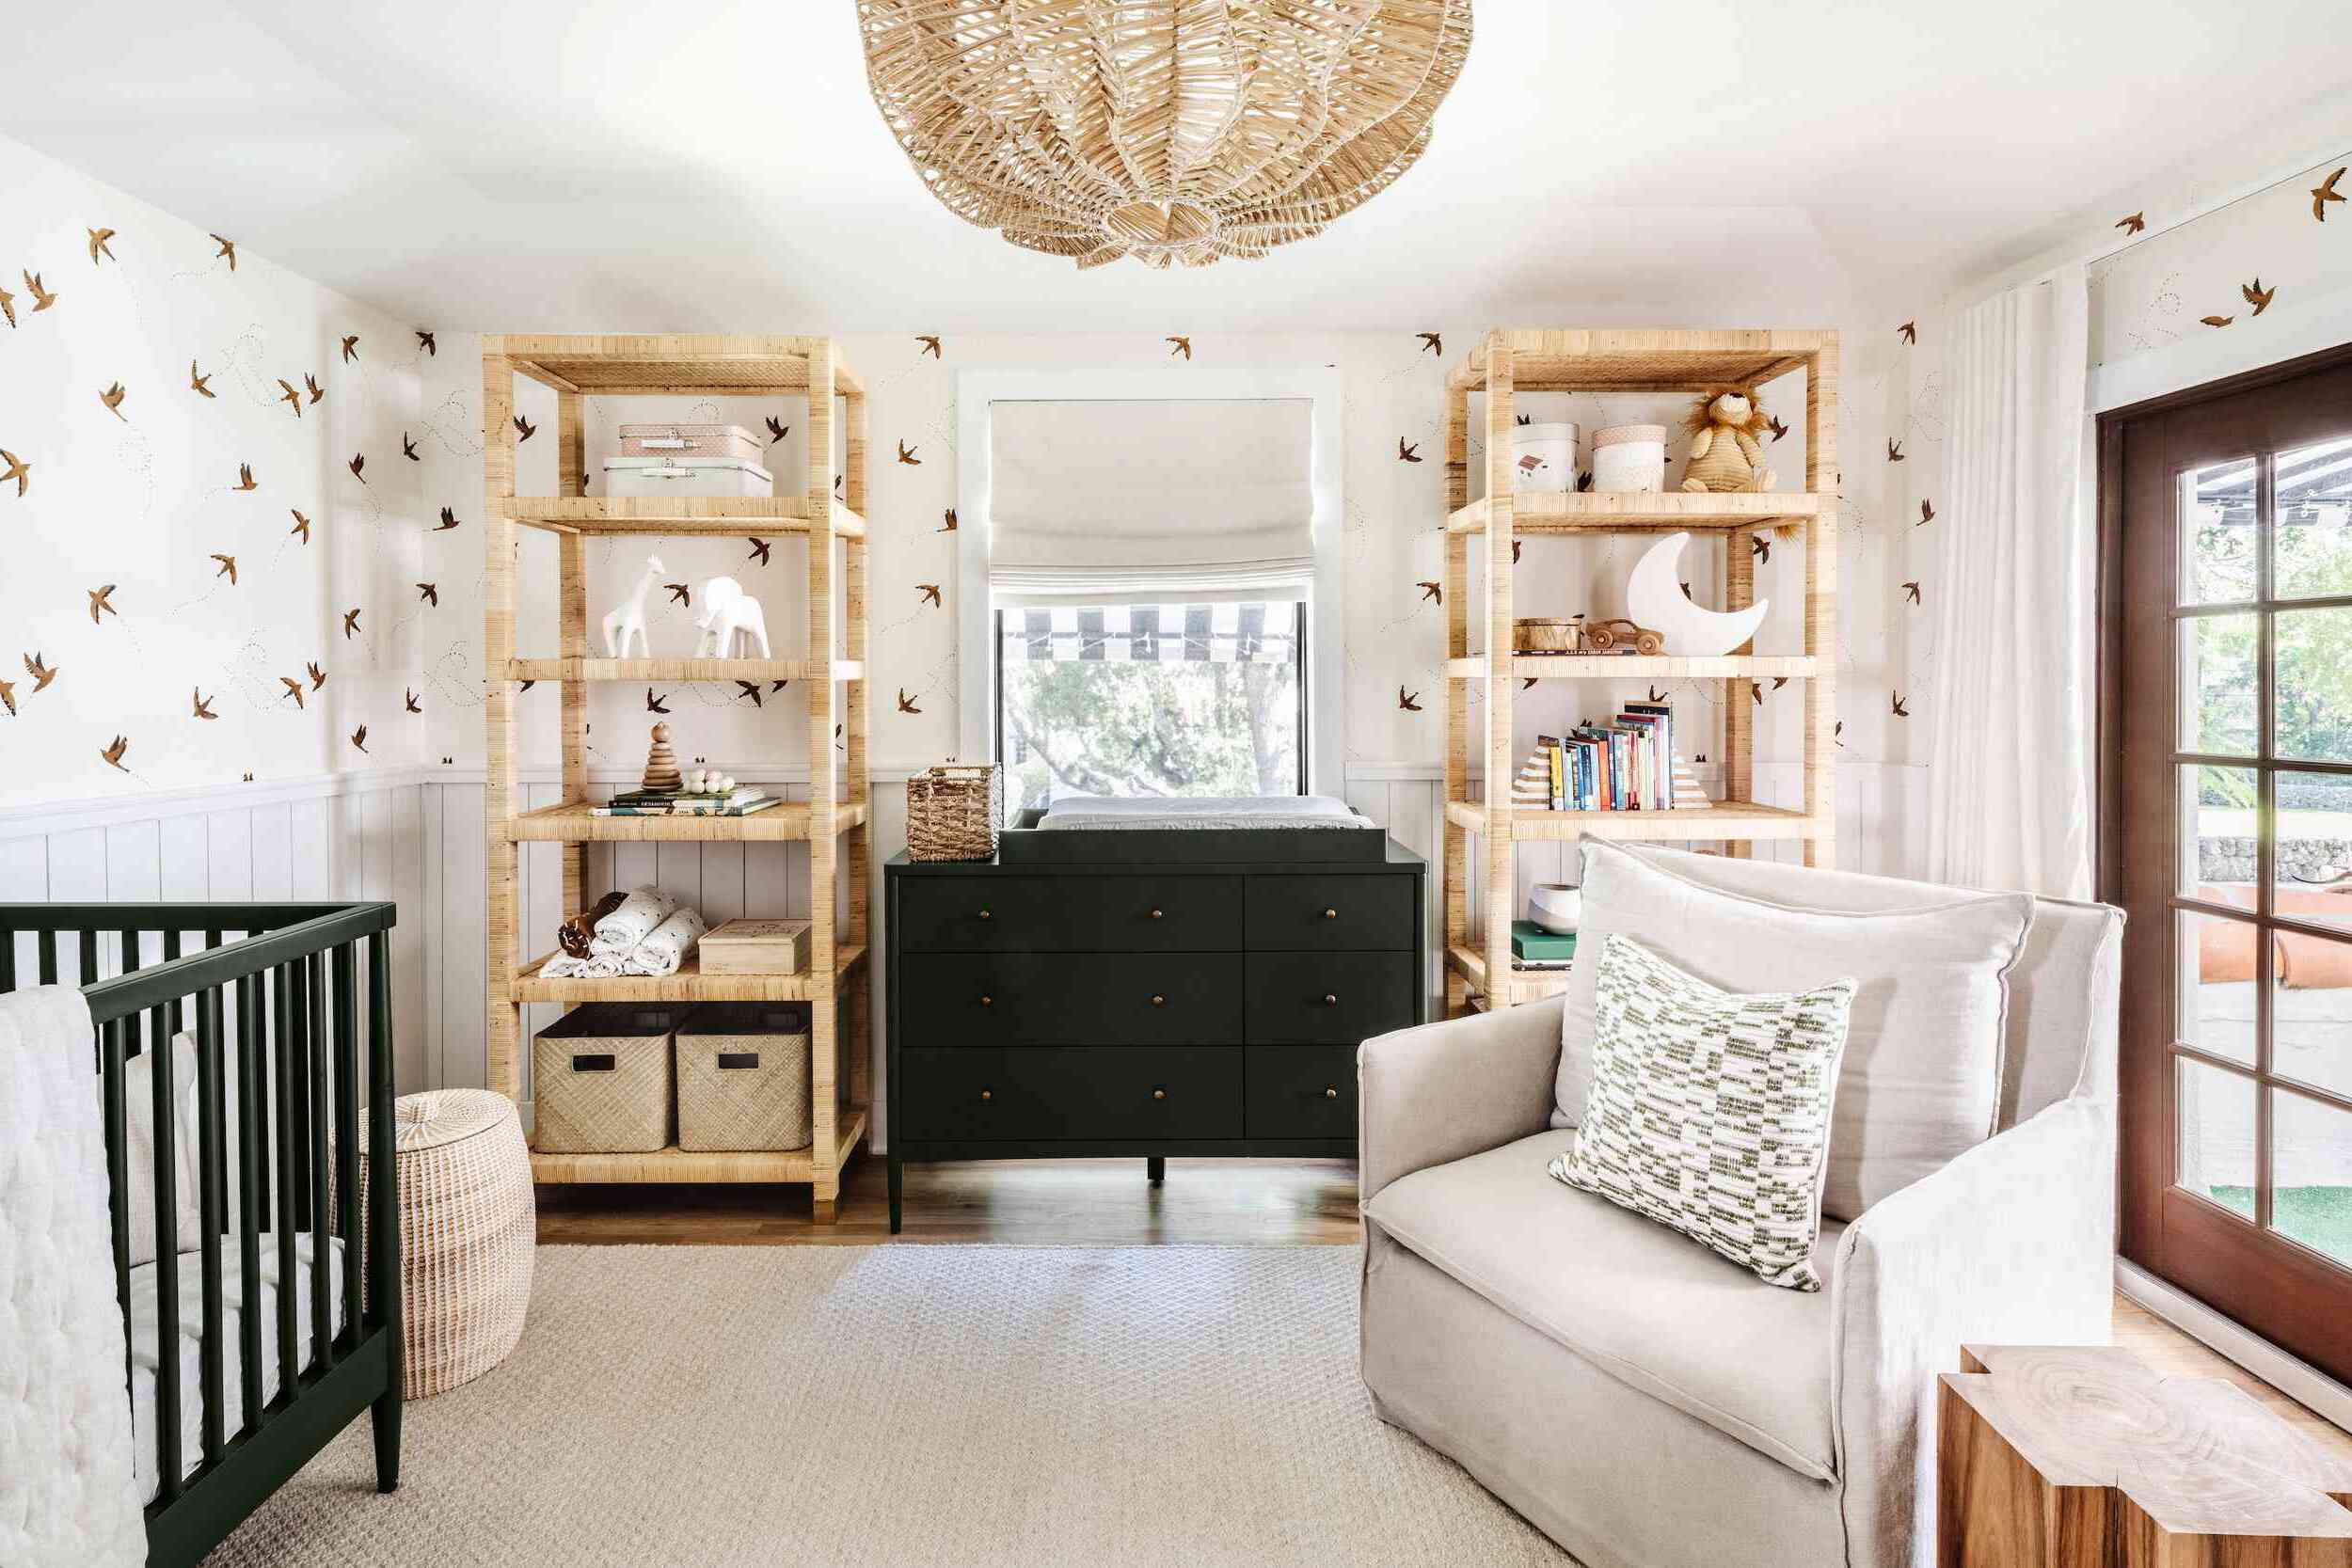
DIY Baby Closet Bookshelf Tutorial
Published: September 1, 2024
Learn how to create a DIY baby closet bookshelf with our step-by-step tutorial. Maximize space, stay organized, and add a personal touch to your baby's nursery.
(Many of the links in this article redirect to a specific reviewed product. Your purchase of these products through affiliate links helps to generate commission for Twigandthistle.com, at no extra cost. Learn more)
Creating a baby closet bookshelf combines practicality with charm. A custom bookshelf keeps books organized and adds a personal touch to your baby's room. Whether you're an experienced DIY enthusiast or just starting, this project is easy to follow and rewarding. You'll learn how to maximize closet space effectively while adding a cozy nook for your baby's favorite stories. Perfect for small spaces, this bookshelf will grow with your child and can be adapted to various decor styles. Ready to transform a simple closet into a functional, stylish storage solution? Let's get started on this fun DIY project!
Getting Ready for Your Project
Gather Materials: Collect wood, screws, brackets, paint, and a saw. Make sure everything is within reach.
Measure the Space: Use a tape measure to determine the dimensions of the closet. Write down these measurements.
Safety Gear: Wear safety goggles, gloves, and a dust mask. This protects your eyes, hands, and lungs.
Clear the Area: Remove clothes, shoes, and other items from the closet. This gives you a clean workspace.
Mark the Wall: Use a pencil and level to mark where the shelves will go. Ensure the lines are straight.
Cut the Wood: Measure and cut the wood to fit your marked lines. Double-check measurements before cutting.
Pre-Drill Holes: Drill small holes where screws will go. This makes it easier to attach the shelves.
Attach Brackets: Secure brackets to the wall using screws. Make sure they are level and sturdy.
Install Shelves: Place the cut wood on the brackets. Secure with screws to ensure stability.
Paint or Stain: Apply paint or stain to the shelves. Let them dry completely before placing items.
Organize: Once dry, arrange baby books and toys on the new shelves. Enjoy your new DIY bookshelf!
Gather Your Materials and Tools
Wooden Boards: These will form the shelves. Choose sturdy, smooth boards to ensure safety and durability.
Brackets: Used to support the shelves. Make sure they are strong enough to hold the weight of the books and other items.
Screws: Needed to attach the brackets to the wall and the shelves to the brackets. Use screws that are appropriate for the wall type.
Drill: Essential for making holes in the wall and the shelves. A cordless drill is convenient for maneuverability.
Screwdriver: Used to drive screws into the wall and shelves. A power screwdriver can save time and effort.
Level: Ensures that the shelves are installed straight. A small, handheld level works well for this task.
Measuring Tape: Important for measuring the space in the closet and the placement of the shelves. Accurate measurements ensure a good fit.
Pencil: Used for marking where to drill holes and place brackets. A pencil mark can be easily erased if needed.
Sandpaper: Smooths the edges of the wooden boards to prevent splinters. Fine-grit sandpaper works best for this.
Paint or Stain: Optional, but can be used to finish the shelves to match the closet decor. Choose non-toxic options for safety.
Paintbrushes: Needed if you decide to paint or stain the shelves. Use brushes appropriate for the type of paint or stain.
Stud Finder: Helps locate wall studs to ensure the brackets are securely attached. This prevents the shelves from falling.
Safety Gear: Includes goggles and gloves to protect your eyes and hands while working. Safety first!
Required Skills and Time Commitment
Skill Level: Beginner
Time Required: 2-3 hours
- Gather Materials: 15 minutes
- Measure and Cut Wood: 30 minutes
- Assemble Shelf: 45 minutes
- Paint or Stain: 30 minutes
- Install in Closet: 30 minutes
Instructions for Building Your Bookshelf
Gather Materials:
- Wooden boards (for shelves)
- Brackets
- Screws
- Drill
- Measuring tape
- Level
- Pencil
- Sandpaper
- Paint or stain (optional)
- Paintbrush (if painting)
Measure the Closet:
- Use the measuring tape to find the width and depth of the closet.
- Decide how many shelves you want and their spacing.
Cut the Boards:
- Cut the wooden boards to the desired length using a saw.
- Sand the edges to smooth them out.
Paint or Stain the Boards (optional):
- Apply paint or stain to the boards.
- Let them dry completely.
Mark the Wall:
- Use the pencil to mark where the brackets will go.
- Ensure the marks are level.
Install the Brackets:
- Drill holes into the marked spots on the wall.
- Attach the brackets using screws.
Attach the Shelves:
- Place the wooden boards on the brackets.
- Secure the boards to the brackets with screws.
Check Stability:
- Ensure the shelves are level and securely attached.
- Adjust if necessary.
Organize Books:
- Place books and other items on the shelves.
- Arrange them as desired.
Helpful Tips and Tricks
Measure Twice, Cut Once: Always double-check measurements before cutting wood or other materials. This prevents waste and ensures everything fits perfectly.
Use Stud Finders: When attaching shelves to walls, use a stud finder to locate studs. This provides a stronger, safer hold for the bookshelf.
Pre-Drill Holes: Pre-drilling holes for screws helps prevent wood from splitting and makes assembly easier.
Sand Edges: Sand all edges of the wood to avoid splinters and give a smooth finish. This is especially important for a baby’s room.
Paint Before Assembly: Painting or staining wood pieces before assembling the bookshelf makes the process cleaner and easier.
Level Shelves: Use a level to ensure shelves are straight. This keeps books from sliding off and gives a professional look.
Secure with Brackets: Use L-brackets to secure the bookshelf to the wall. This adds stability and prevents tipping.
Common Mistakes to Avoid:
Skipping Primer: Always use primer before painting. This helps the paint adhere better and last longer.
Ignoring Weight Limits: Don’t overload shelves. Check the weight limits of your materials to avoid sagging or breaking.
Not Allowing Paint to Dry: Let paint fully dry between coats. Rushing this step can lead to a messy finish.
Alternatives for Materials or Methods:
Use Plywood: Instead of solid wood, consider plywood. It’s often cheaper and easier to work with.
Floating Shelves: If space is tight, use floating shelves instead of a full bookshelf. They save floor space and look modern.
Repurpose Furniture: Turn an old dresser or cabinet into a bookshelf. This saves money and gives new life to old furniture.
Estimating the Cost
Materials:
- Wood planks (for shelves): $20-$30
- Wood screws: $5
- Wood glue: $4
- Paint or stain: $10-$15
- Sandpaper: $3
- Brackets (for mounting): $10
Tools:
- Drill: $30-$50 (or borrow)
- Saw: $20-$40 (or borrow)
- Paintbrushes: $5
- Measuring tape: $5
Total Cost: $112-$167
Budget-Friendly Alternatives:
- Reclaimed wood: Free or cheap from pallets
- Borrow tools: Ask friends or neighbors
- Use leftover paint: If available at home
- Buy second-hand tools: Check thrift stores or online marketplaces
Customizing Your Bookshelf
Materials: Instead of using traditional wood, try plywood for a lighter option or reclaimed wood for a rustic look. Metal shelves can add an industrial touch.
Colors: Paint the bookshelf in pastel colors for a soft, baby-friendly vibe. For a more modern look, use bold colors like navy blue or emerald green. Chalkboard paint can make the sides writable for notes or doodles.
Styles: Add decorative molding to the edges for a classic feel. Use floating shelves to save space and create a sleek design. Incorporate fabric bins or baskets for additional storage and a cozy touch.
Themes: Customize the bookshelf to match a nursery theme. For a woodland theme, add small animal decals or paint tree branches. For a nautical theme, use rope handles and anchor-shaped hooks.
Lighting: Install LED strip lights under each shelf for a soft glow. Use clip-on reading lights for a functional touch.
Personalization: Add the baby’s name or initials using wooden letters or stencils. Attach photo frames to the sides to display family pictures.
Safety: Ensure the bookshelf is securely anchored to the wall to prevent tipping. Use rounded edges to avoid sharp corners.
Eco-Friendly Tips
Reclaimed wood can make a sturdy, charming bookshelf. Look for old pallets or leftover wood from other projects. Sand it down to remove splinters and give it a smooth finish.
Non-toxic paint is safer for babies. Choose water-based paints with low or no VOCs (volatile organic compounds). These are better for indoor air quality.
Recycled materials like cardboard can create lightweight shelves. Reinforce them with extra layers for strength. Cover with fabric or paper for a neat look.
Old furniture can be repurposed. An unused drawer can become a shelf. Attach it to the wall securely and paint it to match the nursery.
Natural finishes like beeswax or linseed oil protect wood without harmful chemicals. These options are eco-friendly and safe for little ones.
Fabric bins made from organic cotton or recycled materials can store toys or books. They are soft, safe, and sustainable.
Upcycled containers like wooden crates or baskets can add rustic charm. Clean them thoroughly and ensure they are safe for baby items.
Energy-efficient tools like hand saws or manual screwdrivers reduce electricity use. They also offer more control for precise work.
Local materials reduce the carbon footprint. Visit nearby thrift stores or lumber yards for supplies. This supports local businesses and cuts down on transportation emissions.
Minimalist design uses fewer materials. Simple, open shelves can be just as functional and stylish as more complex designs.
Your DIY Baby Closet Bookshelf is Ready!
You've done it! Your DIY baby closet bookshelf is complete. With some wood, paint, and a bit of elbow grease, you've created a functional and stylish space for your little one's books. Not only does this project save money, but it also adds a personal touch to your baby's room. Plus, you can always customize it further with different colors or additional shelves as your child grows. Remember, the key to a successful DIY project is patience and creativity. Don't stress over small imperfections; they add character. Now, step back and admire your handiwork. You've not only built a bookshelf but also a special memory. Enjoy the satisfaction of knowing you made something both beautiful and useful. Happy DIY-ing!
How much time will this project take?
Typically, it takes about 2-3 hours, depending on your skill level and tools.
What materials do I need?
You'll need wood planks, screws, brackets, paint, and a drill. Don't forget a measuring tape and level.
Can I customize the size?
Absolutely! Measure your closet space and cut the wood to fit. Just make sure it's sturdy.
Do I need any special tools?
A drill, saw, and screwdriver should do the trick. A level helps keep things straight.
Is it safe for a baby’s room?
Yes, as long as you sand the wood smooth and use non-toxic paint. Secure it well to avoid tipping.
How much will it cost?
Costs vary, but expect to spend around $30-$50 on materials. Using scrap wood can save money.
Can I add extra features?
Sure! Hooks for hanging clothes or baskets for toys can be added. Get creative!