Home>Create & Decorate>DIY & Crafts>Quick And Easy Baby Quilt Patterns For Beginners

DIY & Crafts
Quick And Easy Baby Quilt Patterns For Beginners
Published: February 15, 2024

Content Creator specializing in woodworking and interior transformations. Caegan's guides motivate readers to undertake their own projects, while his custom furniture adds a personal touch.
Discover simple and delightful DIY baby quilt patterns for beginners. Get creative with easy-to-follow designs and craft a special keepsake for your little one. Perfect for DIY & Crafts enthusiasts.
(Many of the links in this article redirect to a specific reviewed product. Your purchase of these products through affiliate links helps to generate commission for Twigandthistle.com, at no extra cost. Learn more)
Introduction
Embarking on the journey of creating a baby quilt is an incredibly rewarding and heartwarming endeavor. Whether you're a seasoned quilter or a novice looking to delve into the world of quilting, the prospect of crafting a beautiful and cozy quilt for a little one is undeniably exciting. The process of selecting the perfect fabric, choosing a pattern, and piecing together each element with care and precision is a labor of love that will be cherished for years to come.
Quilting is not just about creating a functional item; it's about infusing love, warmth, and creativity into every stitch. A baby quilt, in particular, holds a special significance as it becomes a treasured keepsake, often passed down through generations. The joy of seeing a little one wrapped in a quilt you've meticulously crafted is unparalleled.
In this comprehensive guide, we will explore various quick and easy baby quilt patterns tailored for beginners. From selecting the right fabric to mastering essential quilting techniques, this resource aims to equip you with the knowledge and inspiration needed to embark on your quilting journey with confidence. Whether you're seeking a simple square pattern, a charming strip quilt design, or a classic nine-patch layout, you'll find step-by-step instructions and valuable tips to guide you through the process.
As we delve into the world of baby quilt patterns, remember that each stitch is an expression of love and care. Embrace the creative process, savor the moments spent selecting fabrics, and revel in the joy of bringing your vision to life. With dedication and a touch of creativity, you'll soon have a stunning baby quilt that not only provides warmth and comfort but also serves as a tangible symbol of your affection for the little one it envelops.
Choosing the Right Fabric
Selecting the right fabric is a crucial first step in creating a beautiful and durable baby quilt. When choosing fabrics for a baby quilt, it's essential to prioritize comfort, safety, and visual appeal. Opt for soft, breathable materials that are gentle on a baby's delicate skin. Cotton fabrics, particularly those labeled as quilting cotton, are a popular choice due to their softness and versatility. Additionally, flannel and minky fabrics offer a cozy texture that adds an extra layer of comfort to the quilt.
Consider the color scheme and theme you envision for the quilt. Pastel hues, cheerful prints, and whimsical patterns are often favored for baby quilts, creating a visually appealing and soothing aesthetic. When selecting fabrics, aim for a harmonious blend of colors and patterns that complement each other. Mixing solids with prints or incorporating a variety of coordinating prints can add depth and visual interest to the quilt.
It's important to prewash the fabrics to remove any excess dyes and to pre-shrink them, ensuring that the quilt maintains its shape and size after washing. This step also helps to prevent color bleeding and ensures that the quilt remains vibrant and fresh-looking over time.
In addition to the main fabric for the quilt top, you'll need backing fabric to provide a soft and smooth underside for the quilt. Consider using a single piece of fabric for the backing or piecing together coordinating fabrics to create a unique and personalized backing design.
When it comes to selecting fabric for the quilt binding, a durable and complementary fabric that frames the quilt's edges is essential. Choose a fabric that complements the quilt top and backing while providing a polished and cohesive finish to the quilt.
By thoughtfully selecting fabrics that prioritize comfort, safety, and visual appeal, you'll lay a strong foundation for creating a baby quilt that is not only visually stunning but also a source of warmth and comfort for the precious little one who will soon be wrapped in its embrace.
Tools and Materials Needed
Before embarking on your baby quilt-making journey, it's essential to gather the necessary tools and materials to ensure a smooth and enjoyable quilting experience. Here's a comprehensive list of items you'll need to bring your baby quilt to life:
Cutting Tools:
- Rotary Cutter: A rotary cutter equipped with a sharp blade allows for precise and efficient fabric cutting.
- Cutting Mat: An essential tool for protecting surfaces while using a rotary cutter and ensuring accurate cuts.
Measuring and Marking:
- Quilting Ruler: A clear, non-slip quilting ruler is indispensable for measuring and cutting fabric with precision.
- Fabric Marking Pen or Pencil: Choose a marking tool that is easily visible on fabric and can be easily removed or fades over time.
Read more: DIY Baby Closet Organization Guide
Sewing Essentials:
- Sewing Machine: A reliable sewing machine equipped with a straight stitch and zigzag stitch capability is essential for piecing the quilt top and quilting layers together.
- Thread: High-quality cotton thread in coordinating colors for piecing and quilting.
- Needles: Sharp, fine needles suitable for machine piecing and hand sewing the binding.
Pressing Tools:
- Iron and Ironing Board: A steam iron and a sturdy ironing board for pressing seams and ensuring crisp, flat fabric pieces.
Fabric and Notions:
- Quilting Cotton: Select a variety of quilting cotton fabrics for the quilt top, ensuring a harmonious blend of colors and patterns.
- Backing Fabric: Soft, complementary fabric for the quilt backing.
- Binding Fabric: Durable fabric for creating the quilt binding.
- Batting: Choose a suitable batting to provide warmth and loft to the quilt.
Additional Supplies:
- Safety Pins or Quilting Clips: Essential for basting the quilt layers together before quilting.
- Thimble: Protect your fingers during hand quilting.
- Seam Ripper: A handy tool for correcting sewing mistakes.
- Quilting Gloves: Optional, but useful for enhancing grip and maneuverability while quilting.
By ensuring you have these essential tools and materials at your disposal, you'll be well-prepared to embark on your baby quilt-making journey with confidence and enthusiasm. Each item plays a crucial role in the quilting process, contributing to the creation of a beautiful and cherished baby quilt that will be treasured for years to come.
Read more: DIY Baby Closet Bookshelf Tutorial
Simple Square Quilt Pattern
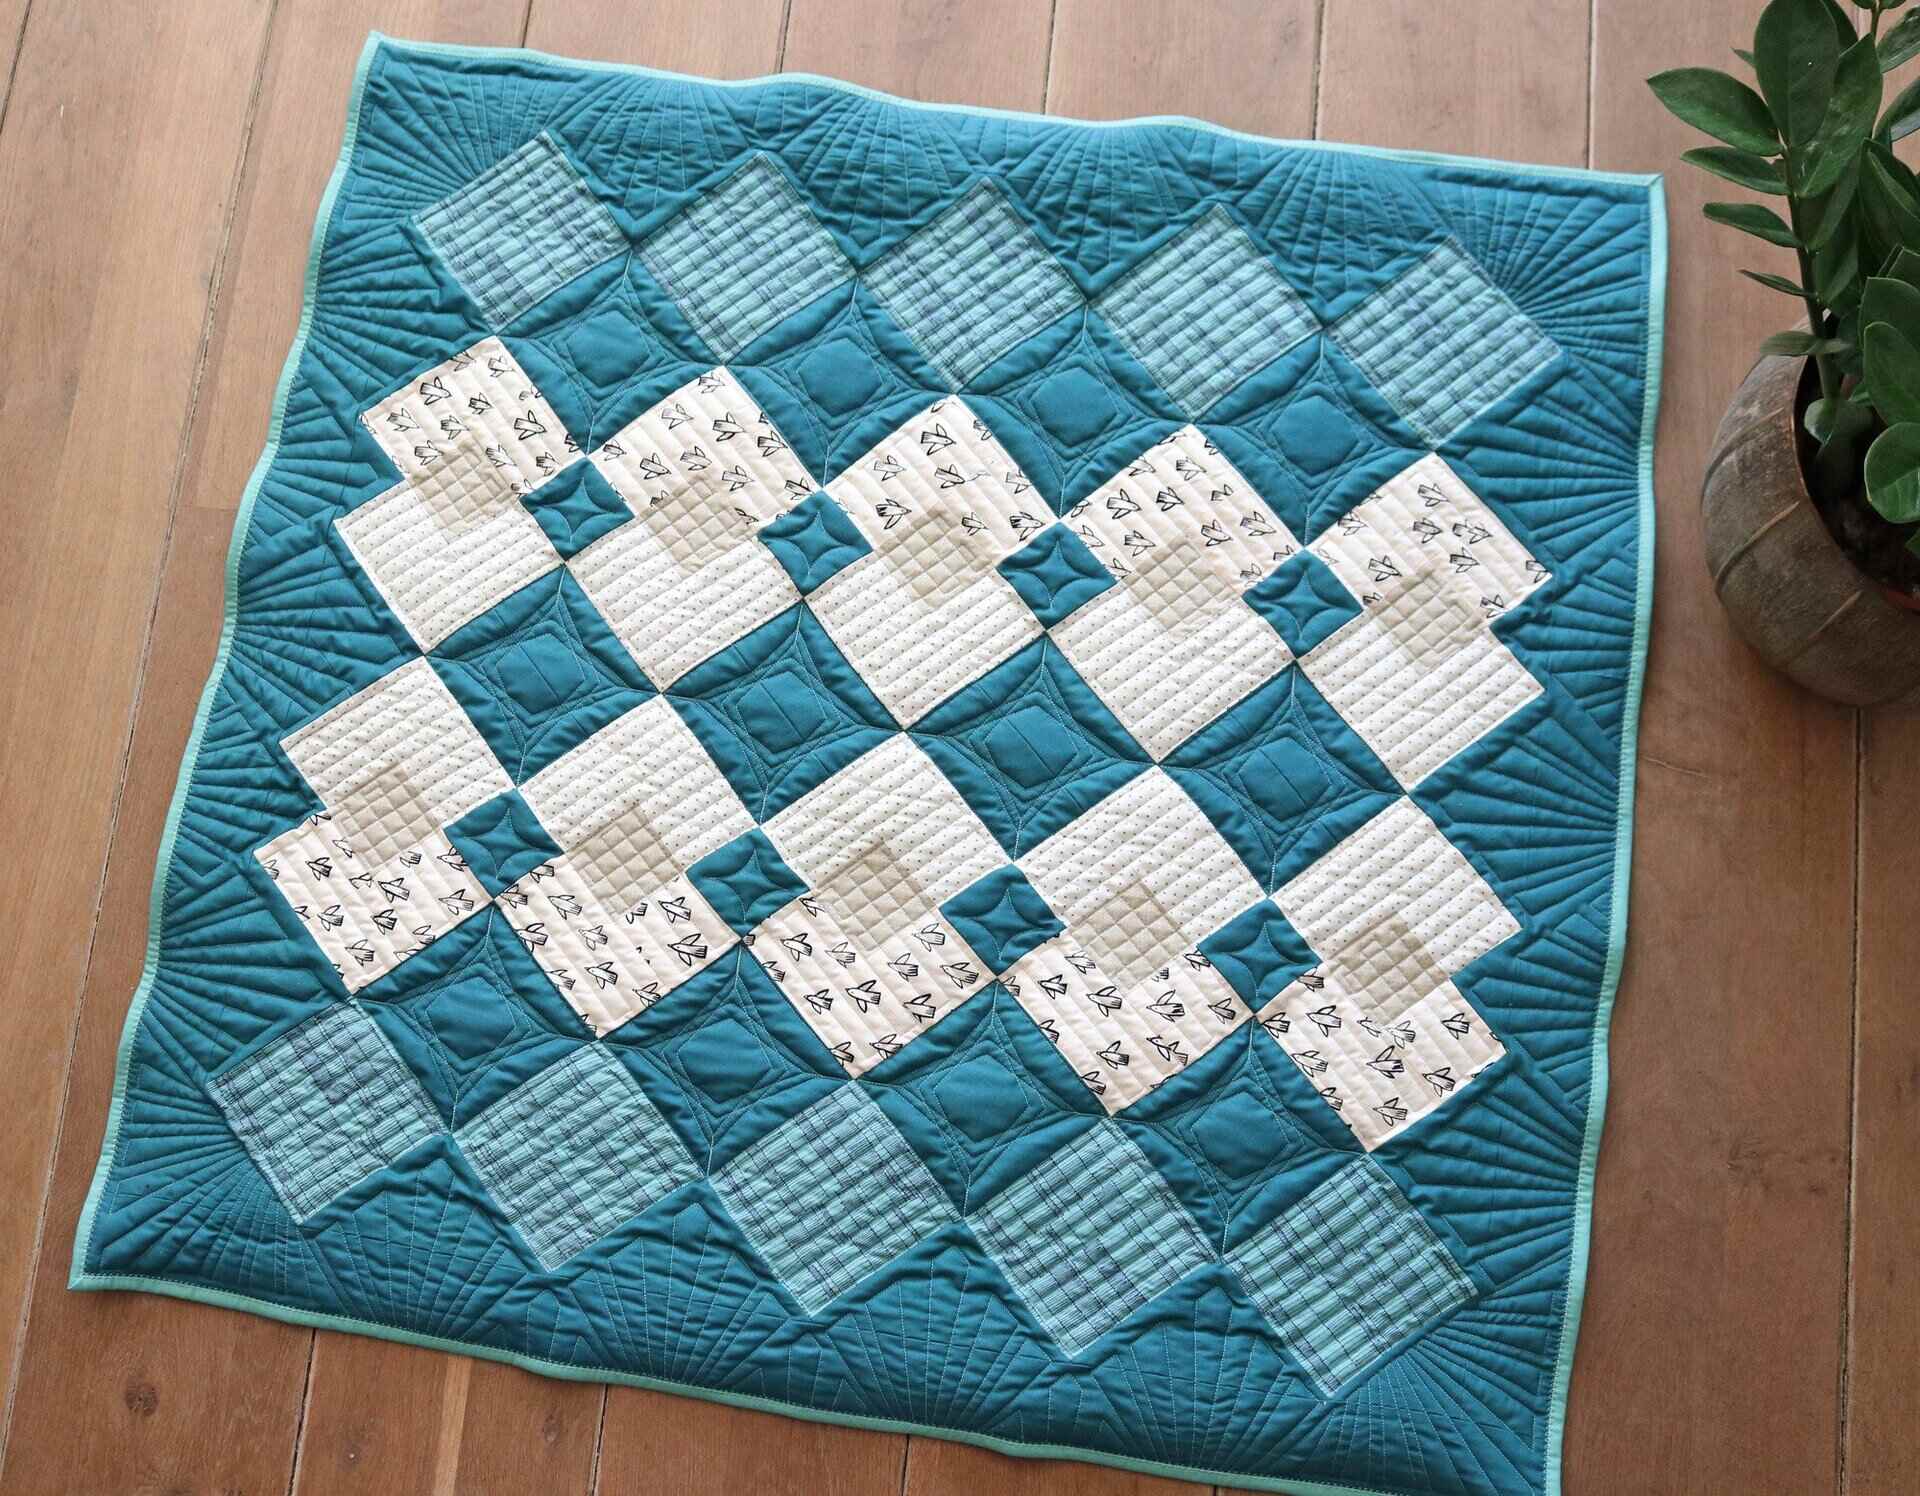
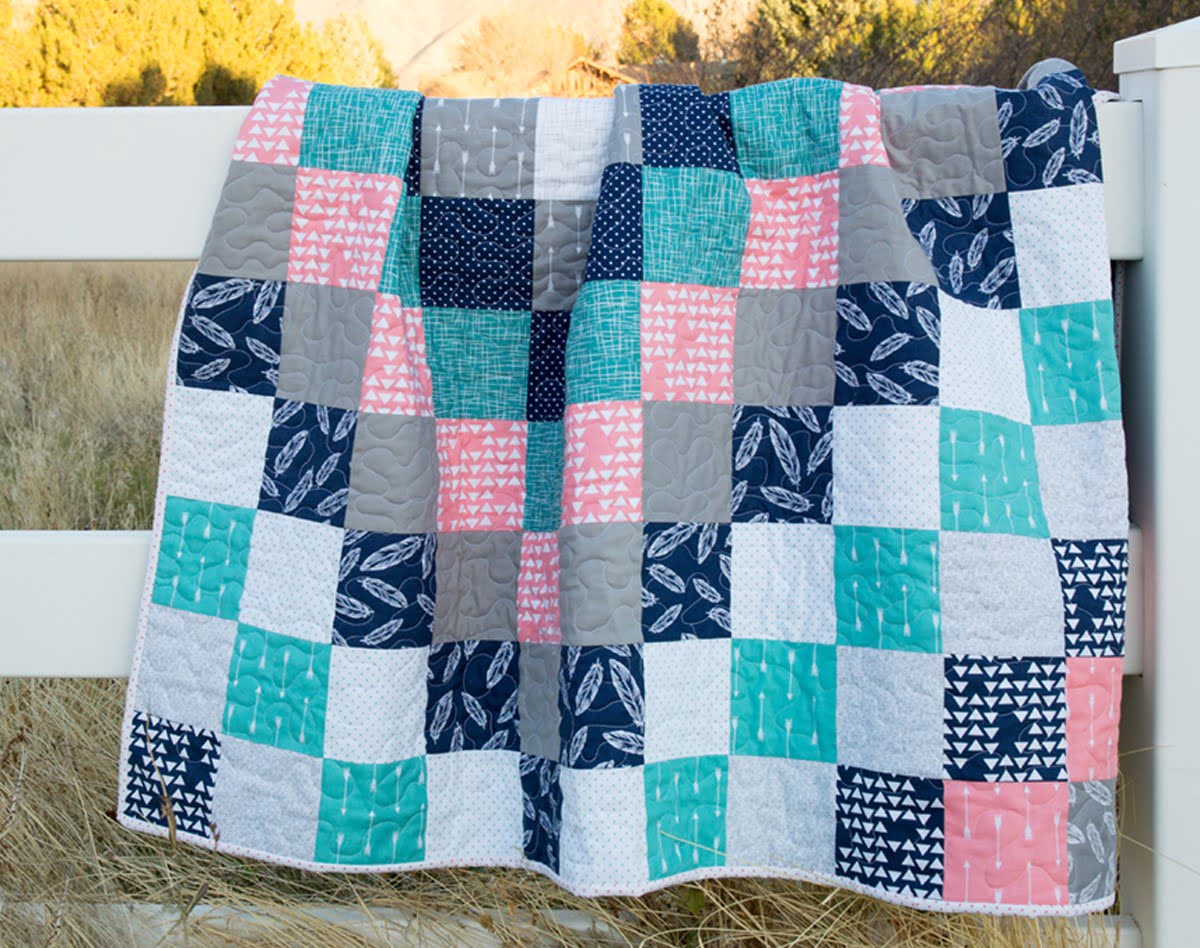
The simple square quilt pattern, also known as a patchwork quilt, is a timeless and versatile design that is ideal for quilters of all skill levels, especially beginners. This classic pattern showcases the beauty of simplicity while offering endless possibilities for creativity and personalization.
To begin creating a simple square quilt, start by selecting an assortment of fabric squares in varying colors, patterns, and textures. These fabric squares, often referred to as quilt blocks, serve as the building blocks of the quilt's design. For a cohesive and visually appealing quilt, consider arranging the fabric squares in a pleasing layout, ensuring a balanced distribution of colors and patterns.
Once you have arranged the fabric squares to your satisfaction, begin sewing them together to form rows. This process involves stitching the squares together with a consistent seam allowance, creating neat and uniform rows of fabric blocks. After sewing the rows, press the seam allowances to ensure flat and smooth fabric surfaces, contributing to a polished overall appearance.
Next, sew the rows together to form the quilt top, paying attention to aligning the seams for a seamless and professional-looking finish. Once the quilt top is assembled, layer it with batting for warmth and a backing fabric to provide a soft underside. Secure the layers with safety pins or quilting clips, preparing the quilt for the final quilting stage.
Quilting the layers together not only adds visual interest and texture to the quilt but also ensures the layers remain securely in place. For beginners, straight-line quilting or diagonal quilting can be an excellent starting point, offering a simple yet effective way to enhance the quilt's appearance.
After quilting, trim any excess batting and backing fabric, preparing the quilt for the binding process. Binding the quilt involves attaching a fabric strip around the quilt's edges, framing and securing the layers while providing a clean and durable finish. Once the binding is attached, hand-stitch it to the back of the quilt for a polished and professional look.
The simple square quilt pattern offers a wonderful opportunity for quilters to experiment with color combinations, fabric textures, and layout variations. Whether creating a vibrant and eclectic quilt with a mix of bold colors or opting for a soothing and harmonious color scheme, the simple square pattern allows for endless creative expression.
By embracing the simplicity and versatility of the simple square quilt pattern, beginners can embark on their quilting journey with confidence, honing their skills while creating a beautiful and functional quilt that will be treasured for years to come.
Strip Quilt Pattern
The strip quilt pattern, also known as a jelly roll quilt, offers a delightful and efficient approach to creating a visually captivating and cozy baby quilt. This pattern is particularly well-suited for beginners, as it simplifies the quilting process while allowing for endless creativity and personalization.
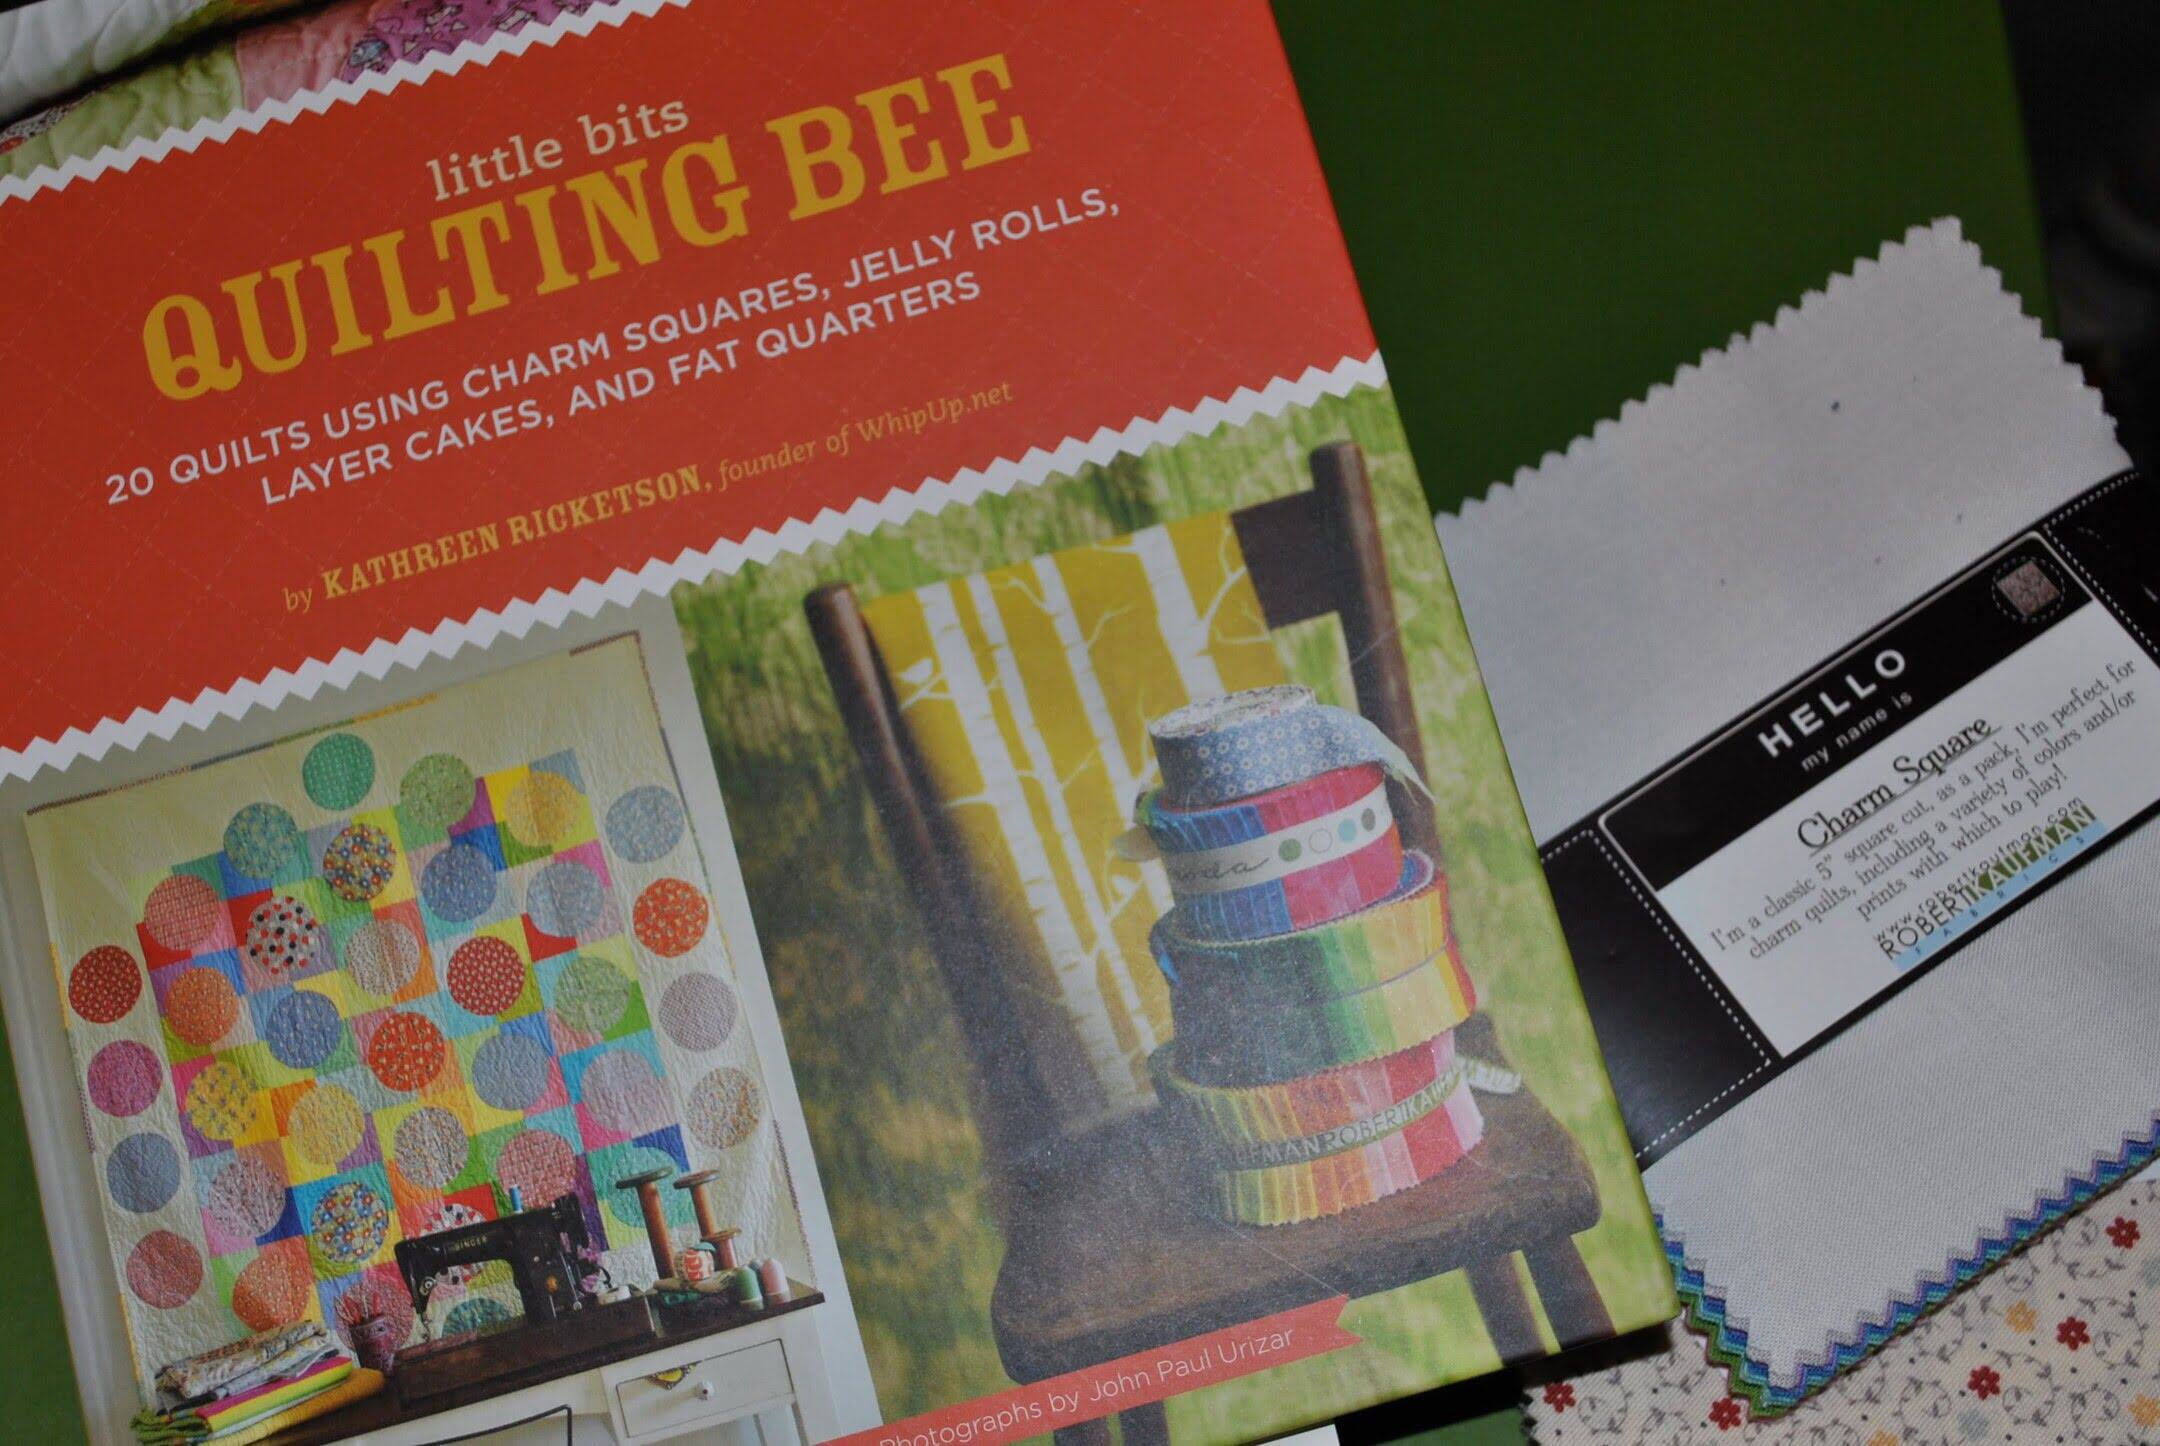
To begin crafting a strip quilt, start by acquiring a pre-cut bundle of fabric strips, commonly known as a jelly roll. These fabric strips are available in an array of coordinating colors and patterns, offering a convenient way to achieve a cohesive and harmonious quilt design. Alternatively, you can cut your own fabric strips from quilting cotton, ensuring a personalized selection of colors and patterns that align with your creative vision.
Once you have gathered the fabric strips, arrange them in a visually pleasing order, considering color distribution and pattern placement. This step allows you to visualize the overall design of the quilt and ensures a balanced and appealing composition. The versatility of the strip quilt pattern enables you to experiment with various layout options, from simple alternating stripes to more intricate designs incorporating geometric patterns and color gradients.
After arranging the fabric strips, begin sewing them together to form long strips of fabric. This process involves stitching the strips with a consistent seam allowance, creating cohesive and visually striking fabric panels. Press the seam allowances to ensure flat and smooth fabric surfaces, contributing to a polished overall appearance.
Once the fabric panels are assembled, lay them out to form the quilt top, paying attention to the placement and alignment of the panels. This step allows you to visualize the final design and make any necessary adjustments before proceeding to the next stage of the quilting process.
Layer the quilt top with batting for warmth and a backing fabric to provide a soft underside. Secure the layers with safety pins or quilting clips, preparing the quilt for the final quilting stage. Quilting the layers together not only adds visual interest and texture to the quilt but also ensures the layers remain securely in place. For beginners, straight-line quilting or free-motion quilting can be excellent choices, offering a simple yet effective way to enhance the quilt's appearance.
After quilting, trim any excess batting and backing fabric, preparing the quilt for the binding process. Binding the quilt involves attaching a fabric strip around the quilt's edges, framing and securing the layers while providing a clean and durable finish. Once the binding is attached, hand-stitch it to the back of the quilt for a polished and professional look.
The strip quilt pattern offers a delightful opportunity for quilters to explore color combinations, pattern arrangements, and design variations. Whether creating a vibrant and dynamic quilt with bold, contrasting stripes or opting for a subtle and soothing color palette, the strip quilt pattern allows for endless creative expression.
By embracing the simplicity and versatility of the strip quilt pattern, beginners can embark on their quilting journey with confidence, honing their skills while creating a beautiful and functional quilt that will be treasured for years to come.
Nine Patch Quilt Pattern
The nine patch quilt pattern is a beloved classic that holds timeless appeal and offers a delightful canvas for quilters to showcase their creativity. This versatile pattern, characterized by its grid-like layout of nine fabric squares, presents an ideal opportunity for beginners to embark on their quilting journey while allowing seasoned quilters to explore intricate design variations.
To begin crafting a nine patch quilt, select an assortment of fabric squares in coordinating colors and patterns. The beauty of this pattern lies in its adaptability, allowing quilters to experiment with various color combinations and layout arrangements. Whether opting for a harmonious blend of pastel hues or a bold juxtaposition of contrasting colors, the nine patch pattern provides endless possibilities for creative expression.
Once the fabric squares are selected, arrange them in rows to form the nine patch blocks. This process involves sewing together three fabric squares to create each block, resulting in a visually striking grid pattern. Pay attention to the placement of colors and patterns within each block, ensuring a balanced and visually appealing composition.
After assembling the nine patch blocks, sew them together to form the quilt top, taking care to align the seams for a seamless and polished finish. This step allows quilters to visualize the overall design of the quilt and make any necessary adjustments before proceeding to the next stage of the quilting process.
Layer the quilt top with batting for warmth and a backing fabric to provide a soft underside. Secure the layers with safety pins or quilting clips, preparing the quilt for the final quilting stage. Quilting the layers together not only adds visual interest and texture to the quilt but also ensures the layers remain securely in place. For beginners, straight-line quilting or grid quilting can be excellent choices, offering a simple yet effective way to enhance the quilt's appearance.
After quilting, trim any excess batting and backing fabric, preparing the quilt for the binding process. Binding the quilt involves attaching a fabric strip around the quilt's edges, framing and securing the layers while providing a clean and durable finish. Once the binding is attached, hand-stitch it to the back of the quilt for a polished and professional look.
The nine patch quilt pattern offers a delightful opportunity for quilters to explore color combinations, pattern arrangements, and design variations. Whether creating a vibrant and eclectic quilt with a mix of bold colors or opting for a soothing and harmonious color scheme, the nine patch pattern allows for endless creative expression.
By embracing the simplicity and versatility of the nine patch quilt pattern, beginners can embark on their quilting journey with confidence, honing their skills while creating a beautiful and functional quilt that will be treasured for years to come.
Tips for Quilting Success
Quilting, while a delightful and fulfilling craft, requires attention to detail and a mindful approach to ensure a successful outcome. Whether you're a novice quilter or have some experience under your belt, incorporating these valuable tips into your quilting process can elevate your skills and enhance the overall quilting experience.
1. Precision in Cutting and Piecing
Accurate and precise cutting of fabric pieces is fundamental to the quilting process. Use high-quality cutting tools and a clear quilting ruler to ensure uniformity in fabric dimensions. When piecing fabric blocks or strips together, maintain a consistent seam allowance to achieve neatly aligned and seamless quilt components.
2. Pressing for Perfection
Proper pressing of fabric seams is essential for achieving flat and polished quilt elements. Invest in a reliable steam iron and diligently press each seam to set the stitches and create crisp, flat fabric surfaces. Pressing also aids in aligning seams and ensures a professional finish to the quilt top.
3. Experiment with Quilting Techniques
Explore various quilting techniques to add texture and visual interest to your quilt. Whether opting for straight-line quilting, free-motion quilting, or intricate quilting designs, experimenting with different techniques allows you to infuse personality and creativity into your quilt while honing your quilting skills.
4. Embrace Continuous Learning
Quilting is a craft that offers endless opportunities for learning and growth. Embrace a mindset of continuous learning by seeking out tutorials, attending quilting workshops, and engaging with the quilting community. Embracing new techniques and approaches can expand your quilting repertoire and inspire fresh creativity.
Read more: DIY French Door Curtains Ideas
5. Attention to Fabric Selection
Carefully consider the selection of fabrics for your quilt, ensuring a harmonious blend of colors, patterns, and textures. Prioritize high-quality quilting cotton and complementary backing and binding fabrics to create a visually appealing and durable quilt that stands the test of time.
6. Finishing Touches with Binding
Mastering the art of quilt binding is crucial for achieving a polished and professional-looking finish. Take the time to hand-stitch the binding to the back of the quilt, ensuring secure and neat edges that frame the quilt beautifully.
7. Patience and Persistence
Quilting is a labor of love that requires patience and persistence. Embrace the process, savor each step, and allow yourself the grace to learn from mistakes. With dedication and perseverance, you'll witness your quilting skills flourish and your finished quilt become a cherished masterpiece.
By incorporating these tips into your quilting practice, you'll not only enhance the quality of your quilts but also cultivate a deeper appreciation for the art of quilting. Each quilt you create becomes a testament to your growth as a quilter and a tangible expression of creativity and craftsmanship.
Conclusion
Embarking on the journey of creating a baby quilt is a deeply rewarding experience that intertwines creativity, craftsmanship, and heartfelt dedication. As we conclude this comprehensive guide to quick and easy baby quilt patterns for beginners, it's essential to reflect on the profound significance of quilting as a timeless art form and a cherished tradition.
Throughout this guide, we've explored the art of selecting the right fabric, delved into essential tools and materials, and delved into three versatile quilt patterns tailored for beginners: the simple square quilt pattern, the strip quilt pattern, and the classic nine patch quilt pattern. Each pattern offers a unique opportunity for quilters to express their creativity while honing their skills, resulting in beautiful and functional quilts that hold a special place in the hearts of both the creator and the recipient.
Quilting is not merely a craft; it's a labor of love that transcends time. The act of meticulously piecing together fabric, layering it with batting and backing, and quilting each layer together is an act of devotion and care. A baby quilt, in particular, holds a profound significance as it becomes a tangible symbol of love, warmth, and comfort for the precious little one who will be wrapped in its embrace.
As you embark on your quilting journey, whether as a beginner seeking to master essential techniques or as a seasoned quilter eager to explore new patterns and designs, remember that each stitch is an expression of creativity and affection. Embrace the process, savor the moments spent selecting fabrics, and revel in the joy of bringing your vision to life.
The completion of a baby quilt marks not just the end of a creative endeavor, but the beginning of a legacy. It becomes a treasured heirloom, a tangible embodiment of love and care that transcends generations. The quilt you create today may one day be passed down, carrying with it the stories, memories, and love woven into every seam and stitch.
In conclusion, the art of quilting is a timeless tradition that fosters creativity, patience, and a deep appreciation for craftsmanship. Whether you're drawn to the simplicity of the square quilt pattern, the efficiency of the strip quilt pattern, or the classic charm of the nine patch quilt pattern, each quilt you create becomes a testament to your creativity and a source of comfort and joy for those who receive it.
So, as you embark on your quilting journey, may each stitch be imbued with love, each fabric selection be a reflection of your creativity, and each completed quilt be a cherished masterpiece that brings warmth and joy to those who are fortunate enough to be enveloped in its embrace. Happy quilting!

