
Home>Home & Furniture>Roof>DIY Roof Moss Killer Guide
Roof
DIY Roof Moss Killer Guide
Published: August 23, 2024
Discover the ultimate DIY Roof Moss Killer Guide! Learn effective, eco-friendly methods to remove moss from your roof and prevent regrowth. Keep your roof clean and durable.
(Many of the links in this article redirect to a specific reviewed product. Your purchase of these products through affiliate links helps to generate commission for Twigandthistle.com, at no extra cost. Learn more)
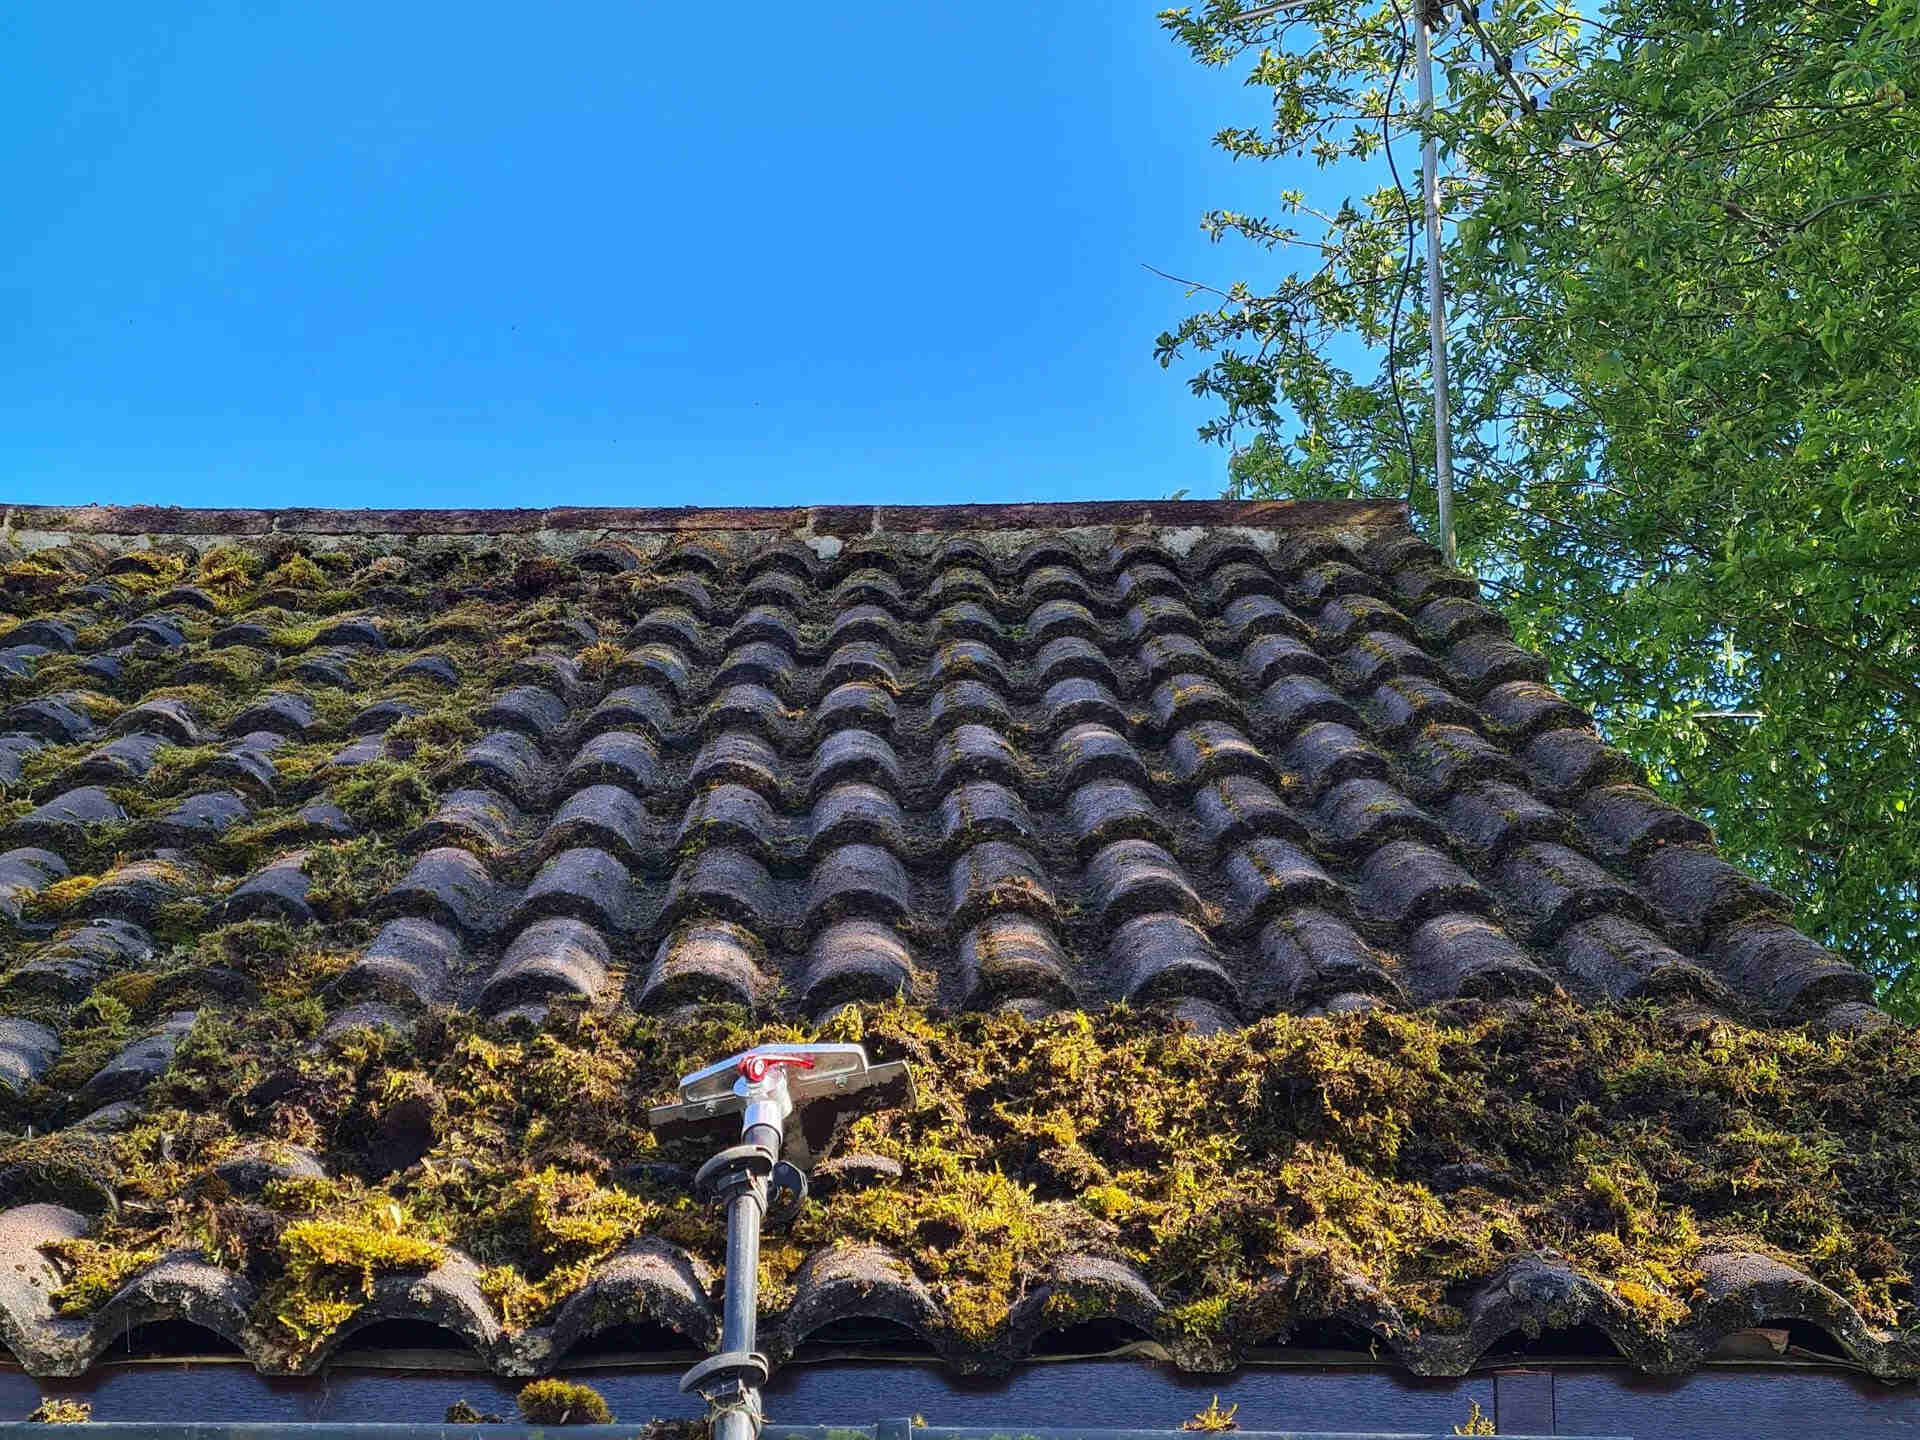
Moss on your roof might look quaint, but it can cause real damage over time. It holds moisture against shingles, leading to rot and leaks. Learning how to deal with roof moss yourself can save money and protect your home. This guide helps you understand the basics of removing and preventing moss growth. No need for expensive professional services or harsh chemicals. With simple tools and a little elbow grease, you can keep your roof moss-free. Follow these steps to ensure a healthier, longer-lasting roof. Ready to roll up your sleeves and tackle that moss? Let's get started!
Getting Ready for the Project
- Safety First: Wear gloves, goggles, and non-slip shoes. Use a safety harness if working on a steep roof.
- Check the Weather: Choose a dry day to avoid slipping and ensure the moss killer works effectively.
- Gather Supplies: Get a ladder, garden sprayer, moss killer solution, and a stiff brush.
- Clear the Area: Remove any debris like leaves or branches from the roof.
- Protect Plants: Cover any plants or shrubs around the house with plastic sheeting to prevent damage from the moss killer.
- Test the Solution: Apply a small amount of the moss killer on a hidden area of the roof to ensure it doesn't cause damage.
- Set Up Workspace: Place all your tools within easy reach and ensure the ladder is stable on a flat surface.
- Plan Your Path: Decide on a safe route to move across the roof, starting from the top and working your way down.
What You Need to Get Started
- Ladder: Essential for reaching the roof safely. Make sure it's sturdy and tall enough.
- Safety Gear: Includes gloves, goggles, and non-slip shoes. Protects you from chemicals and slipping.
- Garden Hose: Needed for rinsing the roof. Ensure it has good water pressure.
- Spray Bottle or Garden Sprayer: Used to apply the moss killer solution evenly.
- Moss Killer Solution: Can be store-bought or homemade. Kills moss effectively.
- Scrub Brush: Helps remove dead moss. Choose one with stiff bristles.
- Bucket: Useful for mixing solutions and carrying tools.
- Tarp: Protects plants and surfaces below the roof from chemicals.
- Extension Pole: Attaches to the scrub brush for hard-to-reach areas.
- Gutter Scoop: Clears debris from gutters to prevent water backup.
Each tool and material plays a crucial role in ensuring the moss removal process is safe and effective.
How Much Time and Skill You Need
Skill Level: Intermediate. Requires comfort with working on a roof and handling chemicals.
Time Required:
- Preparation: 1-2 hours (gathering materials, setting up ladder)
- Application: 2-3 hours (spraying moss killer, ensuring even coverage)
- Waiting Period: 24-48 hours (letting the moss killer work)
- Cleanup: 1-2 hours (removing dead moss, cleaning tools)
Total Time: Approximately 28-55 hours (including waiting period)
Follow These Steps
Gather Supplies:
- Moss killer solution (store-bought or homemade)
- Garden sprayer
- Ladder
- Safety goggles
- Gloves
- Hose with spray nozzle
Safety First:
- Wear safety goggles and gloves.
- Ensure the ladder is stable before climbing.
Prepare the Solution:
- If using a store-bought solution, follow the instructions on the label.
- For a homemade solution, mix 1 part bleach with 3 parts water in the garden sprayer.
Apply the Solution:
- Climb the ladder carefully.
- Spray the moss killer solution evenly over the moss-covered areas.
- Avoid spraying on plants or grass below.
Wait:
- Allow the solution to sit for at least 24 hours.
- The moss will start to turn yellow or brown.
Rinse the Roof:
- Use the hose with a spray nozzle to rinse off the dead moss.
- Be gentle to avoid damaging shingles.
Inspect and Repeat:
- Check the roof for any remaining moss.
- Repeat the process if necessary.
Prevent Future Growth:
- Trim overhanging branches to reduce shade.
- Clean gutters regularly to prevent moisture buildup.
- Consider installing zinc or copper strips along the roof ridge to inhibit moss growth.
Helpful Tips and Tricks
Use a homemade solution of water, vinegar, and dish soap. Mix 1 part vinegar with 2 parts water, then add a few drops of dish soap. Spray this mixture on mossy areas.
Apply on a dry day. Moss absorbs the solution better when dry. Check the weather forecast to avoid rain for at least 24 hours after application.
Scrub gently with a soft-bristle brush. This helps loosen moss without damaging shingles. Avoid using a wire brush, which can cause harm.
Rinse thoroughly with a garden hose. High-pressure washers can damage roofing materials. A gentle rinse removes dead moss and leftover solution.
Prevent future growth by trimming tree branches that shade the roof. Moss thrives in damp, shaded areas. More sunlight means less moss.
Common mistakes to avoid:
- Using bleach: It can damage shingles and harm plants around your house.
- Ignoring safety: Always use a sturdy ladder and wear non-slip shoes when working on the roof.
- Over-saturating: Too much solution can seep under shingles, causing leaks.
Alternatives:
- Commercial moss killers: These are specifically designed for roofs but can be more expensive.
- Zinc or copper strips: Install these at the roof's peak. Rainwater carries metal particles down, preventing moss growth.
- Baking soda: Sprinkle it directly on moss. It changes the pH level, making it hard for moss to survive.
How Much Will It Cost?
Materials:
- Moss Killer: $20-$30 for a gallon
- Water: Free (from your tap)
- Sprayer: $15-$25 for a basic pump sprayer
- Scrub Brush: $5-$10
- Protective Gear: $10-$20 (gloves, goggles)
Tools:
- Ladder: $50-$100 (if you don't already have one)
- Hose: $10-$20
Total Cost: $110-$205
Budget-Friendly Alternatives:
- Homemade Moss Killer: Mix 1 part vinegar with 3 parts water ($5 for vinegar)
- Borrow a Ladder: Ask a neighbor or friend (free)
- Use an Old Hose: If you have one lying around (free)
Total Cost with Alternatives: $30-$60
Different Ways to Customize
Alternative Materials: Instead of using chemical moss killers, try vinegar or baking soda. Both are natural and effective. Mix vinegar with water in a spray bottle or sprinkle baking soda directly on the moss.
Colors: If you want to add a bit of flair, consider using a colored spray. Some natural moss killers can be mixed with food coloring to help you see where you've applied them.
Styles: For a more eco-friendly approach, use a moss removal brush. These brushes are designed to scrape off moss without damaging shingles. Another style is using a pressure washer on a low setting to gently remove moss.
Application Methods: Use a garden sprayer for even application. For hard-to-reach areas, a telescoping pole with a sprayer attachment can be very handy.
Preventative Measures: Install zinc or copper strips along the roof ridge. Rainwater will carry small amounts of metal down the roof, preventing moss growth.
Safety Gear: Always wear non-slip shoes, gloves, and safety goggles. Consider using a harness if your roof is particularly steep.
Timing: Apply moss killer during a dry spell. This ensures the solution stays on the moss long enough to be effective.
Storage: Store any leftover moss killer in a cool, dry place. Make sure it’s out of reach of children and pets.
Cost-Effective Options: For a budget-friendly option, mix salt with water. Spray this solution on the moss. Be cautious, as salt can harm plants and soil around your home.
Environmental Impact: Choose biodegradable products to minimize harm to the environment. Look for labels that indicate the product is safe for plants and animals.
Eco-Friendly Tips
Eco-friendly materials can help keep your roof moss-free without harming the environment. Baking soda is a great option. Mix it with water and spray it on the moss. It changes the pH level, making it hard for moss to grow.
Vinegar is another natural choice. Combine equal parts vinegar and water, then apply it to the moss. The acidity kills the moss without damaging your roof.
Salt can also work. Dissolve it in water and spray it on the moss. Be careful not to use too much, as it can harm plants around your home.
Reusing or recycling materials can make your project even more eco-friendly. Use an old spray bottle for your moss killer mixture. If you have leftover baking soda or vinegar from other projects, use those instead of buying new ones.
Manual removal is another method. Use a stiff brush or scraper to remove moss. This method requires no chemicals and can be very effective.
Copper strips can prevent moss from growing. Install them along the ridge of your roof. When it rains, small amounts of copper wash down, killing moss.
Rainwater collection can help. Use collected rainwater to rinse your roof after applying moss killer. This saves water and reduces runoff.
By using these eco-friendly methods and materials, you can keep your roof moss-free while being kind to the planet.
Keep Your Roof Moss-Free
Keeping your roof moss-free isn't just about looks. Moss can damage shingles, leading to leaks and costly repairs. Regularly inspect your roof, especially after rainy seasons. Use a moss killer solution, either store-bought or homemade, to treat affected areas. Apply it on a dry day for the best results. Trim overhanging branches to reduce shade and improve air circulation. Clean gutters to prevent water buildup, which moss loves. Consider installing zinc or copper strips along the roof ridge; rainwater will carry small amounts of metal down the roof, killing moss. Always prioritize safety when working on your roof. Use a sturdy ladder, wear non-slip shoes, and consider having someone spot you. With these steps, you can keep your roof in top shape, saving money and hassle in the long run. Happy DIY-ing!
How do I know if my roof has moss?
Look for green patches or fuzzy growth on your shingles. Moss loves damp, shady areas, so check those spots first.
Is moss harmful to my roof?
Yes, moss can damage shingles by lifting them up, allowing water to seep in. This can lead to leaks and rot.
What tools do I need to remove moss?
You'll need a stiff brush, ladder, safety gear, and a moss killer solution. A garden sprayer can also help.
Can I make my own moss killer?
Sure! Mix equal parts water and vinegar or use a 50/50 mix of water and bleach. Just be careful with plants around your house.
How often should I treat my roof for moss?
Treat your roof once a year to keep moss at bay. If you live in a damp climate, you might need to do it more often.
Is it safe to walk on my roof?
Walking on your roof can be dangerous. Use a ladder and safety harness. If you're unsure, consider hiring a professional.
What should I do after removing the moss?
After removing moss, rinse your roof with water to get rid of any residue. Check for damaged shingles and replace them if needed.