
Home>Home & Furniture>Roof>DIY Christmas Roof Decorations Guide
Roof
DIY Christmas Roof Decorations Guide
Published: August 18, 2024
Transform your home into a festive wonderland with our DIY Christmas roof decorations guide. Learn tips, safety measures, and creative ideas to light up your holiday season!
(Many of the links in this article redirect to a specific reviewed product. Your purchase of these products through affiliate links helps to generate commission for Twigandthistle.com, at no extra cost. Learn more)
Christmas is a magical time, and decorating your home can add to the festive spirit. One of the best ways to make your house stand out is by adding decorations to your roof. DIY Christmas roof decorations are not only fun to create but also add a personal touch. You don't need to be a professional to make your home look like a winter wonderland. With a few tools, some creativity, and a bit of time, you can transform your roof into a dazzling display that will delight your neighbors and bring joy to everyone who passes by.
Getting Ready for Your Project
Plan Your Design: Sketch out your decoration layout. Decide where lights, inflatables, and other decorations will go.
Check Weather Conditions: Choose a day with clear skies and no strong winds. Wet or icy roofs can be dangerous.
Gather Supplies: Collect all necessary items like lights, extension cords, clips, and decorations. Ensure you have a sturdy ladder.
Inspect Your Roof: Look for any damage or weak spots. Fix any issues to prevent accidents.
Test Lights and Decorations: Plug in lights and inflatables to ensure they work before installation.
Set Up a Safe Workspace: Clear the area around your house. Keep tools and decorations organized to avoid tripping.
Wear Safety Gear: Use non-slip shoes, gloves, and a safety harness if possible. Always have someone spot you when on the ladder.
Secure Decorations Properly: Use clips and fasteners designed for outdoor use. Avoid using nails or staples that can damage your roof.
Check Electrical Outlets: Ensure outdoor outlets are in good condition and can handle the load of your decorations.
Plan for Power: Use outdoor-rated extension cords and power strips. Avoid overloading circuits to prevent electrical hazards.
What You'll Need
- Christmas Lights: Choose LED lights for energy efficiency. They come in various colors and styles.
- Extension Cords: Ensure they are outdoor-rated to handle weather conditions.
- Light Clips: Use these to attach lights to gutters or shingles without causing damage.
- Ladder: A sturdy, extendable ladder helps you reach the roof safely.
- Measuring Tape: Measure the length of your roof to know how many lights you need.
- Outdoor Timer: Automate your lights to turn on and off at specific times.
- Gutter Hooks: These help secure lights along the edge of your roof.
- Zip Ties: Use these to bundle cords neatly and prevent tangling.
- Weatherproof Tape: Protect connections from moisture.
- Safety Harness: Essential for preventing falls while working on the roof.
- Gloves: Protect your hands from sharp edges and cold weather.
- Roof Anchors: Provide additional safety by securing your harness.
- Power Drill: Useful for installing anchors or clips if needed.
- Plastic Storage Bins: Store your decorations safely when not in use.
Skills and Time Commitment
Skill Level: Intermediate
Time Required: 4-6 hours
Steps:
- Planning and Design: 1 hour
- Gathering Materials: 30 minutes
- Installing Lights and Decorations: 2-3 hours
- Safety Checks and Adjustments: 1 hour
How to Do It: Step-by-Step
Plan Your Design
- Sketch your decoration layout.
- Decide on the types of lights and decorations.
Gather Materials
- Christmas lights (LED recommended)
- Extension cords
- Light clips or hooks
- Ladder
- Outdoor-rated power strip
- Timer (optional)
Check Lights
- Test all lights to ensure they work.
- Replace any burnt-out bulbs.
Safety First
- Choose a dry, calm day.
- Wear non-slip shoes.
- Have a spotter to hold the ladder.
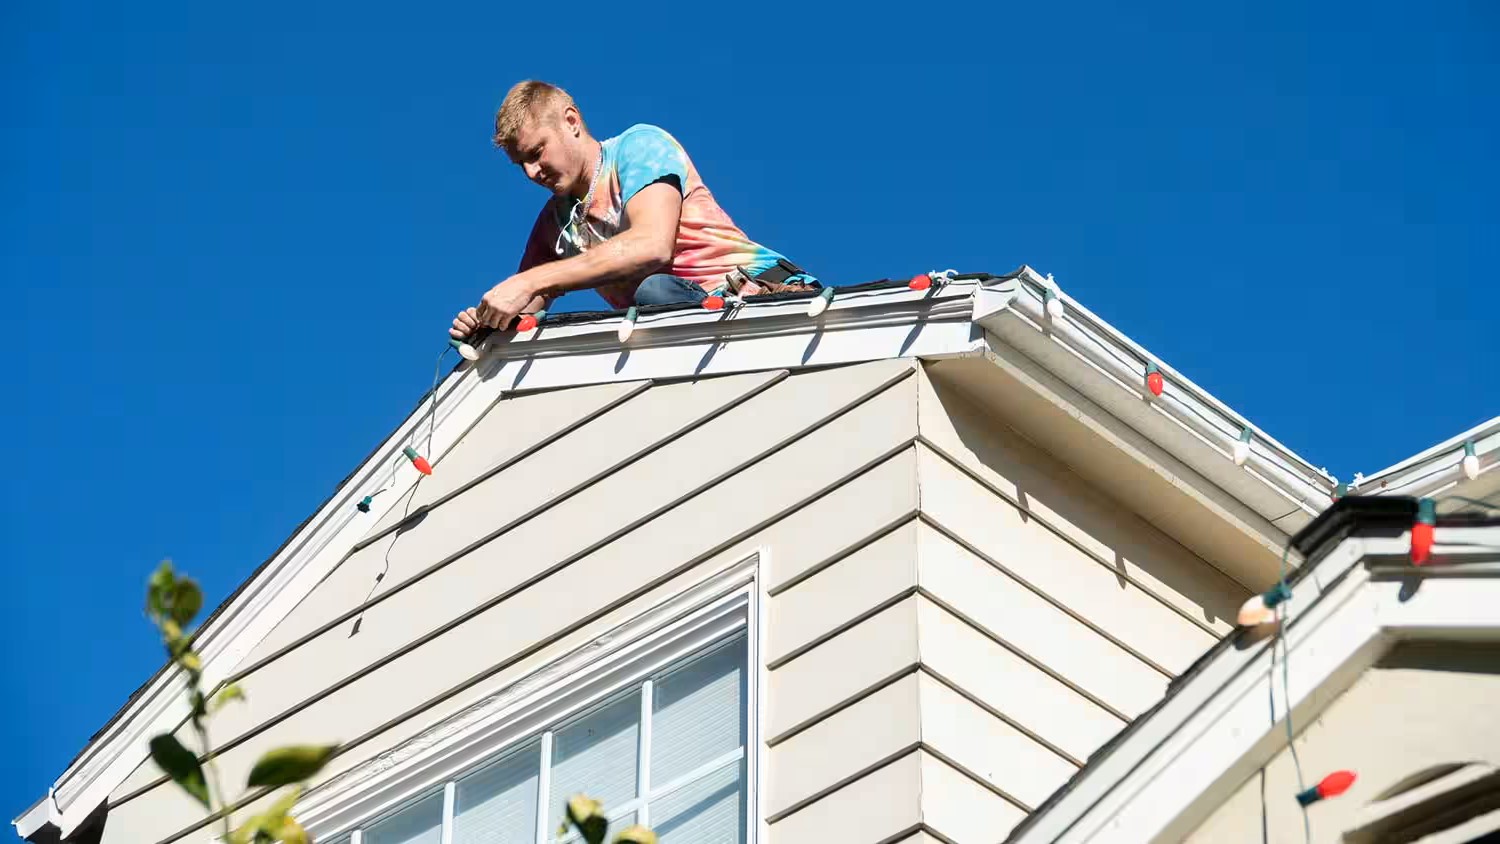
Install Light Clips
- Attach clips to gutters or shingles.
- Space clips evenly for a neat look.
Hang Lights
- Start from the power source.
- Secure lights in clips.
- Avoid overloading circuits.
Add Decorations
- Place wreaths or inflatable figures.
- Secure with zip ties or weights.
Connect Power
- Use outdoor-rated extension cords.
- Plug into a power strip.
- Set up a timer if desired.
Final Check
- Ensure all lights and decorations are secure.
- Turn on lights to check for any issues.
Enjoy Your Work
- Admire your festive roof from a safe distance.
Helpful Hints
Plan your design before starting. Sketch out where you want lights, inflatables, or other decorations. This helps avoid last-minute changes.
Use plastic clips instead of nails or staples. Clips prevent damage to shingles and gutters. They also make removal easier.
Test all lights before hanging. Plug them in to check for dead bulbs or faulty wiring. This saves time and frustration later.
Work with a buddy for safety. Having someone hold the ladder or pass tools can prevent accidents.
Secure inflatables with stakes and tethers. Wind can easily blow them off the roof, causing damage or injury.
Use a timer for your lights. This saves energy and ensures your decorations turn on and off at the desired times.
Check weather conditions before starting. Avoid working on the roof during rain, snow, or high winds.
Wear non-slip shoes to prevent falls. Roofs can be slippery, especially in winter.
Common mistakes to avoid:
Overloading circuits can cause outages or fires. Spread lights across multiple outlets.
Ignoring weight limits on the roof. Too many heavy decorations can damage the structure.
Not securing decorations properly. Loose items can fall and cause injury or damage.
Using indoor lights outside. They aren't designed to withstand weather conditions.
Alternatives for materials or methods:
LED lights use less energy and last longer than traditional bulbs.
Solar-powered lights eliminate the need for extension cords and reduce energy costs.
Battery-operated decorations can be placed anywhere without worrying about outlets.
Magnetic clips work well on metal roofs, providing a secure hold without damage.
Budgeting Your Project
Lights: $50-$100 for a basic set of LED string lights.
Extension cords: $10-$20 each.
Clips: $10-$15 for a pack of 100 light clips.
Ladder: $100-$200 for a sturdy extension ladder.
Timer: $15-$30 for an outdoor timer.
Safety gear: $20-$40 for gloves and non-slip shoes.
Total cost: $205-$405.
Budget-friendly alternatives:
Lights: Use solar-powered lights ($30-$60).
Ladder: Borrow from a neighbor or rent one ($20/day).
Timer: Use a manual switch instead of a timer.
Safety gear: Use old shoes with good grip and gardening gloves.
Total cost with alternatives: $80-$160.
Personalize Your Decorations
Lights: Use LED lights for energy efficiency. Choose multicolored lights for a playful look or white lights for a classic feel. Icicle lights add a wintery touch.
Garlands: Opt for evergreen garlands for a traditional vibe. Use tinsel garlands for extra sparkle. Ribbon garlands can add a pop of color.
Ornaments: Hang oversized ornaments for a bold statement. Use shatterproof ornaments for safety. Homemade ornaments add a personal touch.
Wreaths: Choose pre-lit wreaths for convenience. Decorate with pinecones and berries for a rustic look. Add bows for a festive touch.
Inflatables: Use Santa or reindeer inflatables for a fun display. Snowman inflatables add a winter theme. Nativity scene inflatables for a religious touch.
Roofline Accents: Install lighted stars or snowflakes. Use projector lights to cast holiday images. Lighted candy canes add a sweet touch.
Colors: Stick to red and green for a traditional look. Use blue and white for a winter wonderland theme. Gold and silver add elegance.
Materials: Use PVC pipes for durable frames. Wooden cutouts can be painted and customized. Metal frames offer sturdiness.
Styles: Go for a minimalist style with simple lines and few colors. Vintage style uses classic decorations and muted colors. Modern style incorporates sleek designs and bright lights.
Eco-Friendly Ideas
Recycled materials can make beautiful decorations. Use old cardboard to create stars or snowflakes. Paint them with eco-friendly paint.
LED lights use less energy than traditional bulbs. They last longer too.
Natural elements like pinecones, twigs, and holly can add a rustic touch. Collect them from your yard or a nearby park.
Solar-powered lights are another great option. They charge during the day and light up at night.
Reusable decorations save money and reduce waste. Store them carefully to use year after year.
Upcycle old decorations by giving them a fresh coat of paint or adding new details.
Biodegradable glitter can add sparkle without harming the environment.
Fabric scraps can be turned into bows or garlands. Use old clothes or leftover fabric from other projects.
Avoid plastic whenever possible. Opt for materials like wood, metal, or glass.
DIY wreaths made from natural or recycled materials can be a beautiful addition to your roof.
Compostable materials like paper and cardboard can be safely disposed of after the holidays.
Battery-operated lights with rechargeable batteries reduce waste and save money.
Eco-friendly adhesives like natural glue or tape made from plant-based materials are better for the environment.
Plan ahead to avoid last-minute purchases that might not be sustainable.
Brighten Your Holidays
DIY Christmas roof decorations can be a fun, rewarding project. With some planning and creativity, your home will shine brightly. Remember to prioritize safety when working on the roof. Use sturdy ladders, secure fastenings, and weatherproof materials.
Incorporate LED lights for energy efficiency and durability. Mix traditional elements like wreaths and garlands with modern touches such as projector lights. Don’t forget to check your local regulations regarding holiday decorations.
By involving family members, you can make this a memorable tradition. Take your time, enjoy the process, and let your imagination run wild. Your efforts will not only beautify your home but also spread holiday cheer throughout the neighborhood.
Happy decorating, and may your holidays be merry and bright!
How do I safely hang Christmas lights on my roof?
Use clips designed for roof edges or gutters. Avoid staples or nails; they can damage your roof. Always use a sturdy ladder and have a buddy to hold it steady.
What type of lights work best for roof decorations?
LED lights are energy-efficient and last longer. Icicle lights or string lights are popular choices. Make sure they’re weatherproof for outdoor use.
How can I power my roof decorations without overloading circuits?
Use extension cords rated for outdoor use. Plug them into GFCI outlets to prevent electrical hazards. Consider using a power strip with a built-in circuit breaker.
What are some creative ideas for roof decorations besides lights?
Try inflatable decorations, light-up reindeer, or a Santa sleigh. Garlands and wreaths can also add a festive touch. Be sure to secure everything to withstand wind and weather.
How do I ensure my decorations stay in place during bad weather?
Use zip ties, clips, and heavy-duty tape to secure decorations. For larger items, consider sandbags or weights. Check everything regularly to make sure it’s still secure.
Can I install decorations on a steep roof?
It’s possible but more challenging. Use safety harnesses and non-slip shoes. Consider hiring a professional if the roof is too steep or you’re uncomfortable with heights.
How do I take down roof decorations without damaging them?
Carefully remove clips and ties. Avoid yanking on lights or decorations. Store them in plastic bins to keep them safe for next year.