
Home>Home & Furniture>Kitchen>How to Build a Rustic Farmhouse Table
Kitchen
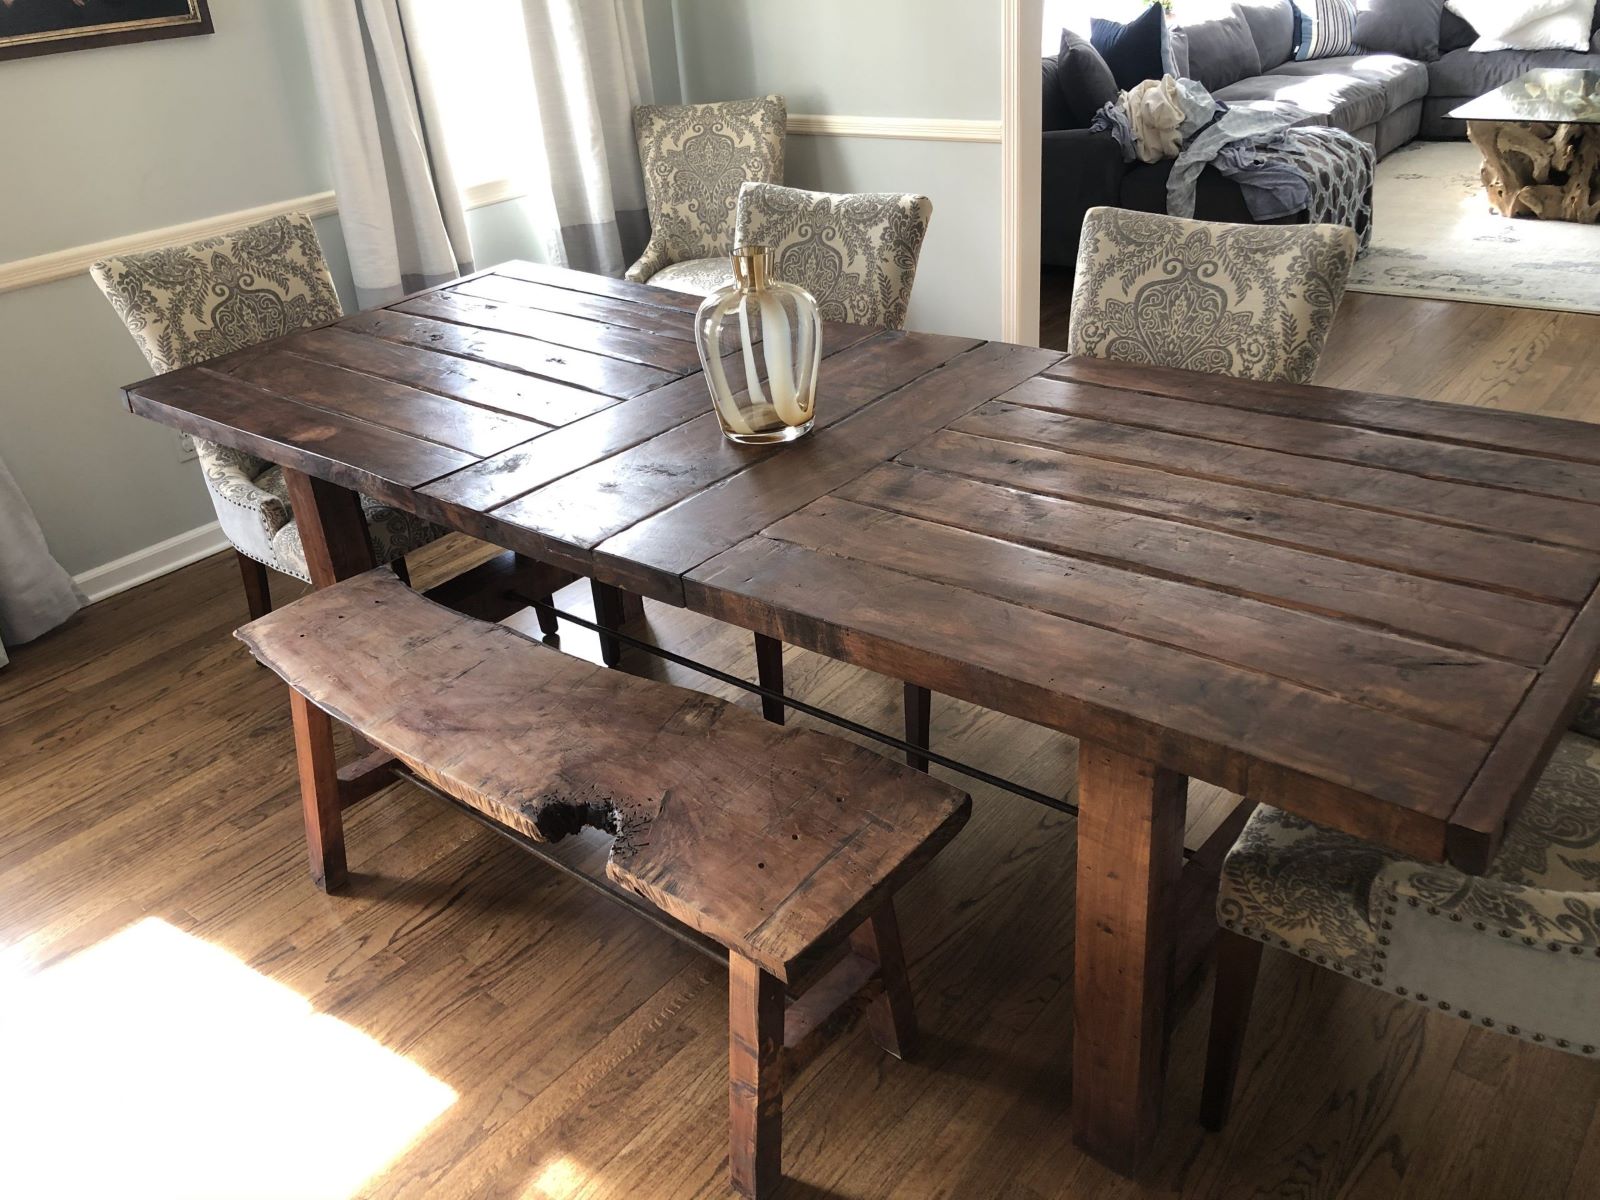
How to Build a Rustic Farmhouse Table
Published: July 27, 2024
Learn how to build a rustic farmhouse table with our step-by-step guide. Perfect for DIY enthusiasts, this project adds charm and functionality to any dining space.
(Many of the links in this article redirect to a specific reviewed product. Your purchase of these products through affiliate links helps to generate commission for Twigandthistle.com, at no extra cost. Learn more)
Building a rustic farmhouse table adds a touch of charm to any home. It's a rewarding project that showcases craftsmanship while providing a sturdy piece for gatherings. This guide will walk you through the steps needed to create a beautiful table using simple materials and basic tools. Whether you're an experienced woodworker or just getting started, crafting this table will be a satisfying endeavor. With a few weekends, some dedication, and attention to detail, you can have a handmade table that will become the highlight of your dining area. Let's begin this fun and practical project!
Getting Ready for the Project
Gather Materials: Collect all necessary materials like wood planks, screws, nails, wood glue, and sandpaper. Make sure to have enough to complete the project without running out.
Safety Gear: Wear safety goggles, gloves, and a dust mask. These protect your eyes, hands, and lungs from sawdust and splinters.
Workspace Setup: Clear a large, flat area to work in. Ensure good lighting and ventilation. Lay down a drop cloth to catch sawdust and protect the floor.
Measure and Cut: Measure the wood planks according to the table dimensions. Use a saw to cut the wood to size. Double-check measurements to avoid mistakes.
Sand the Wood: Sand all wood pieces to smooth out rough edges. This helps prevent splinters and ensures a nice finish.
Pre-Drill Holes: Pre-drill holes where screws will go. This prevents the wood from splitting when you assemble the table.
Dry Fit: Assemble the pieces without glue or screws to ensure everything fits together properly. Make adjustments if needed.
Gather Tools: Have all tools ready, including a drill, screwdriver, hammer, and clamps. This saves time during assembly.
Read Instructions: If following a specific plan, read through all instructions before starting. This helps avoid surprises during the build.
Plan for Staining: If staining the table, choose a well-ventilated area. Have stain, brushes, and rags ready.
Materials and Tools Needed
Materials:
- Wood Planks: For the tabletop and legs. Choose sturdy wood like pine or oak.
- Wood Screws: To secure the pieces together.
- Wood Glue: Adds extra strength to joints.
- Sandpaper: Smooths rough edges and surfaces.
- Stain or Paint: Gives the table a finished look.
- Polyurethane: Protects the wood from damage.
Tools:
- Tape Measure: Ensures accurate measurements.
- Saw: Cuts wood to the desired size.
- Drill: Makes holes for screws and drives them in.
- Screwdriver: Tightens screws.
- Clamps: Holds pieces together while glue dries.
- Sander: Speeds up the sanding process.
- Paintbrushes: Applies stain or paint evenly.
Skill Level and Time Required
Skill Level: Intermediate
Time Required: 1-2 days
Steps:
- Gather Materials: Wood planks, screws, wood glue, stain, and sealant.
- Cut Wood: Measure and cut planks to desired lengths.
- Assemble Tabletop: Join planks using wood glue and screws.
- Build Legs: Cut and assemble legs, ensuring stability.
- Attach Legs: Secure legs to the tabletop.
- Sand: Smooth all surfaces to remove splinters.
- Stain and Seal: Apply stain, let dry, then seal for protection.
Tips:
- Safety Gear: Wear gloves and goggles.
- Tools Needed: Saw, drill, sander, measuring tape.
- Drying Time: Allow stain and sealant to dry fully between coats.
Step-by-Step Instructions
Gather Materials and Tools
- Wood planks (for tabletop and legs)
- Screws
- Wood glue
- Sandpaper
- Stain or paint
- Saw
- Drill
- Measuring tape
- Clamps
Cut the Wood
- Measure and cut wood planks to desired table size.
- Cut four legs to equal length.
Assemble the Tabletop
- Lay planks side by side.
- Apply wood glue between each plank.
- Clamp planks together tightly.
- Let glue dry completely.
Attach Support Beams
- Cut two support beams to fit width of the tabletop.
- Screw beams perpendicular to planks on the underside.
Build the Frame
- Cut four apron pieces to fit between legs.
- Attach apron pieces to legs using screws and wood glue, forming a rectangle.
Attach Legs to Tabletop
- Position frame on the underside of the tabletop.
- Secure legs to support beams with screws.
Sand the Table
- Smooth all surfaces with sandpaper.
- Focus on edges and corners to avoid splinters.
Stain or Paint
- Apply stain or paint evenly across the table.
- Let it dry completely.
- Apply a second coat if needed.
Final Assembly
- Check all screws and joints for tightness.
- Make sure the table is stable and level.
Enjoy Your Table
- Place your new rustic farmhouse table in your desired location.
- Decorate as you like.
Tips and Tricks for Success
Measure twice, cut once. This saves wood and frustration. Use reclaimed wood for a genuine rustic look. Sand it well to avoid splinters. Pre-drill holes before screwing to prevent wood from splitting. Stain before assembly to reach all areas evenly. Use wood glue along with screws for extra strength. Clamp pieces together while drying to ensure a tight fit. Apply a clear coat to protect the wood and make cleaning easier.
Common mistakes include not leveling the table legs which leads to wobbling. Skipping sanding results in rough surfaces. Ignoring wood grain direction can cause warping. Using the wrong screws might weaken joints.
Alternatives for materials include pine for a budget-friendly option or oak for durability. Instead of traditional screws, consider using pocket hole screws for hidden joints. For finishing, try a wax finish for a softer look instead of polyurethane.
Estimating the Cost
Lumber: Expect to spend around $100-$150 for wood. Pine is a budget-friendly option, while oak or maple will cost more.
Screws and Nails: A box of screws and nails will cost about $10-$15.
Wood Glue: A bottle of wood glue costs around $5-$10.
Sandpaper: A pack of sandpaper sheets costs about $5-$10.
Stain or Paint: Depending on the finish, a can of stain or paint will cost $10-$20.
Brushes or Rags: For applying stain or paint, budget $5-$10.
Tools: If you don't have tools, a basic set including a saw, drill, and sander will cost around $150-$200. Borrowing tools from friends or renting can save money.
Total Cost: Expect to spend between $285-$415 for materials and tools.
Budget-Friendly Alternatives:
- Use reclaimed wood or pallets to save on lumber costs.
- Borrow or rent tools instead of buying.
- Look for sales or discounts on materials at local hardware stores.
Variations and Customizations
Wood Types: Instead of pine, try oak for a sturdier table or reclaimed wood for a more authentic rustic look. Cedar adds a pleasant aroma.
Finishes: Use a dark stain for a more traditional feel or a whitewash for a shabby chic style. Natural oil finishes can highlight the wood grain beautifully.
Table Legs: Swap out standard legs for turned legs for a classic farmhouse look or metal legs for an industrial twist. Hairpin legs can give a modern touch.
Tabletop Design: Create a herringbone pattern with the wood planks for added visual interest. Live edge wood slabs can add a unique, natural element.
Paint Colors: Paint the base in pastel colors for a softer look or bold colors like navy or forest green for a statement piece. Distressed paint can add character.
Hardware: Use decorative brackets or corner braces for added detail. Antique drawer pulls can be added to the sides for a vintage touch.
Size: Adjust the dimensions to fit your space. Make a smaller version for a cozy breakfast nook or a larger one for a grand dining room.
Accessories: Add a bench instead of chairs for seating. Table runners and centerpieces can change the table's look for different seasons.
Eco-Friendly Tips
Reclaimed wood is perfect for a rustic farmhouse table. Look for old barn wood, pallets, or even discarded furniture. This wood has character and reduces waste.
Use non-toxic finishes like beeswax or natural oils. These finishes are safer for you and the environment.
Recycled metal can be used for table legs or brackets. Old pipes or metal scraps add an industrial touch.
Consider using eco-friendly adhesives. Look for water-based glues that have low VOCs (volatile organic compounds).
Hand tools are a great choice. They use no electricity and give you more control over your work.
Local materials are another good option. Buying wood and other supplies from local sources reduces transportation emissions.
Upcycling is a creative way to add unique features. Old doors or windows can become table tops or decorative elements.
Natural stains made from coffee, tea, or vinegar can give your table a unique look without harmful chemicals.
Sustainable fasteners like bamboo nails or screws made from recycled materials can be used.
Plan your cuts carefully to minimize waste. Use every piece of wood efficiently.
Compost sawdust instead of throwing it away. It can enrich your garden soil.
Solar-powered tools are another eco-friendly option. They reduce your carbon footprint while you work.
Second-hand tools can be just as good as new ones. Check thrift stores or online marketplaces.
Eco-friendly packaging for any purchased materials helps reduce waste. Look for suppliers who use minimal or recyclable packaging.
Share or donate leftover materials. Someone else might find a use for them, keeping them out of the landfill.
Your Farmhouse Table Awaits
You’ve got all the steps to build a rustic farmhouse table. From choosing the right wood to applying the final finish, each part of the process adds character to your creation. Remember, sanding is key for a smooth surface, and don’t rush the staining process. Take pride in every nail and screw you place. This table isn’t just a piece of furniture; it’s a testament to your hard work and creativity. Invite friends over, share a meal, and let them admire your handiwork. If you ever feel like tweaking or adding more details, go for it. DIY projects are all about making something uniquely yours. Now, grab your tools, get started, and enjoy the satisfaction of building something with your own two hands. Your farmhouse table is more than ready to become the centerpiece of your home.
What materials do I need to build a rustic farmhouse table?
You'll need wood planks for the tabletop, wood beams for the legs, screws, wood glue, sandpaper, and wood stain or paint.
How long does it take to build a farmhouse table?
It usually takes about one weekend. You’ll spend a day on cutting and assembling, then another day on sanding and finishing.
Do I need any special tools?
Basic tools like a saw, drill, screwdriver, measuring tape, and clamps will do. A sander can make the job easier, but it’s not essential.
Can I customize the size of the table?
Absolutely! Measure your space and adjust the dimensions of the wood planks and beams to fit your needs.
How do I get that rustic look?
Use distressed wood or sand the edges to give it a worn look. Applying a dark stain can also enhance the rustic feel.
Is it hard to make the table stable?
Not really. Make sure the legs are even and use brackets or crossbeams for extra support. Tighten all screws securely.
Can I build this table alone?
You can, but having a helper makes it easier, especially when aligning and holding pieces together during assembly.