
Home>Home & Furniture>Kitchen>How to Build a DIY Hutch
Kitchen
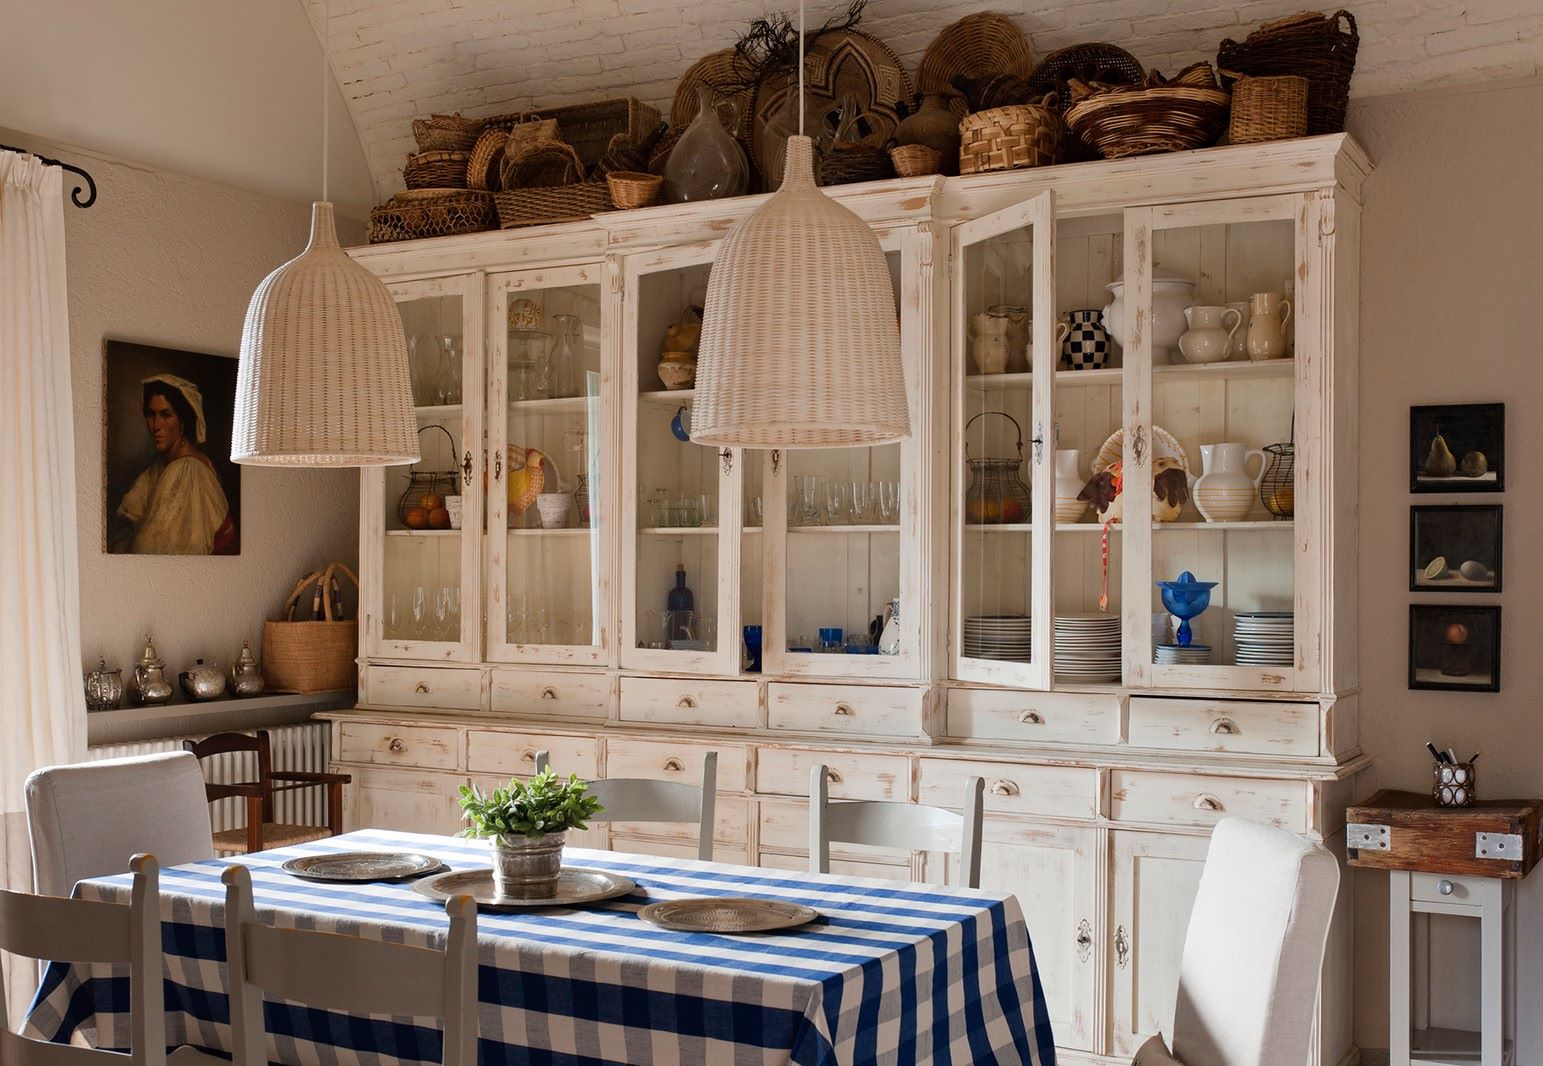
How to Build a DIY Hutch
Published: July 28, 2024
Learn how to build a DIY hutch with our step-by-step guide. Perfect for adding stylish storage to your home. Get tips, tools, and materials needed for a successful project!
(Many of the links in this article redirect to a specific reviewed product. Your purchase of these products through affiliate links helps to generate commission for Twigandthistle.com, at no extra cost. Learn more)
Building a DIY hutch can be both fun and useful. Whether you need extra storage for your kitchen or a place to display collectibles, a custom hutch adds charm to any room. With some basic woodworking skills and a few materials, you'll create a unique piece of furniture. Not only will this project save money, but it also allows for personal touches that store-bought items lack. In this guide, we’ll walk through the steps needed to construct a sturdy, beautiful hutch. Let’s gather our tools and materials to get started on building a practical addition to your home.
Getting Ready for Your DIY Hutch
Gather Materials: Collect all necessary tools and materials. Common items include wood, screws, nails, a saw, a drill, sandpaper, and paint or stain.
Safety Gear: Wear safety goggles, gloves, and a dust mask to protect yourself from wood dust and debris.
Workspace Setup: Choose a well-ventilated area with plenty of light. Ensure your workspace is clean and free of clutter to avoid accidents.
Measure and Cut: Measure the wood pieces according to your hutch design. Use a saw to cut the wood to the correct sizes. Double-check measurements to ensure accuracy.
Sand the Wood: Smooth out rough edges with sandpaper. This helps the paint or stain adhere better and prevents splinters.
Pre-drill Holes: Pre-drill holes where screws or nails will go. This prevents the wood from splitting when you assemble the hutch.
Dry Fit: Assemble the pieces without glue or screws to ensure everything fits together properly. Make adjustments if needed.
Organize Hardware: Sort screws, nails, and other hardware. This makes the assembly process quicker and more efficient.
Read Instructions: If following a specific plan, read through all instructions before starting. This helps you understand the steps and avoid mistakes.
Check Tools: Ensure all tools are in good working condition. Replace any worn-out blades or bits to make the job easier and safer.
Gathering Materials and Tools
Materials:
- Plywood Sheets: Used for the main structure.
- Wood Screws: Secure the pieces together.
- Wood Glue: Adds extra strength to joints.
- Sandpaper: Smooths rough edges.
- Paint or Stain: Finishes the hutch.
- Hinges: Attach doors.
- Handles or Knobs: Open and close doors.
- Shelf Brackets: Support shelves.
- Back Panel: Provides stability.
Tools:
- Measuring Tape: Ensures accurate dimensions.
- Circular Saw: Cuts plywood sheets.
- Drill: Makes holes for screws.
- Screwdriver: Tightens screws.
- Clamps: Holds pieces together while glue dries.
- Paintbrush or Roller: Applies paint or stain.
- Level: Ensures shelves are even.
- Hammer: Drives nails if needed.
- Safety Gear: Protects eyes and hands.
Required Skills and Time Commitment
Skill Level: Intermediate
Time Required: 2-3 days
- Planning and Design: 2-4 hours
- Gathering Materials: 1-2 hours
- Cutting Wood: 3-4 hours
- Assembling Frame: 4-6 hours
- Adding Shelves and Doors: 3-4 hours
- Sanding and Painting: 6-8 hours
Important Keywords: Skill Level, Time Required, Planning, Design, Gathering Materials, Cutting Wood, Assembling Frame, Adding Shelves, Doors, Sanding, Painting
Building Your Hutch: Step-by-Step Guide
Gather Materials:
- Plywood sheets
- Wood screws
- Wood glue
- Sandpaper
- Paint or stain
- Hinges
- Handles
- Measuring tape
- Saw
- Drill
Measure and Cut Wood:
- Measure the dimensions for the hutch.
- Cut plywood into pieces for the sides, top, bottom, shelves, and doors.
Assemble the Frame:
- Attach the sides to the bottom piece using wood screws and glue.
- Secure the top piece to the sides.
Install Shelves:
- Measure and mark where shelves will go.
- Attach shelves inside the frame with screws and glue.
Attach the Back Panel:
- Cut a piece of plywood for the back.
- Secure it to the frame with screws.
Sand All Surfaces:
- Smooth all edges and surfaces with sandpaper.
Paint or Stain:
- Apply paint or stain to the entire hutch.
- Let it dry completely.
Attach Doors:
- Install hinges on the doors.
- Secure doors to the frame.
- Attach handles to the doors.
Final Touches:
- Check for any loose screws.
- Make sure doors open and close smoothly.
- Add any decorative elements if desired.
Helpful Tips and Tricks
Measure twice, cut once. Always double-check measurements before cutting wood. This saves time and materials.
Use quality wood. Pine or oak works well. Avoid warped or knotty pieces.
Pre-drill holes. This prevents wood from splitting when you insert screws.
Sand edges. Smooth edges make assembly easier and safer.
Label parts. Mark each piece with a pencil to avoid confusion during assembly.
Use wood glue. Apply glue to joints for added strength before screwing pieces together.
Clamp pieces. Clamps hold parts in place while glue dries, ensuring a tight fit.
Paint or stain before assembly. This makes it easier to reach all areas and ensures a uniform finish.
Common mistakes to avoid:
- Skipping the sanding step. Rough edges can cause splinters and make assembly difficult.
- Using the wrong screws. Use wood screws, not drywall screws, for better hold.
- Ignoring the level. Ensure shelves and surfaces are level to avoid a crooked hutch.
Alternatives:
- Plywood instead of solid wood. Plywood is cheaper and easier to work with.
- Pocket hole joinery. This method hides screws and creates a cleaner look.
- Prefabricated legs. Buying pre-made legs saves time and ensures stability.
Estimating the Cost
Lumber: Expect to spend around $100-$150 for quality wood like pine or oak.
Screws and Nails: A box of each will cost about $10-$15.
Wood Glue: A bottle costs around $5-$10.
Sandpaper: A pack of various grits will be about $10.
Paint or Stain: Depending on your choice, this can range from $20-$40.
Brushes and Rollers: These will cost around $10-$15.
Hinges and Handles: Budget about $20-$30 for these.
Power Drill: If you don't own one, a decent drill costs around $50-$100.
Saw: A hand saw costs about $20, while a circular saw can be $50-$100.
Clamps: A set of clamps will be around $20-$30.
Measuring Tape and Level: These tools together will cost about $20.
Safety Gear: Gloves, goggles, and a mask will be around $15-$20.
Total Cost: Expect to spend between $300-$500.
Budget-Friendly Alternatives:
- Use reclaimed wood or pallets to save on lumber costs.
- Borrow tools like a power drill or saw from friends or family.
- Look for discounted paint or stain at local hardware stores.
- Use basic handles and hinges instead of decorative ones to cut costs.
Customizing Your Hutch
Materials: Instead of traditional wood, consider using reclaimed wood for a rustic look or plywood for a budget-friendly option. Metal can add an industrial touch, while bamboo offers an eco-friendly alternative.
Colors: Paint the hutch in bold colors like navy blue or emerald green for a statement piece. For a more subtle look, use pastels or neutral tones like beige and gray. Staining the wood can highlight its natural grain, giving a classic appearance.
Styles: For a modern style, use clean lines and minimalistic hardware. A farmhouse style can be achieved with distressed finishes and vintage handles. Mid-century modern can be done with tapered legs and sleek surfaces. Shabby chic involves using white paint and sanding edges for a worn look.
Shelving: Customize the shelving by adding adjustable shelves to accommodate different items. Glass shelves can give a more open feel, while wooden shelves provide a sturdy option.
Doors: Use glass doors to display items inside or solid wood doors for a more traditional look. Sliding barn doors can add a unique touch, while open shelving eliminates doors altogether for easy access.
Hardware: Swap out standard knobs for decorative handles or vintage pulls. Brass or copper hardware can add warmth, while chrome or black finishes offer a modern touch.
Back Panel: Add a mirrored back panel to create depth or a fabric-covered panel for a pop of color and texture. Wallpaper can also be used for a unique design.
Lighting: Install LED strip lights under the shelves for added illumination. Puck lights can spotlight specific items, making the hutch more functional and visually appealing.
Legs: Change the look by using different leg styles. Hairpin legs give a mid-century modern vibe, while turned wooden legs offer a classic look. Casters can make the hutch mobile, adding versatility.
Top Surface: Use a marble or granite top for a luxurious feel. A butcher block top can add a warm, rustic touch. Tile can be used for a colorful, patterned surface.
Extra Features: Add a wine rack or cup hooks for additional storage. Drawers can be included for hidden storage, while open cubbies can display decorative items.
Eco-Friendly Building Tips
Reclaimed wood is a great choice. It adds character and reduces waste. Look for old pallets, barn wood, or even discarded furniture. Sand and treat it to ensure it's safe and smooth.
Eco-friendly paint and finishes are important. Choose low-VOC (volatile organic compounds) or natural paints. These are better for your health and the environment.
Bamboo is another sustainable option. It's fast-growing and durable. Use it for shelves or decorative elements.
Recycled metal can be used for handles, hinges, or other hardware. It’s sturdy and gives a unique look.
Natural adhesives like plant-based glues are less toxic. They work well for joining pieces together.
Solar-powered tools can help reduce your carbon footprint. If you have access to these, they’re a great choice.
Plan your cuts carefully to minimize waste. Use leftover pieces for smaller parts or other projects.
Compostable materials like cork or natural fibers can be used for padding or lining drawers.
Upcycling old furniture parts can save money and resources. Look for legs, knobs, or panels that can be repurposed.
Local sourcing of materials reduces transportation emissions. Check local suppliers or community boards for available resources.
Your DIY Hutch Awaits
Building a DIY hutch isn't just about saving money. It's about crafting something unique with your own hands. You’ve learned how to measure, cut, and assemble materials into a functional piece of furniture. Each step, from selecting wood to adding the final touches, brings you closer to a finished product you can be proud of.
Don't worry if your first attempt isn't perfect. Practice makes perfect, and each project teaches new skills. Remember, the joy of DIY lies in the process as much as the result. So, gather your tools, pick your materials, and start building. Your custom hutch is just a few steps away. Happy building!
What materials do I need to build a DIY hutch?
You’ll need wood, screws, nails, hinges, paint or stain, and sandpaper. Also, grab a saw, drill, measuring tape, and screwdriver.
How long does it take to build a hutch?
Depending on your skill level, it might take a weekend or a few days. Plan for at least 10-15 hours of work.
Can I customize the size of my hutch?
Absolutely! Measure your space and adjust the dimensions accordingly. Just make sure to keep the proportions balanced.
Do I need any special tools?
Basic tools like a saw, drill, screwdriver, and measuring tape should do the trick. A sander can help smooth things out.
How do I make sure the hutch is sturdy?
Use quality wood and reinforce joints with screws and brackets. Make sure everything is level and square.
What kind of finish should I use?
You can use paint or stain depending on your preference. Polyurethane can add a protective layer.
Can I add shelves or drawers?
Yes, you can add shelves or drawers for extra storage. Just plan them out in your design and adjust your materials list.